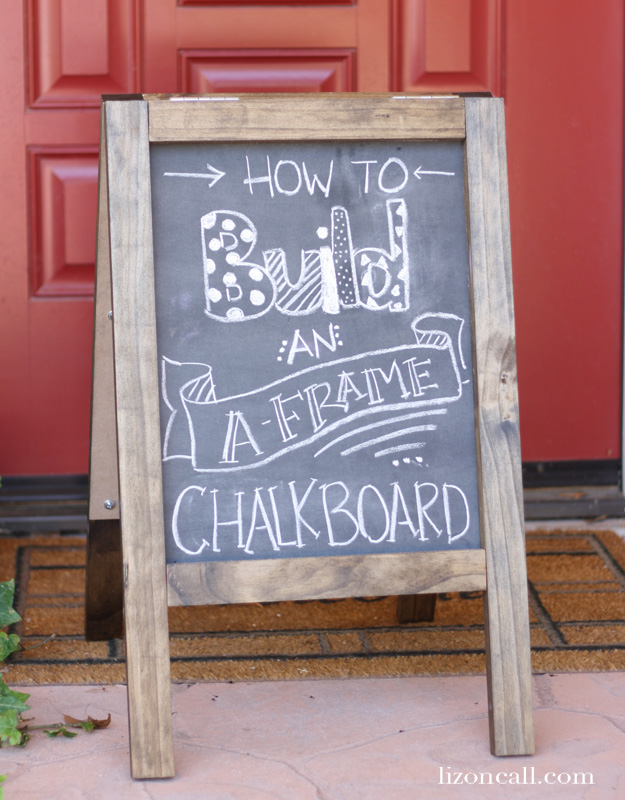
Today I’m so excited to share with you How to Build an A-Frame Chalkboard. I have been wanting one of these sandwich board type chalkboards for a while, but haven’t wanted to pay the prices that I’ve seen on-line. So I decided to build my own and was surprised at how easy it actually was. Let me show you how easy and inexpensive this a-frame chalkboard is to make yourself.
One of the reasons this project was so easy, is because I found a helpful employee at the Home Depot. I knew what type and size of wood I needed but, he recommended something that might work better and he also cut my wood for me for free.
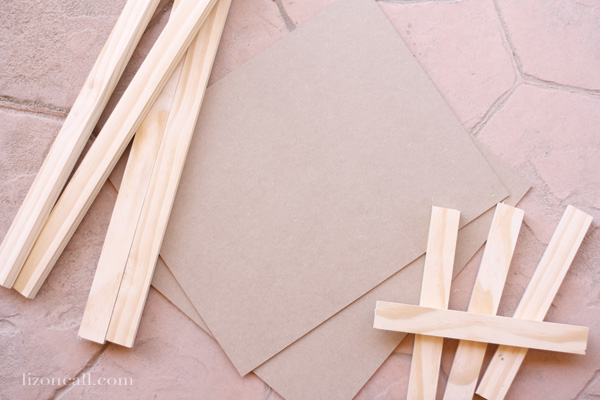
Supplies Needed: Build a DIY Chalkboard Sandwich Board
(2) pieces of 1/8 MDF board for the chalkboard – 18″ x 14 1/2″
(4) pieces of 1″ x 2″ pine boards – 24″ long
(4) pieces of 1″ x 2″ pine boards – 11 5/8″ long
NOTE: You will need a total of (2) 1″ x 2″ pine boards that are 6 – 8 feet long total to make the cuts for all the pieces in the above list
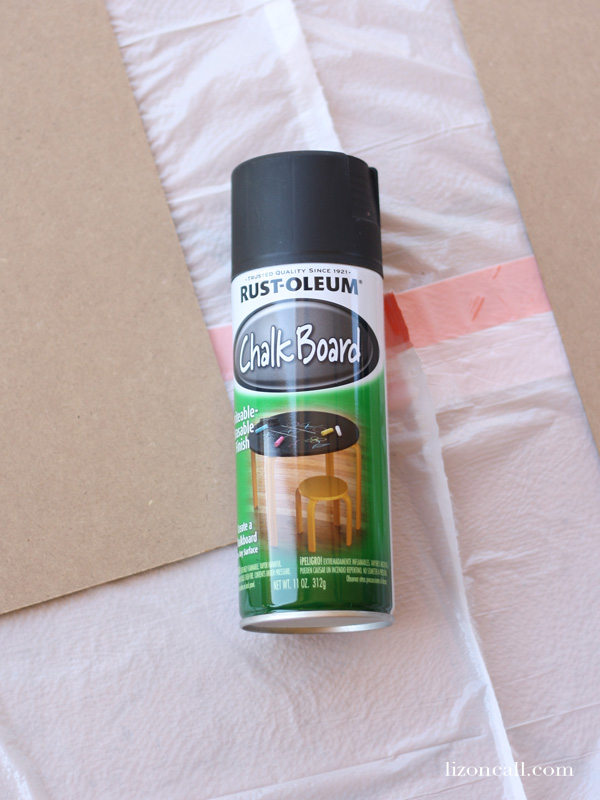
Chalkboard Paint
Wood Stain and supplies (foam brush & soft cloth)
2 hinges plus screws
(20) 1/2″ wood screws
I brought all my supplies home and went out onto the back porch to get started. The first thing I need to do was to paint my boards with chalkboard paint. I really am a fan of Rustoleum Chalkboard Spray Paint. It is so easy to use and really works well. I sprayed 3 coats on to one side of each of my mdf boards.
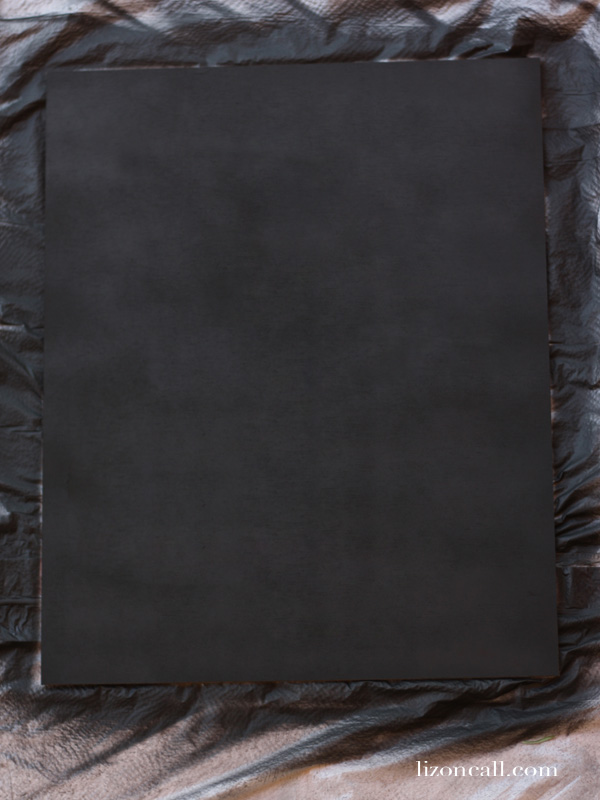
Doesn’t this black surface just get you all excited! I waited about 20 minutes (even though it says to wait an hour) between each coat of the spray paint. It was so hot here (in AZ) that I figured 20 minutes was plenty of drying time.
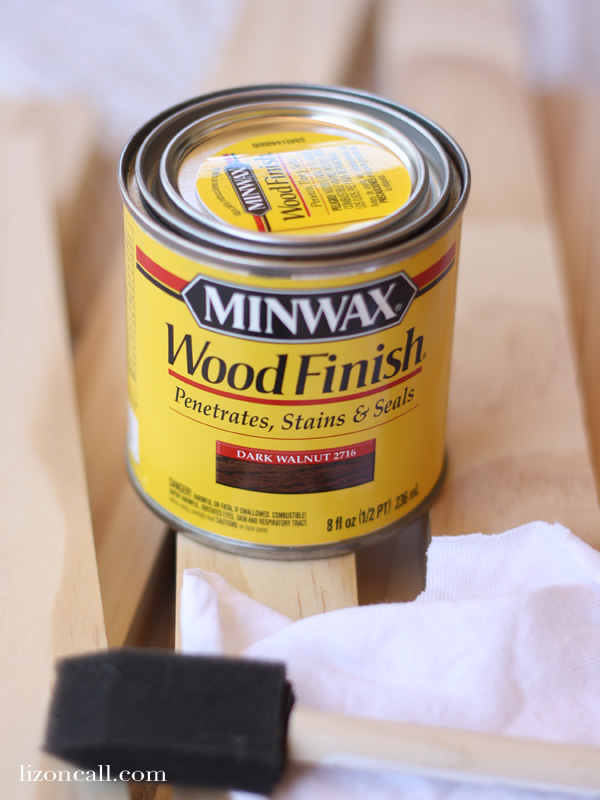
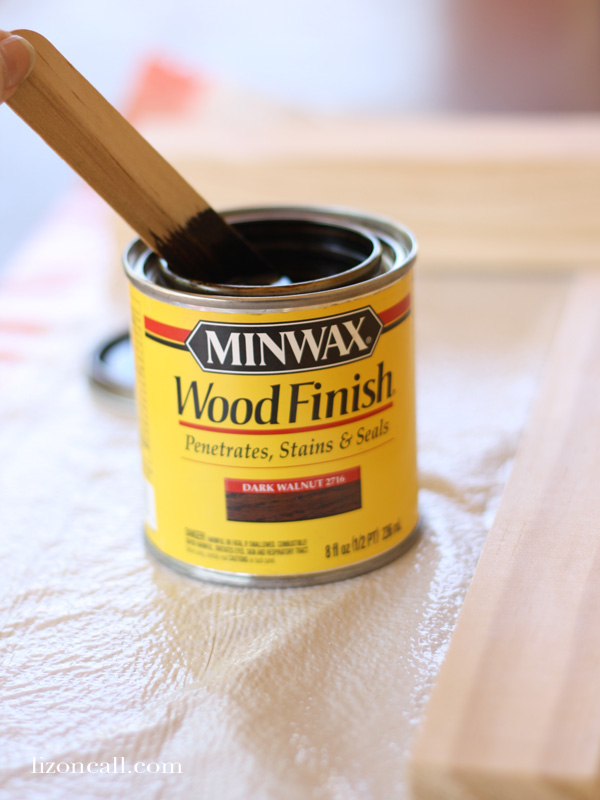
Between chalkboard painting I stained my pine boards. I used just a small can of minwax oil based wood finish in dark walnut.
One thing my helper at Home Depot told me was to stir the can of stain, don’t shake it. So think opposite of James Bond here. 🙂 Apparently shaking the stain creates air bubbles that will show on your finished stained project. Good tip!**
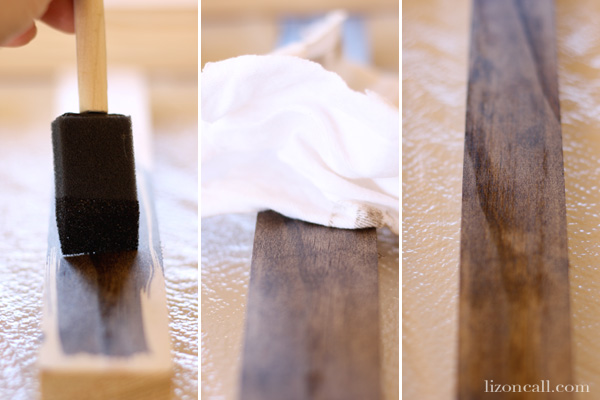
Using the foam brush, I brushed on a thin coat of stain down the length of the board. Then I quickly ran a soft cloth down the length of the boards to remove any excess stain. I didn’t want my boards to be too dark.
Once all my boards were stained and my coats of chalkboard had been applied, I let everything have a chance to dry. This is the hardest part, WAITING! It’s recommended to let the chalkboard set for 24 hours before you “season” it. So I waited over night, not quite 24 hours.
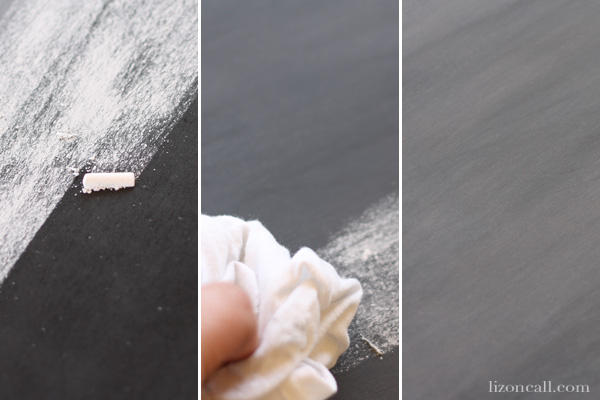
Then using the side of a piece of white chalk, I “seasoned” my chalkboards by running the chalk over the entire surface of the chalkboard and then going over it with a soft cloth (one that is not a paper towel or one that won’t leave lint is the best) wiped down the boards until I got a nice finish on the surface of the chalkboards.
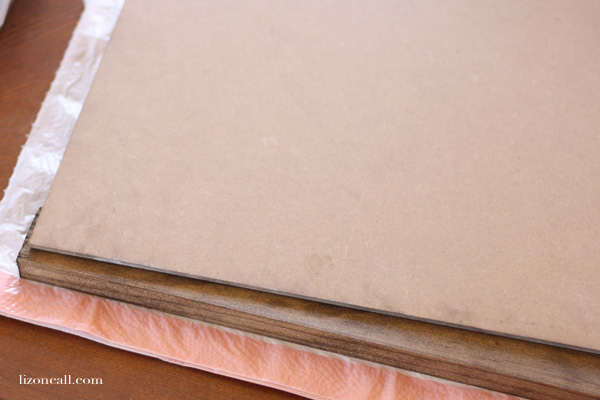
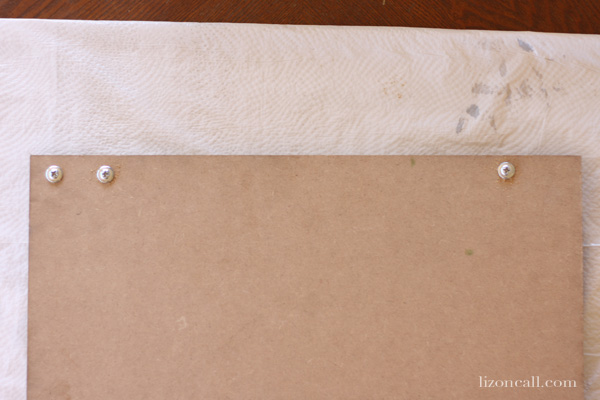
Then it was time to assemble the frame around the chalkboard. I laid down one of the long pine boards with the best side facing down, then I laid the chalkboard side down onto the pine board.
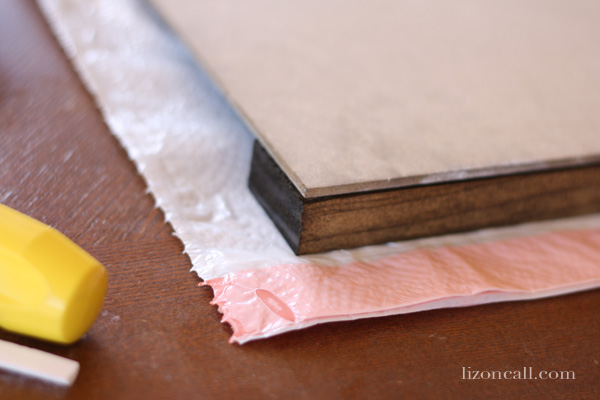
I mad sure to match up these corners the best I could because this would determine how straight the rest of the pine boards and frame of the chalkboard would come together. I used my hubby’s drill and screwed the boards together.
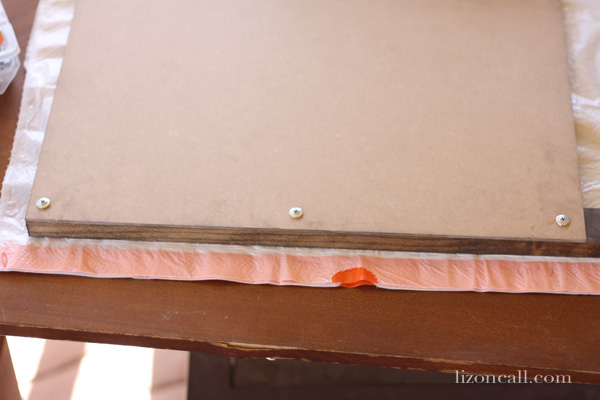
I then matched up the edge of the pine board and the chalkboard so that I could add 2 more screws and secure the pine board to the chalkboard.
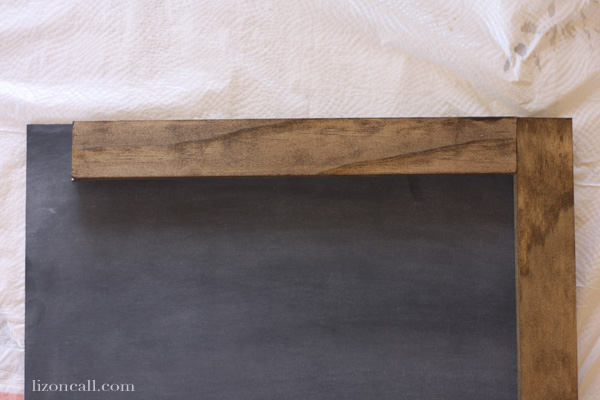
Next I wanted to attach the top board of the frame. I lined it up with the edge of the pine board and the top of the chalkboard.
I turned it over making sure all the pieces were in the right spot and used 2 screws to attach the top pine board of the frame.
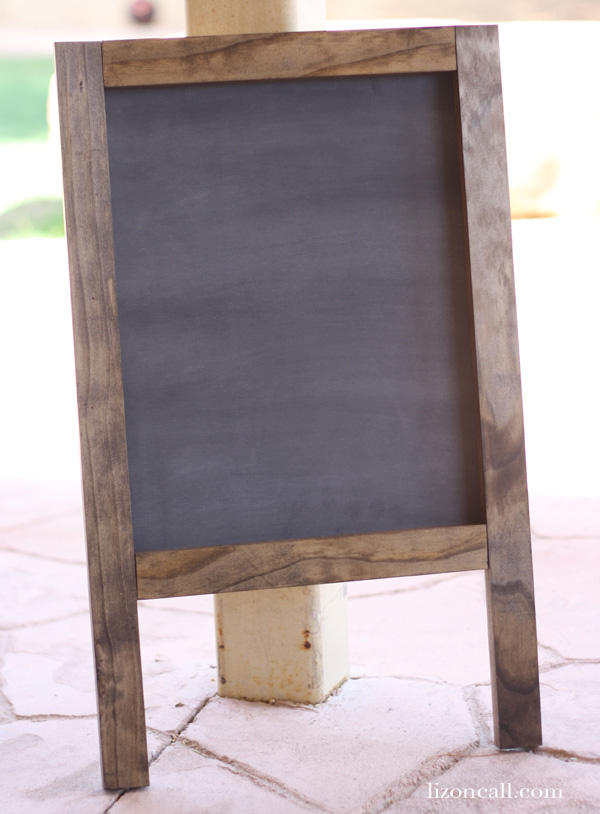
To finish the frame I used another shorter piece of pine board and added it to the bottom of the frame in the same way I attached the top board, using 2 screws to keep the boards together. Lastly I added the other long board. This is where I made up any differences.
My pine board was straight and lined up perfectly with the top and bottom boards of the frame, but it was about 1/8 of an inch wider than the chalkboard, which is totally fine.
Once I had one side of my a-frame completed, I put together the other side. I did it the exact same as the first side.
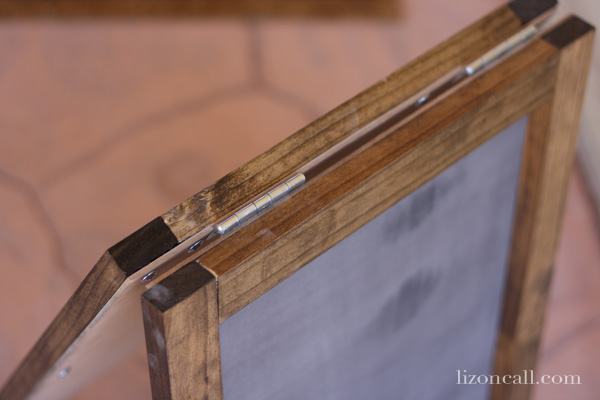
I wanted to be able to open and close it easily and lay as flat as possible so I wanted to add hinges. The only thing that I needed my hubby to help me with were the hinges. I’ve never done hinges before, but now that I had him help me, I’m pretty sure I could do them on my own next time. I just used 2 hinges on this project since it’s not too big.
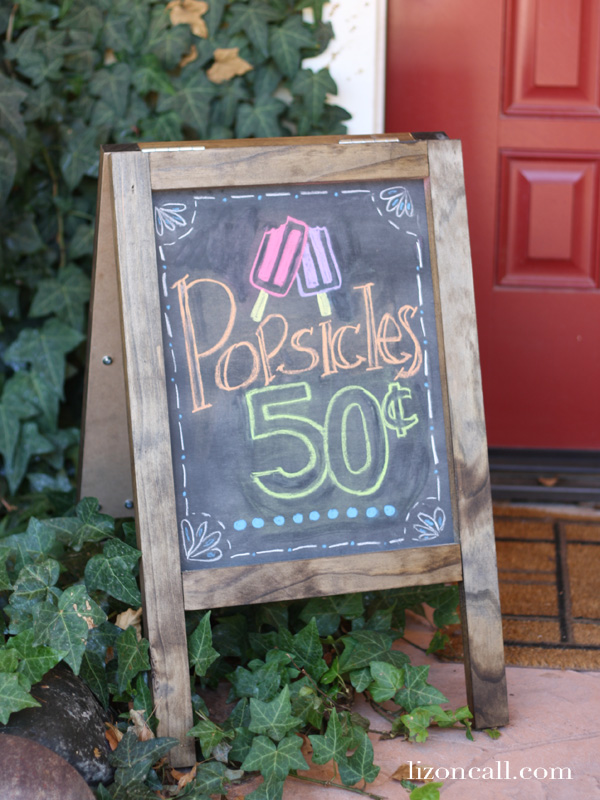
And then it was done! I’m so excited to use this a-frame chalkboard for so many things. I’m thinking birthday parties, holidays and just everyday to welcome guests to our home. I’m loving it by my front door!
You might wonder why I decided to put a sign that says popsicles right up by my front door. Why not Welcome or something similar.
Well, that’s because it just so happens to fit in with my front porch decor. I’m all about popsicles this summer with my summer wreath and my paint chip popsicle banner.



Brooks says
Super helpful, thanks! Made mine out of pegboard for a double-sided “litebrite” station for my wife’s T-K classroom. They’ll use colored golf pegs. Modified the plans slightly to make it 3.5 ft tall by 2 feet wide, but this was exactly the specs I needed to get started. Just thought you’d like to know it’s still useful, 10 years on!
Ashley says
I’m attempting this today! Unfortunately, our Home Depot didn’t have MDF that thin, so I’m having to use plywood. It’s looking a little rough, pun intended! Ha!
Kelly says
I’m going to use your tutorial to make an easel for my great-nephew. I’ll add two storage boxes across the front of both sides and two cross pieces for bracing. One “face” will be chalkboard and for art paper, the other I think I’ll put on a magnetic whiteboard. Thanks!
Kim says
That is a FANTASTIC idea! I’d love to see a photo when you’re finished!
Kathy says
Genius!!! I’ve been trying to figure out a simple way to do just this!! Thank you so much.
Liz @ Liz on Call says
Thanks Kim for having me! Loved being a part of TCB for the day. 🙂
Kim says
Thank YOU Liz! This is such a great tutorial! Easy to understand!