Happy Sunday! Summer time means a LOT of camping for many of you! You’ll love this Rolled Camp Kitchen Organizer from my friend Sabra at Sew a Straight Line. So fun having a few sewing projects posted lately!
Good morning, Today’s Creative Blog readers! My name is Sabra and I blog about my sewing adventures over at Sew a Straight Line
Today’s Creative Blog was one of the first, if not *the* first DIY blog I ever started following. I am beyond excited to be sharing my Summer Celebration idea with you on TCB!
In my family, summer means camping. For the past 13 years, we’ve had a rubber tote with all of our camp cooking supplies, but it is a mess. Every time we go, I have to dig through the thing to find what I need. So, I decided to make an organizer for our camp kitchen basics.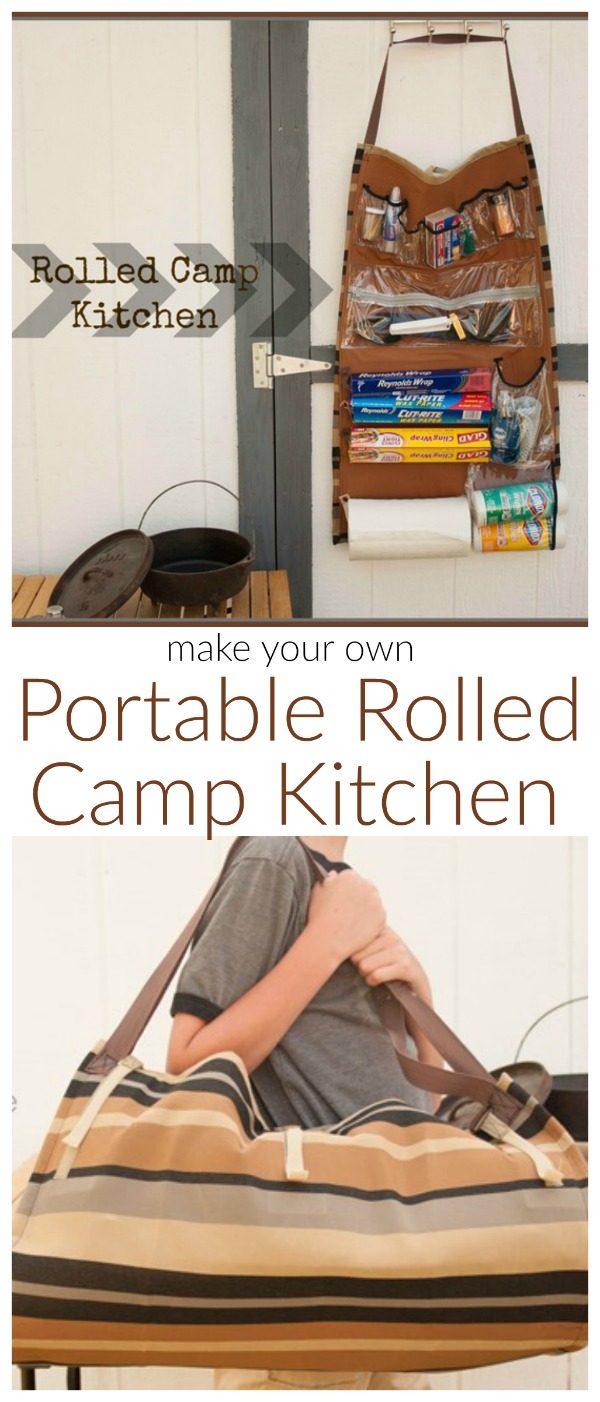
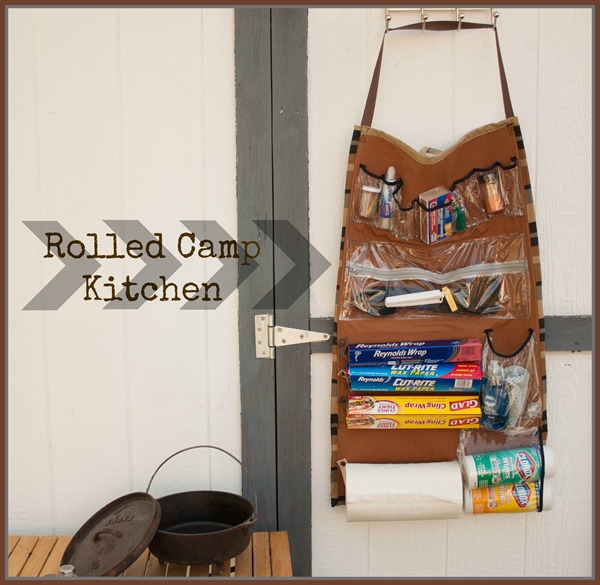
Made of outdoor canvas and vinyl, it’s sturdy and easy to clean.
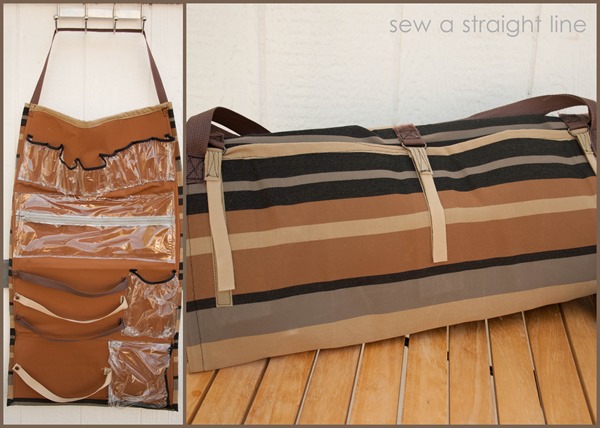
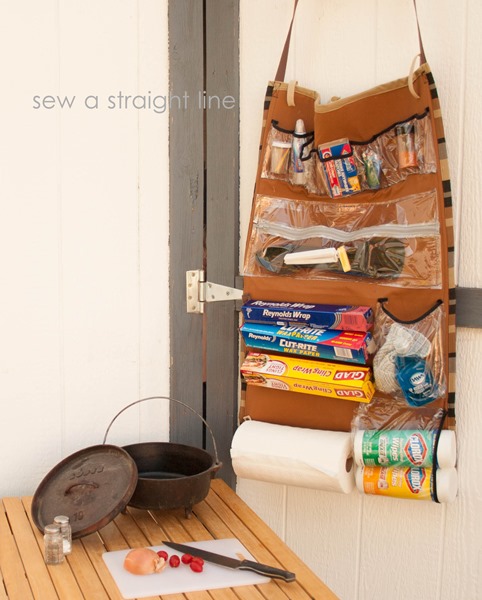
There are pockets and straps for holding everything from salt and pepper to dish soap and paper towels in place for the long haul.

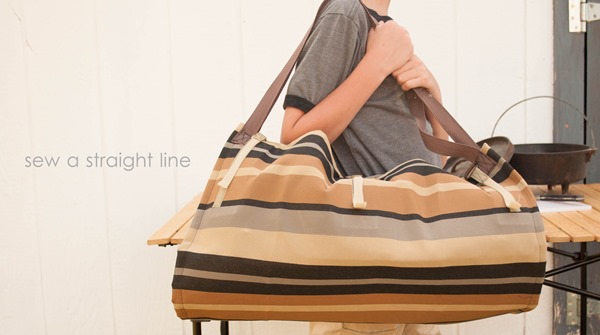
And the whole thing rolls up with all of its contents secure inside for storage and transporting.
 I’m going to share with you how I made mine, but all of the components are completely customizable, so you can mix and match, and make your Rolled Camp Kitchen to best suit your outdoor culinary needs.
DIY Portable Camp Kitchen
Materials:
1.25 yard outdoor fabric for Outer Panel
1.25 yard outdoor fabric for Inner Panel
1 Yard 72 Pellon Peltex 72 (the heaviest interfacing you can buy at a regular fabric store)
1 Yard clear plastic vinyl, at least 54” width
2 yards fold-over elastic
3.5 yards polyester webbed belting, 1” width
3 1” metal D-rings
1 yard sew-on Velcro
4 heavy-duty complete snap sets
1 18” vinyl zipper
Heavy-duty or Jean needle
Walking foot or tissue paper
Cut your main body pieces:
Outer Panel: 24”x41”
Inner Panel: 22”x39”
4 Pellon panels: 20”x8.5”
Set Outer Panel aside for now.
Inner Panel
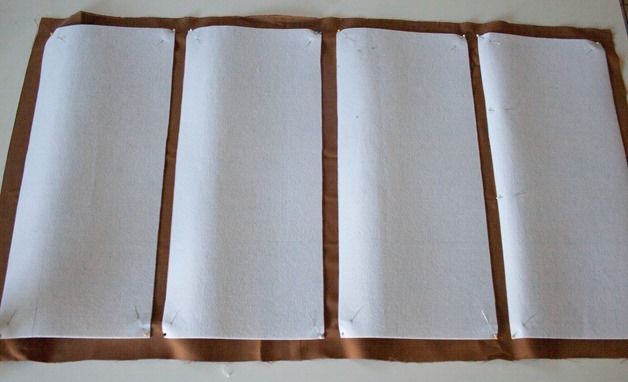
Pin the Pellon panels in place on the wrong side of the Inner Panel. The pieces should be one inch from the outside edge, and about 3/4” from each other. I used a basting stitch after pining, so that I could remove the pins. Iron the Pellon in place, following the manufacture directions.
Flip the Inner Panel to the right side. From here on out, I will refer to the Inner Panel’s Pellon-enforced areas as Section 1, Section 2, Section 3, Section 4, working from top down.
Section 1: Spice Rack/Odds and Ends Pocket Strip
Cut a strip of vinyl 6”x54”
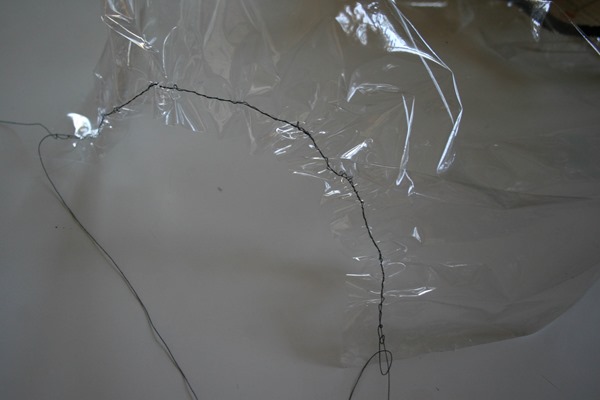
Sew a basting stitch the length of the vinyl strip. If you do not have a walking foot, to help the vinyl move more smoothly under the foot of the machine, use tissue paper between the vinyl and the sewing machine foot. After you are done sewing, you can simply tear the paper away.
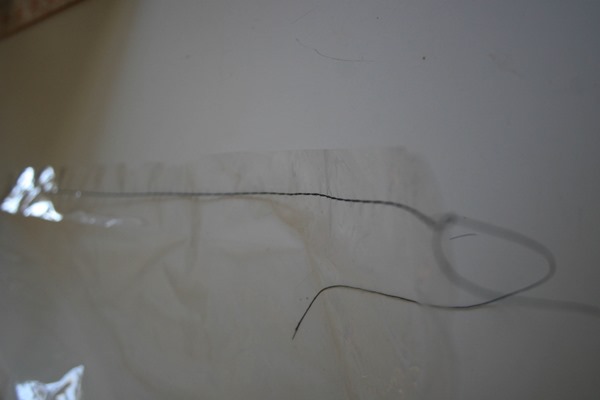
On the other long edge, sandwich the entire raw edge with the fold over elastic, stretching the elastic as you sew it in place with a zigzag stitch.
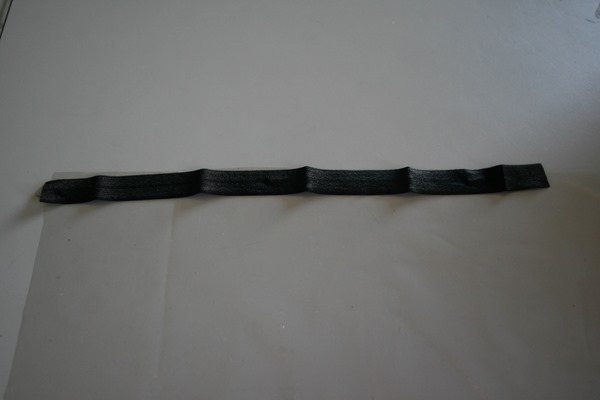
I chose not to use pins for this part, as I didn’t want holes in my vinyl. I just worked slowly, holding the elastic with one hand, while stretching, as I sewed things down.
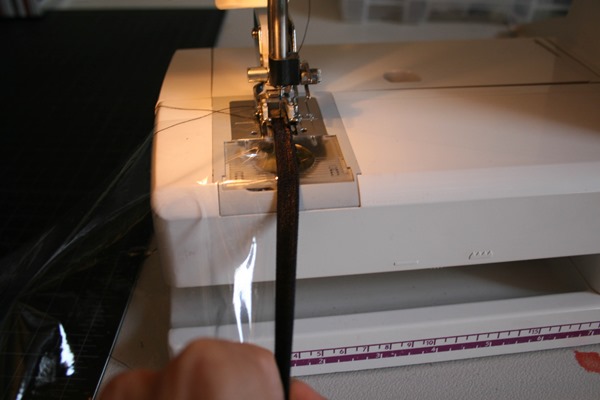
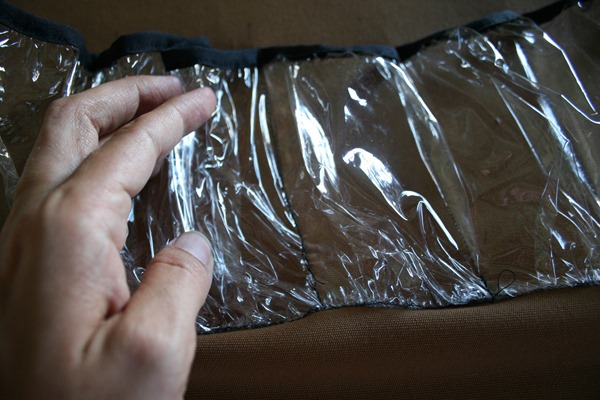
Now pull the one thread of your basting stitch, gathering the vinyl strip at the lower, long edge
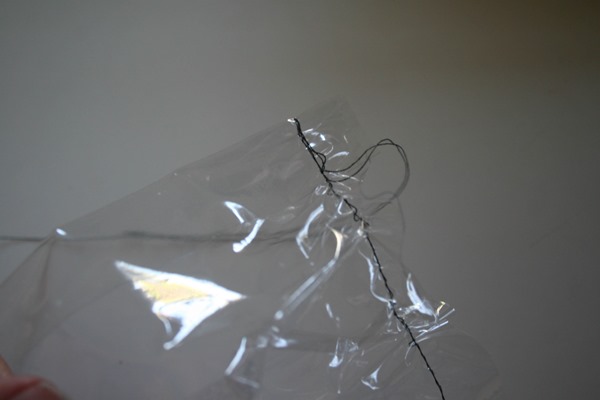 You want to gather it until it measures 20” long.
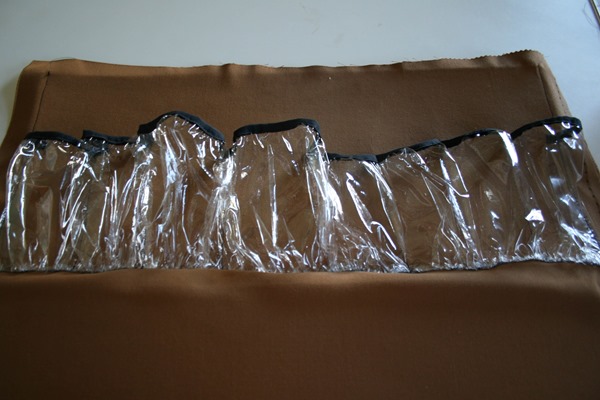
Staring one inch in, and ending one inch from the other edge of the Inner Panel, pin the gathered edge to the lower edge of Section 1 (feel for the Pellon as a guide for the lower edge), with the elastic edge hanging down onto Section 2.
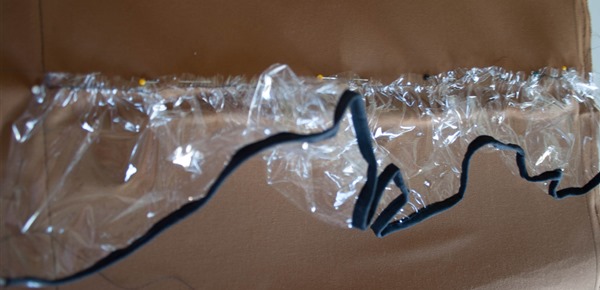
Sew across the gathers, the length of the vinyl. Flip the vinyl up, so that the elastic edge now is on Section 1, and the sewn gathers are inside the fold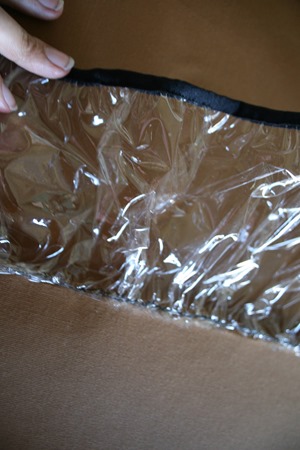
Tuck the edges under and sew in place at either end
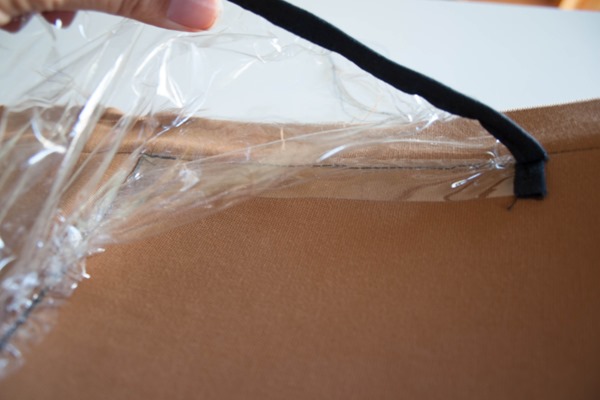 Now you want to sew the vinyl straight down from elastic top to gathered bottom to make the pocket sections. For spice bottles, you want 5.5 inches of vinyl for every 2 inches of Inner Panel. I made a variety of sizes, to fit various odds and ends in addition to spice bottles.
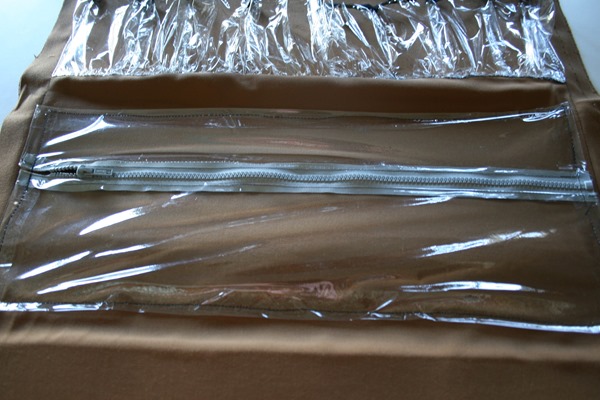
Section 2: Zippered Utensil Pocket
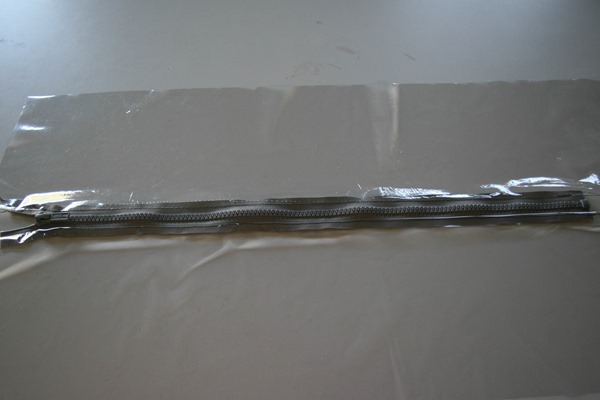
Cut one strip of vinyl 21”x6”
Cut one strip of vinyl 21”x4”
Sew the zipper to the vinyl strips
Fold the vinyl under .5” on all sides and pin to Section 2, centered.
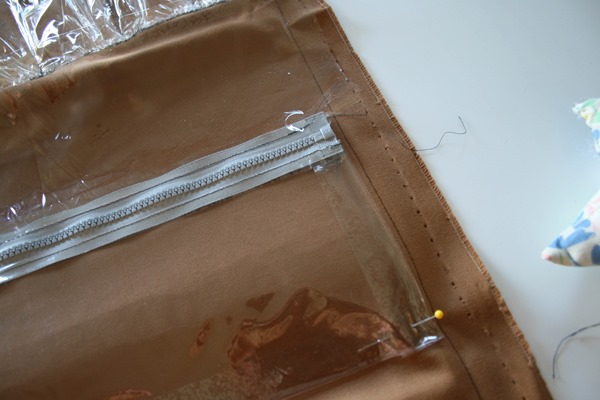
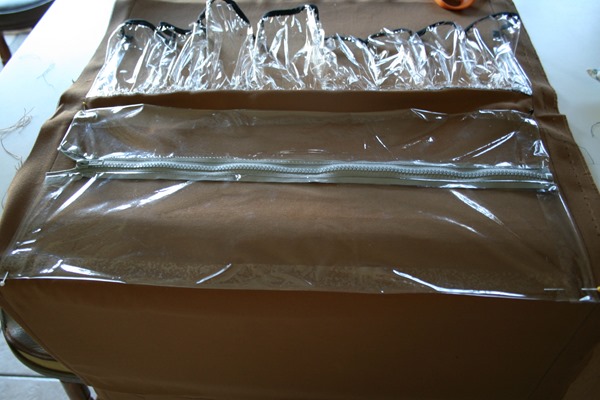
Sew in place all along outer edge
Section 3: Aluminum Foil/Plastic Wrap Straps and Large Pocket
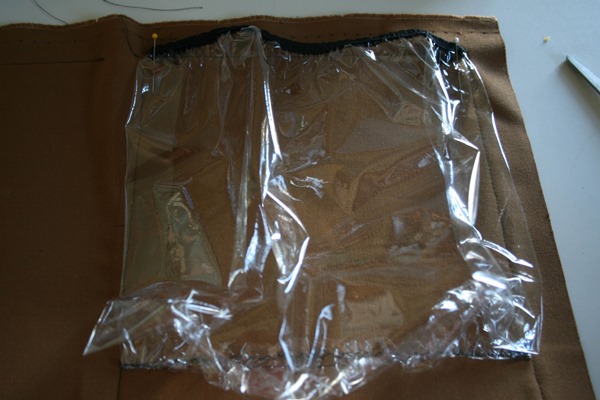
Cut vinyl piece 11.5”x16”
Follow same steps as for the Spice Rack on Section 1, attaching fold over elastic and gathering bottom.
Following same directions as sewing the Spice Rack Pocket, sew Large Pocket to right side of Section 3. Unlike Spice Rack Pocket, don’t sew divisions. Unless you want to. I just wanted a big, single pocket.
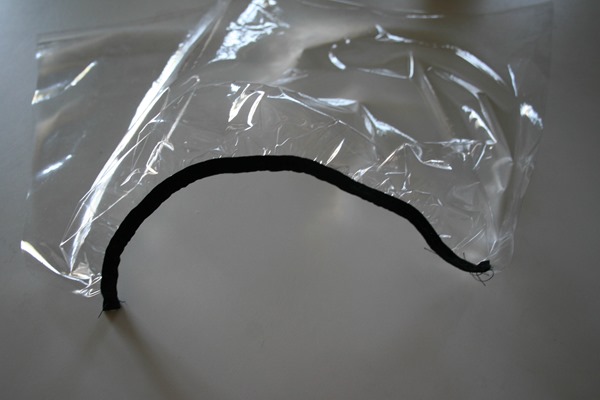
Cut (3) 17” strips of webbed belting
Sew one inch of the one end of each of the three beltings as close to the Large Pocket as you can, with the belting overlapping the pocket. I used the plastic wrap box as my guide on how close to put the straps to each other.
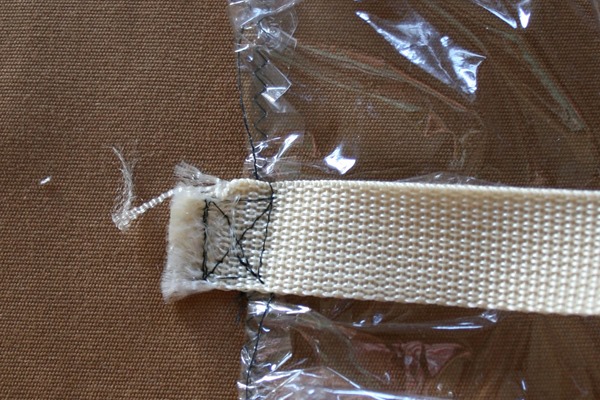
On the other end each strap, fold the ends under one inch and sew in place. Install heavy-duty snap stud and cap to the folded end.
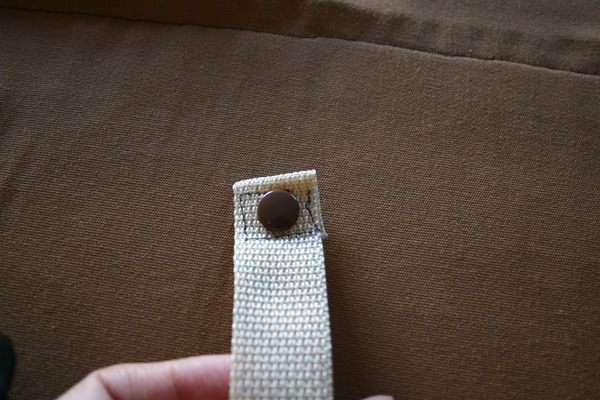
Directly across from the sewn-down ends of the strap, install heavy-duty snap sockets at edge of Section 3
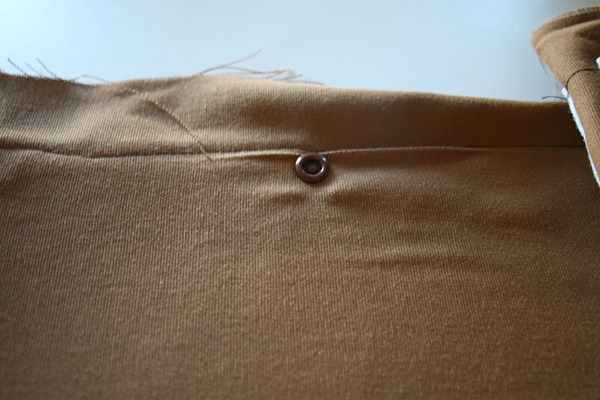
You should now have three straps that look like this
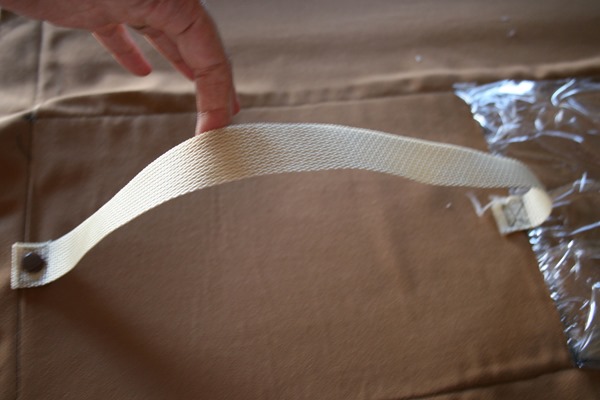
The straps will slide right through the holes and inner tubes of aluminum foil and plastic wrap boxes. Most have holes on the sides already, but you can cut slits/holes if needed.
Section 4: Paper Towel Holder and Large Pocket
Cut 11.5×16” vinyl
Cut 17” strip of webbed belting
Repeat steps for Section 3, only with one strap centered. I chose to put my pocket on horizontally for Section 4, so it could accommodate Clorox Wipes. The Wipes container is too tall to fit vertically. You can do either a vertical or horizontal pocket, depending on what you want to place in the pocket.
Outer Panel
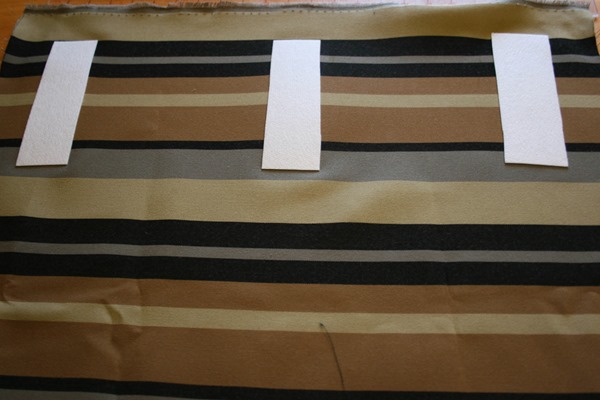
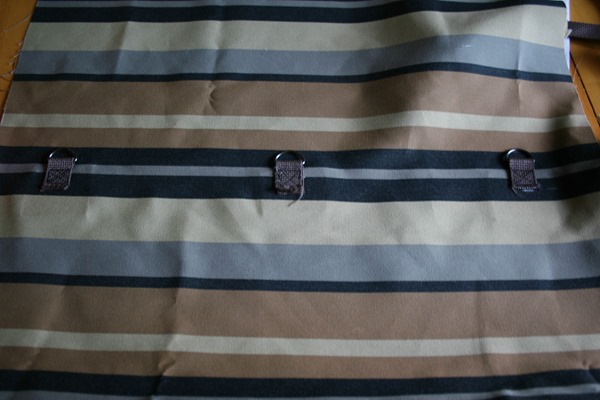
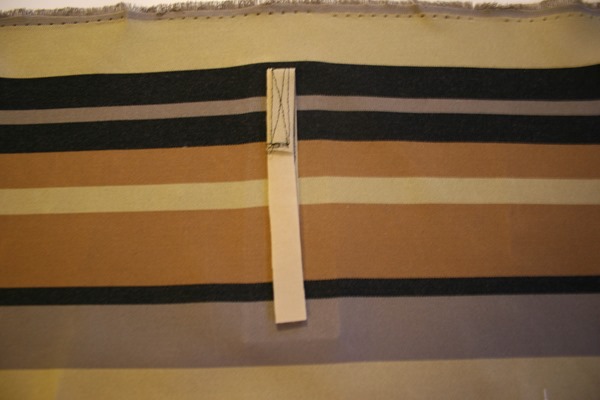
Cut 3 pieces of Pellon 2” square, and 3 pieces 2”x6”
Iron the 2” square pieces to the wrong side of the Outer Panel at 11.5” from bottom edge of Outer Panel, and centered at 2”, 12” and 21” from left edge of Outer Panel
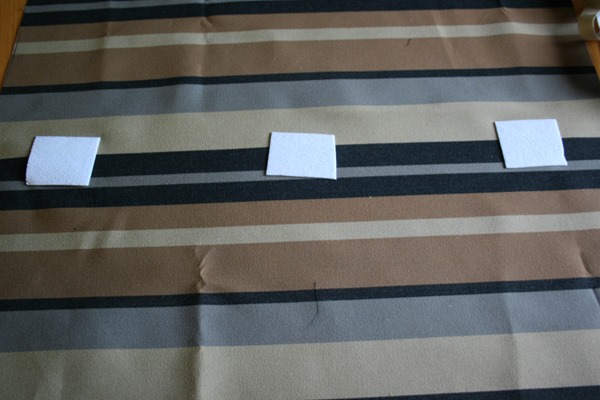
Iron the 6” Pellon at 3” from top, and the same distances from left edge of Outer Panel, also on the wrong side of the fabric
Cut(3) 5” strips of webbed belting
Thread each strip through a D-ring, and line up raw edges.
On the right side of the Outer Panel, sew the belted D-rings down at the same measurements as the 2” square Pellon.
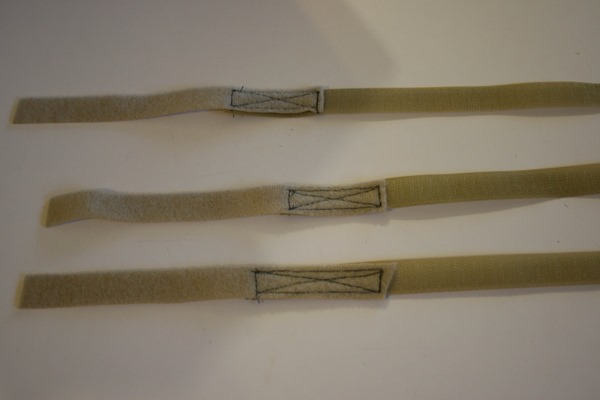
Cut (3) 6” strips of loop Velcro
Cut (3) 8” strips of hooked Velcro
With both the hooks and the loops facing up, overlap the hooked (hard) Velcro onto the loop (soft) Velcro two inches.
Sew the two inch overlap down with a cross-box pattern
On the right side of the Outer Panel, sew the Velcro strips at the same measurements as the 6” Pellon on the wrong side. Sew the hooked down, leaving the overlapped and looped Velcro area unsewn.
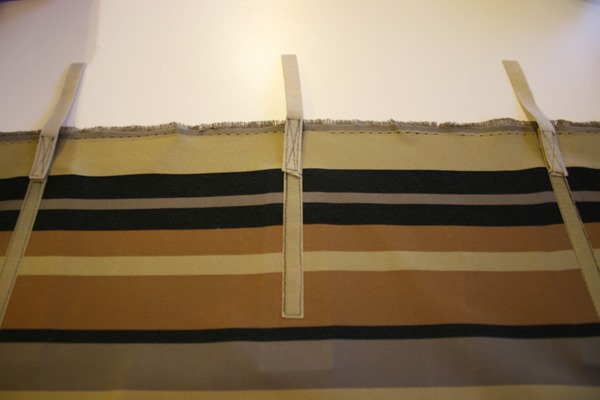
Fold the loops onto the hooks to keep the Velcro strips out of the way for the next, finishing steps
Finishing
Lay the Inner Panel on the Outer Panel, wrong sides together, with a 1” “border” of Outer Panel all around all edges of Inner Panel.
Pin in place
Baste 1/4 inch from the Inner Panel along all edges
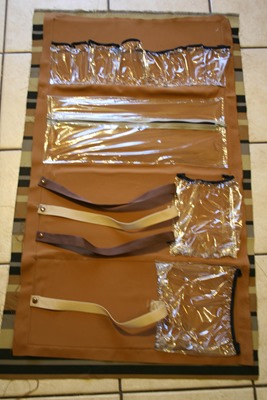
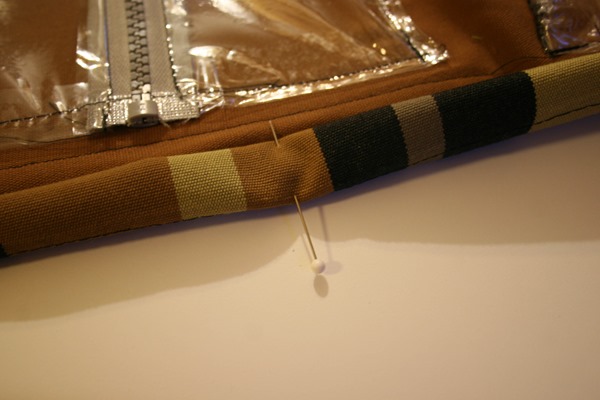
Fold the Outer Panel overlap in 1/2 inch, then another 1/2 inch onto the Inner Panel. Press and Pin. Sew 1/4” in from inside edge of Outer Panel binding
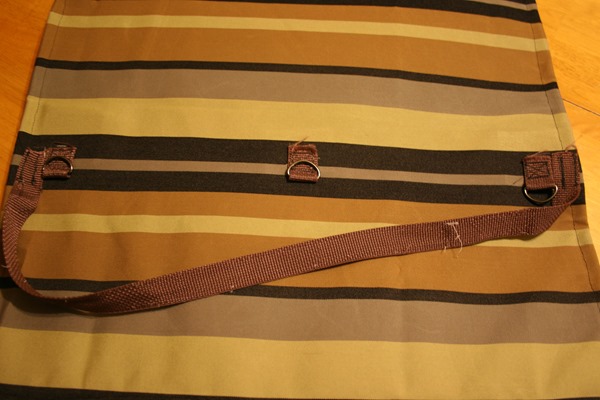
Cut (2) 30” strips of webbed belting
Sew one strip down at both ends on either side of the outer-most D-rings, as pictured:
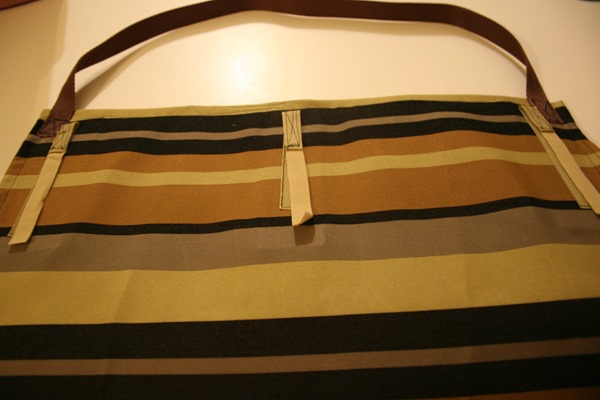
Sew the other strap at either side of the outer-most Velcro strips, as pictured:
 Now stock your Rolled Camp Kitchen with all your sundry camp cooking needs
Thanks so much for letting me play along with your Summer Celebration Series, Kim and TCB readers! I’d love to have you stop by my blog, Sew a Straight Line and see what else I’m sewing up!




Mesh says
great and beautiful 🙂
April says
I don’t sew, but would pay to buy one of these!
Beth says
I am gasping at the brilliance of this project.
Nat says
This is such a fabulous idea! I love the straps to hold in the paper towels, foil, plastic wrap, etc. Seriously BRILLIANT! Thanks for sharing!
sabra says
Thank you so much for letting me participate in this awesome series, Kim!