This DIY craft tutorial is easy for many ages! DIY Copper Foiled Photo Mat. This reminds me of this Copper Wire Photo Display too! We love copper! DIY home decor always adds a personal touch that can’t be found in store-bought decor.
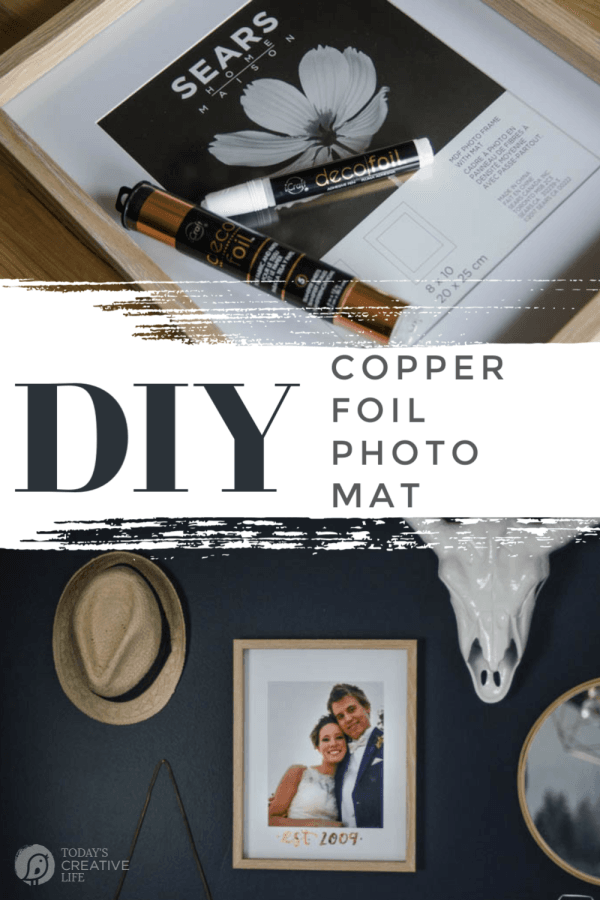
Colleen going to show you how you can learn hand lettering with her new eCourse. She’s a master at it and now she’s going to teach you! Keep reading, the eCourse information is near the bottom!
DIY Copper Foiled Photo Mat
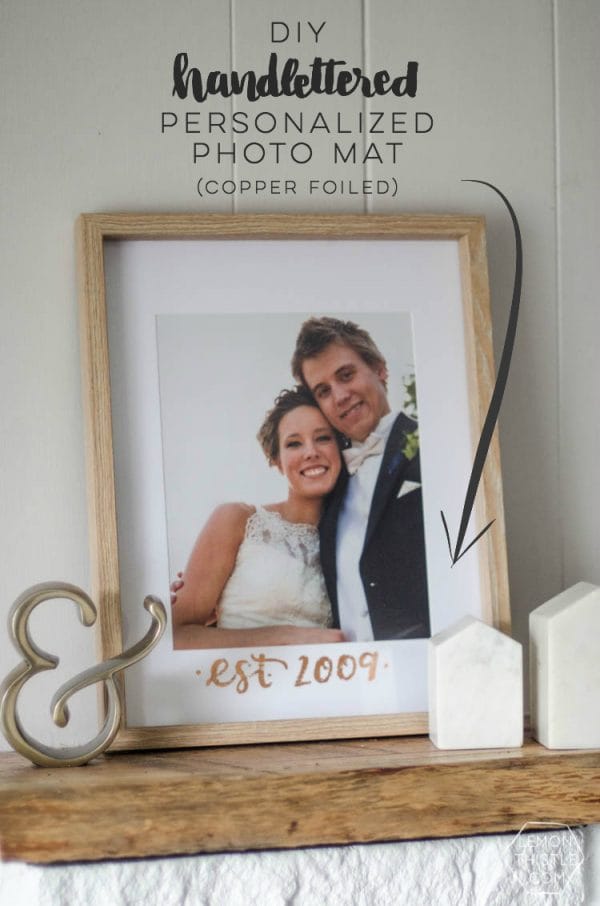
Hello Today’s Creative Life readers! It’s been a while, but I am SO excited to be back today to share this simple DIY Copper Foiled Photo Mat with you all. This baby is hand-lettered, foiled, and the most perfect custom gift. Best of all, it’s really simple to pull off (no foiling machines required!). I’m the DIY and lettering blogger behind Lemon Thistle where I share rad DIY, home decor, hand-lettered printables, and gifts (all on a budget!).
Adding hand lettering to basic home staples is one of my favourite ways to turn budget friendly items into stylish pieces full of personality. Especially when they’re foiled in copper! This DIY took less than 10 minutes thanks to some practiced freehand lettering. Learning brush lettering is one of the best things I did for my DIY but also for a hobby. It’s so much fun to play with and being able to spend 10 minutes making a photo frame a personalized gift? It’s definitely my fave. Today I’m going to share the how-to for getting copper foiled designs with NO fancy machine and then I’ve got a free printable practice sheet so you can letter your own!
How to Make a Copper Foiled Photo Mat with Deco Foil
Supplies Needed:
- Photo frame with mat (the larger the mat, the better!
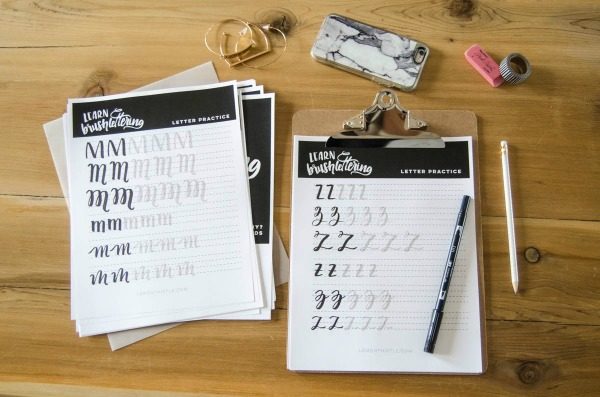
- Design you’d like to letter (grab my brush lettering practice sheet here)
- Copper Deco Foil – or any color
- Adhesive pen
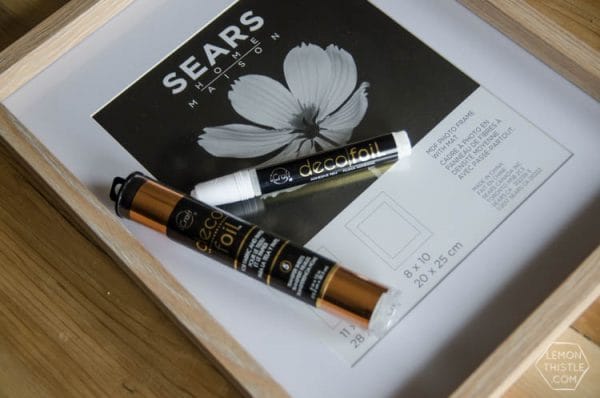
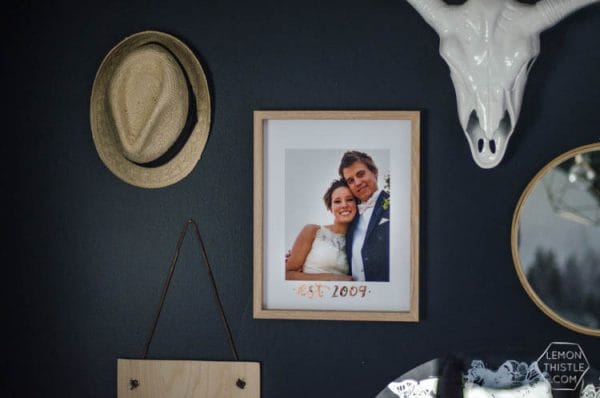
Short list, right? Just the way I like it! I found these photo frames on sale for $4 at Sears so I bought 3. If they had more in stock… I probably would have bought those too. I love the color of the wood veneer- it’s perfect for the gallery wall we have in our master bedroom (that’s the navy photo, it was just so dark in there it was hard to get a good shot- ooooh winter). I was thinking after I made this one though, that I would love to make each frame an ‘event’. So this year was our wedding, I could make one that says ‘est. 2013′ for my first babies’ birth and so on… They’d be gorgeous lining the hallway!
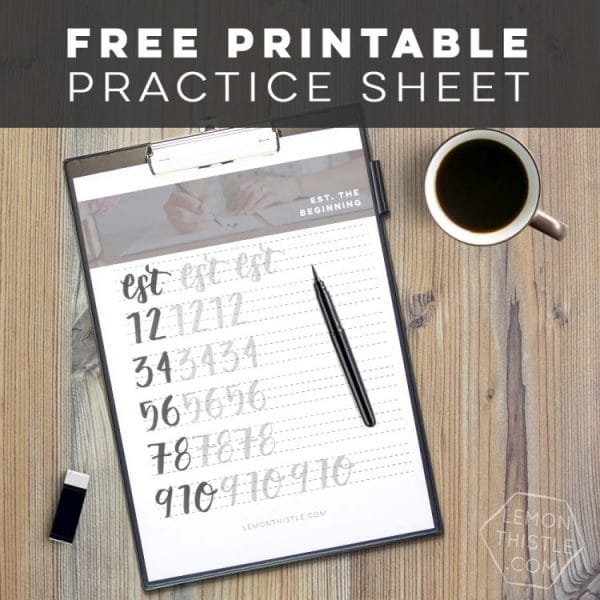
- Pull your frame apart and sketch your design on the mat with a pencil if you like. Or be really reckless and freehand it. You can practice the ‘est’ and all the numbers you might need with the practice sheet I created RIGHT HERE. This sheet is meant to be used with brush pens (to get that thick and thin line) but the adhesive pen is a bullet nib, so you could practice ‘faux’ brush lettering with a sharpie instead. Just bulk up the downstrokes- you’ll see which ones those are on the practice sheet.

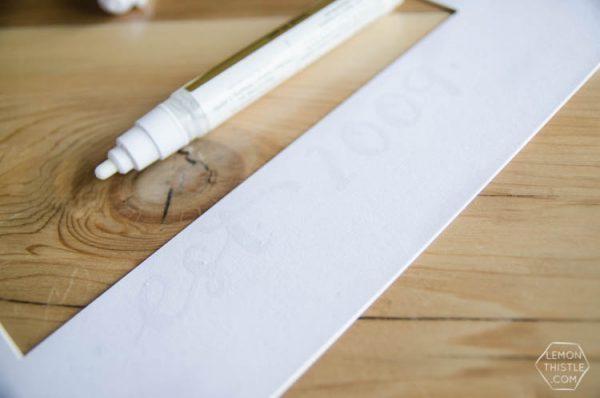
- When you’re ready to foil it… get out your adhesive pen, give it a good shake and press the tip on a scrap piece of paper until adhesive is flowing. Letter your design then wait patiently for 30 seconds or so (it will look almost dry) before pressing the foil over the adhesive.

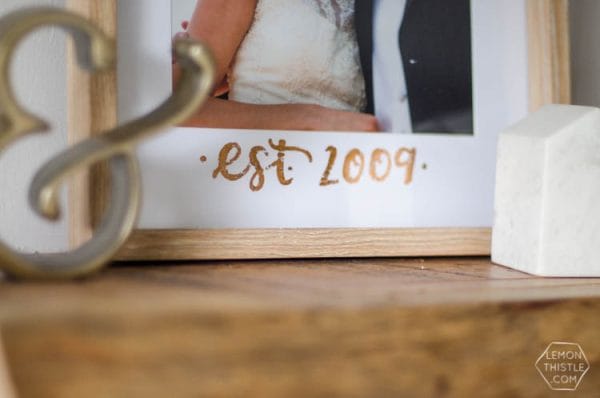
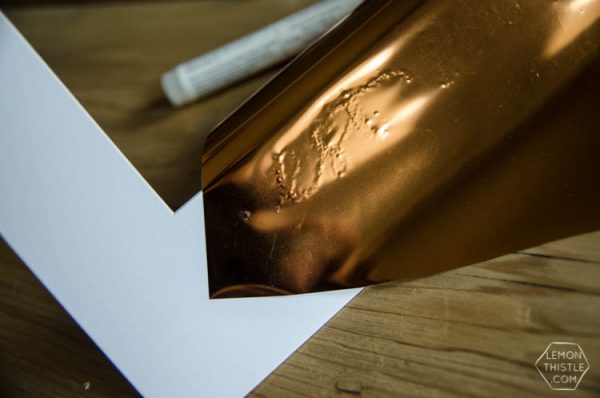
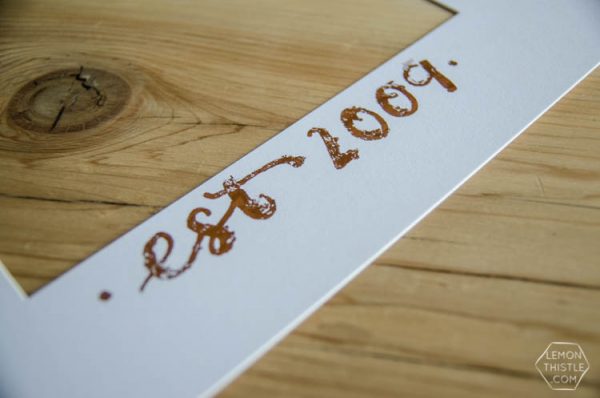
- Use your fingers to press it really well over the full design before pulling back to reveal your foiled masterpiece! It’s really that simple! The more you press it down, the more even and perfect the foil will look. If you press it down less it will get this almost flaky effect like I did. I practiced a few times on scrap paper before hand to get the look I like and I love the texture this ‘imperfect’ method gives over the smoother foil.

- Re-assemble your photo frame and hang it! Or wrap it up as a gift- What bride and groom wouldn’t love this as a wedding gift?
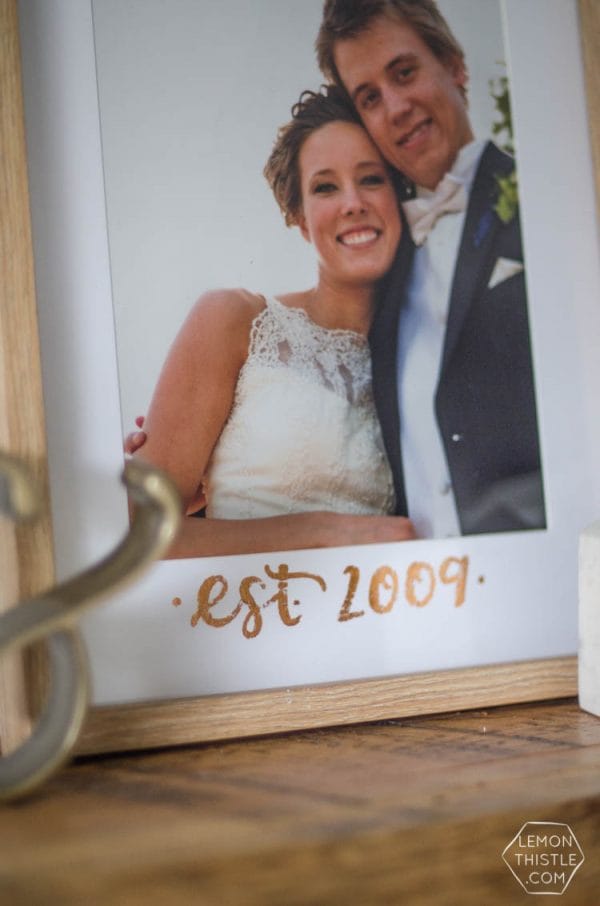
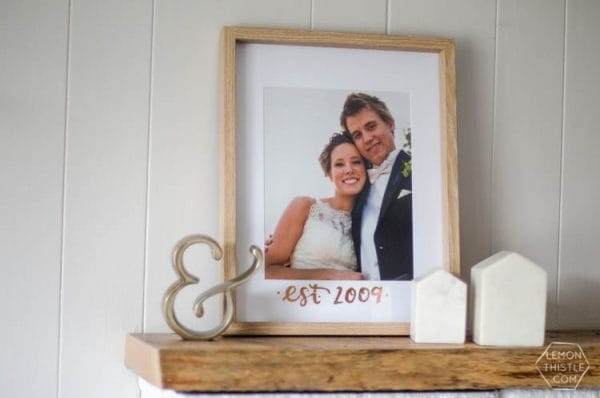
Thank you SO much for having me today to share this DIY! This is one of MANY hand lettered DIY’s I’ve created since falling in love with brush lettering. If you love the look of hand lettering AND you love DIY… I’d love to have you join me in my learn brush lettering e-course! We’ll be learning brush lettering, of course but I’ve also been working on some rad bonus tutorials that will make your lettering best friends with your DIYs. From teaching how to quickly digitize lettering to do projects like this to lettering on surfaces (like leather, glass, fabric, and wood), to faux calligraphy when a brush isn’t an option… it’s going to be SO good! You can check out all the information on the e-course RIGHT HERE.
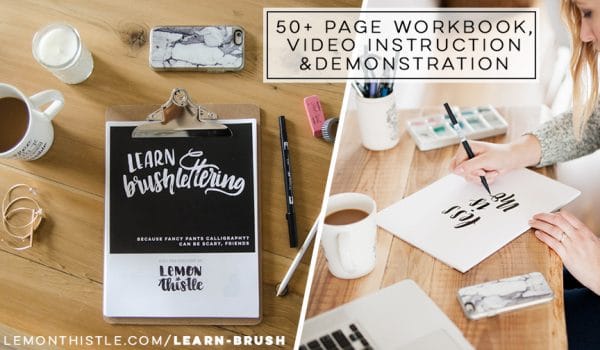
Who’s excited to get signed up? SIGN UP HERE using my affiliate link!




Leave a Reply