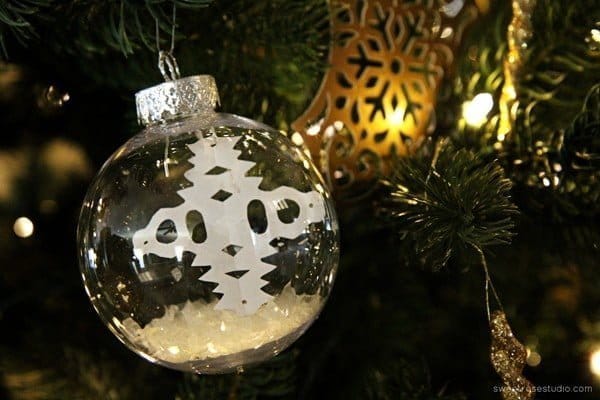
You’re going to LOVE this DIY Floating Snowflake Christmas Ornament!
Welcome to the Creative Girls Holiday Soiree where many of my favorite bloggers are sharing all things Christmas! You’ll gather inspiring ideas for holiday crafts, gift ideas, recipes and more! Today is Katie from Sweet Rose Studio! She’s sharing a step by step tutorial for a DIY Christmas Ornament. What a great craft for decorating, gift giving or craft time!

Hi y’all! I’m Katie from Sweet Rose Studio and I’m absolutely thrilled to be here to share a fun Floating Snowflake Christmas Ornament idea that I’ve put together. This literally can go together in less than 10 minutes and you can get your kids involved in the process, too. It’s a holiday miracle!
DIY Floating Snowflake Christmas Ornament
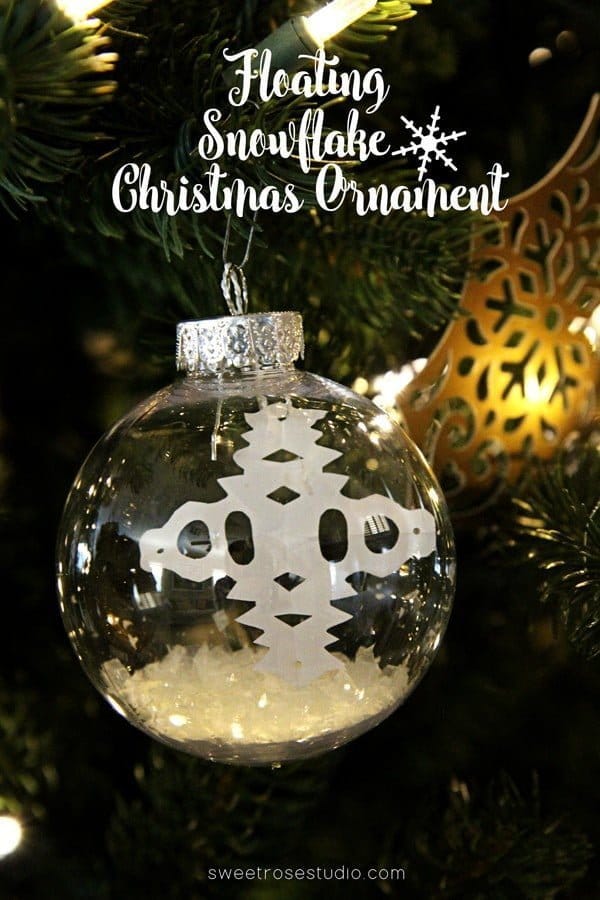
How to Make a Floating Snowflake Christmas Ornament
Ornament Materials:
- 3 in. round plastic ornament
- white copy paper
- pencil
- scissors
- faux snowflakes
- white twine or fishing line
- cup
(some links may be affiliate links)
Directions:
1. Use the cup and pencil to trace a circle approximately 3 inches around on the copy paper. Cut the circle out.
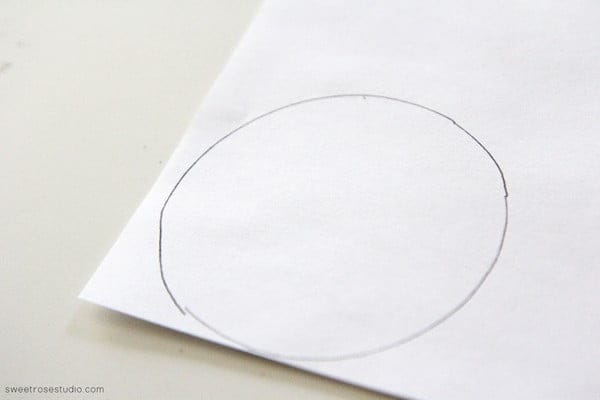
2. Fold the circle into quarters and crease each edge really well.
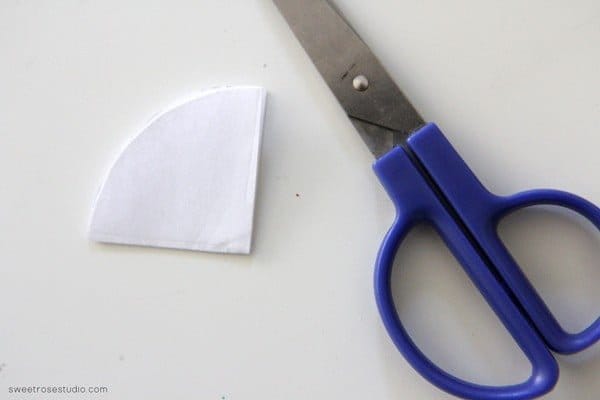
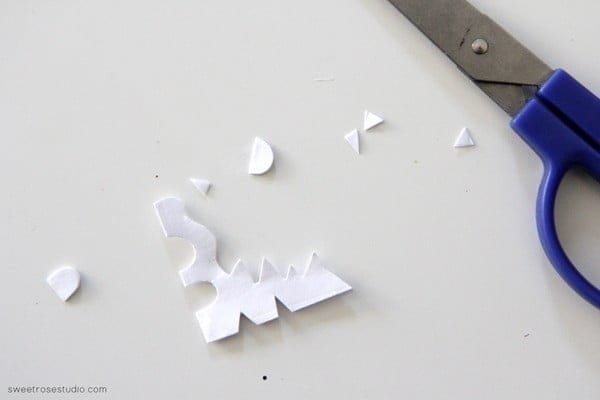
3. This is where the kids can take part or you can choose to do this on your own. Use the scissors to trim on each edge to create a snowflake. Get creative!
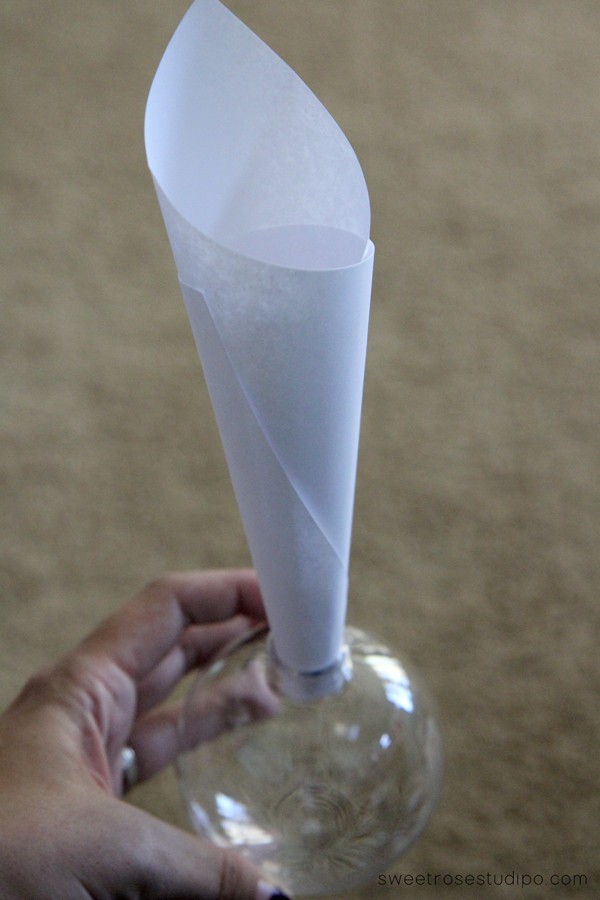
4. Remove the cap from the ornament. Use half of the sheet of copy paper to create a funnel to pour the faux snowflakes through.
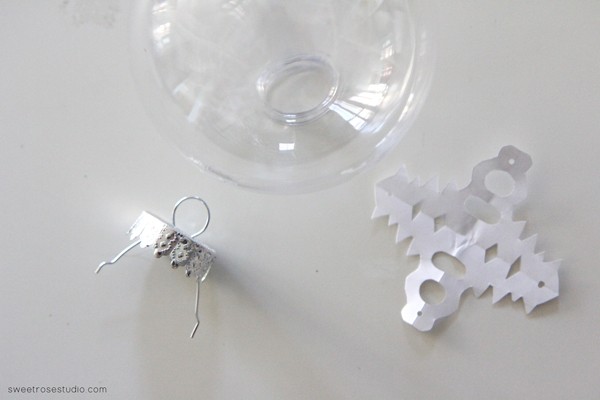
5. Carefully string the twine or fishing line through the small holes in the cap of the ornament. I like the twine myself because it isn’t as curly as fishing line and it blends nicely with the ornament cap.
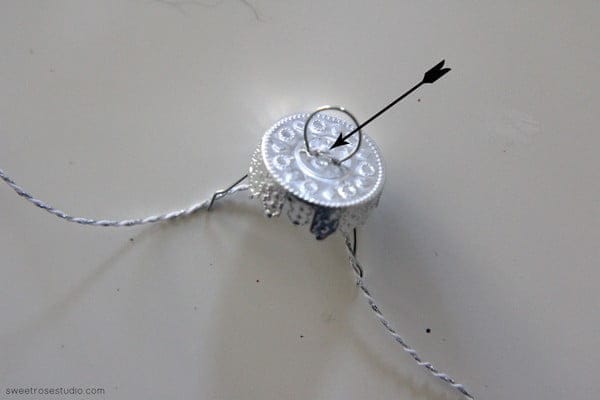
6. Tie the ornament to the cap with the twine. Trim any excess twine that may be left over.
7. Carefully curl the snowflake, insert it into the ornament, and replace the cap. Hang your ornament on the tree and enjoy!
If you loved this fun Christmas post, you might like these ideas also:
Easy Glittery Deer Christmas Ornament
25 Mouth-Watering Waffle Recipes
Thanks so much for having me here Kim! It’s been a blast!




Leave a Reply