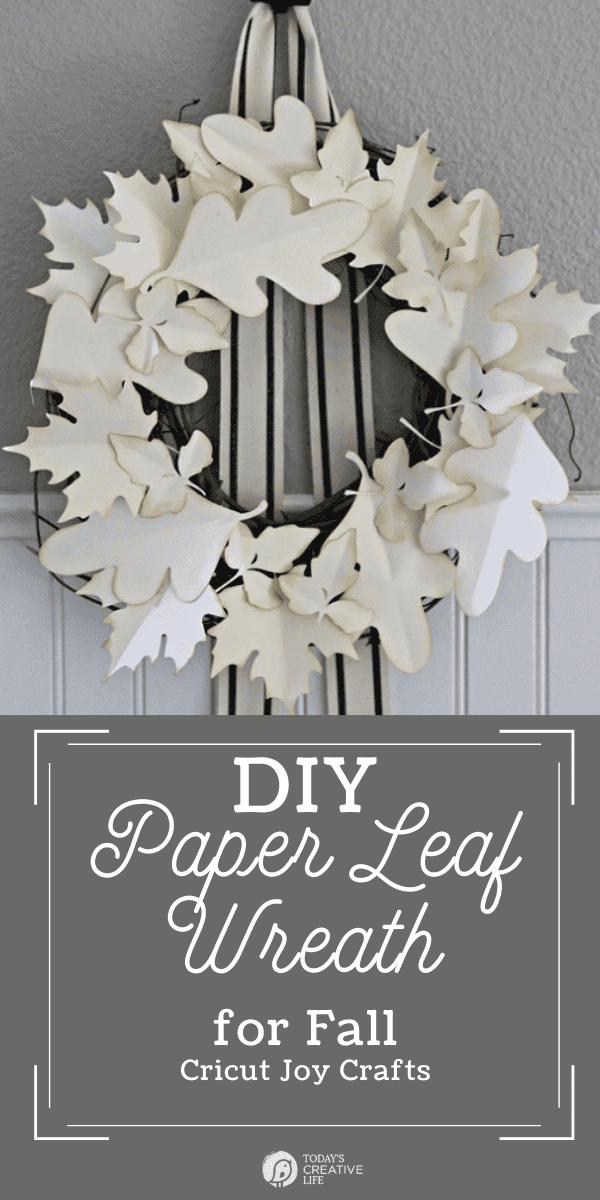
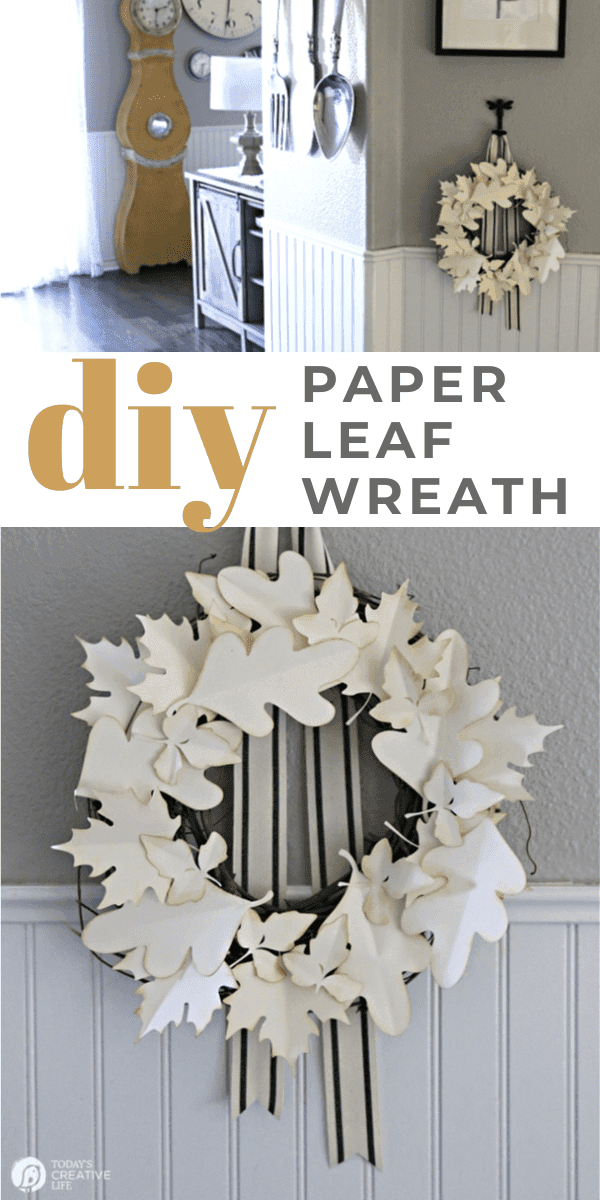
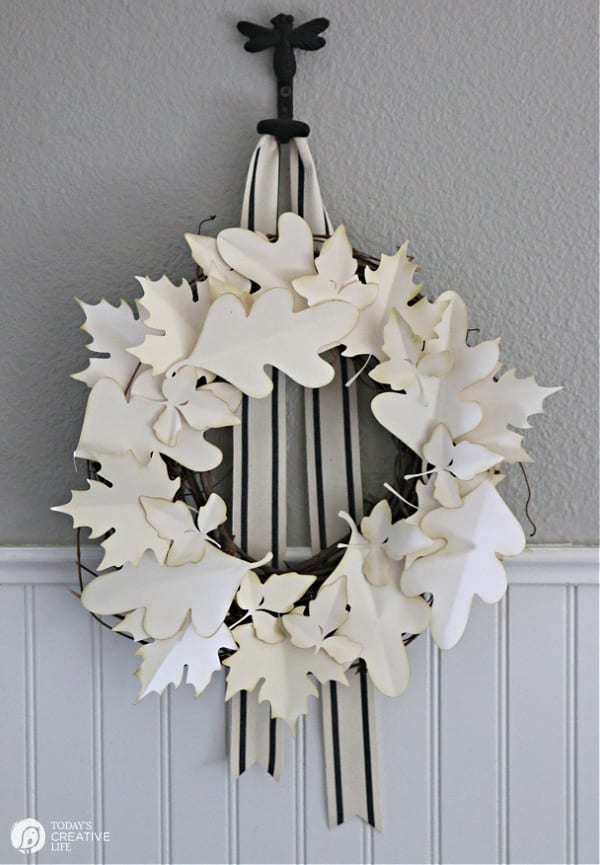
This DIY Paper Leaf Wreath made with my Cricut Joy turned out so cute! It was quick and simple to make and is the perfect addition to my fall decor. I used a grapevine wreath, 3 different leaf shapes from the Cricut Design Space, and a beautiful ribbon. Easy and fun!
Cricut Joy DIY Paper Leaf Wreath
I partner up with the nice folks at Cricut often and this time they sent me their new Cricut Joy. It’s a small compact, very portable cutting and writing machine that is great for cutting smaller items, and you can take it anywhere. 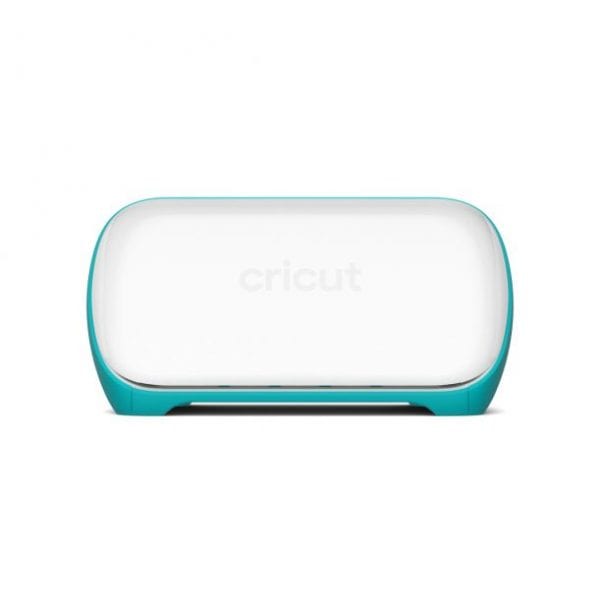 All you need is a wifi connection and your smartphone with the Cricut Joy app. I could have literally made this wreath in the car. The learning curve was VERY low because I am the worst at learning new machines. I get myself all psyched out, thinking I’m going to need help. I was SO wrong! I carved out some time to test it out and was shocked by how simple it was. See the video below.
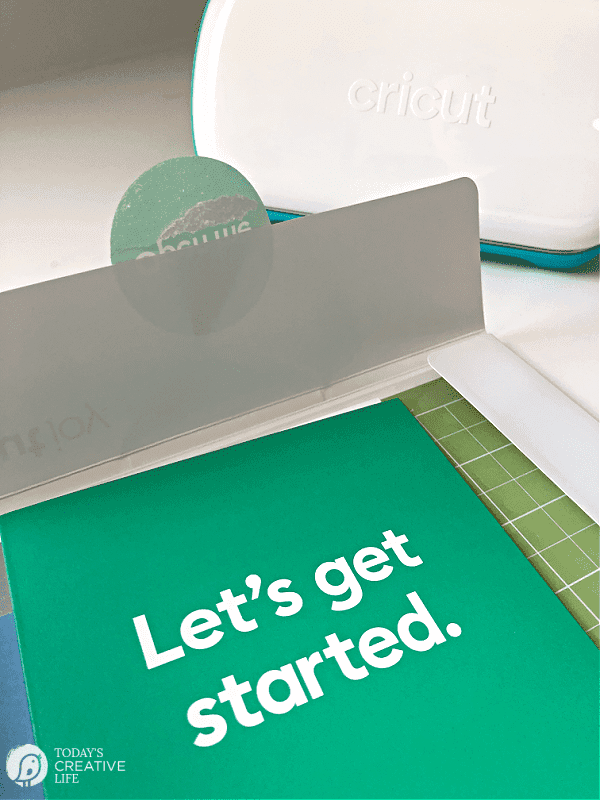
The hardest part was choosing my paper for the leaves. Did I want all the same color, patterns etc..? I was choosing my leaf designs and had them cut within 30 min. Again…. I was SHOCKED by how easy this craft was.
How to Cut Paper Leaves
My instructions and video below include using my Cricut Joy to cut the leaves. If you don’t have a cutting machine, you can use any leaf template and hand-cut, then follow the same directions for assembling the wreath.
How to Make a Paper Leaf Wreath
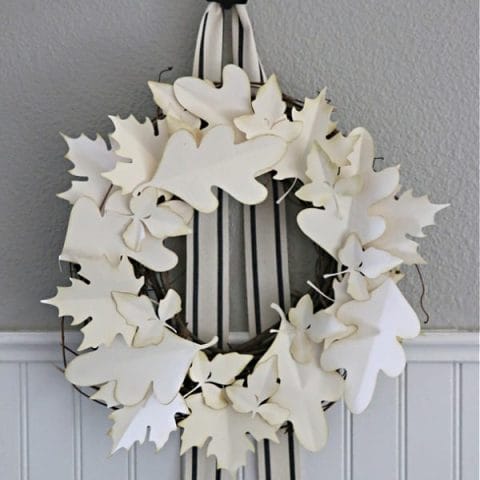
Make this beautiful fall wreath using your Cricut cutting machine or hand-cutting paper leaves.
Materials
- Cardstock
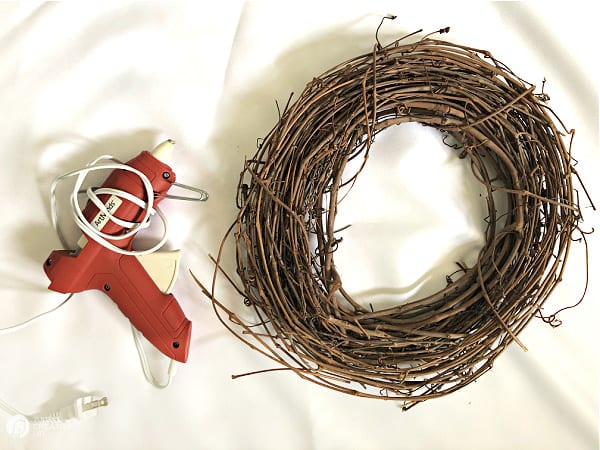
- Grapevine Wreath
- Brown Stamping Ink
- Ribbon
- Small Cosmetic sponge
Tools
- Cricut Cutting Machine or Scissors
Instructions
- Gather Materials listed above.

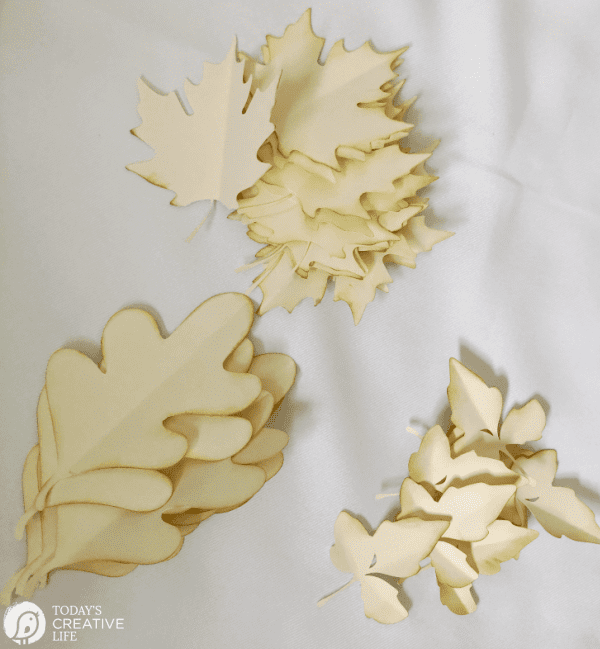
- Cut Leaves - Cut at least 8 of each style. I used three different types of leaf shapes for variety and separated by style for later.

- Ink & Score- I used a makeup sponge to blot onto the stamp pad, then rubbed it along the edges of each leaf to give it more dimension. Then I gently folded to add a middle seam.
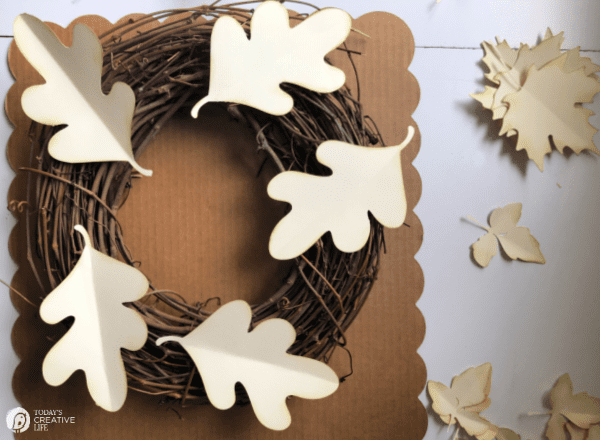
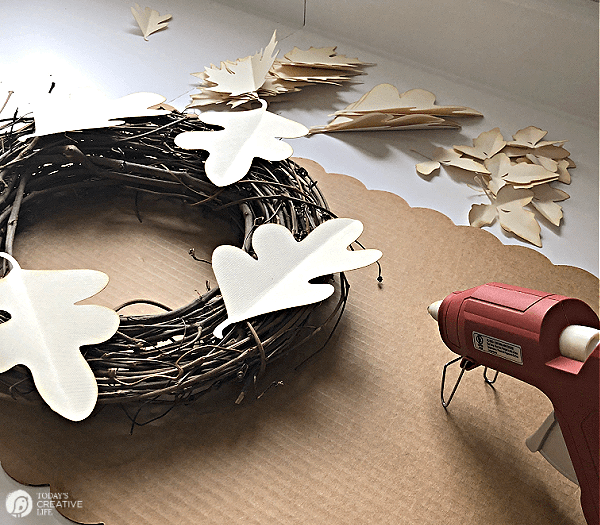
- Glue Time - after heating up your glue gun, grab your wreath form and play around with setting the cut leaves to find a starting pattern.
 As I went, I always placed the leaf down first to see how it looked before gluing. Keep going until you're satisfied with your wreath.
- I glued the ribbon to the back because I wanted it to hang down behind and below the wreath.
 Another option is to wrap your grapevine form with a ribbon before you glue leaves into place.
 - You are finished! It's time to hang your DIY Paper Leaf Wreath and enjoy it!
Notes
You can make this wreath by cutting your own leafs by hand if needed.

Can I Hang a Paper Wreath Outdoors?
Depending on your climate, will determine if your wreath can be hung outside. Paper crafts are generally not waterproof, but if you live in a dry environment, you could probably get away with it. I live in the PNW, so it’s not really an option. I would however suggest you use a spray sealer to protect from the elements.
As you can see, I’m hanging it indoors as part of my fall decor. I love the rustic charm, which goes well with my home.
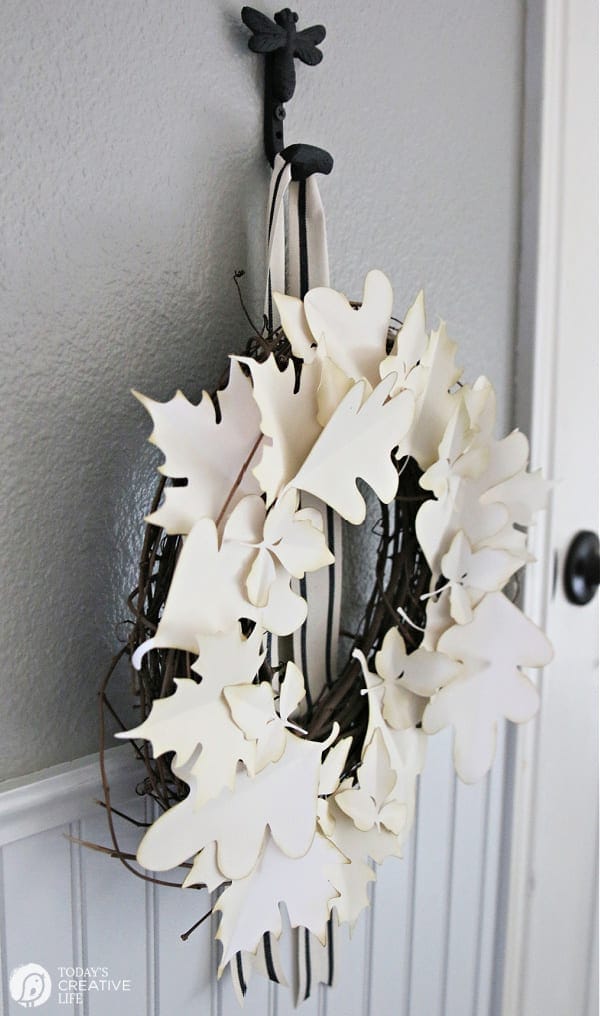
I added dimension and texture to the leaves by folding them down the middle and inking the edges with a goldish brown ink. 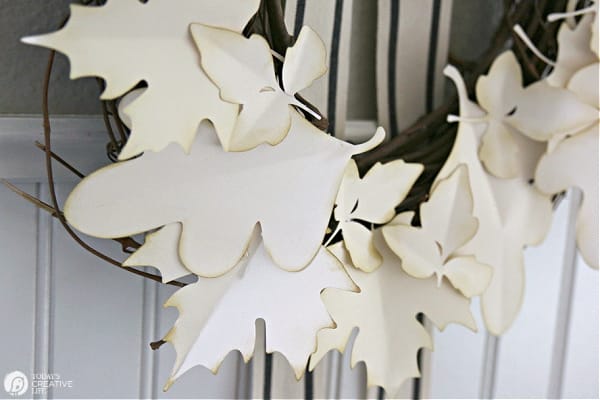
The possibilities are endless. If you make this craft, I hope you’ll share it on Instagram and tag me! @TodaysCreativeLife
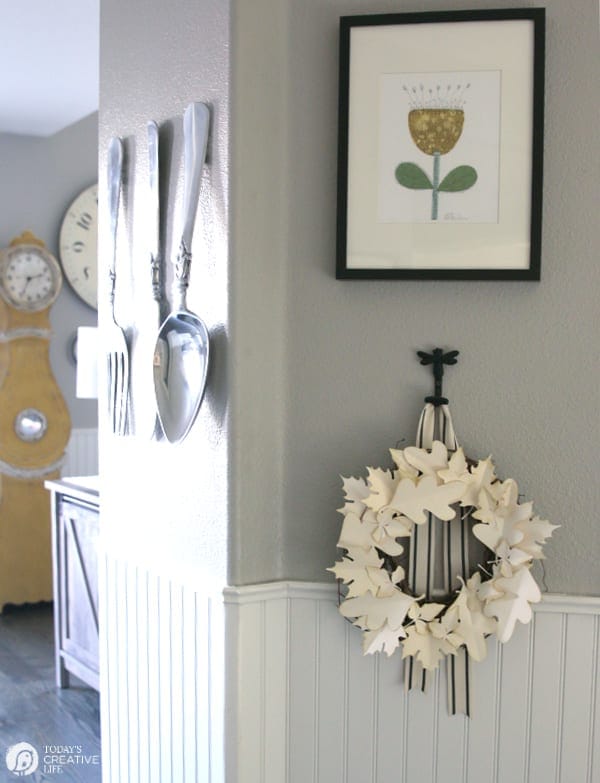
This DIY Paper Leaf Wreath could have been made with any of the Cricut Cutting Machines, or even hand-cut. I personally think everyone who loves a creative life should own at least one. I’m sharing more details below on the new Cricut Joy.
Cricut Joy Cutting & Writing Machine Details
From the Cricut Website: This smart little cutting and writing machine is ridiculously easy to set up and use, so you’ll find endless excuses to personalize, organize, and customize every single day. Cut custom vinyl decals for water bottles or your wall. Make labels for your kitchen or office. Bust out a custom card or a birthday banner. It’s also compatible with Cricut Smart Materials™, for super-easy, super-long cuts without a cutting mat. Just load & go! With plenty of projects that take just 15 minutes, Cricut Joy makes it possible to make something unique for you – or anyone – at a moment’s notice. It’s the perfect companion to full-size Cricut Maker® and Cricut Explore® machines.

- Fits in a cubby, packs away easily, sets up instantly
- Cuts 50+ materials, including iron-on, cardstock, vinyl, paper, and Smart Materials™ – super-easy, super-long cuts without a cutting mat
- Draws any shape and writes in a variety of styles
- Cuts individual shapes up to 4 ft long or makes repeated cuts up to 20 ft long*
- Perfect companion to full-size Cricut smart cutting machines
- Bluetooth® wireless technology
In addition to my new DIY Holiday Pillows, enjoy more craft and DIY projects I've made using Cricut products.MY CRICUT PROJECTS


 As I went, I always placed the leaf down first to see how it looked before gluing. Keep going until you're satisfied with your wreath.
 Another option is to wrap your grapevine form with a ribbon before you glue leaves into place.











Beth says
So adorable yet so creative! I can’t wait to make one with my kids! So excited! They are going to love this!
Stephanie says
Such an great idea! I’m always looking for fun new projects to make with my Cricut.
Jen says
This is gorgeous! I love all the detail on each leaf with it having a 3D effect.