Please welcome one of my early featured bloggers, Traci from Beneath My Heart. Traci always has amazing home decor ideas and solutions. You’ll love the DIY Number Art. Anything with numbers or DIY designer letters, I’m all over it!
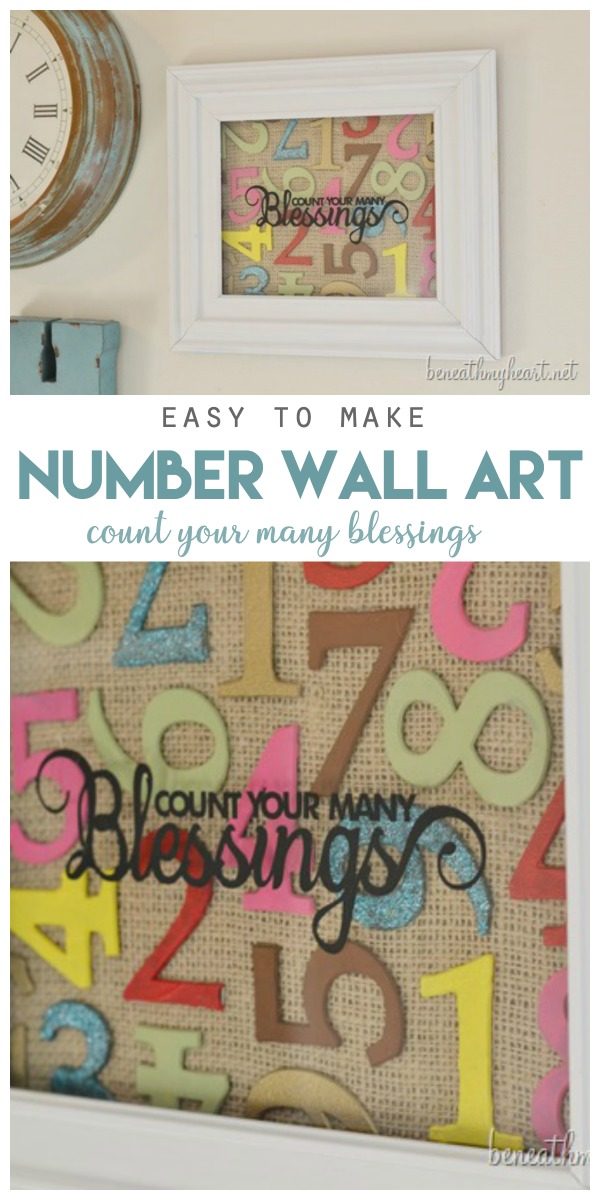
DIY Number Art Tutorial
Hello! My name is Traci, and I blog at Beneath My Heart! I am thrilled to be hanging here with you today on Kim’s fabulous blog! Thank you, Kim, for having me!
I am so excited to share with you a project that I just finished for my office/craft room makeover.
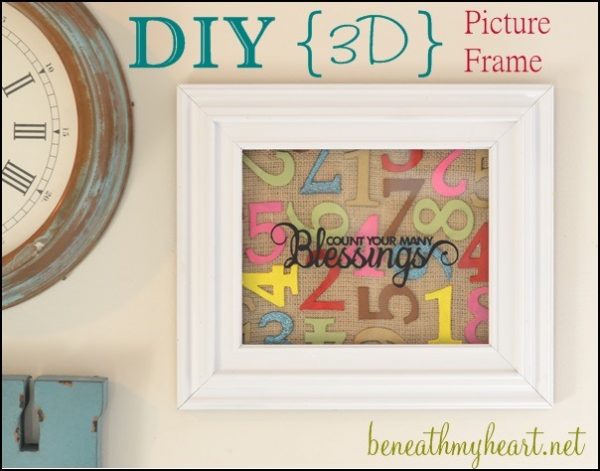
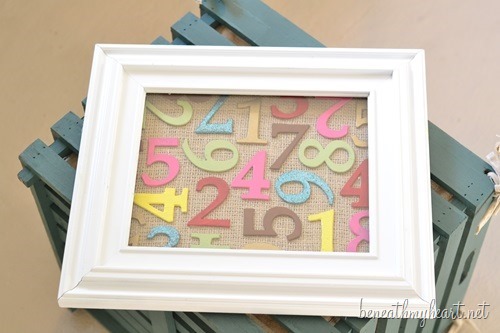
It’s a three-dimensional picture frame, and it cost me less than 5 dollars to make!
How to Make Number Wall Art
Supplies:
- Peel and Stick Numbers
- Picture frame
- Burlap
- Acrylic Paints
- Glue gun
- Cardboard
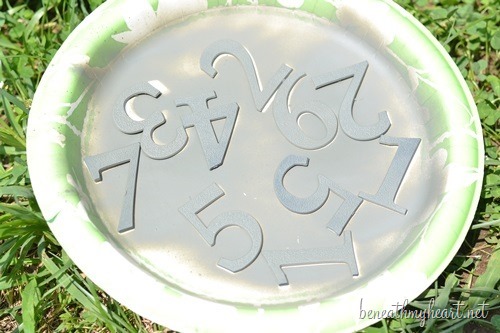
I started out with some numbers that I had left over from my mailbox makeover. They are the peel and stick kind.
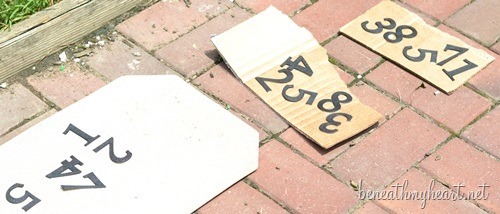
I primed them with some spray paint primer so the craft paint I was going to use would adhere better.
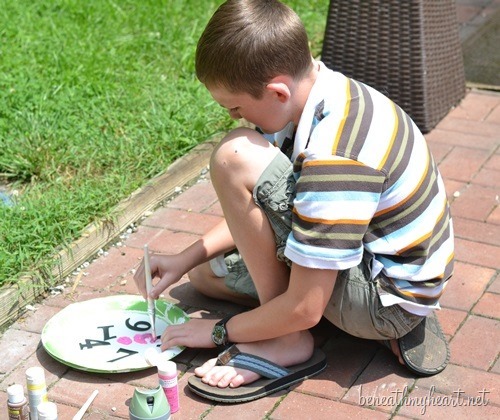
Then I let my son, Luke, help me with the next part. He loves to paint, so I asked him to paint all of the numbers in a bunch of different colors that I wanted to use in my office.
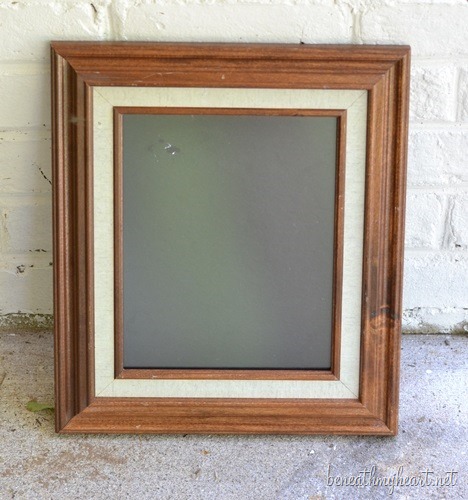
While he was doing that, I spray painted my picture frame white. I got this frame at Goodwill for $1.50.
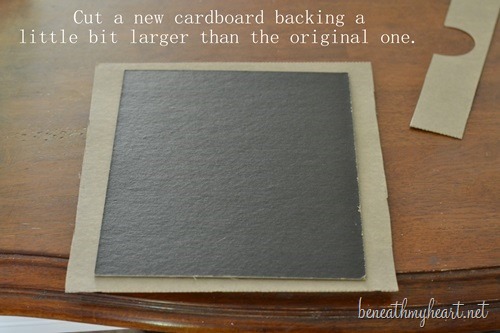
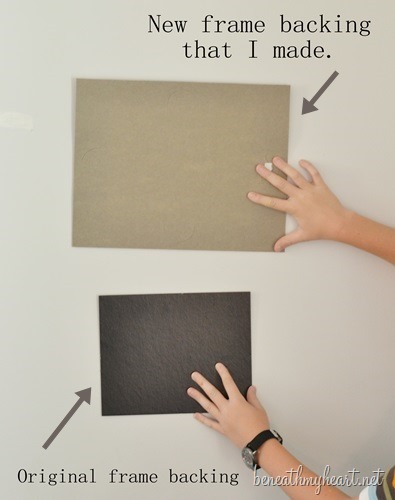
I removed the glass and the backing from the frame. Then I used the original black cardboard backing as a template to cut a new, larger cardboard backing for the frame. {This would help the cardboard sit back farther from the glass to help create a 3D effect.}
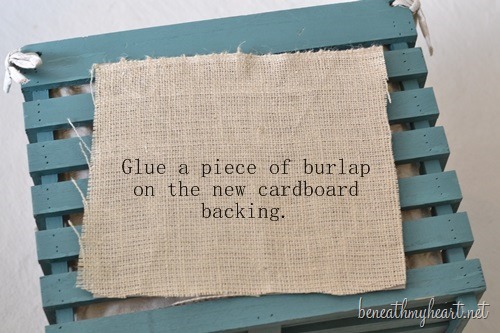
Then I glued a piece of leftover burlap that I had to the new cardboard backing.
I took all of the beautifully colored numbers that Luke painted for me and randomly placed them on the burlap until they looked the way I wanted.
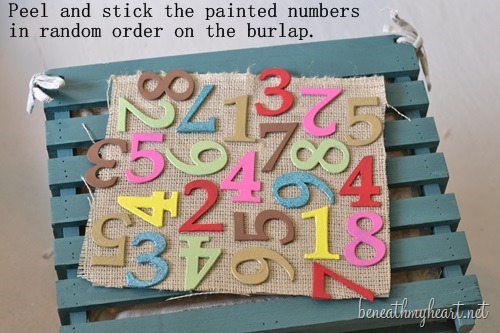
Then I just peeled and stuck them to the burlap.
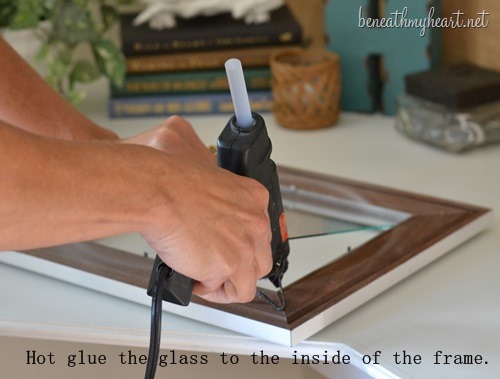
I added a little bit of hot glue to the inside of the frame so that the glass would stay put in the frame and not fall out.
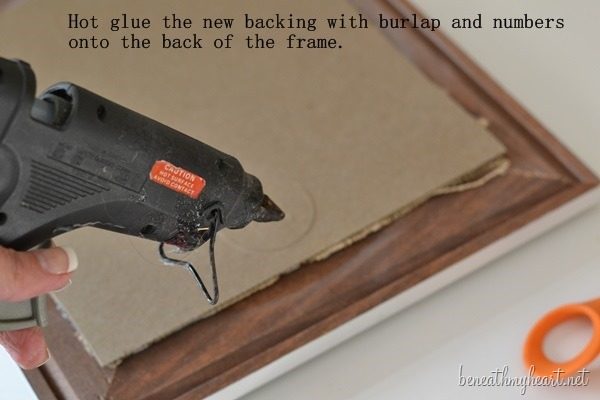
Then I hot glued the new cardboard backing onto the outside of the frame back.
I loved the way it looked, and it would be totally cute to leave it just like that! But I wanted my frame to say “Count your many blessings” in memory of my precious mother.
So I found this super cute design in the Silhouette online store that I purchased for 99 cents and downloaded.
I used black vinyl for the design, and once it was through cutting on my Silhouette machine, I transferred it to the front of the glass in the middle of my frame.
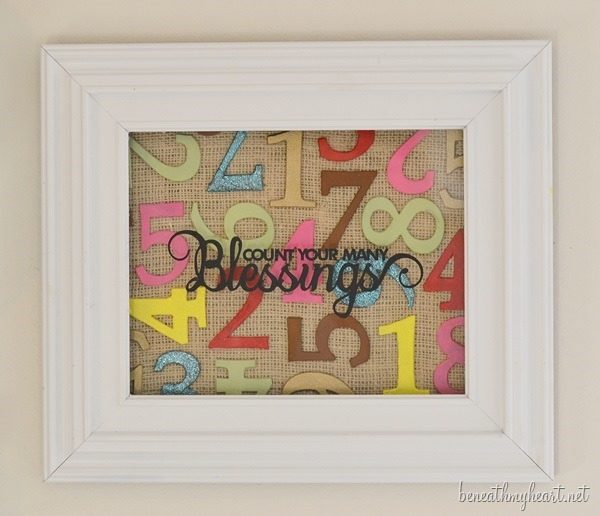
If you don’t own a Silhouette, I am sure that you could find an adorable vinyl sign in a store or online that you could use instead. I’ve even seen some really cute ones at the dollar store.
It’s hard to tell in these pictures, but there is a definite 3D effect.
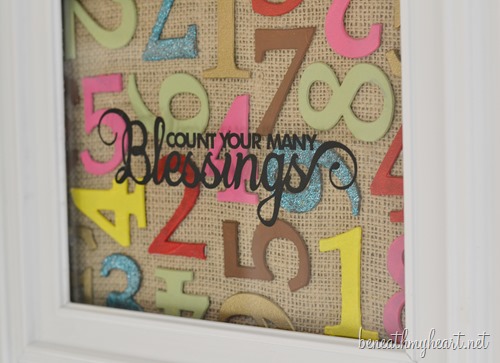
I love the punch of colors it adds to my gallery wall in my office/craft room. {That I haven’t finished working on.} ![]()
I love my new sign, and I love the reminder it gives me to daily count my many blessings!
Thanks for letting me share my project with you today! I would love for you to come visit me sometime at my blog. I share a lot of DIY projects for the home. You can check out a few of them in my Home Tour.
Enjoy your new budget friendly DIY Number Art!
Have a blessed day!
More DIY Wall Art Ideas
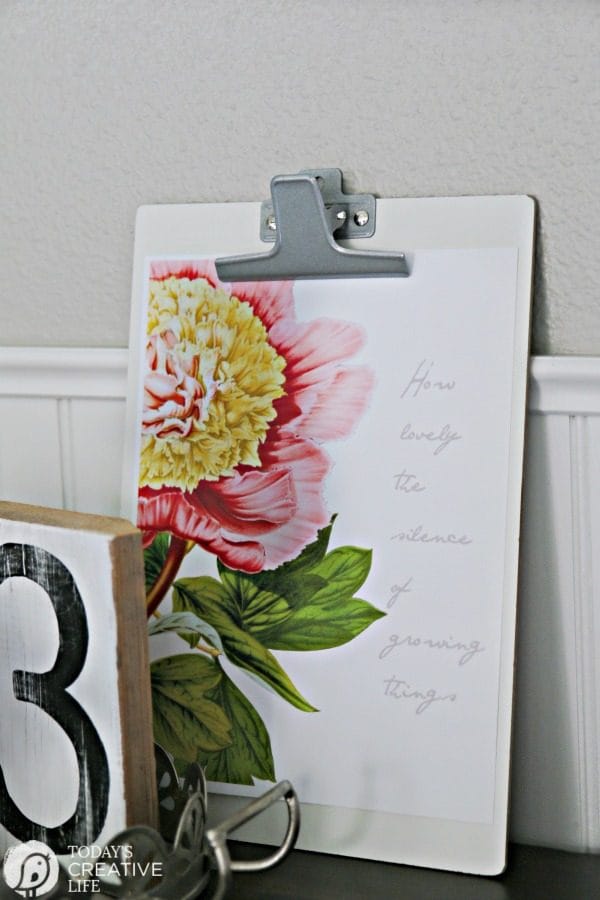 Free Printable Botanical Wall Art
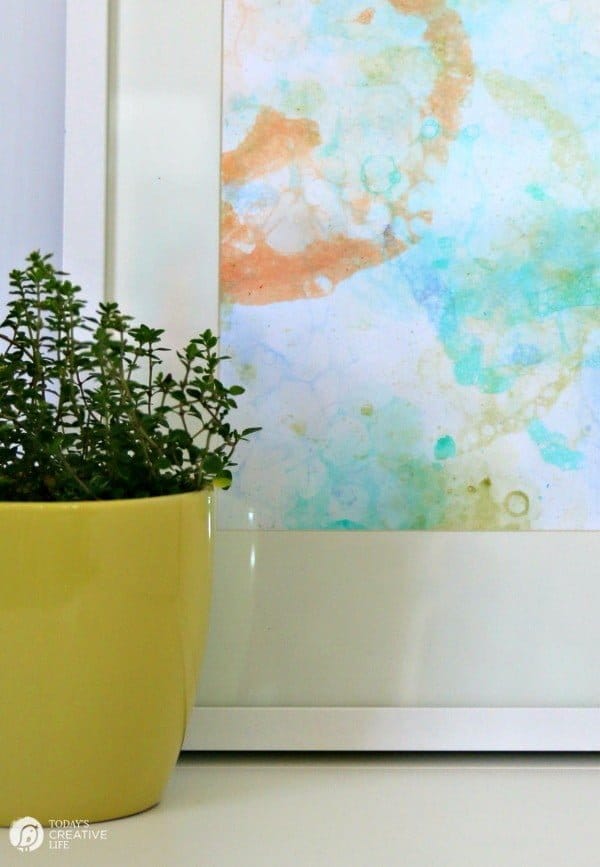 DIY Bubble Wall Art
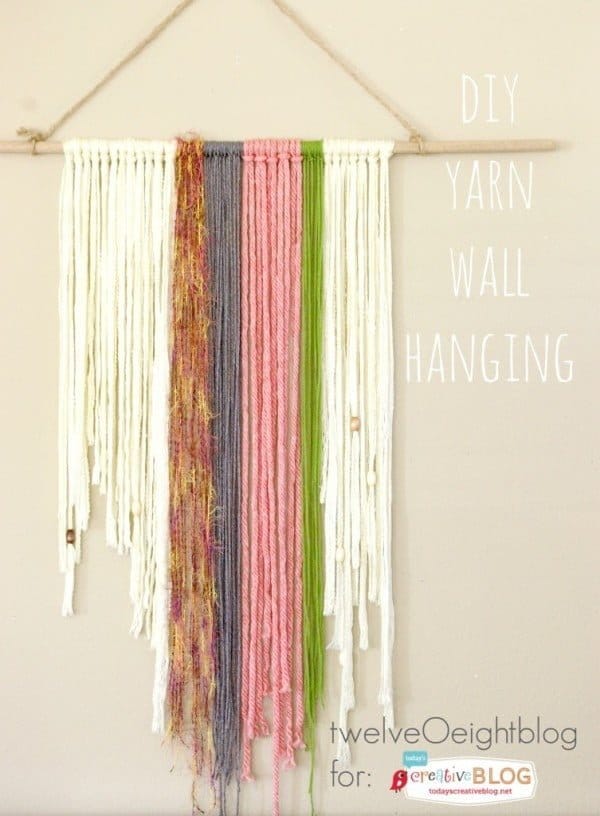 Boho Yarn Wall Art


Cynthia B. says
What a wonderful project!! Love this idea. I, for one, must remember to count my blessings every day. 🙂