This is why you need a Cricut! Then you can create beautiful DIY Holiday Gift Tags like Chloe from Boxwood Ave. did!
DIY Holiday Gift Tags
Hi TCL readers! It’s Chloe again visiting you from Boxwood Avenue! Today I am sharing my very first experience using the New Cricut Explore One™ Machine, plus an easy DIY Holiday Gift Tags project to help your holiday wrapping sparkle!
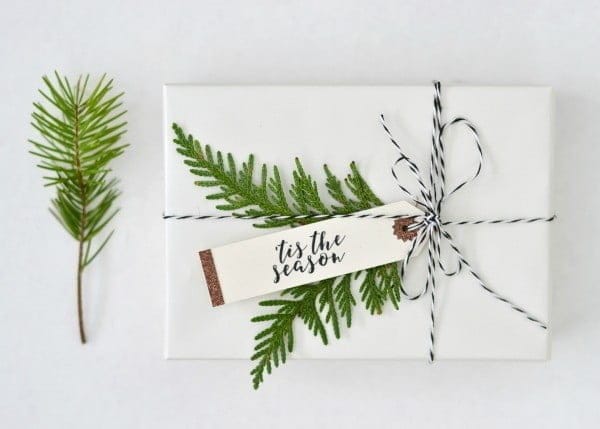
I was very excited to see what the Cricut had to offer, because I am converting over from a different die cut machine!
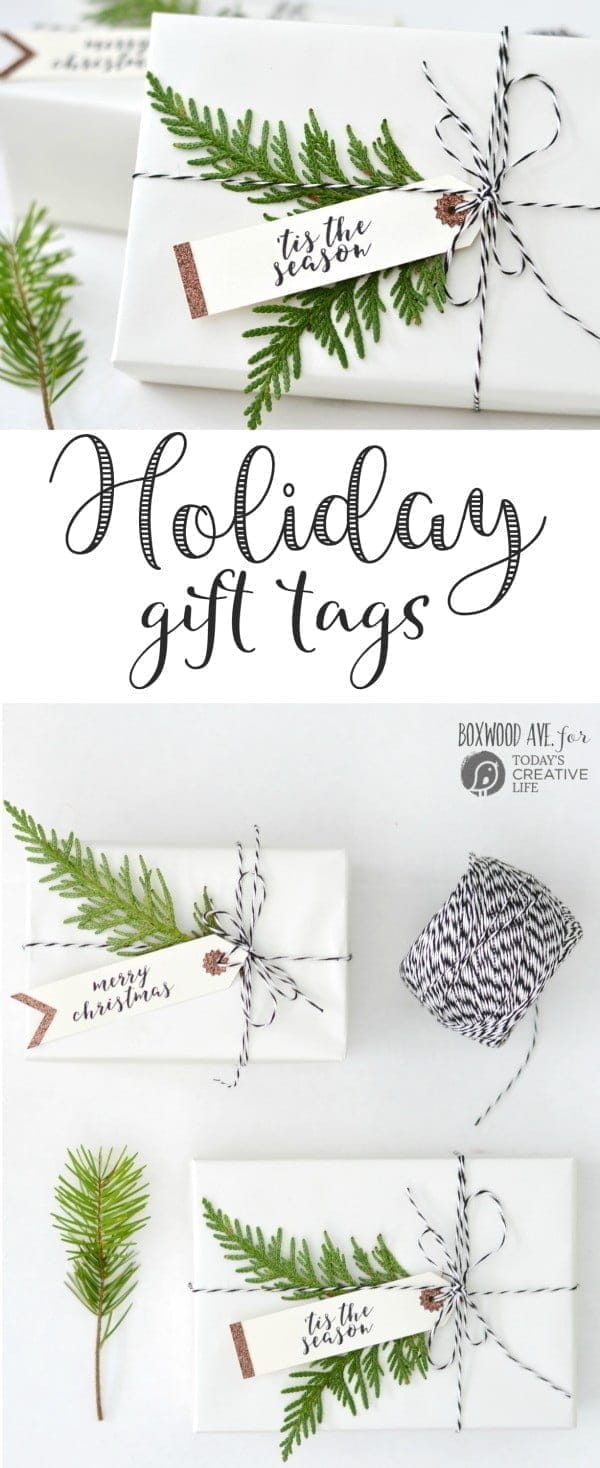
When I got started with my Cricut, I had no idea what I was doing! I knew it offered a print and cut feature, but had no clue how to use it! With the help of Cricut’s awesome video tutorials, I had it down in no time! The “attach” feature is great isn’t it!?
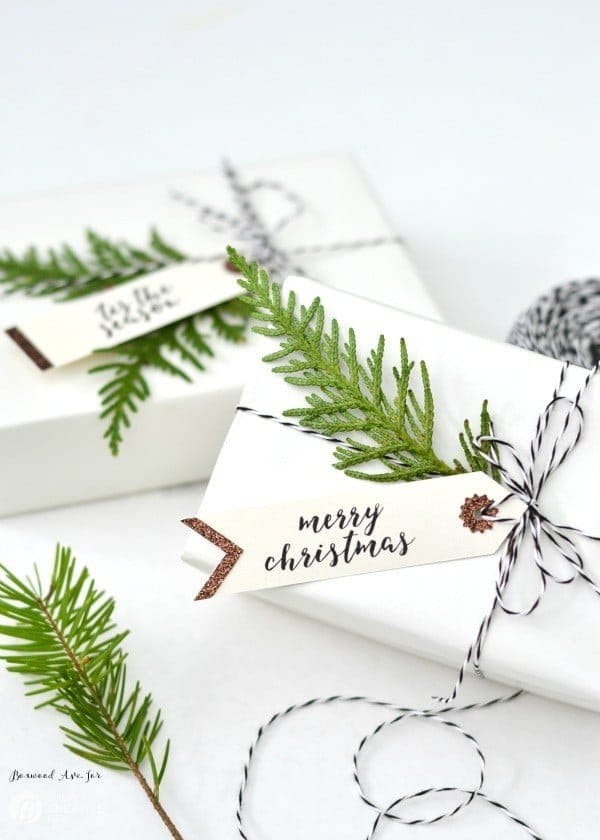
I created the tags I am sharing with you today in Photoshop, and was able to easily upload the files into Cricut Design Space™. I was amazed how easy it was to edit out the white space (even with a complex image) and turn it into either a cut, or print and cut graphic!
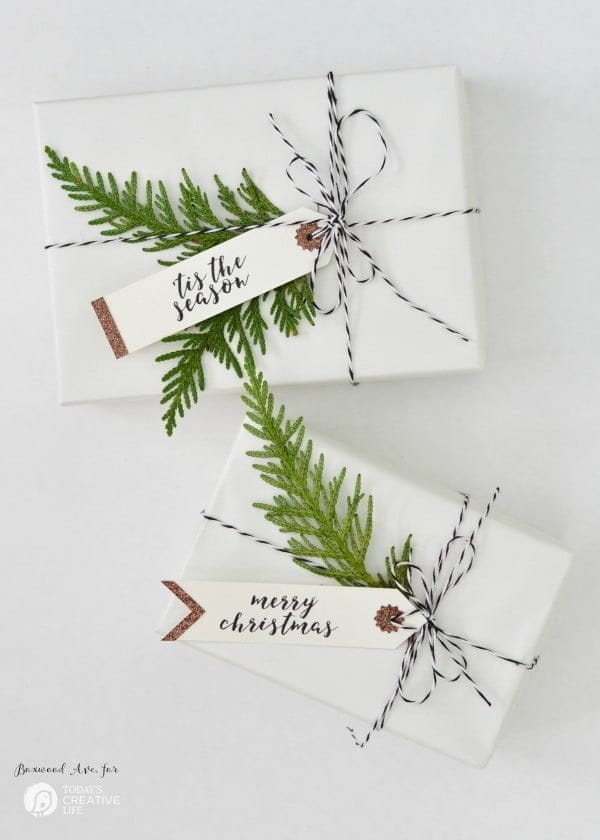
To create the tags below, follow these steps:
Supplies:
How to Make Holiday Gift Tags using the Cricut
Step 1: Download all 4 of the files. Open a new project in the Cricut Design Space™, then upload each file. Remove the white background space from each tag accessory file (be sure to remove the white space in the center of the star!). Save them as ‘cut’ files. Lastly, upload the tags themselves, you will not have to remove any white space for these, save as a print and cut file.
Step 2: Select the four images, then insert them into your new project.
Step 3: Once all of the images are in the design space, size the accessories down to fit the tags. Zoom in to make sure each accessory perfectly matches the size of the tag.
Step 4: Once you have the star shape sized to fit the tag, copy and paste it, so that you have two stars. Make sure all of the accessory pieces are the same color by using the sync feature.
Step 5: It’s time to hit “Go!” – The Cricut design space will have you print the tags first. Once they are printed, load them onto your cutting mat, and cut. After, load glitter cardstock onto your mat, and cut out the accessory pieces.
Step 6: Now that all of your pieces are cut, it’s time to glue them together. I used one of my favorite tools to assist me with this: a glue pen.
Step 7: Once dry, use a bit of your favorite ribbon (hint, head to my shop!), now you’re all finished!
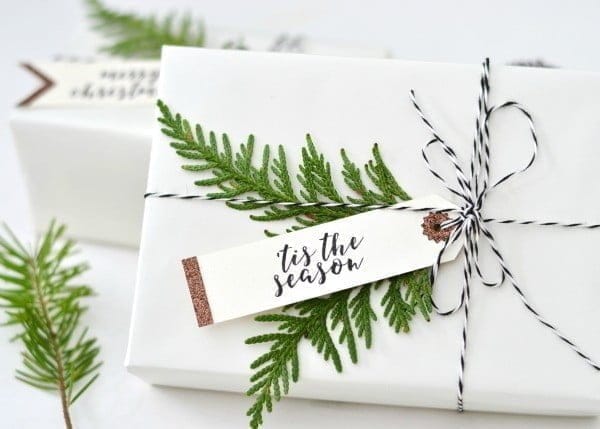
Thanks for creating with me! You can visit my instagram page for lots of DIY inspiration – or simply head to my blog!





Jessica says
Oh I love this tutorial! I usually just use one of the pre-made templates that they have, but this one is adorable! I love the fern leaf with the label to give the gift a little more visual appeal! Thanks for the great tutorial.
Kim says
I love it too! She’s so talented.