I just love all the DIY projects that Creative Contributor, Colleen from Lemon Thistle shares with Today’s Creative Life readers! I recently sent Colleen a Cricut Explore because I know she’ll be churning out crazy creative ideas for all of you! And you thought I was just being nice for a minute didn’t you?
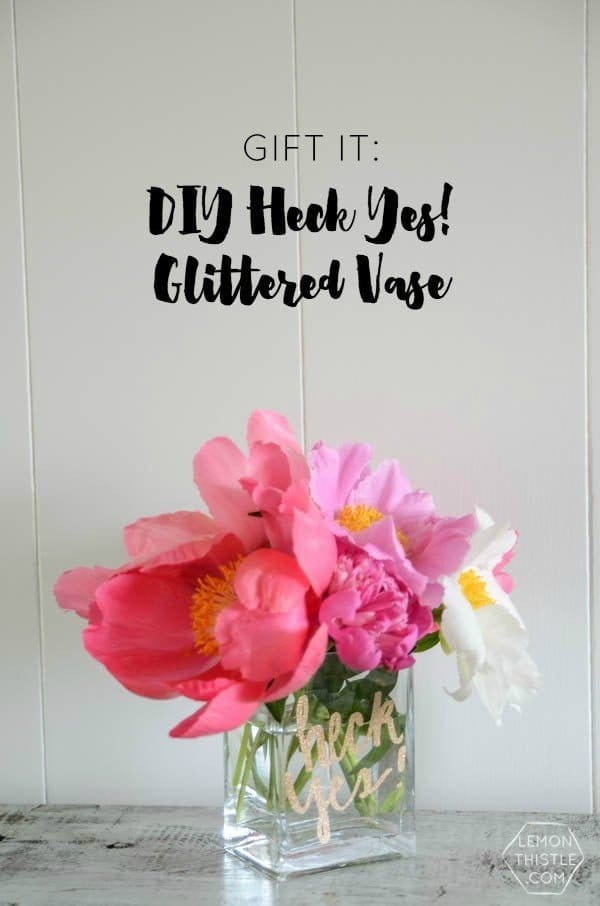
This DIY Glittered Vase is so on trend and perfect for any room. Makes a great gift too!
Hello Today’s Creative Life readers, Colleen here from Lemon Thistle (home to DIY, parties, home decor, and babies). Today I’m SO excited to share with you my first ever project using my new Cricut Explore!
DIY Glittered Vase! HECK YES!
You may remember that I am a ‘by hand’ type of girl, but that’s about to change. I’m so thrilled to have a new toy to speed up some of my crafting. If you don’t have a cutting machine of your own, that’s a-okay too, you can cut the vinyl out the same way I used to- with a craft knife and the pattern.
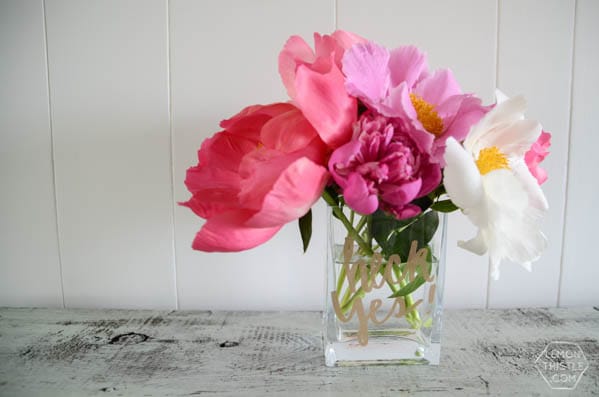
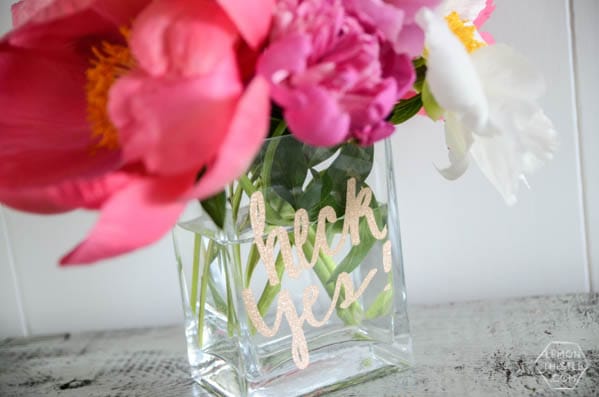
This hand lettered glittered vase is crazy easy to make with the help of a Cricut and makes the perfect, ‘You did it!’ gift. Your sister is graduating, your best friend is pregnant or just got a promotion… engaged? Honestly, anything you can think of that is a ‘heck yes!’ type of moment? This vase is it. Fill it with some blooms from the farmer’s market and you have a beautiful gift that doesn’t take itself too seriously.
DIY Glittered Vase Supplies:
Affiliate links are provided for your convenience.
- Cricut or other cutting machine, or a craft knife and mat
- Gold Glittered Vinyl
- NEW Cricut® Transfer Tape
- Heck Yes! Template (see below)
- Vase
- Flowers
How to make a DIY Glitter Vase
If you’ve used a cutting machine before… you probably don’t need my instructions even. But this was my first time using this glorious machine, so I’ll go through it step by step for you. I’ve given you the template in a PNG pattern as well as a PDF. I hand lettered this design, but you could use any font to create a design of your own if you prefer. If you have a cutting machine like a Cricut, download the PNG pattern and load it into your design software. Make sure to ask the machine to cut, not print (that took me a while to figure out!). I sized mine about 4″ wide for reference, it will depend on the size of your vase though. If you are using a good ol’ craft knife and cutting mat, download the PDF version to print out and cut.
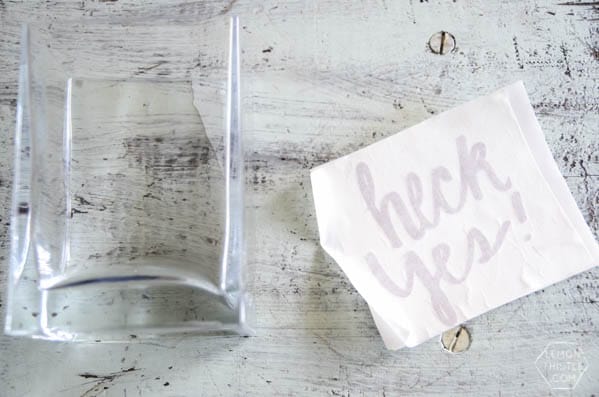
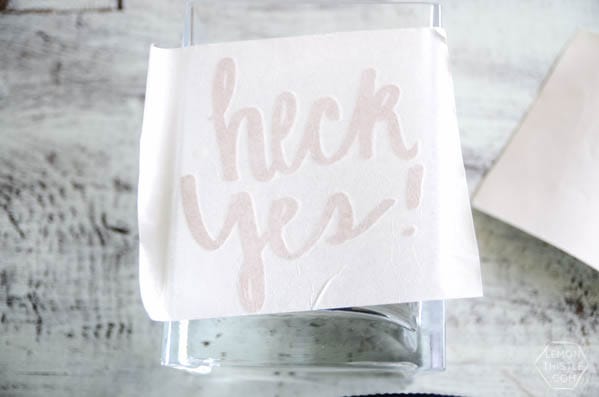
After you’ve used your machine to cut your vinyl, peel away all the excess and then stick transfer tape to your design. This stuff is amazing! It keeps your whole design together so you don’t need to stick down each piece individually and worry about wrinkles. The photo is the design with transfer tape adhered to the top. Peel off the backing from the vinyl and stick to the vase, smoothing out until you’re sure it’s stuck on there. Then, peel back your transfer tape to reveal your glittery goodness!
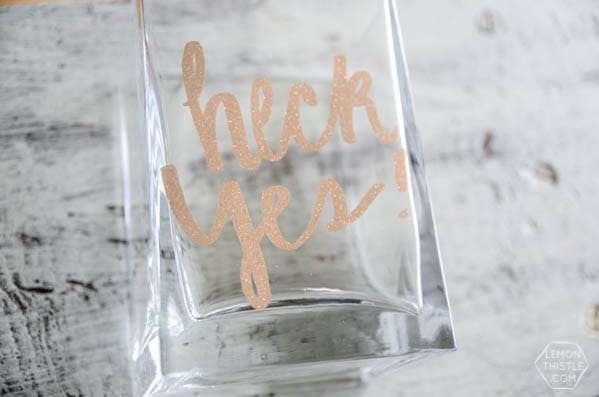
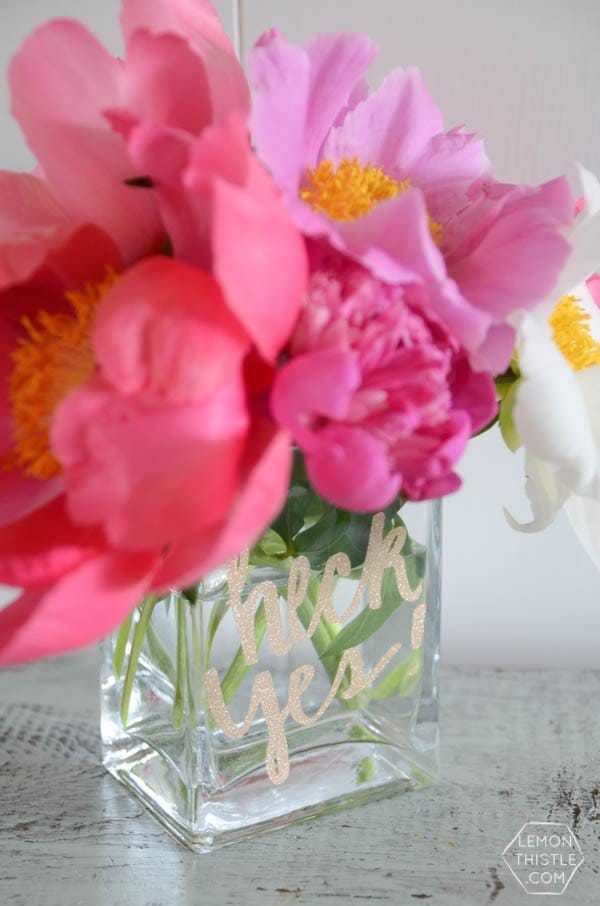
Fill your vase with blooms and you’re done! I can’t believe how much fun it is to stick gold glittery words on things. I can’t stop, guys. I think any one that knows me who gets a job or graduates or has a baby is going to get one of these… until I run out of vinyl. Do you use this phrase as much as I do? What would you put on the front of your vase? The other one I want to try for a baby shower is ‘Oh Baby!’. Do you use a cutting machine, or have you been working with a craft knife all this time like me? I’d love to hear from you in the comments!
See more from Colleen at her site, Lemon Thistle.



Bonnie says
I love this! It’s just the right amount of sparkly gold.
Colleen Pastoor says
Thanks so much Bonnie! I love my glitter but in my home it needs moderation 🙂
Kim says
Isn’t it perfect Bonnie? I love everything Colleen does!