Welcome to the Creative Girls Holiday Soiree. Many of my favorite blogger are gathering to bring you amazing and inspiring ideas for the holidays! Jenn from Clean & Scentsible is giving us a great tutorial to make our DIY Rustic Sweater Star Ornaments. What a great way to upcycle an old sweater! Rustic Christmas trees are my favorite! I can see adding these dried oranges as ornaments along with this style!
To continue with this theme, these DIY Wood Glitter Star Ornaments would also be a great addition.

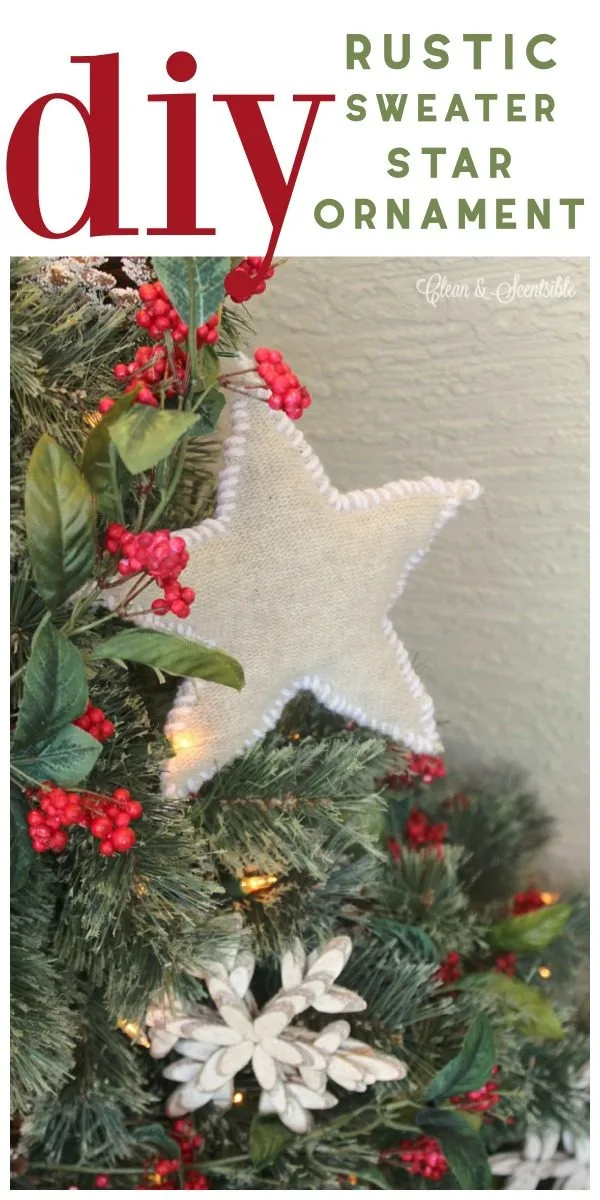
Hello! Jenn here from Clean and Scentsible. I’m so excited to be visiting today and joining in on Kim’s Holiday Soiree! Christmas is my very favorite time of the year and I always look forward to bringing out the Christmas decorations and decorating our home. I try to incorporate a little bit of handmade into our Christmas spaces and thought that I would share these cute sweater star ornaments with you today.
DIY Rustic Sweater Star Ornaments
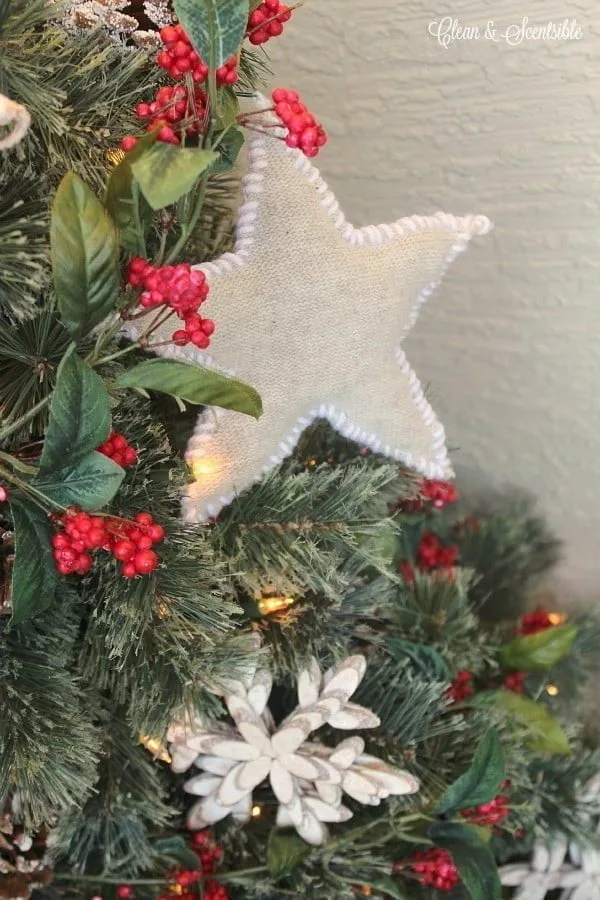
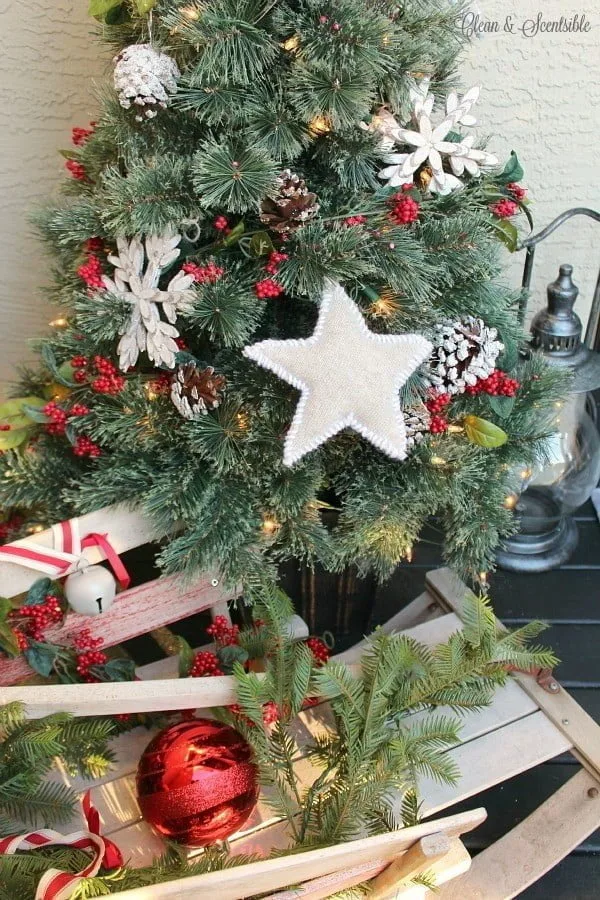
We have our ornaments out on a couple of small trees on our front porch. They add that simple, rustic touch that I love!
MATERIALS:
- old sweaters {if you don’t have any you can find a ton of options at your local thrift store!}
- thread
- pins
- coordinating yarn
- stuffing
- star template cut to your desired size
INSTRUCTIONS:
- Create a paper template for your star to the size that you would like. Keep in mind that your completed star will be a little smaller than your template.
- Pin the star template to the sweater and cut out two pieces. Once you have cut out your stars, lay them over each other and trim off any little bits that don’t quite match up so your pieces are as similar as possible.
- Using a needle and thread {or a sewing machine if you are handier at this than I am!} stitch the two-star pieces together. You want the inside {bad side} of the sweater to be facing out on both pieces as you will be turning them right side out after the stitching is completed. Keep a small section unstitched to add the stuffing.
- Turn the star right side out and stuff with the stuffing. Use a pencil to push the stuffing right to the tips and stitch up the remaining hole.
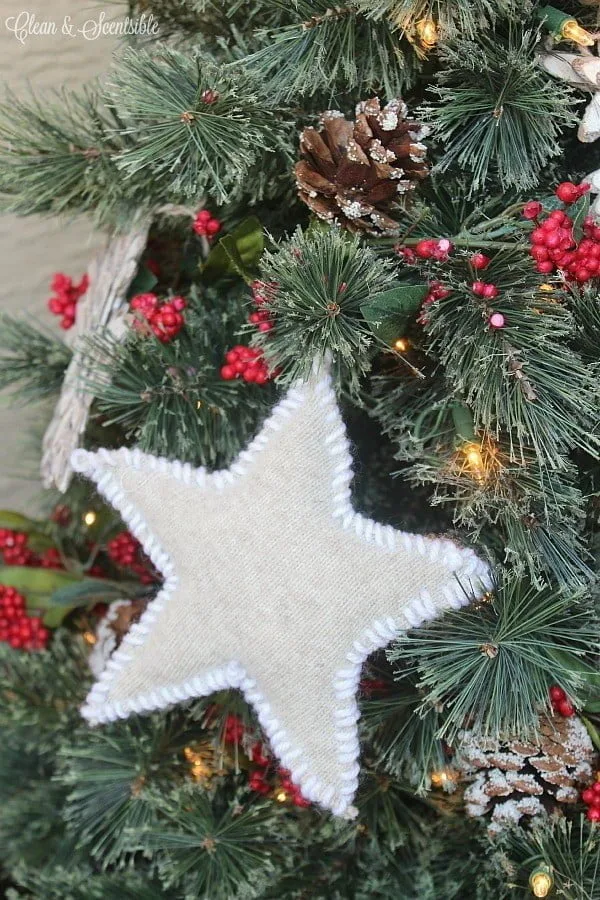
- Using some white yarn and a needle, whip stitch around the outside of the star.
- Just add a regular plastic ornament hanger to hang from the tree or fit them between bare patches on your tree. They are a great way to cover up those holes!
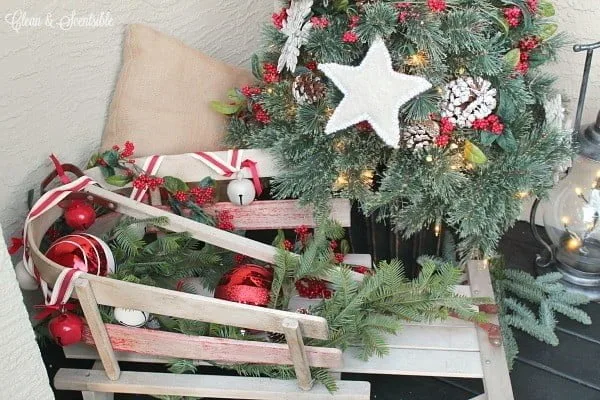
I’m looking forward to showing the rest of our holiday decor over the next couple of weeks and would love for you to join me!
To see the rest of the front porch and our upcoming Christmas home tour, follow along on Facebook, Pinterest, or Instagram. You may also enjoy these other Christmas project ideas…

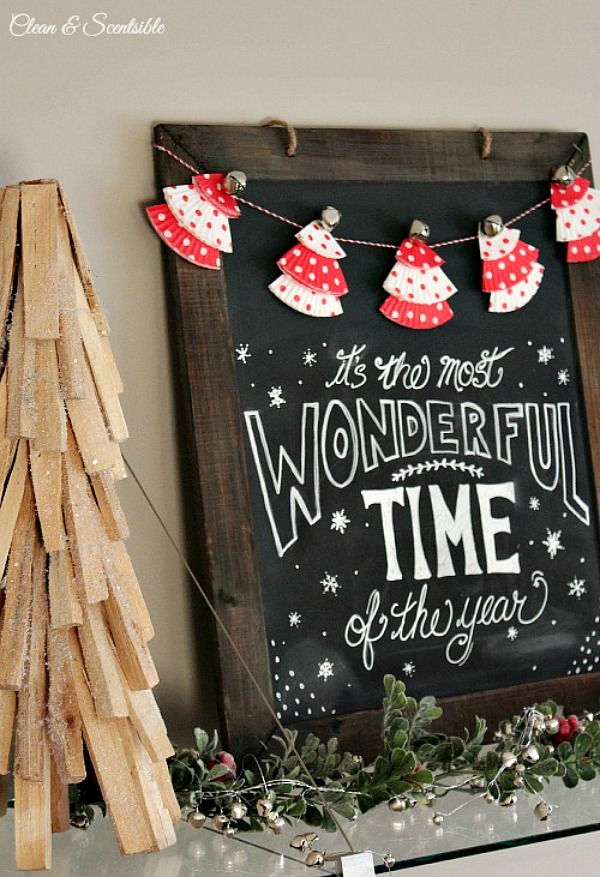
Christmas Chalkboard and Cupcake Liner Garland
Thanks so much to Kim for having me! I hope you are able to stop by Clean and Scentsible to say hello.
Happy Holidays!
Jenn


Leave a Reply