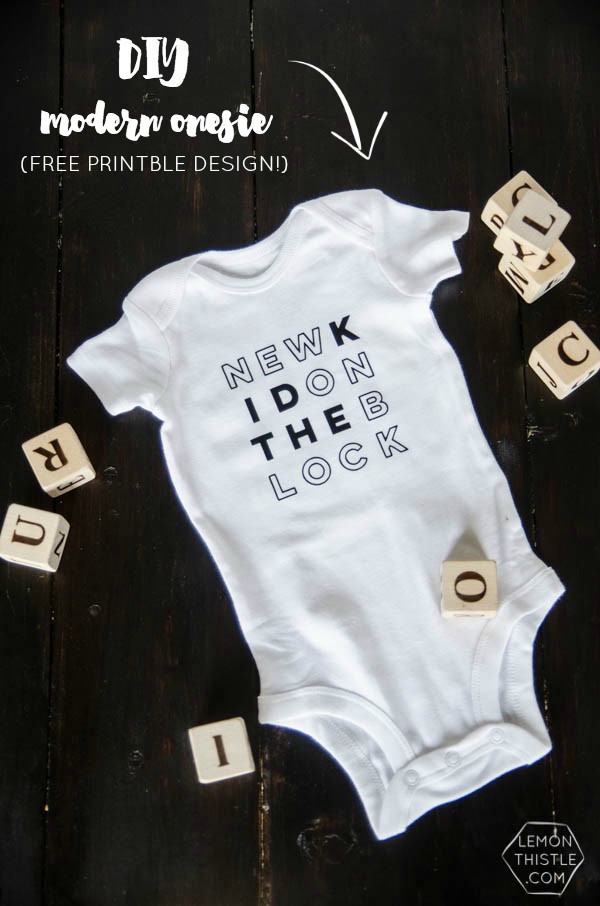
You’ll love this DIY Cricut Iron On Onesie that Creative Contributor, Colleen from LemonThistle is sharing today. This busy momma of twins just had her 3 baby and is already creating adorable custom designs for the little babe. She’s sharing this New Kid On The Block free graphic too! She’s using the Cricut Explore to create this iron on, which is such a useful tool. All the creative things you can create with it are endless! See more about the Cricut.
DIY Cricut Iron On Onesie
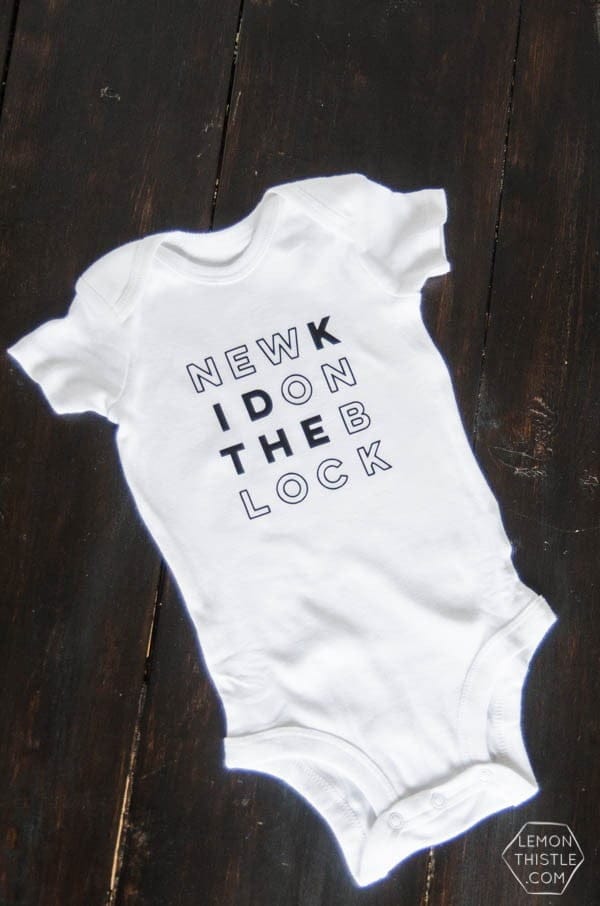
Hello Today’s Creative Life readers, Colleen here from Lemon Thistle (home to DIY, parties, home decor, and babies). You may not know, but over Christmas we welcomed a sweet new baby boy to our family (woohoo!). We have pretty much everything we need since this is our third babe, but I’ve been drooling over some of the stylin’ onesies popping up from some of those Instagram boutiques. We’re on a budget around here, so I just couldn’t justify the price tag when I knew I could create something myself for much less. I’m really glad I challenged myself on this, because I’m crazy happy with how this baby turned out.
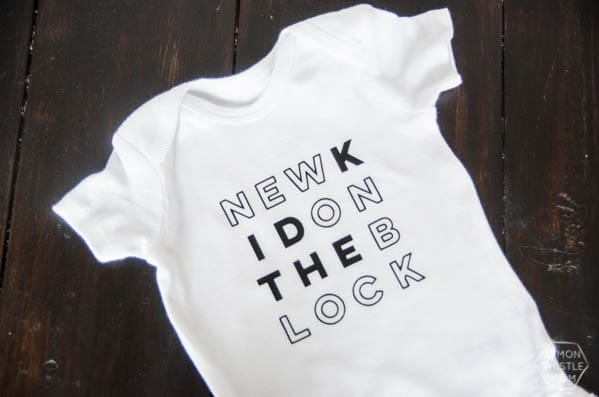
I chose to use iron on vinyl for this and love how there’s no shiny clear residue between the letters (like traditional iron on paper). This is the second onesie I’ve created him with it and so far it’s standing up to frequent washing like a champ. You can check out the other one (geometric XO design) if you like.
Supplies Needed – Here’s what you’ll need to make your own:
- Onesie of your choice (I got the three pack of undershirts)
- Free Printable Design (click here to download)
- Cricut Explore or similar cutting machine (Cricut Explore Air™ Machine + Deluxe Starter Set)
- Weeding tool (or craft knife)
- Iron
contri
How to Make a DIY Cricut Iron On Onesie
- Start by loading your design into the design software. Upload it as a cut only file/ simple image, then size it to about 4″ across for a 3-6 month onesie.
- When you’re cutting iron on vinyl, make sure to put the shiny side down on your cutting mat and check the ‘print reverse’ box before hitting go.
- When it’s cut, use your weeding tool or craft knife to weed out all negative space, leaving only your design.
- Place it face down on your onesie while your iron heats up.
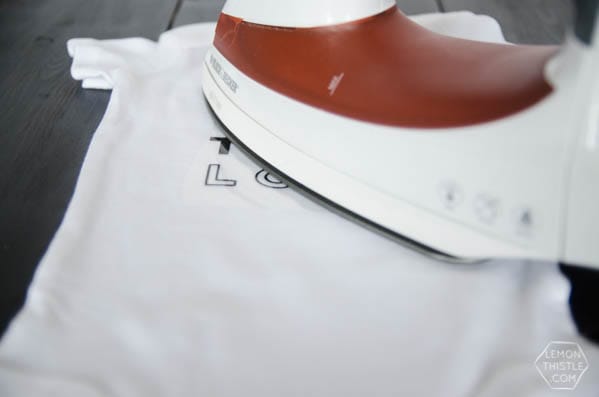
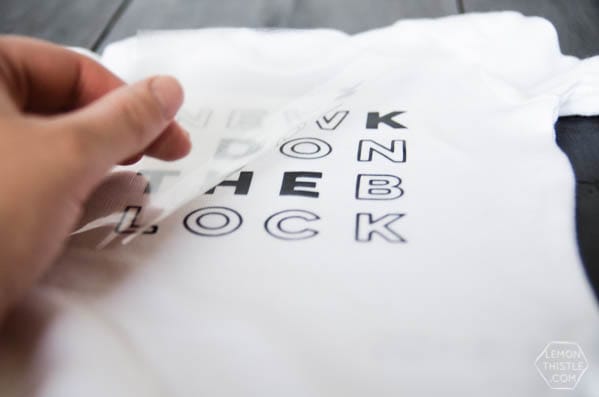
The vinyl I used needed to be ironed for about 10 seconds- just make sure to apply firm, even pressure as you iron. When the design is cool, peel the plastic back and get all impressed with craftiness.
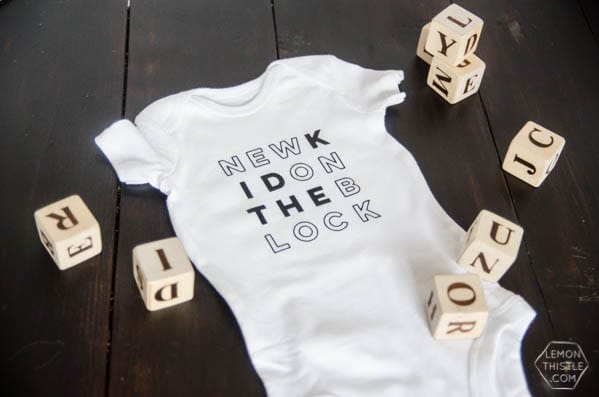
Have you ever worked with iron on vinyl before? Did you LOVE it as much as me? And tell me… when you see this post, are you singing ‘hangin’ tough’ too?
Get your FREE NEW KID ON THE BLOCK graphic here.
See More Creative ideas
- Iron on transferred recipe Dish Towel – Today’s Creative Life
- DIY Chalkboard paint dipped Planter – Lemon Thistle
- Iron On Vintage Farm Animal Dish Towels – Today’s Creative Life
- How to Upload your Design to Cricut Design Space – C.R.A.F.T.



Leave a Reply