I’ve been slowly chipping away at my office makeover. I knew I wanted and needed a LARGE Memo Board, and figured it would have to be a DIY Large Memo Board because…..dang…..they are expensive and I’m too cheap to buy one full price.
I needed one larger than this Stenciled Cork Board. I didn’t want just any memo/bulletin board, I wanted a burlap or linen covered board. I love the look of the nail heads and fabric.
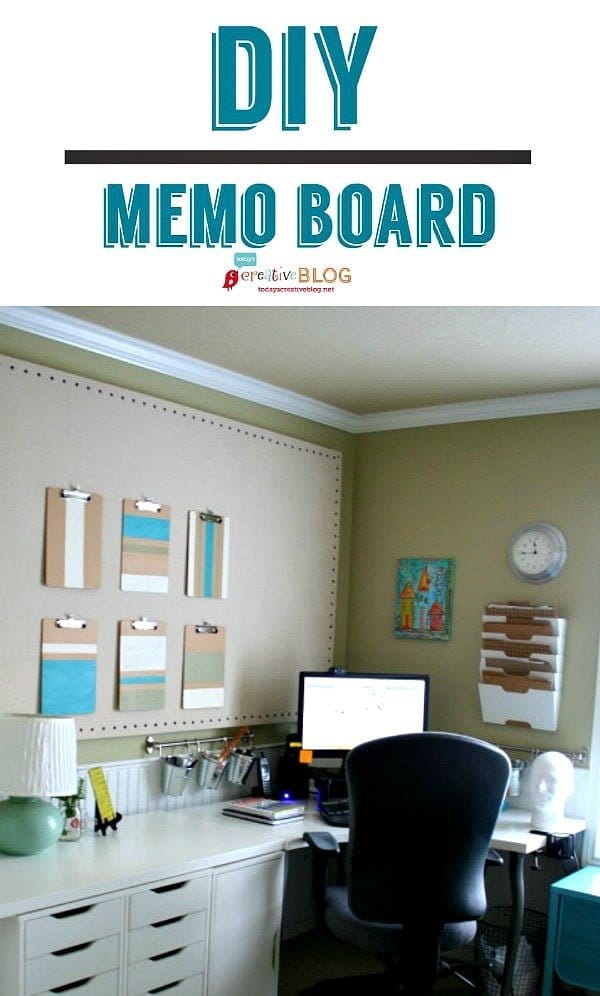
DIY Large Memo Board
It suddenly becomes your wall art for your office space and surely it will make anything I tack up there look amazing! I also needed one for the flow and function of my office. I’m visual……if it’s put away, it no longer exists. Which makes it difficult to have a clutter-free space. Actually, I will never have a completely clutter-free space, but I figured having a large memo board would look great, but also help me stay organized.
This month for my Lowe’s challenge as one of the Lowe’s Creative Ideas Team members, was “Bloggers Choice”. We always choose what we want to do, but are usually given a few themes to choose from. This time…..no theme. Just share a project. That was the kick in the pants to make a DIY Large Memo Board!
I searched and searched for how to make one and came across this tutorial from friend Traci from Beneath My Heart. She always has the best ideas and I love her style. My tutorial isn’t as clean and tidy, but I got the job done.
How to Make Your Own Large Memo Board
Supplies Needed:
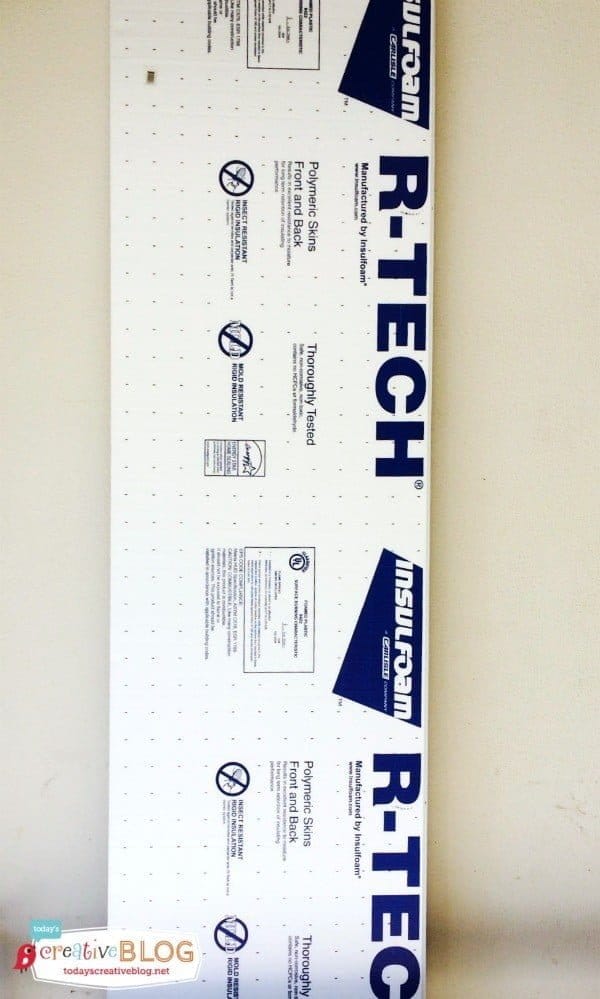
This is what the board looks like. It comes in a variety of sizes.
After measuring our space, one fit perfectly in my son’s space and we grouped 2 of them together for my space. If you turn my finished board over……it isn’t pretty. But who’s going to see the back anyway?
You’ll need a large space to spread out your drop cloth. We used our garage, which my husband thought would be clean enough with one sweep. It wasn’t. He also tossed the freshly ironed drop cloth over a chair while he swept, resulting in more wrinkles. He didn’t think the wrinkles would show once we pulled the fabric taut, but I did, so I grabbed the iron and just ironed it right there on the concrete floor. (those are scooter marks on the garage floor from 8 years ago)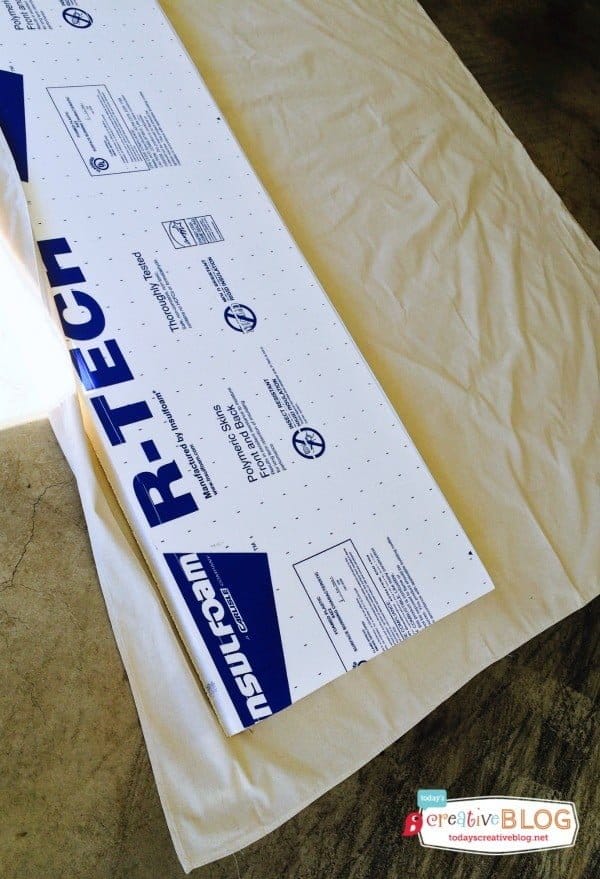
Drop Clothes come in a variety of sizes, so we chose the ones that would work best for this project. We ended up trimming one for the smaller board.
We thought using a staple gun alone would hold the fabric tight. It didn’t. The staples came out easily. So we used duct tape first, then stapled and it seemed to do the job.
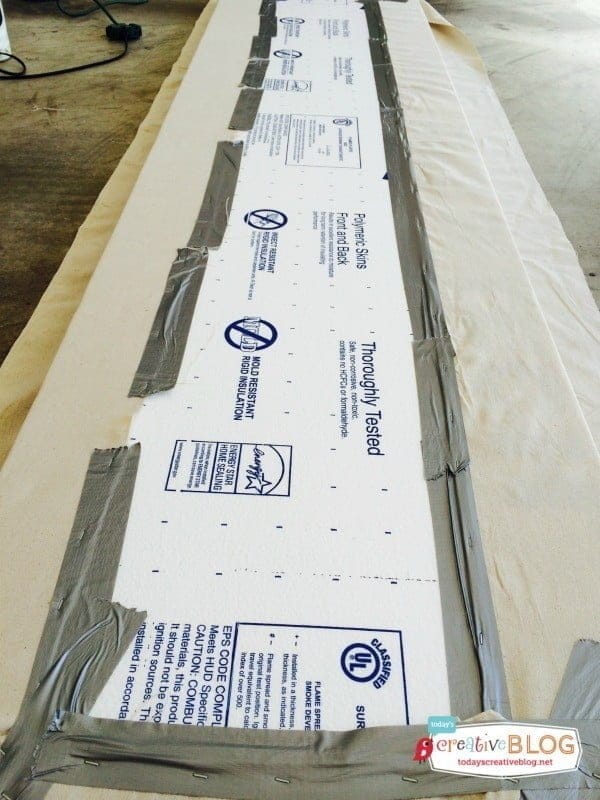
That’s when I realized that the strength of the board for holding anything heavier than paper with a tack wasn’t going to work well. That didn’t matter much to me since it would still look great and knew it would be OK.
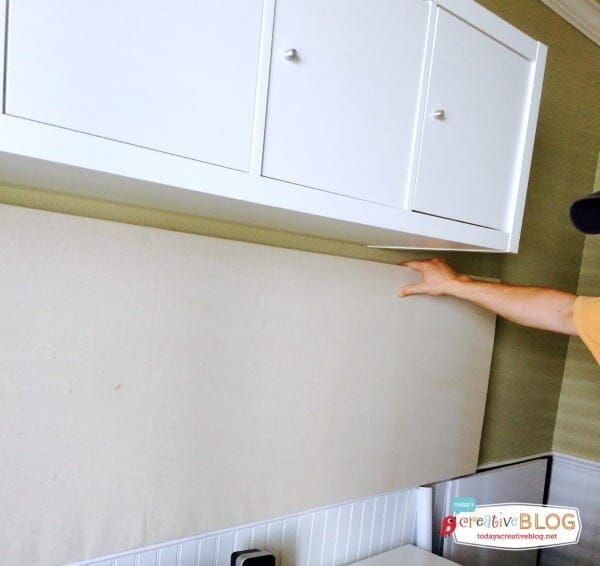
We flipped the board over and it was ready to be installed. My husband used wall screws to attach it to the wall.
Next up – the fun part! Adding the fabric tacks (actually called Furniture Nails). I found a variety of styles at Lowe’s but they only had a couple of packages of the bronze that I really wanted. The nice Lowe’s employee said they would be in the next Tuesday, but I wanted them NOW! After I was over having my meltdown, I settled on black. They had lots and lots of packages of black. Not sure why it says leather……..these are not leather. Maybe they’re supposed to look like leather? 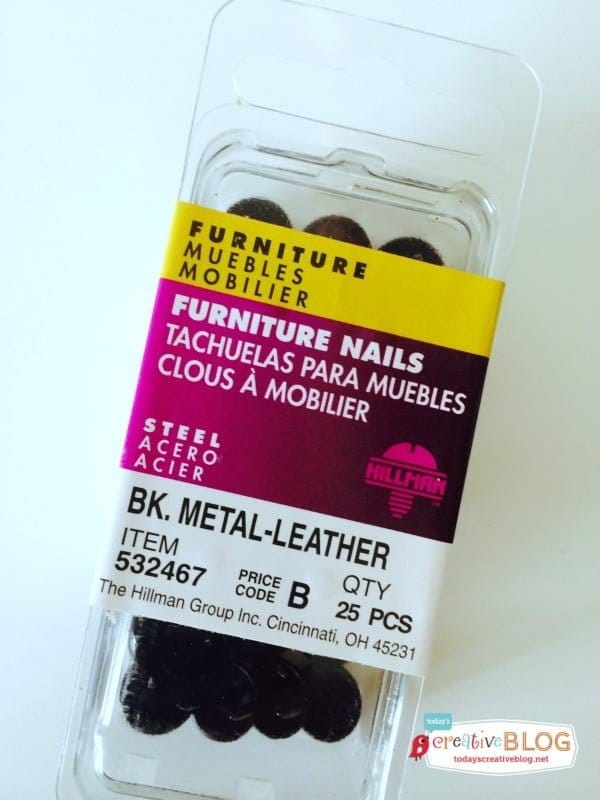
We used a ruler to position the tacks evenly. Keeping the ruler positioned along the edge, then placing the tacks 2 inches apart was the easiest way to achieve the uniform look I wanted. If I was going to have to have black tacks, then they were going to look good darn it! And you know what? The black tacks don’t bother me in the slightest now that it’s finished.
As you can see below, we didn’t push the pins all the way in until we were finished. 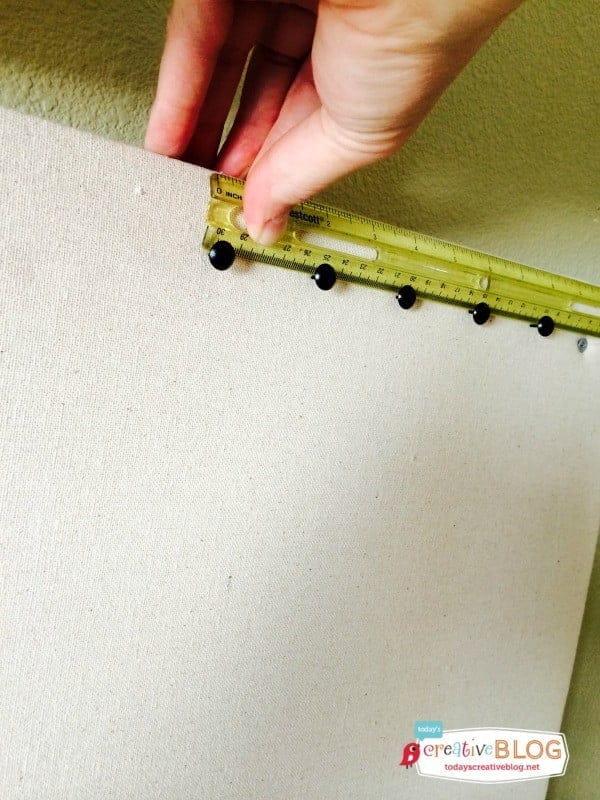 This allowed us to place the pin portion up against the ruler, making a crisp line.
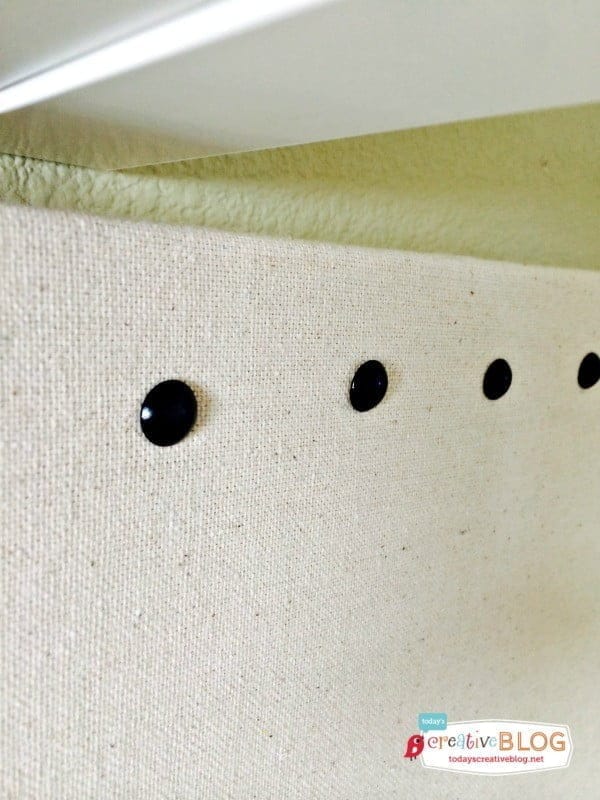
Looks good, doesn’t it?
Now to make another DIY large memo board for my side, but even larger!
For the extra wide board, we were smart and placed an older drop cloth down on the garage floor first. This wasn’t our first rodeo.
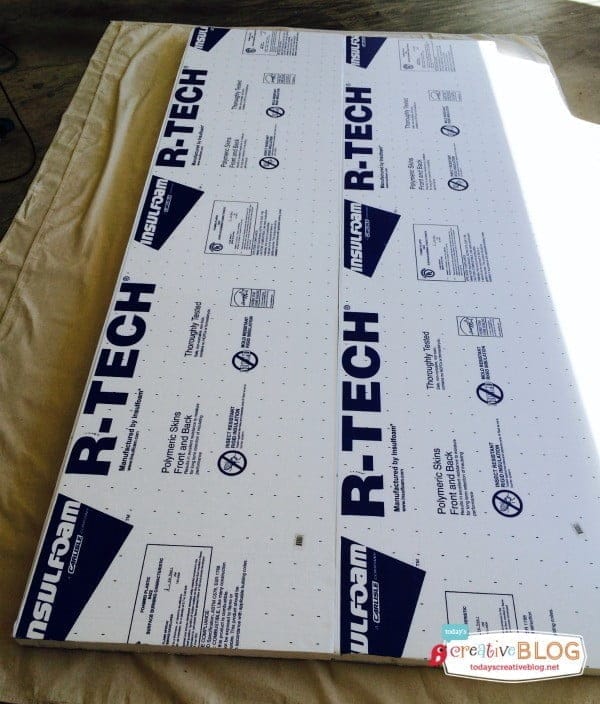
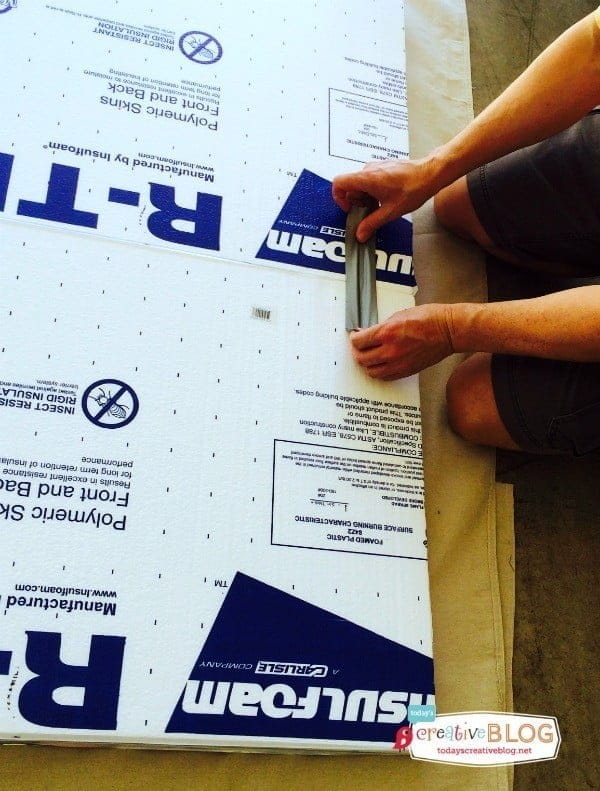
We taped the middle together. Like the professionals do. 🙂
We taped the drop cloth in place and then stapled. 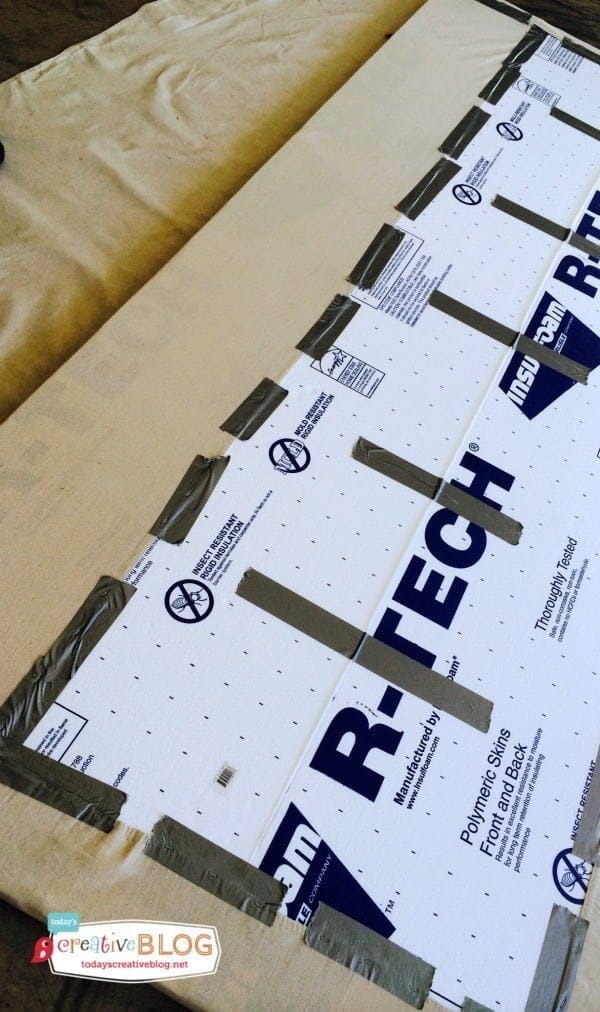
We headed inside and attached it to the wall. Then repeat the steps for placing the tacks.
Pardon my office mess….. This is what happens when you’re needing to continue to work while you do the makeover that takes a week or more.
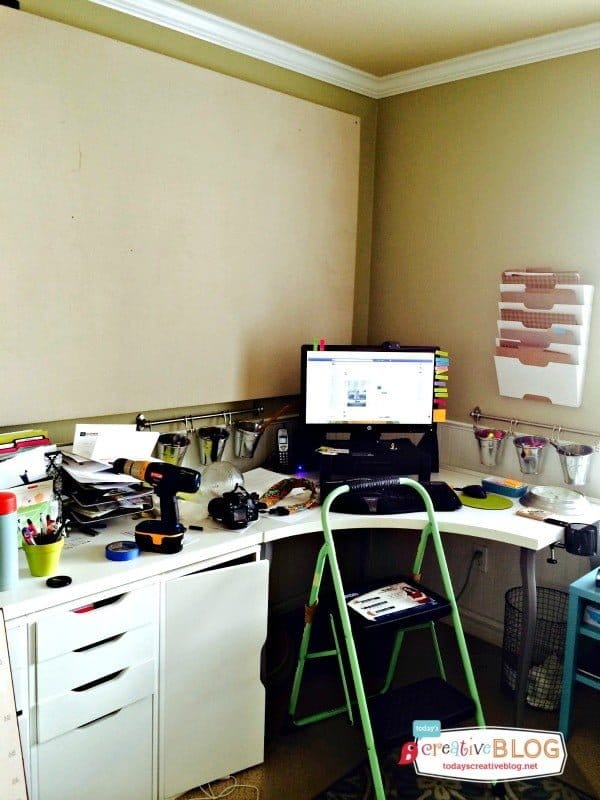
There……now doesn’t that look nice?
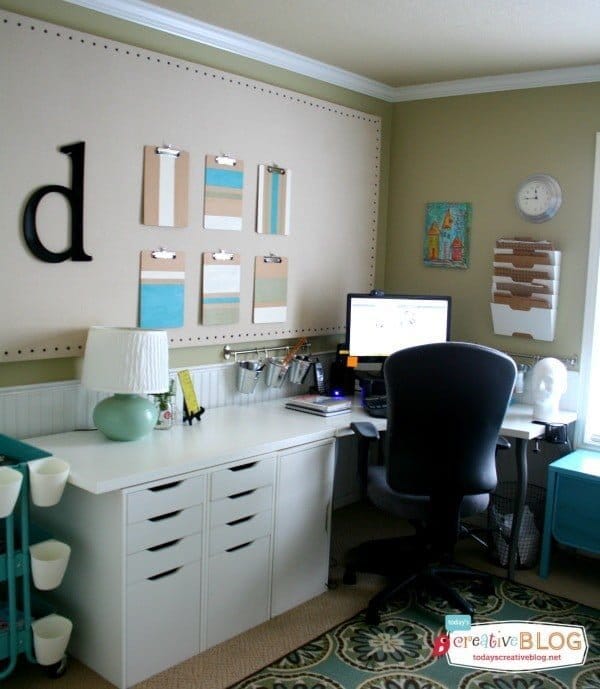
Because the board isn’t dense enough to hold the weight of the clipboards or the monogram, we screwed hooks right through the board and into the wall. Works for me!
I love the look of this DIY large memo board. It’s got style and function!

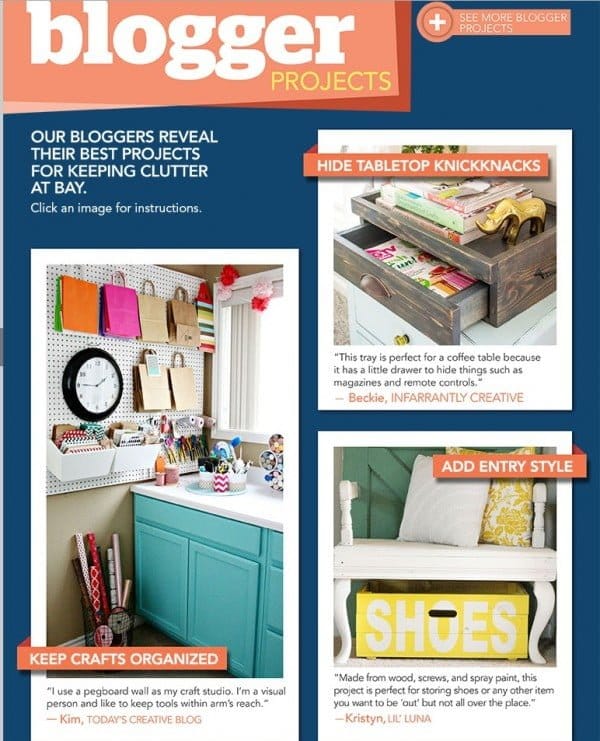
Are you signed up for their Creative Ideas free magazine? Or how about the app? Do you have the Creative Ideas Digital magazine? You may see a familiar face. Well, it’s not actually my face, but it’s my craft space. See the post on Organizing your Craft Space here.
This post is sponsored by Lowe’s. All opinions shared or choice of projects are mine.


Leave a Reply