You’re going to LOVE this DIY Room Decor Wall Art! Creative Contributor Colleen from Lemon Thistle has such a good eye for minimalist decor! This is another project using the Cricut Explore Air™ machine. I think everyone should have one! You can do so much with them, from home decor items to making handmade cards. Because I love the Cricut, I’ve become an affiliate to be able to offer you good deals when they have them. See all of Colleen’s projects.
Cricut Explore Air™ Machine + Deluxe Starter Set
Cricut Explore Air™ Machine + EVERYTHING Starter Set
DIY Room Decor Wall Art
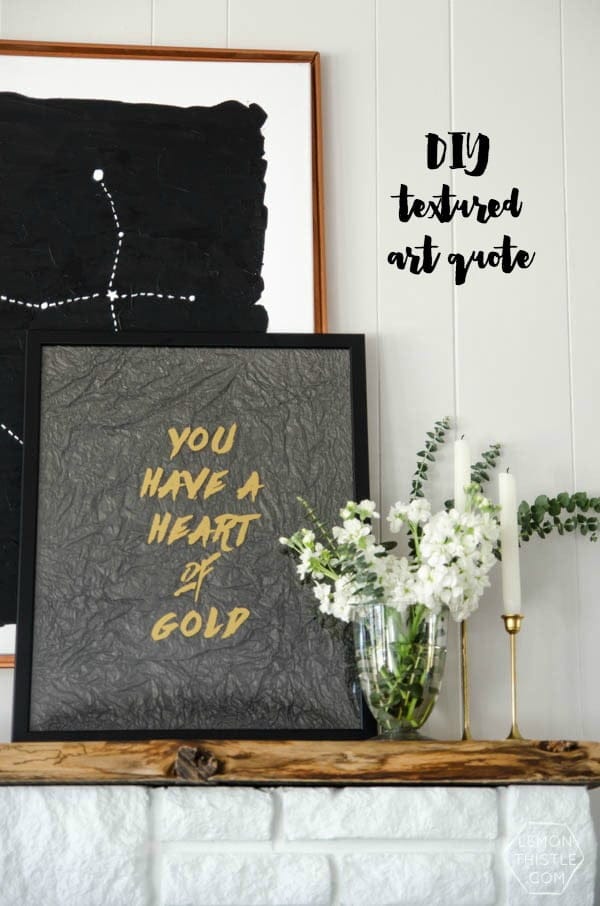
Hello Today’s Creative Life readers, Colleen here from Lemon Thistle (home to DIY, parties, home decor, and babies). Today I’m excited to be here sharing this fun DIY Room Decor textured wall art with you. I love how this guy turned out. It’s a good size and was so affordable to make! I’m a sucker for quotes- I want them everywhere in my house, but I also love texture and variety. This wall art uses both- and I couldn’t be happier with how it turned out. The black, crumpled texture against the smooth shiny gold- I love it.
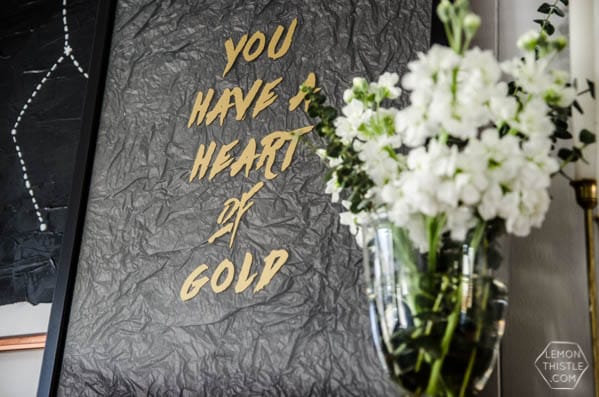
Here’s what you’ll need to make your own:
- Large photo frame (min was $7 from Ikea)
- 1 Sheet black tissue paper
- Gold vinyl and transfer paper
- Cricut Explore One™ or patience and a craft knife
- Template OR phrase that you would like saved in PNG
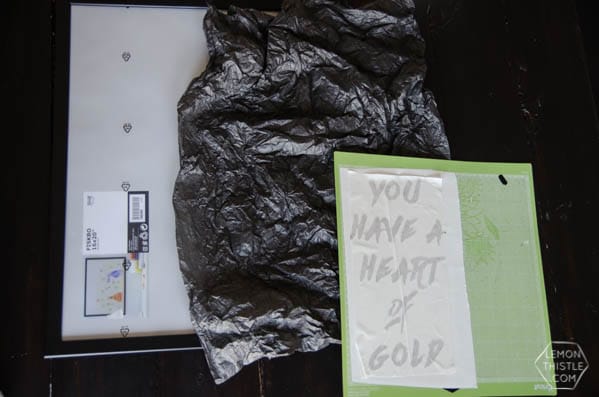
The first thing you’ll want to do is decide on the phrase you would like. Since I was using gold vinyl, I wanted to find a quote that used the word ‘gold’. Call me cheesy, I’ll take it 😉 I really love the way the wording looked in the Againts Refresh regular font- I just adjusted the spacing between the lines. You can grab the exact template for this quote right here, or you can make your own. I recommend designing it in photoshop or a word document, then saving as an image (PNG is best) before moving to your design software. You can absolutely use your design software instead BUT I like to make changes to spacing and especially with brush fonts, I like the letters to connect at some points. Design software doesn’t allow this adjusting.
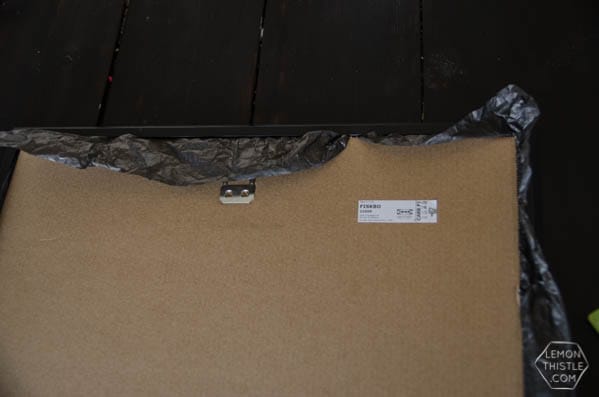
Next, print it up on your Cricut Explore One™! To upload a text image like this, you hit ‘upload image’, choose ‘simple image’, ‘cut only’, then stretch it to the size you prefer. When it’s cut and weeded, apply transfer paper so your vinyl decal is ready to go. Then, you can crumple up your tissue paper. Crumple it real good! Frame the tissue paper, making sure to spread it to all the edges. I left some hanging out to get the look I liked and then cut those edges off for a clean finish.
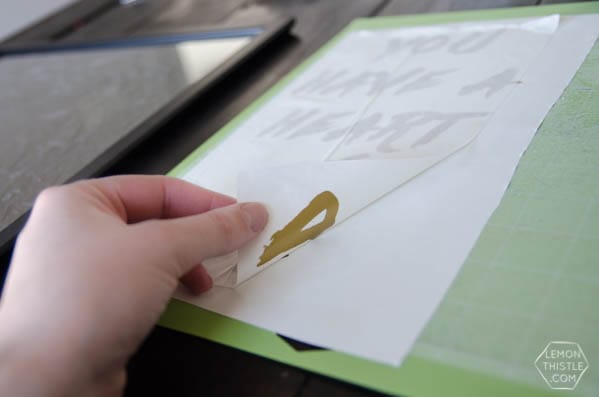
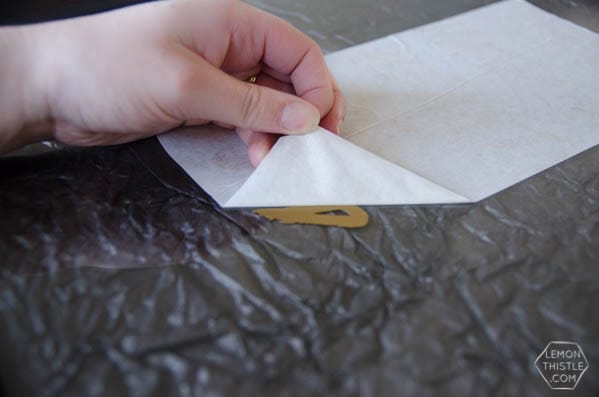
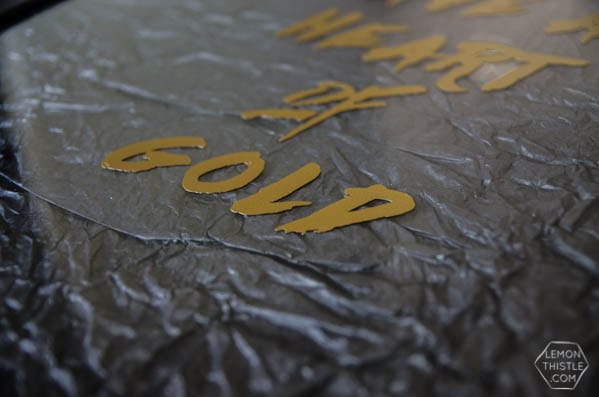
Peel back your vinyl decal and carefully centre it on the frame before smoothing it out. Peel back the transfer paper to reveal your masterpiece!
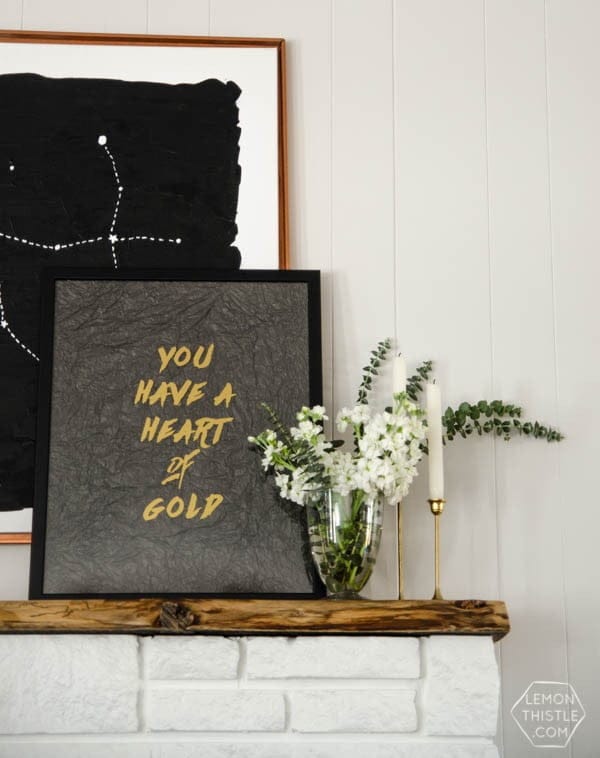
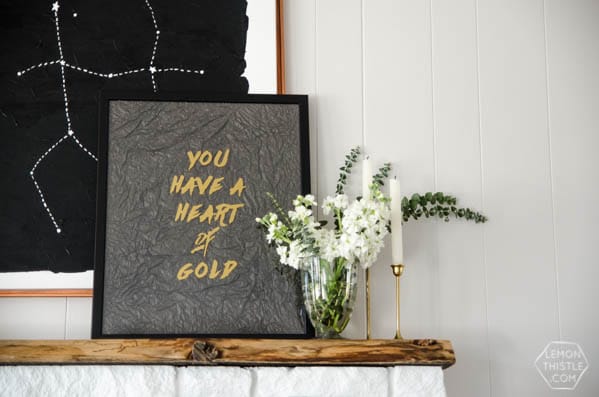
Wasn’t that easy? I love how professional it looks with very minimal effort. Tell me, what phrase would you use?
See more from Colleen by jumping over to Lemon Thistle.
Find more DIY Projects you can create with your Cricut Explore Air™ machine.
- DIY Glittered Vase – Today’s Creative Life
- Porcelain Inspired Eggs – Today’s Creative Life
- Organizing Your Craft Supplies – Today’s Creative Life
- DIY Kitchen Wood Sign – The Idea Room
- DIY T-Shirt Revamp – Red Ted Art





Leave a Reply