Please welcome Amy from The Happy Scraps today! Amy is sharing this step by step craft tutorial on how to make this DIY Summer Banner. If you don’t have an electronic cutting machine like a Cricut, no worries! You can use adhesive alphabet letters. I’ve got an affiliate link for all the Cricut products, so feel free to use it. This project totally reminds me of this DIY Wood Slat Sign too!
Hello! I’m Amy and I blog over at The Happy Scraps. I enjoy blogging about DIY Home Decor & Crafts, Paper Crafts, and Sewing. I hope you’ll stop by! I’m so excited to be visiting Today’s Creative Life today! Thank you, Kim, for having me!
DIY Summer Banner Tutorial
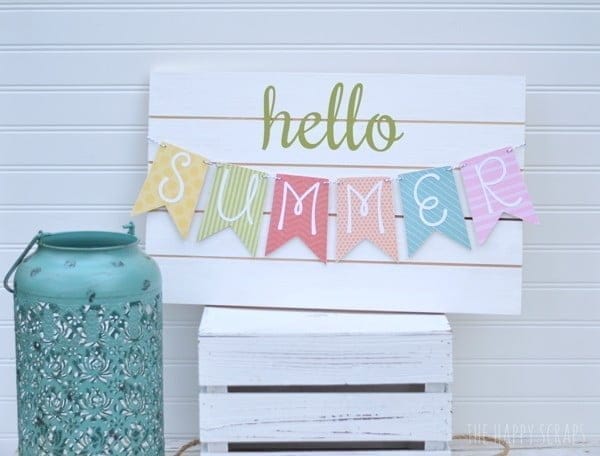
Are you getting excited for Summer? I am! I love all that comes along with the Summer. The warmth, the sunshine, being outside, the bright colors, and spending time with my kids. Today I’ll be sharing this fun Hello Summer Banner Board project with you.
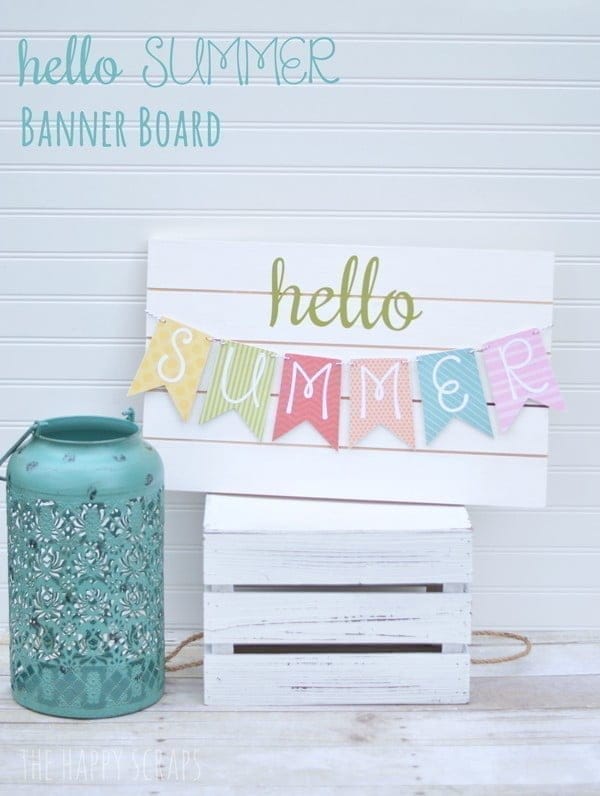 Come along, and I’ll show you how you can make your DIY Summer Banner Wood Sign. First, you’ll need to gather your supplies. I used wood banner pieces and a board with slats cut into it, along with some bright, fun colored paper. You’ll also need a couple of paint brushes, paint, wood glue, sand paper, SUMMER letters, and hello vinyl.
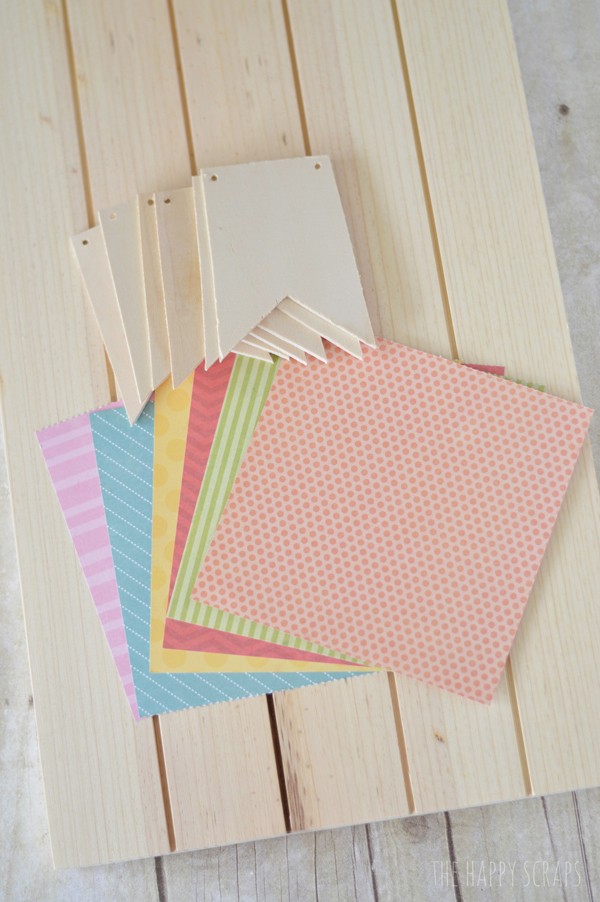 DIY Summer Banner Supplies
Affiliate links for products listed are for your convenience only. This cost you nothing extra. If you happen to purchase anything as a result of clicking, TCL will receive a small percentage. Thank you for your support. This allows me to continue to offer you free content.
- Wood Banner Pieces
- Wood Board
- Colorful Scrapbook Paper
- Alphabet Stickers or cut outs
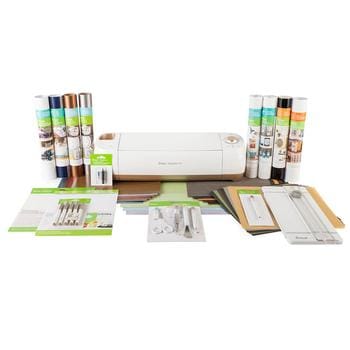
- Cricut Cutting Machine – The “hello” was cut using one. But you could use stickers if desired.
- Foam paint brushes
- Wood Glue
- Sand Paper
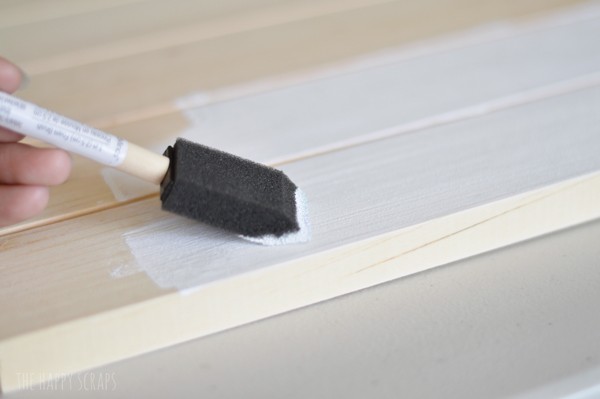
- Start off by sanding your banner pieces. Once those are sanded, set them aside. Sand your board. Paint the face of your board the color of your choice. I painted mine white. I left the sides of my board, unpainted. Sand your board after the paint is dry to distress the edges a little bit.

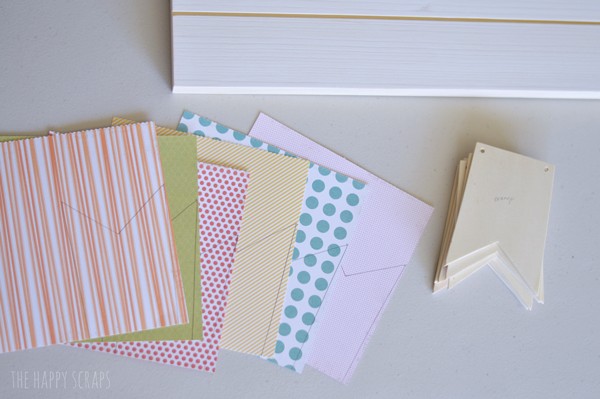
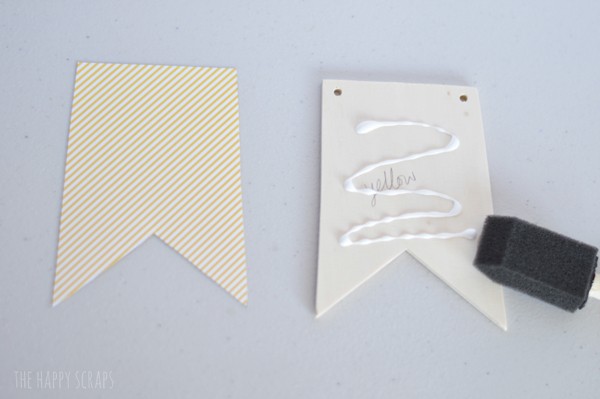
- There is no need to paint the banner pieces unless you want to. Trace banner pieces onto your paper.

- Cut out your banner pieces. Using wood glue, glue your paper to the banner pieces.

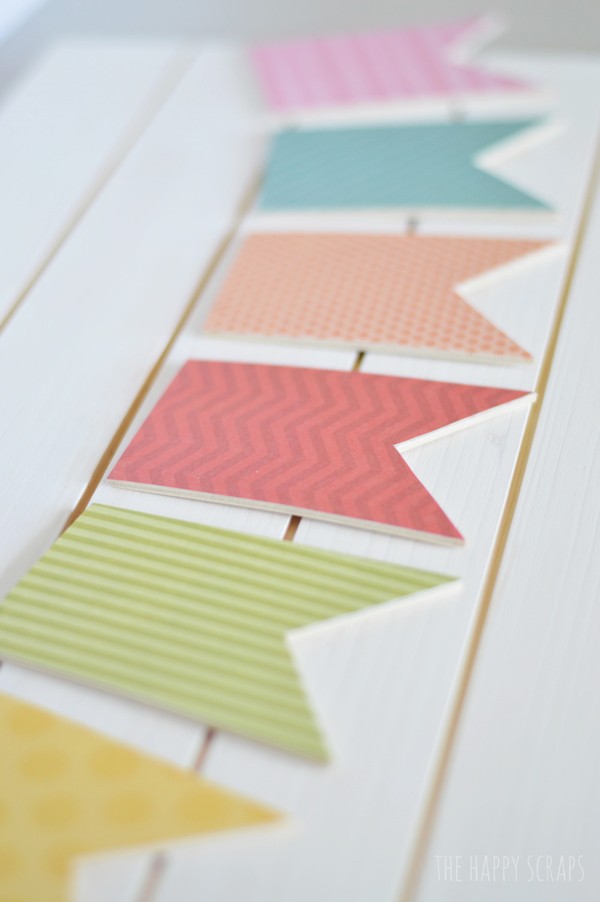
- Lay out your banner pieces to see where you want them, and so you know what letter will go on which color.

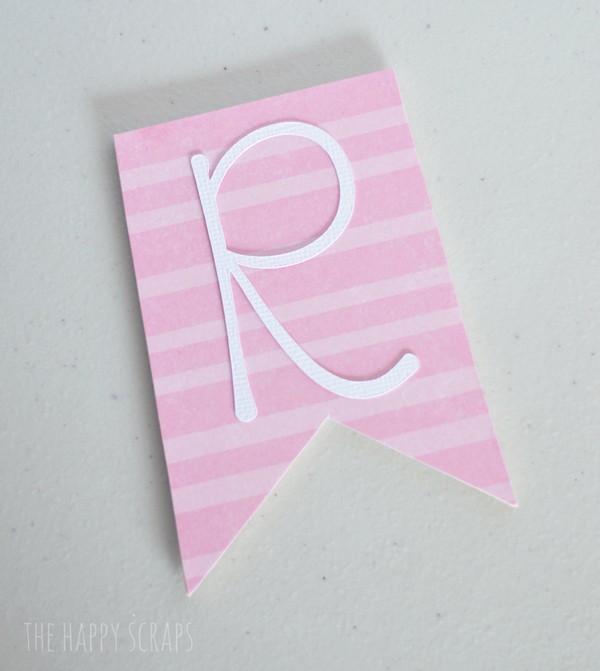
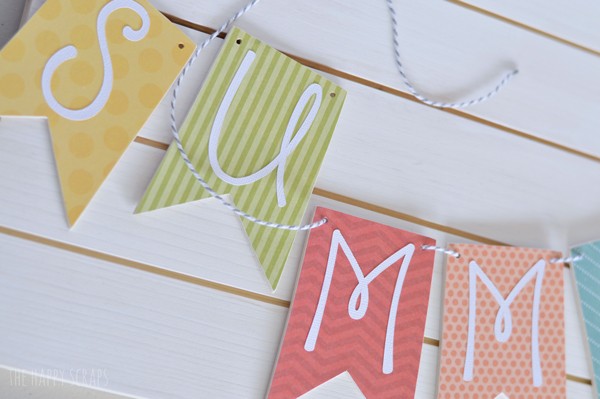
- Add your letters to spell Summer.

- Punch your holes and thread twine through the holes.

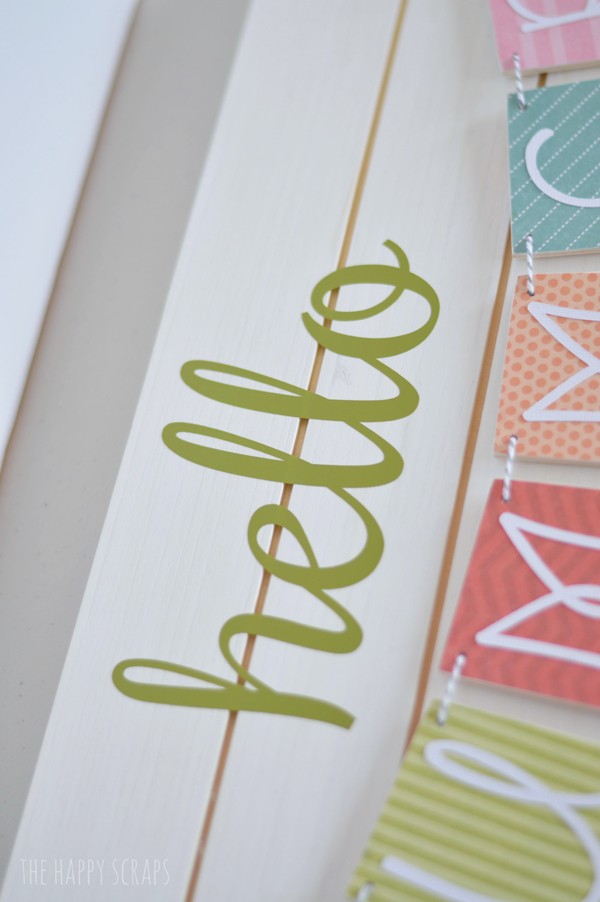
- Using my personal electronic die cutting machine, I cut the vinyl “hello.” Figure out where you want it placed on your board, and place it.

- Hang your banner on the board. I just used a little bit of masking tape to attach the twine to the back.
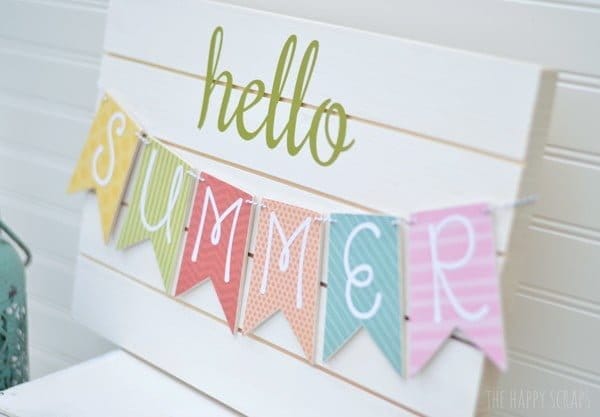 Now you are finished. Just set it up on a shelf, or put it in your entry to welcome guest throughout the summer!
I hope you’ve enjoyed this project! Come on by The Happy Scraps to check out some of the other projects I have to share.
You may be interested in this Dahlia Flower Decor, Paper Flower Centerpiece, and Summer Banner.


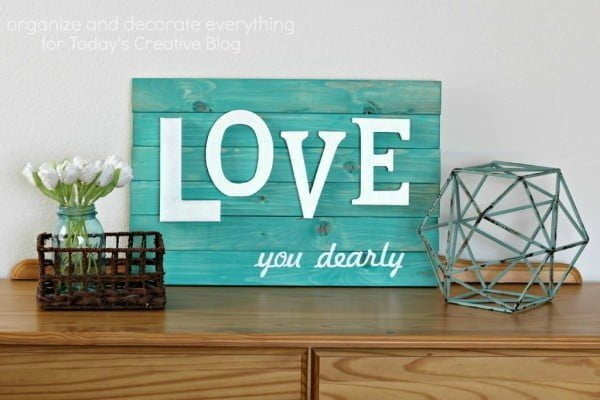 DIY Wood Slat Sign
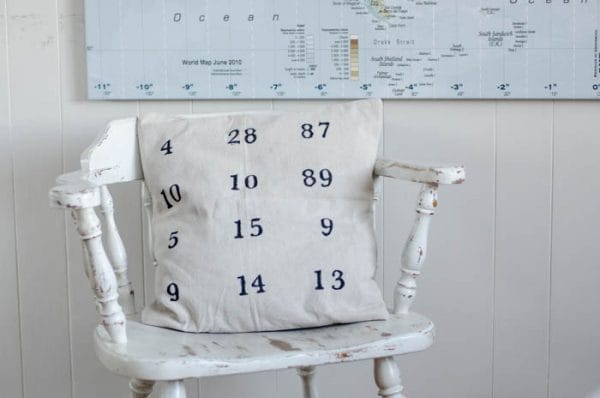 DIY Special Dates Pillow
 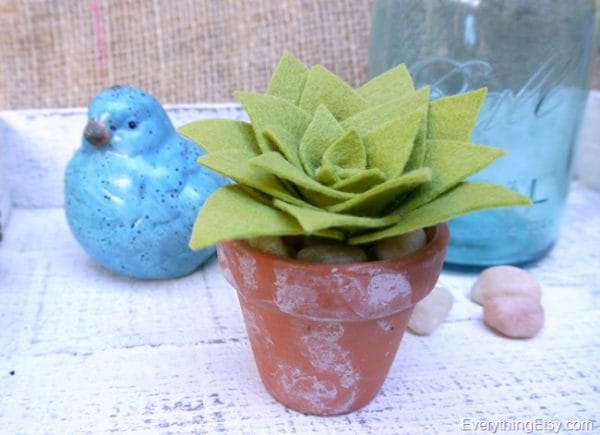 DIY Felt Succulents


Karlie says
So Cute! I found the wood boards at The Wood Connection, but was wondering if you used the Large or Small board? And did you buy the wood banner pieces from there also?
Kim says
I will ask my guest poster to reply here with the answer.
Megan says
So cute! I love seeing Amy’s banners! They are always full of color! Perfect for summer and cannot wait to re-create it!
Adrian says
Love this!!! Where did you get the slat board?
Kim says
Let me ask the guest poster for that information.
Megan says
I think it might be the wood connection!
Virginia Fynes says
This is so sweet! I want to make one for my front door, pinning!