I’ve been wanting to try iron on transfers for a while. I’ve done heat transfers, but never iron on graphics. I love the iron on graphics I see on dish towels, book bags, even t-shirts! How hard could it be right? Not hard at all………..if you read the instructions. Which I finally did.
I headed to The Graphics Fairy to choose a design from her thousands of image choices. Karen is so generous to share everything she finds for free. If you’ve never been there, you’re missing out!
How to Iron On Graphics
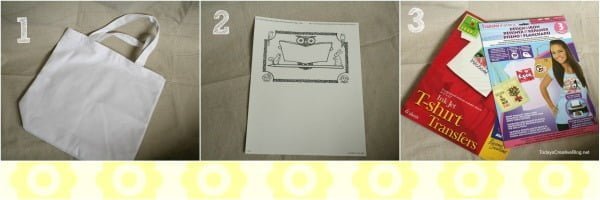
- Choose your item you’d like to transfer your image too. Cotton works best. But you can use a cotton/poly blend.
- Print out the graphic you’d like to use. If you’re using a graphic with letters, numbers or words, you’ll need to reverse your image in your printer options.
- Print onto the Iron On Transfer paper. Follow instructions on what side to print on. The transfers by Avery seemed to work better, but it is highly likely it was user error on my part while using the other brand.
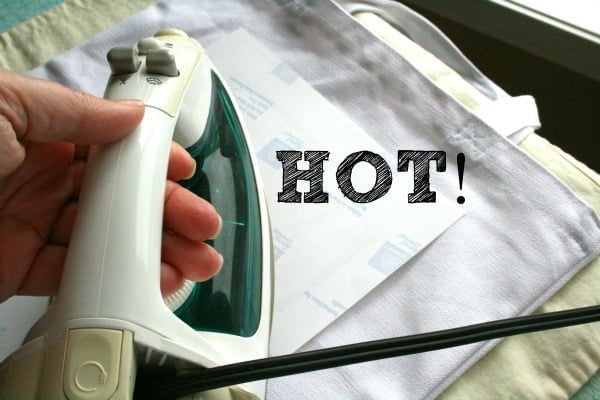
4. The instructions indicate that the iron be set at the highest setting with NO steam. I just ironed like normal with extra pressure, but I really should have ironed from right to left 4 times, then top to bottom 4 times.
“Using firm pressure, slowly iron from one side to the other (20 seconds per pass). Use enough overlapping passes to completely cover your image, especially the edges” Avery Instructions
Then repeat the same steps, but from top to bottom.
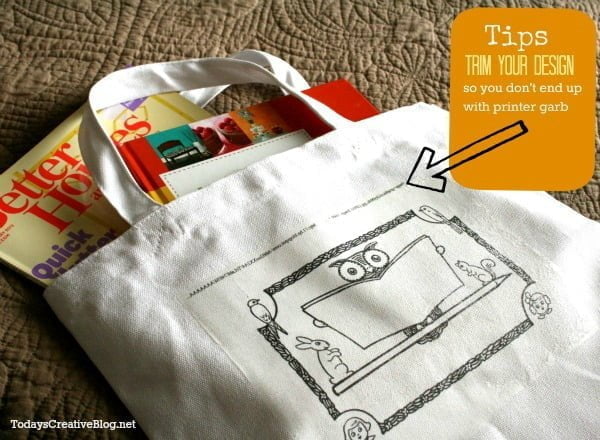
I peeled the iron on transfer paper RIGHT after I was finished ironing because I am not a patient crafter who didn’t read the instructions. Had I waited until cool like it suggested, I wouldn’t have the peeling that occurred. I would also be careful to trim my image next time too. I don’t think I really need the printed page information. Live and learn.
At least I didn’t scorch the one above like I did the first time I tried it. Using my Silhouette, I used one of their printable images from the Silhouette store. Printed it onto the Image transfer paper and ironed it on. I obviously ironed too long. 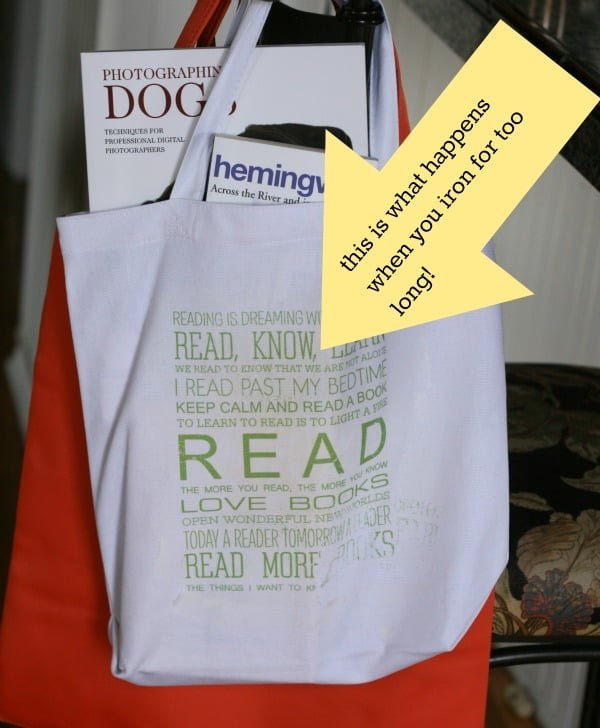
But as I always state……….I like the distressed look.
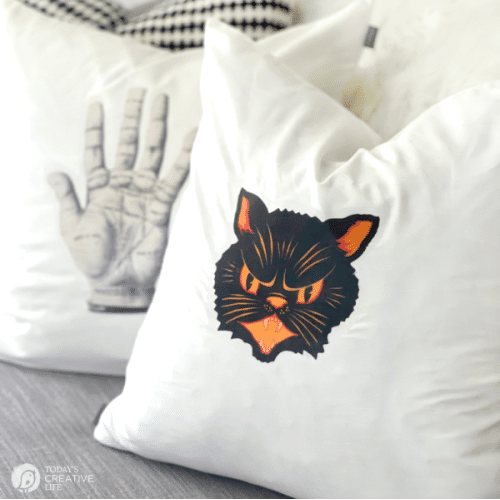
This is such an easy way to make fun book bags for your kiddo’s or play around with other projects! Make family t-shirts for your summer vacation, or summer reading book bags……..aprons, pillow cases,pillows etc….
What would you make?


Krista Low says
This is such a great post! I have wanted to try this but haven’t done it yet. Once it’s transferred do you have to set the ink with anything? Can you wash it?
Kim says
Nope no special anything after you iron it on. Wash as normal……although I’ve learned to turn things inside out.
craftzee says
Hm.. I’ll try at my t-shirt.
Carol Gib says
Love this tutorial. I have always wanted to
try transfers onto fabrics.
Julie S. says
Thanks for sharing the process! I love learning from your mistakes! I always share mine in the classes I teach…someone might as well benefit from those long hours of “learning” I put in!