I love these Patriotic Quilted DIY Coasters that Kristi is sharing to kick off my Celebrate Summer Series. This easy to follow step by step beginner sewing craft tutorial looks like something even I could tackle! Time to get out that sewing machine and whip up a few 4th of July DIY Coasters!
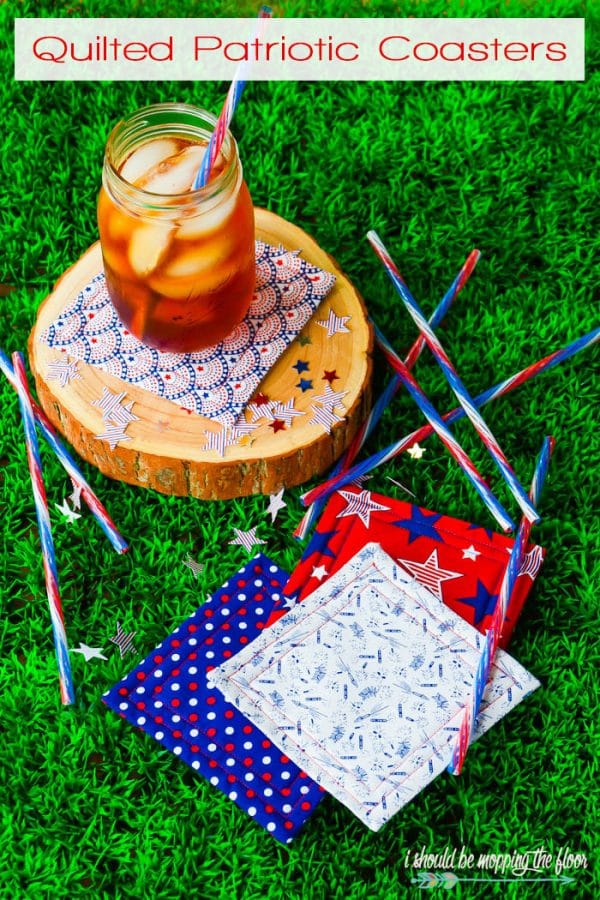
DIY Coasters – Patriotic Quilted Coasters
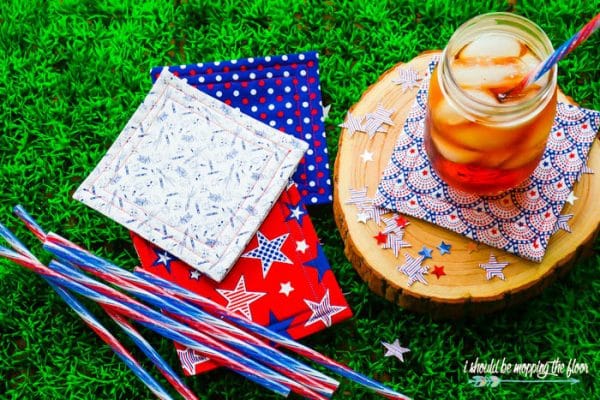
I’m so happy with how these fabric coasters turned out. I love adding red, white, and blue wherever I can…and under a cold beverage is the perfect spot (because nothing screams summer like a cold drink!).
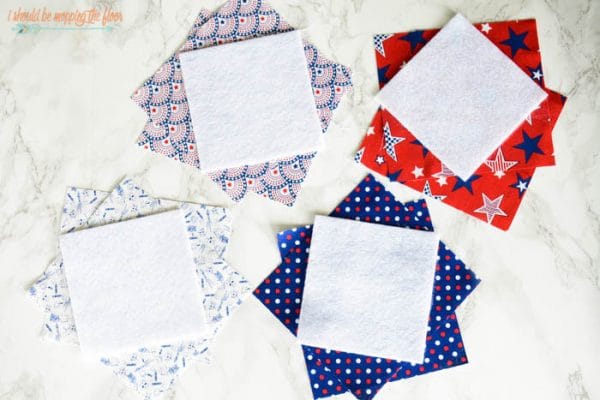
DIY Coasters Supply List:
Affiliate links for products listed are for your convenience only. This cost you nothing extra. If you happen to purchase anything as a result of clicking, TCL will receive a small percentage. Thank you for your support. This allows me to continue to offer you free content.
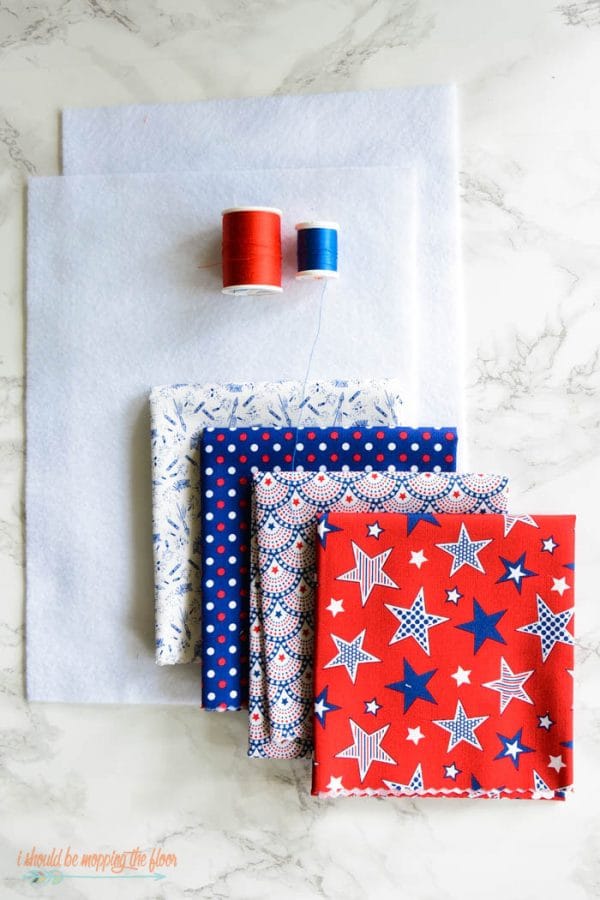
- Sewing Machine
- Patriotic Fat Quarters
- White Felt Pieces or Quilt batting
- Fabric Scissors
- Red and Blue Thread
How to Make Fabric DIY Coasters
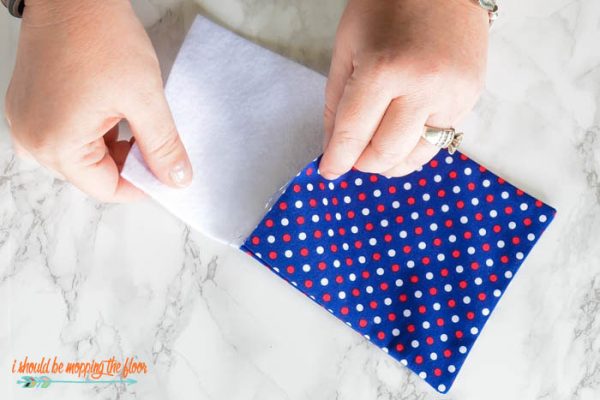
- Like I mentioned above, I do a 6″x5.5″ square for my initial cut (it will form a perfect square once it’s all sewn up). Each coaster requires two of the 6″x5.5″ squares and one felt square. I cut my felt into 4.5″ squares.

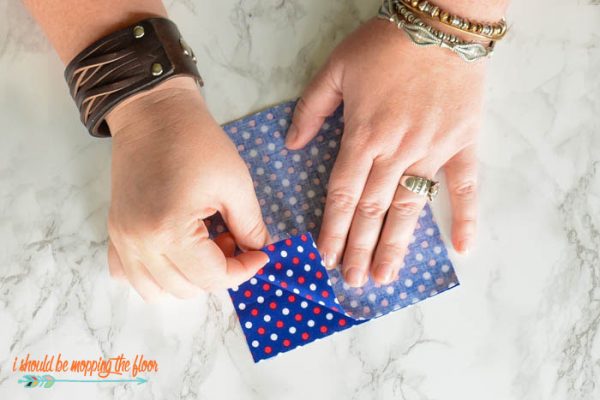
- Start by placing your fabric right sides together on your coaster (no felt needed, yet).

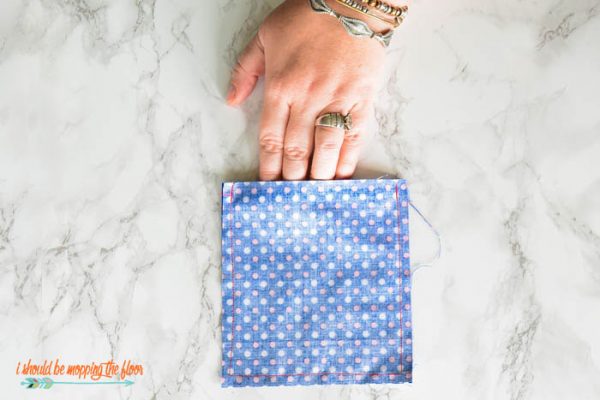
- Using the basic stitch on your sewing machine, stitch three sides closed with a quarter inch seam allowance (leave one of the shorter sides open, as pictured above). I do a small backstitch at the beginning and end.

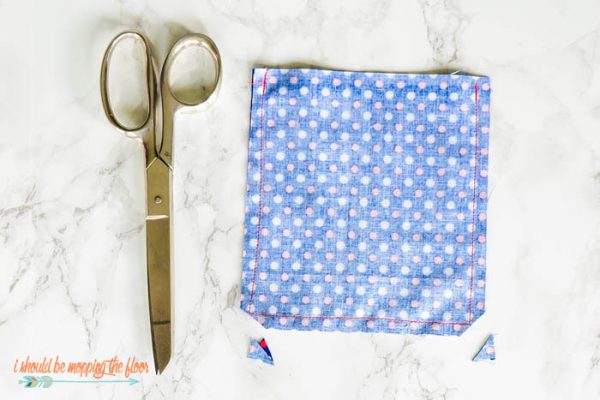
- Clip your two corners so your points will turn out nicely.

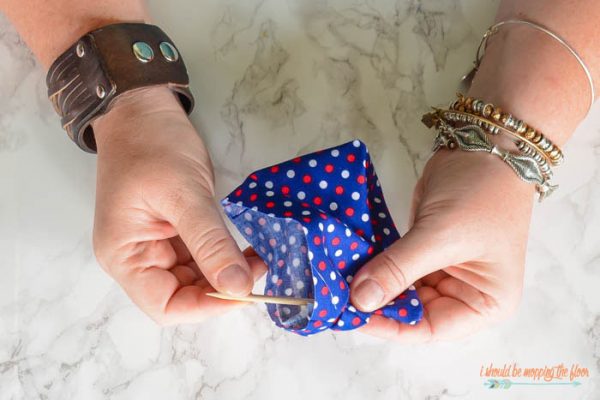
- Turn the coaster right side out and gently push out those corners (I use the slanted end of a manicure stick…be super careful not to poke through your fabric). Once your corners look nice, give the whole thing a quick press with your iron.

- Slide your felt square into your coaster’s opening (this may take a little finesse).

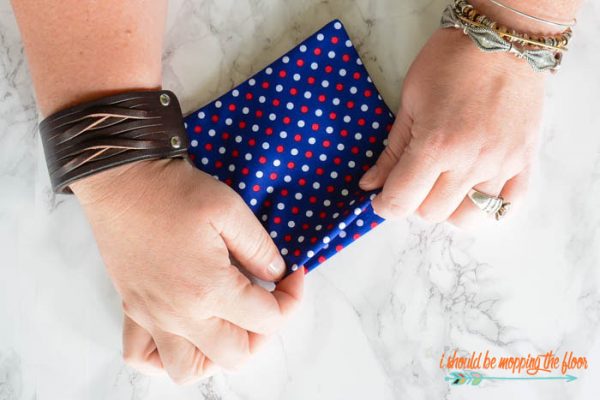
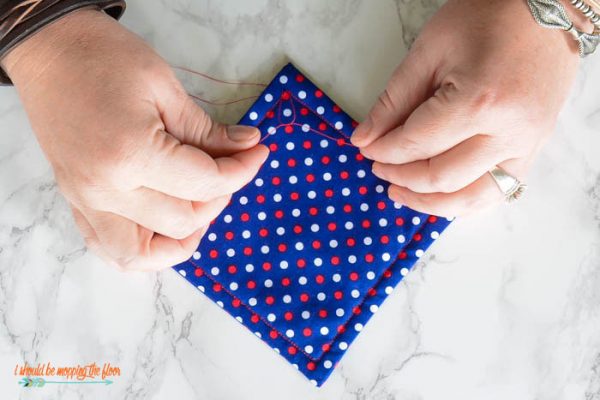
- You will tuck in the raw edges of the open side of the coaster. Tuck in enough so the entire coaster is a perfect square. Press this tuck in place so it’s easy to sew. Then head back to your sewing machine (basic stitch again). You’ll be sewing around the entire perimeter (sewing closed the open side), using a quarter inch seam allowance (see below).

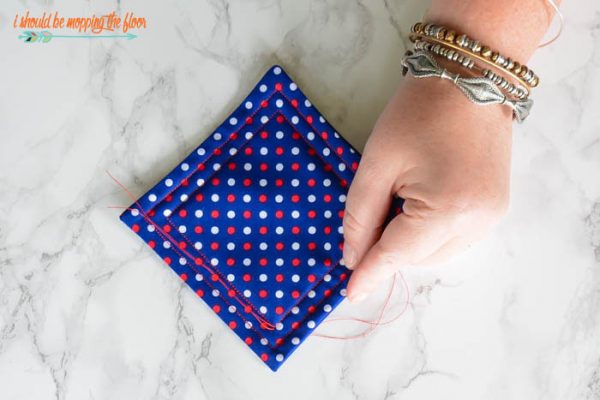
- After you do the initial sewing around the edge (well, within a quarter of an inch from the edge, technically), you’ll repeat with another stitch, another quarter of an inch inward. This gives you that nice quilted border…and a nice big square in the middle for a drink to sit on. I do not do any backstitching on these quilted seams. I feel like it makes them untidy. Instead, I keep my beginning and ending threads longer so I can tie them together when removing the finished piece from the sewing machine (see below).

- Simply tie off with a double knot and snip off the threads as close as possible to the knots.
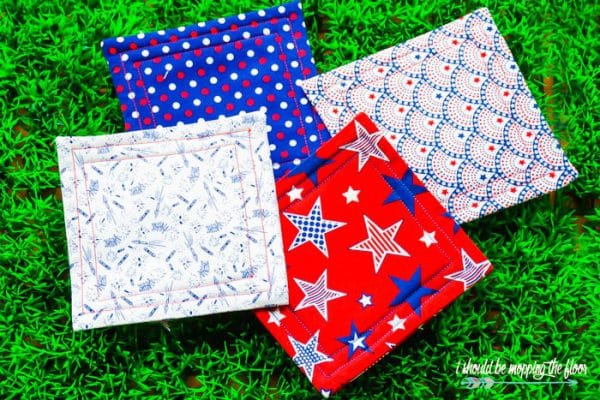
Pretty sure that vintage fireworks print is my absolute FAVE!
You can even play around with these and do a different fabric on each side.
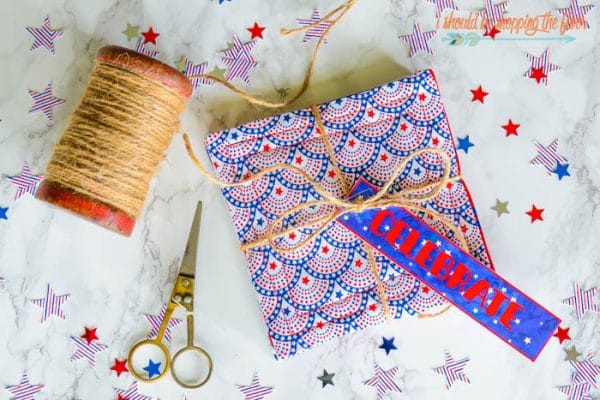
Bundle them together with some twine for a lovely hostess gift at summer parties.
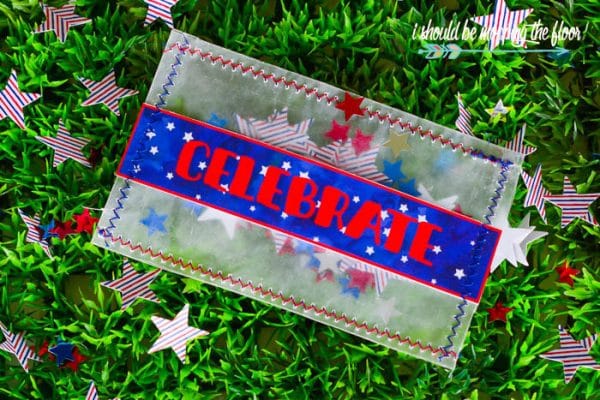
I used the free printable CELEBRATE tag from my blog for the tag on the coasters. They were a part of my Patriotic Glassine Confetti Packets tutorial.
Click here to grab that free printable (and for this project over on my blog).
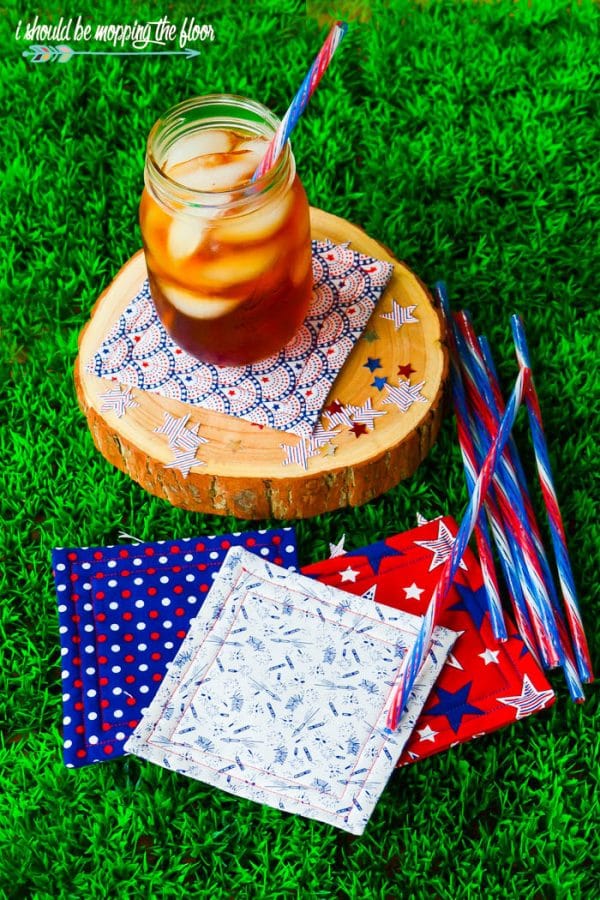
Are your ready for all of the red, white, and blue FUN?
Thanks so much for having me here at Today’s Creative Life, Kim!
It’s always such a pleasure to hang out with your readers.
For more projects like my easy to make Quilted Patriotic Coasters, click here to head over to ishouldbemoppingthefloor.com.
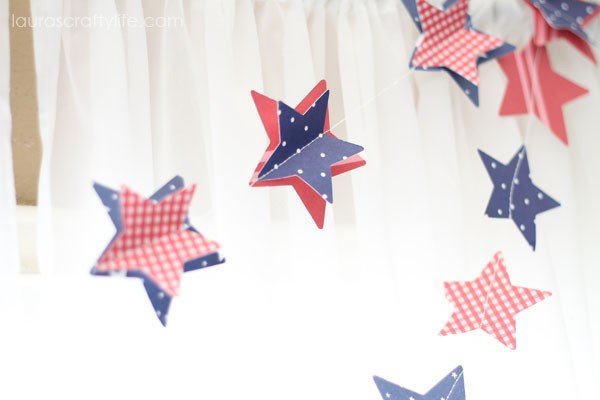 DIY Patriotic Garland
 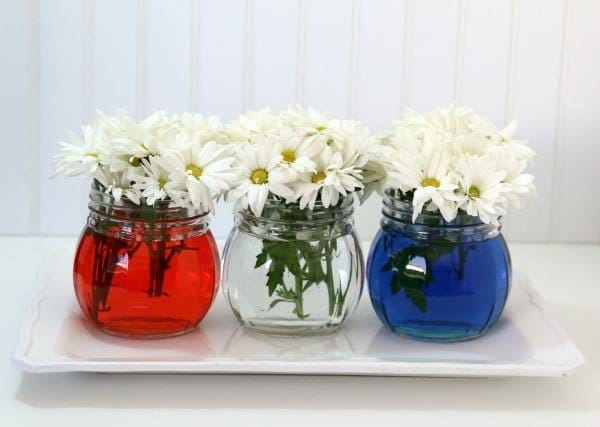 Easy Patriotic Table Decor
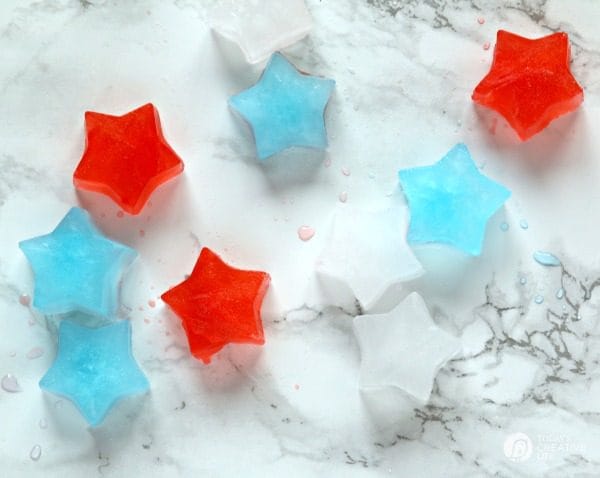 Red, White & Blue Patriotic Ice Cubes


Leave a Reply