This DIY home decor idea is a DIY for Wall Decor using a canvas drop cloth, iron-on vinyl and a Cricut Explore Air 2 or Cricut Maker. This tutorial will show you how to make your own wall art for a personalized custom look. I made this DIY wall decor to update our rustic 1977 Lake Place, which was also very budget-friendly.
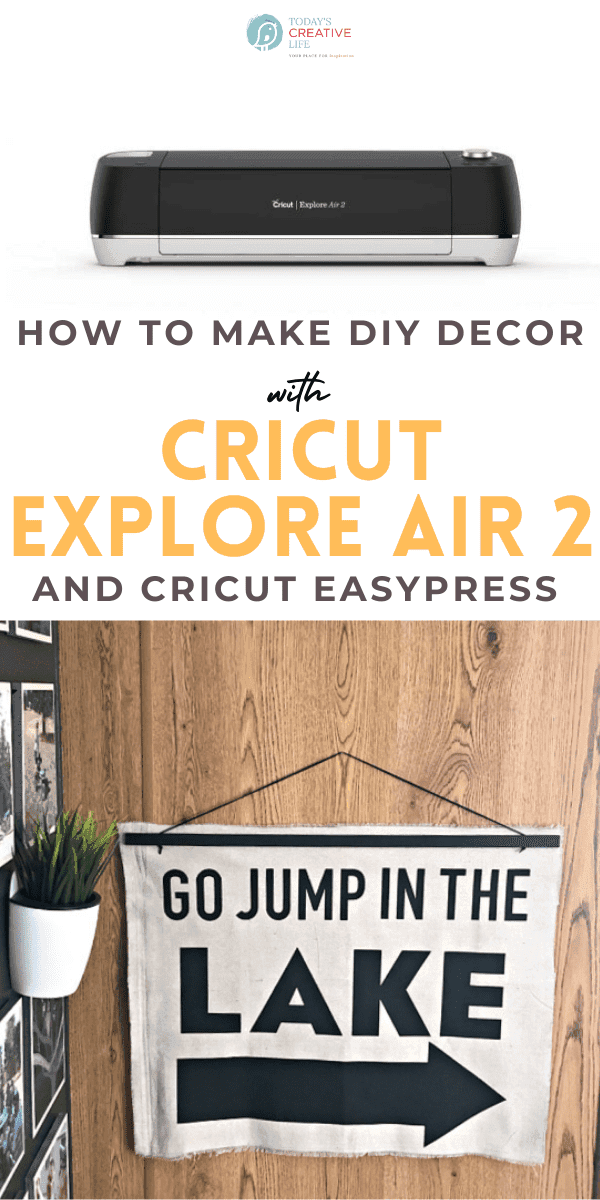
DIY for Wall Decor
Creating DIY Home Decor is one of my favorite things to do! This DIY for wall decor was the perfect inexpensive way to update the decor of this space. DIY hanging wall art is usually really easy and I can make it custom to fit the personality of the room. Using my Cricut Explore Air 2 (a Cricut Maker would work too) I was able to make this hanging wall art in about 30 min from a drop cloth I already had. I needed the style to be rustic, boho and fun.
For those of you who follow along on Instagram, you may already know we acquired a family vacation place after the passing of my father-in-law. It’s a very well-maintained, rustic manufactured home with a small 12×12 house. We made a few painting updates and removed a lot of items that had been collected since the late ’70s. I am dedicated to keeping everything we do budget-friendly since we’re unsure if we want to replace it. Budget-Friendly room makeovers are my specialty.
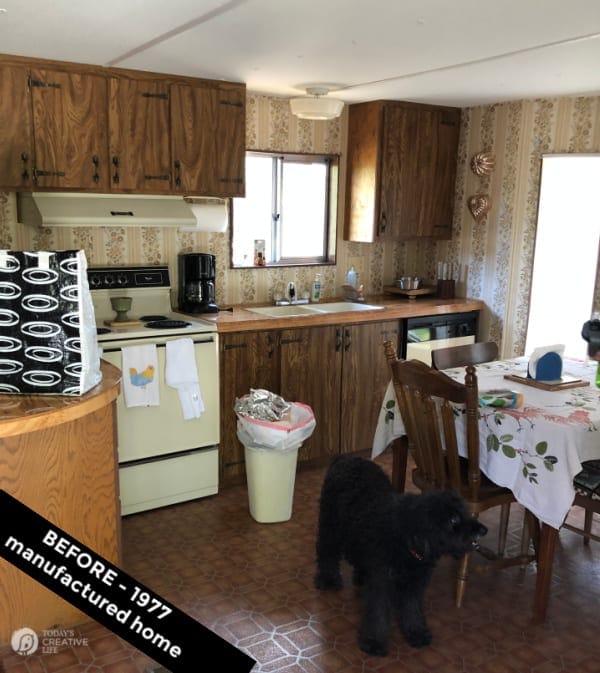
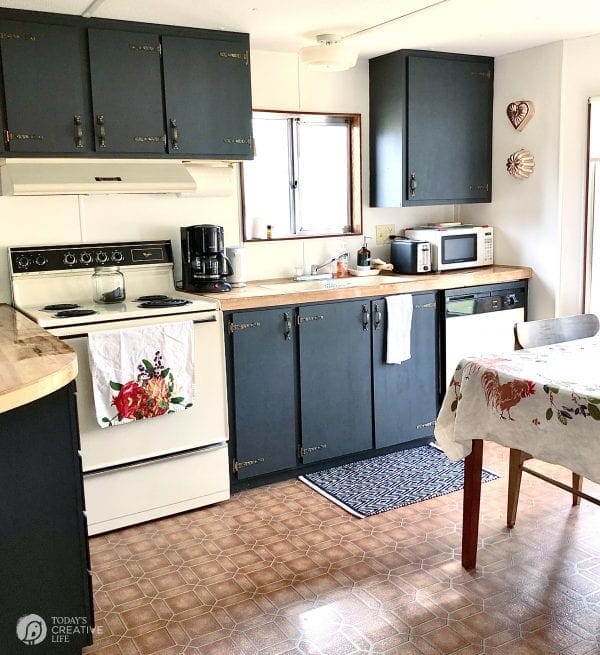
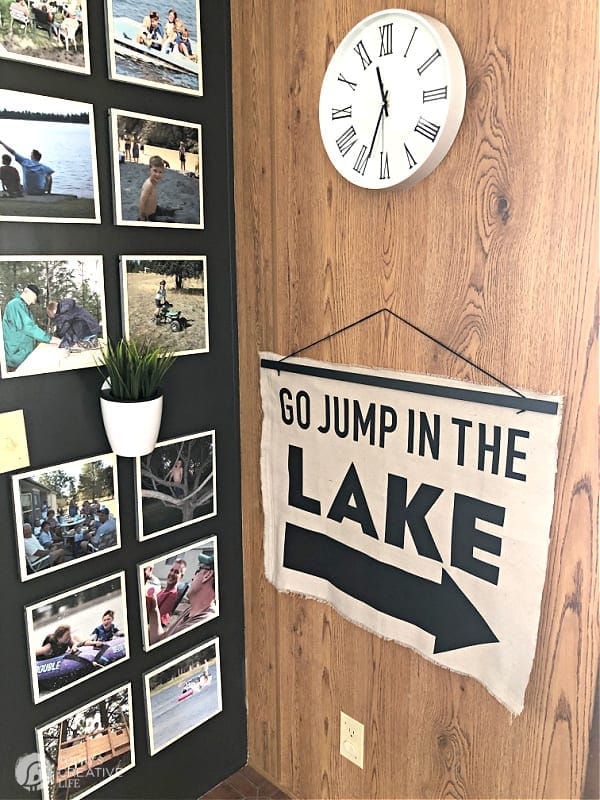
I had the perfect spot to hang this new wall hanging.
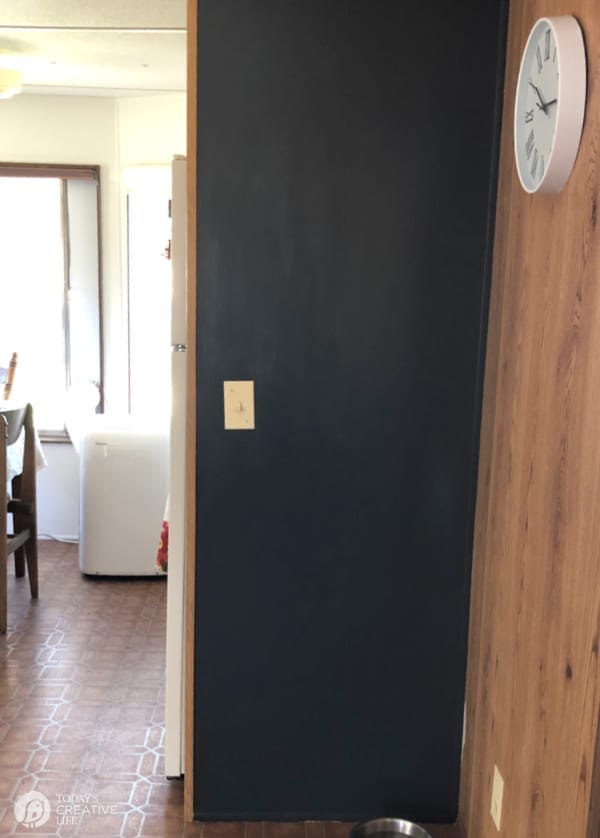
We painted one of the paneling walls with black paint and made it a gallery wall of lake memories.
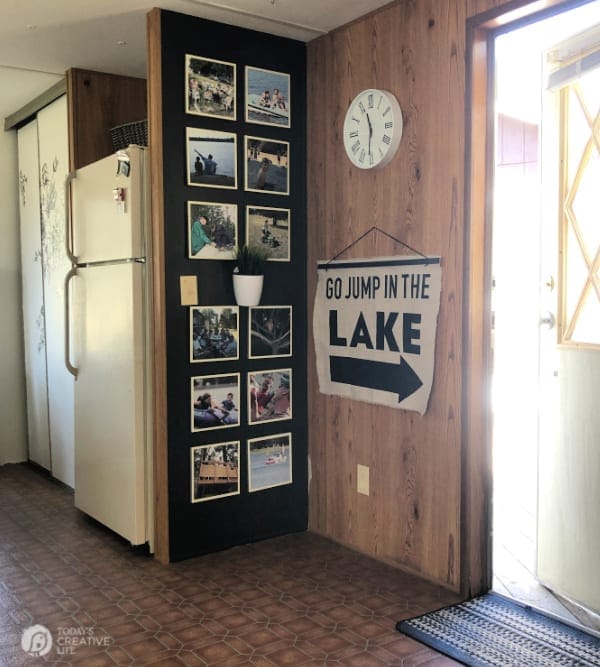
The new canvas drop cloth wall hanging is perfect! The style, the colors, the quirkiness. It definitely adds a more modern feel and goes with the Redneck Scandinavian style I’m going for.
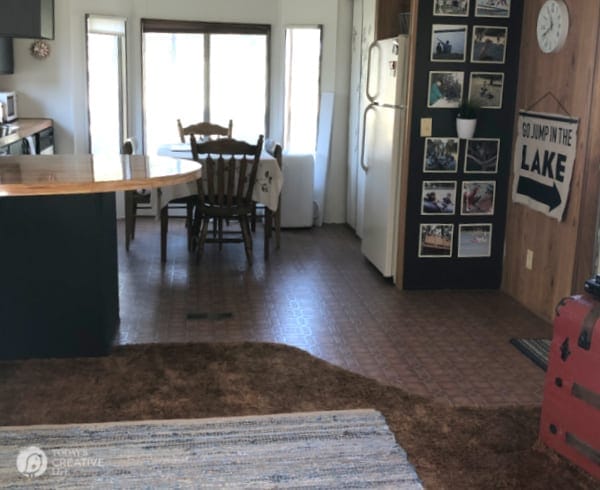
DIY for Wall Decor Canvas Drop Cloth Wall Hanging
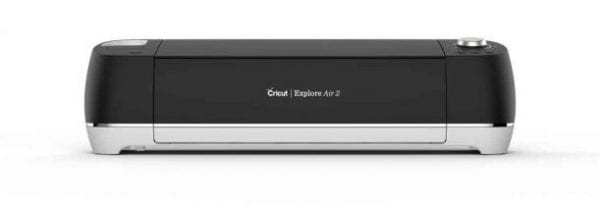
Supplies Needed:
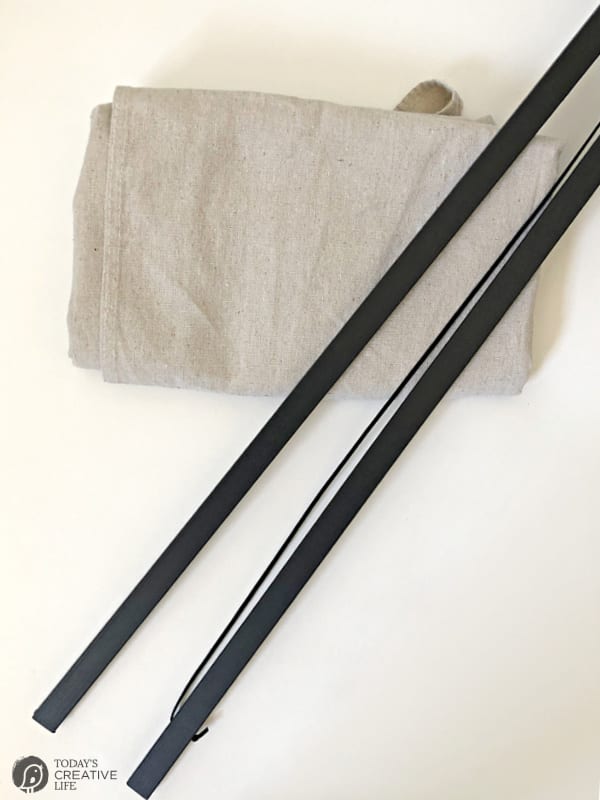
- Canvas Drop Cloth
- Scissors
- Parchment Paper
- Cricut Explore Air 2 or Cricut Maker
- Cutting Mat – I used the large 24-inch option.
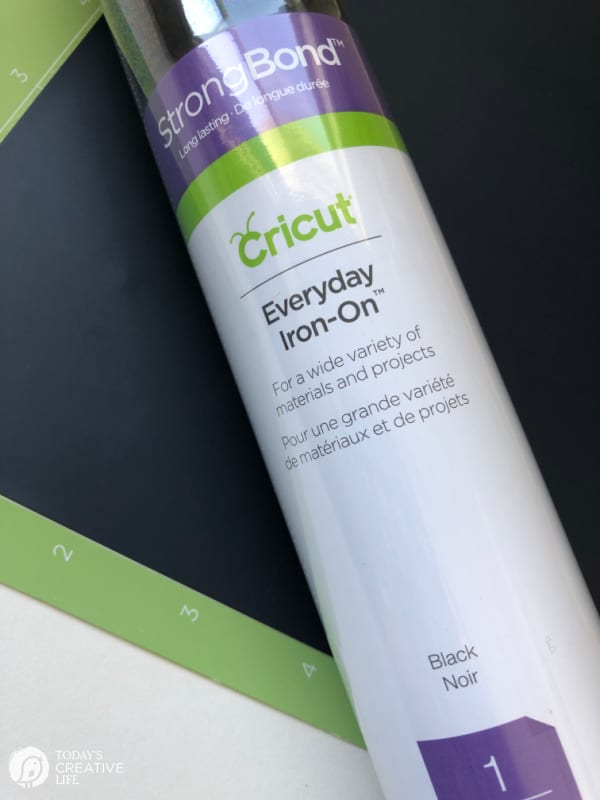
- Black Iron-0n Vinyl
- Iron or EasyPress
- Cricut Weeding Tools
- Magnetic Hanging Frame


DIY Canvas Wall Art
Hanging Wall Art made with a Canvas Drop Cloth & Iron-on Vinyl.
Materials
- Small Canvas Drop Cloth
- Black Iron-on Vinyl
- Magnetic Hanging Frame
- Parchment Paper
- Cricut Cutting Mat | 24 inches for larger wall art
Tools
- Cricut Explore Air 2 (or Cricut Maker)
- Cricut Weeding Tools
- Cricut EasyPress or Iron
- Ironing board or Pad
Instructions
- Gather your supplies.

- Cut the drop cloth to the size you need. Fray the edges by pulling threads.
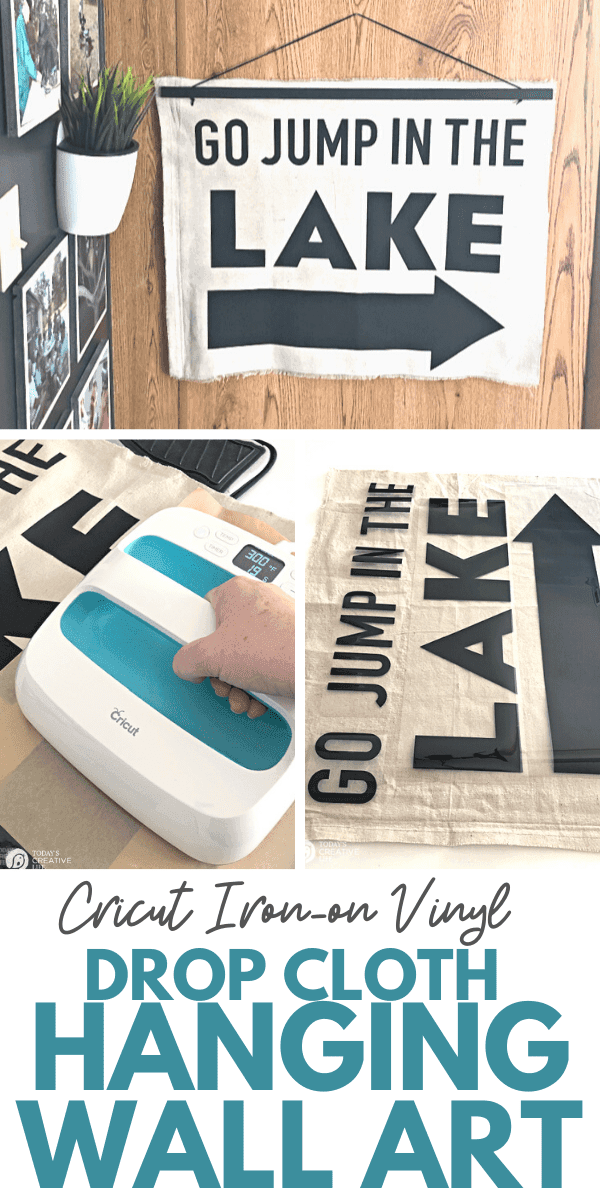
- On your phone or computer, using the Cricut Design Space, choose the text and font for your saying. Type it out to see what you can fit within the cutting mat space. I used my 24 inch Cricut cutting mat and was able to fit "go jump in the" on one pass.
- Load your iron-on vinyl with the shiny side down.

- Follow the prompts to cut. It will ask you what material your using and what blade to use with it. Be sure to ALWAYS choose the mirror selection when cutting text. Otherwise, it will be backward.
- Cut - let the machine do its magic.
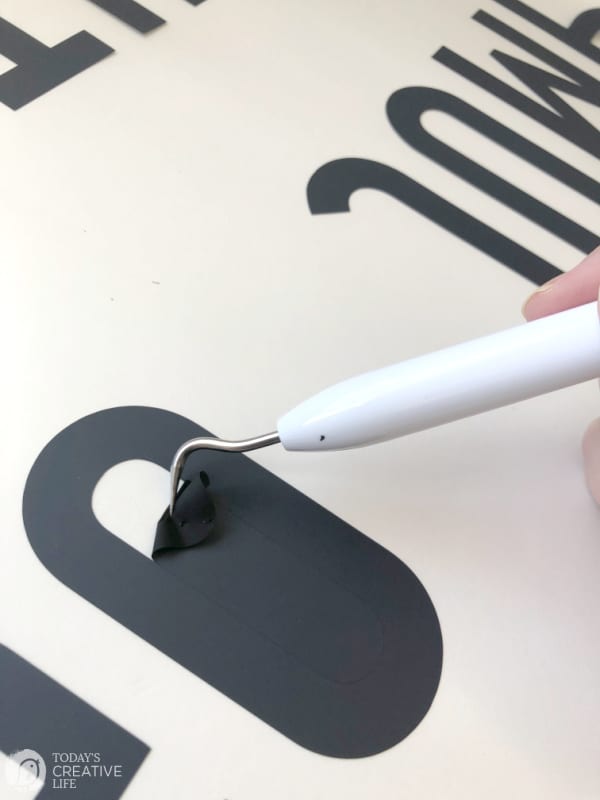
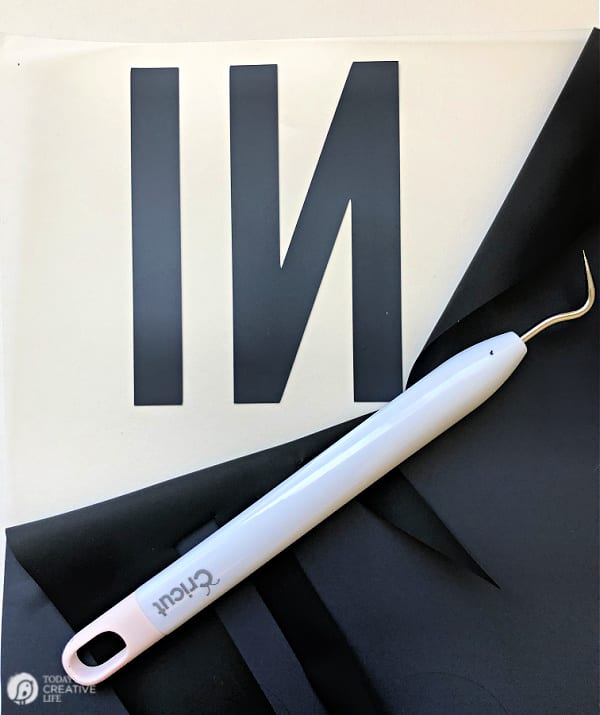
- Once cut, I like to flip my mat over and peel away from the vinyl. Once the vinyl is free, start weeding the extra material away, leaving your text.


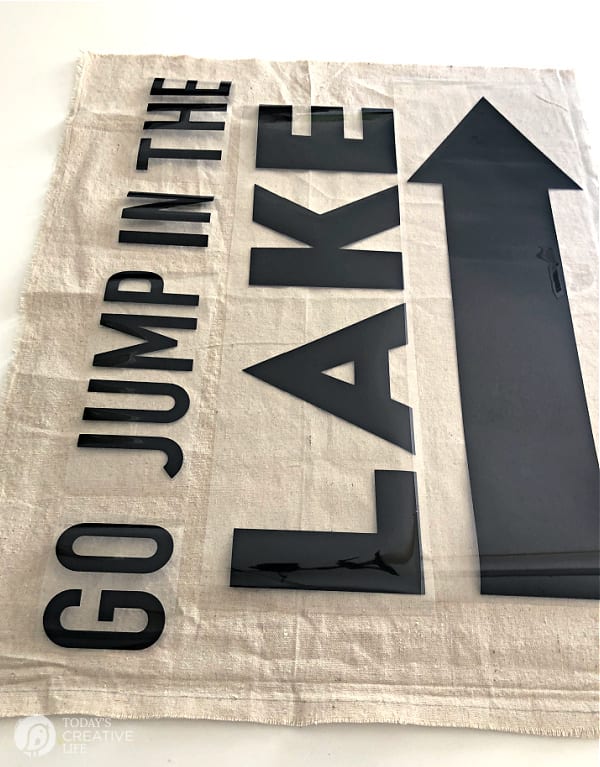
- I cut each word out on its own for application.
- Iron (no steam) or EasyPress your fabric.
- Place your text face down.

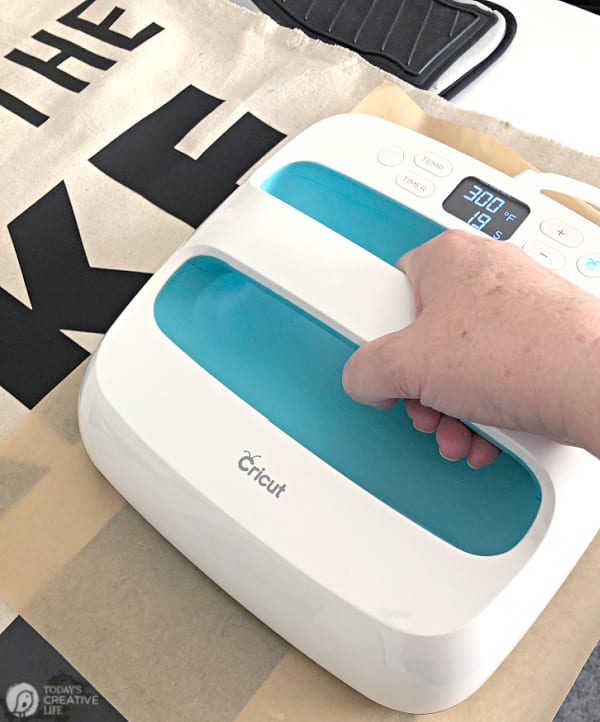
- Choose the setting for the EasyPress - See the Heat Guide Here. This will tell you if it's a warm peel or cool. If you are using an iron, choose the material setting with no steam. Follow the same amount of time with pressure.

- When peeling the clear film away, your letters should completely adhere. If they are pulling up at all, place the clear film back on and iron again.
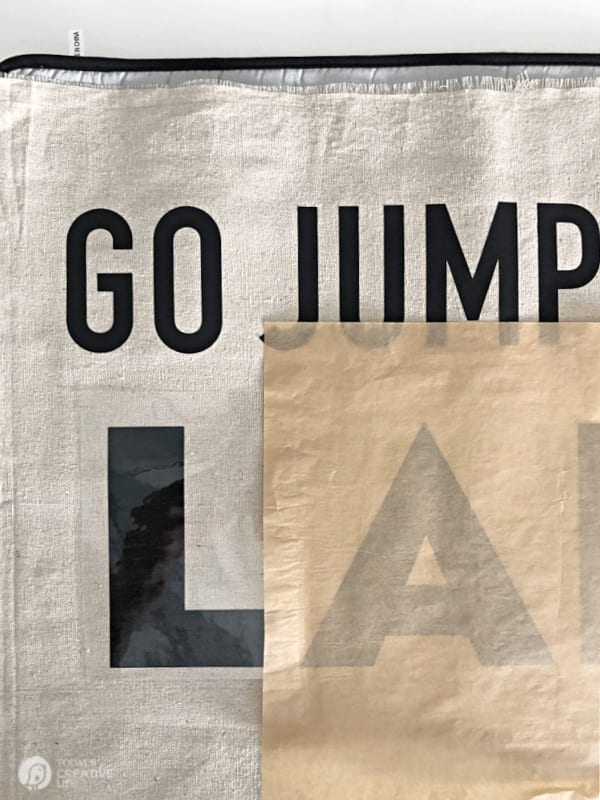
- Because I ironed one word at a time, I used parchment paper to cover the sections I had already ironed.

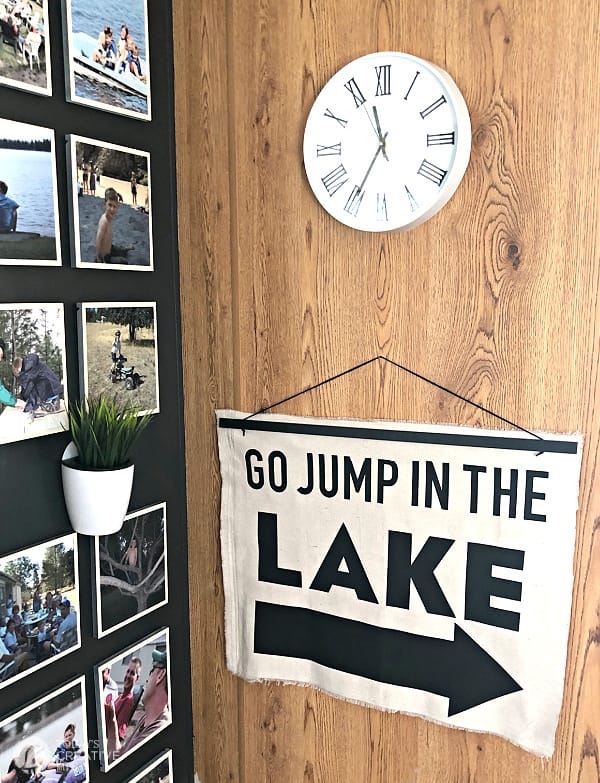
- Once I was finished ironing, all I needed to do was add the magnetic frame. Simple.
Notes
Please see the video provided for Iron-on For Beginners.
Any of the Cricut Machines will work for this project. For small wall hangings, the Cricut Joy would be perfect.
Creating DIY home decor and wall art is so much easier when using your Cricut. Here are a few ideas from a few blogger friends for some inspiration. Layer colors and shapes for a beautiful set of wall art. Simple and easy wall art on wood. Transform a room with this simple and budget-friendly home decor idea. Create custom wall art with your Cricut.Cricut DIY for Wall Decor
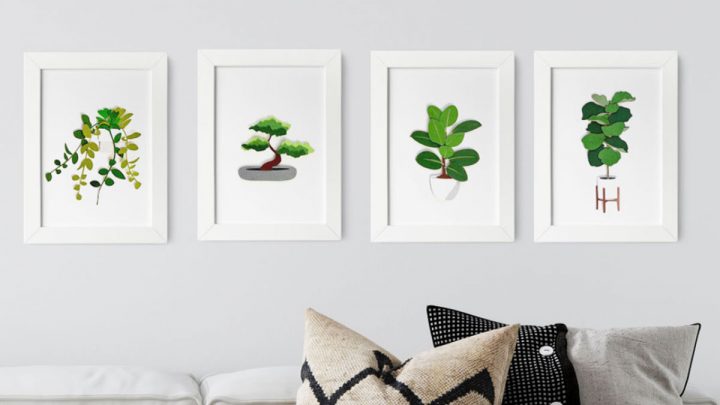
Botanical Paper Art Collection One
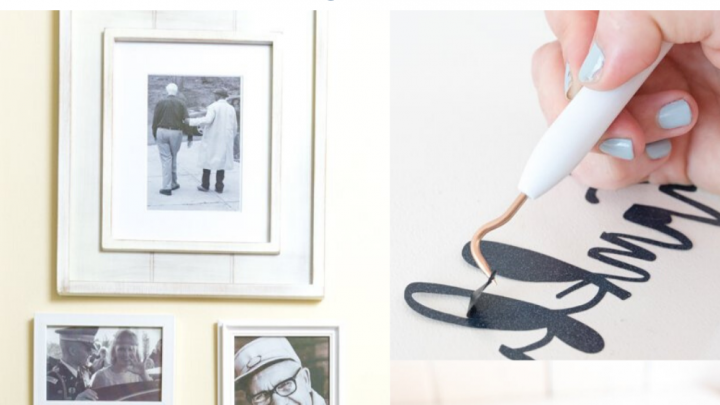
Wood Wall Art with Cricut Iron On
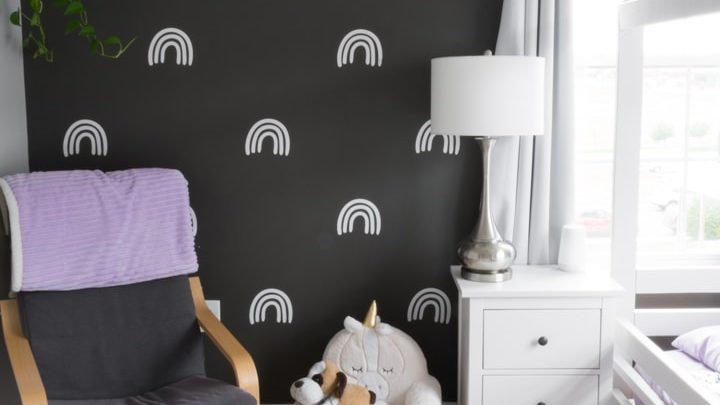
DIY Wall Decals Using Cricut: Learn How to Make Your Own Wall Stickers!
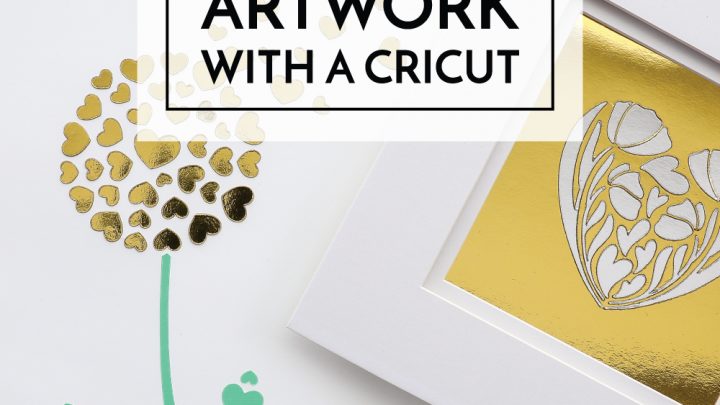
The Best Way to Make Art with a Cricut
Cricut Crafts & Project Ideas
Using a Cricut Cutting Machine makes creating DIY Home Decor or Homemade Gifts that much easier!
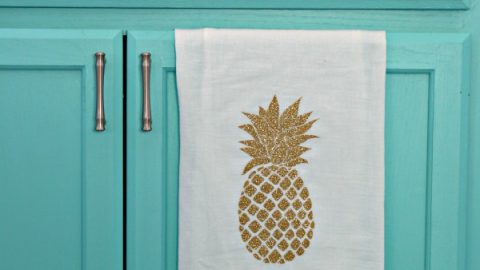
Iron-on Glitter Pineapple Kitchen Towel
Bring style to a simple kitchen towel with iron-on glitter vinyl.
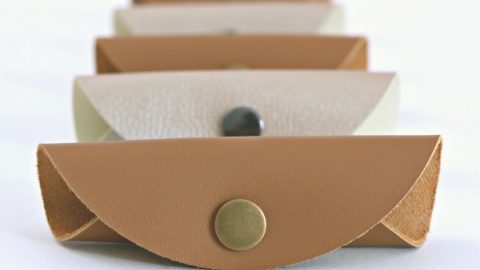
DIY Leather Cord Keeper - Cricut Maker Knife Blade Project
Cutting leather is just one of the projects the Cricut Maker can cut.
How to Make Gingerbread House Ornaments
Easy to Make Holiday Ornaments using chip board or cardboard
How to Make a DIY Paper House
Use your Cricut Cutting Machine to make holiday snow topped paper houses.
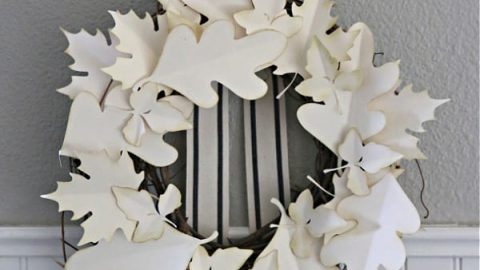
How to Make a Paper Leaf Wreath
Make this beautiful fall wreath using your Cricut cutting machine or hand-cutting paper leaves.







Dirose says
Another cute idea by Kim!!
Thanks.
Heidi Berglund says
I love this! You could use this idea to dress up just about any space! Thanks for sharing.
Kim says
Thanks, Heidi! I totally agree! So many great ideas!