You’re going to love this step by step, DIY Monogram Pillow Tutorial from Creative Contributor Colleen from LemonThistle.com. She is always so creative, especially when she uses her Cricut Explore. See all of her projects!
DIY Monogram Pillow Tutorial
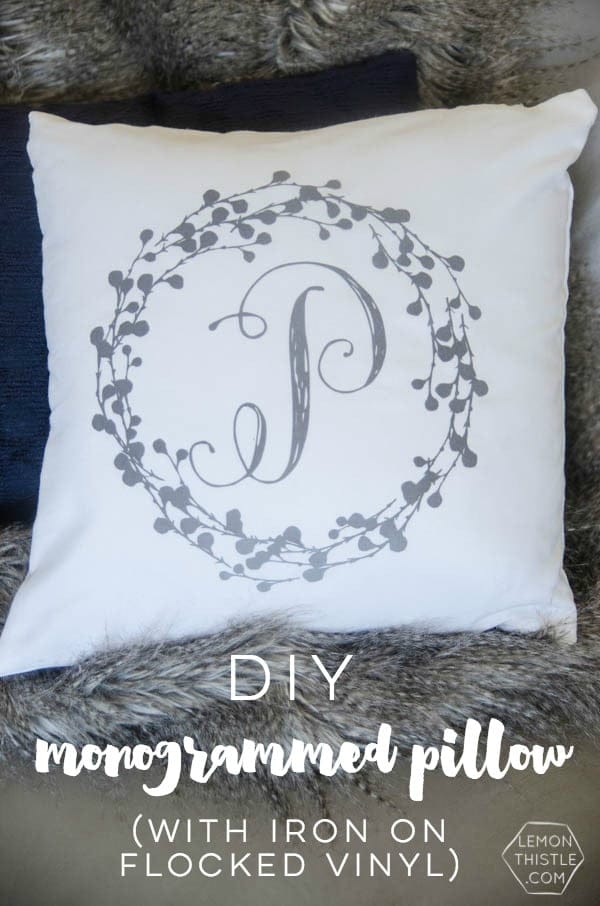
Hello Today’s Creative Life readers, Colleen here from Lemon Thistle (home to DIY, parties, home decor, and babies). Lately I’ve been wanting to change up my decor for spring with some brighter touches. I’m working on a pretty limited budget right now and with a bag of boring throw pillows sitting in my basement, I thought it was time to give one of them a refresh. This wreath monogram is so fresh, it’s perfect for spring. And by using flocked vinyl, it feels pretty luxe to boot.
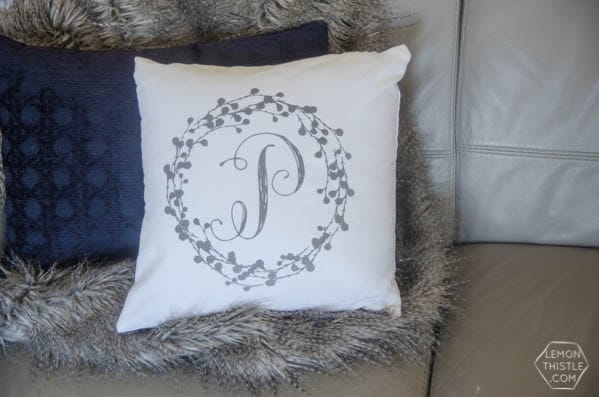
Here’s what you’ll need to make your own:
- A design (see below)
- Cricut Explore Air™ or other cutting machine
- Flocked Vinyl (I used grey)
- Plain pillow case
- Iron
How to Make a Monogram Pillow using your Cricut Explore Air™
Start by deciding on your design. I created a wreath monogram using this gorgeous Pillowbook font. It came with some wreath freebies so it was easy to create the graphic! You can do it in Photoshop or even Picmonkey.com since it’s so simple. Then, load your design into Cricut Design Space, size it to preference, and hit go! Make sure you check off the iron on (reverse design) and pay attention to put the shiny side of the iron on vinyl down.
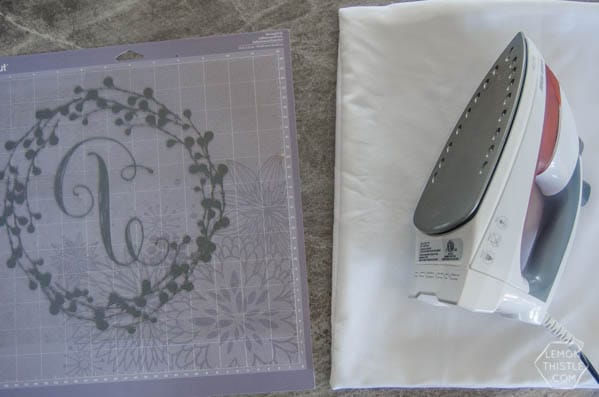
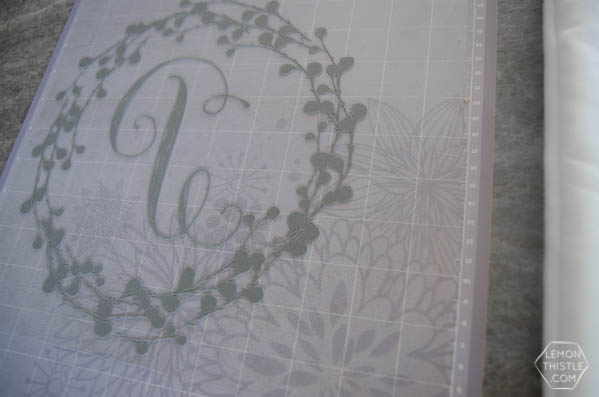
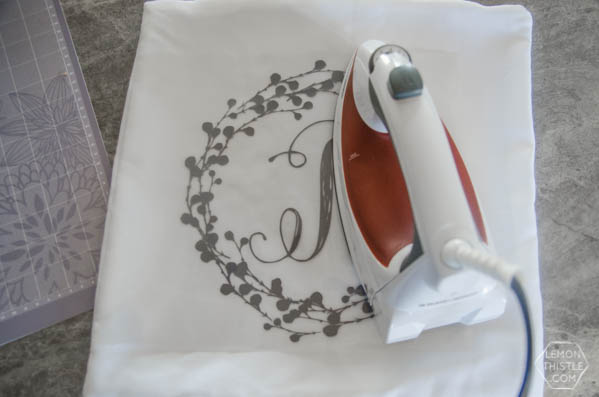
When it’s cut, weed away the pieces you don’t want ironed on while your iron preheats. Iron the fabric pillowcase to warm it up before applying your design, then apply pressure while ironing for about 30 seconds. I find I need to let it cool before peeling the plastic back (or burnt fingers are in store!).
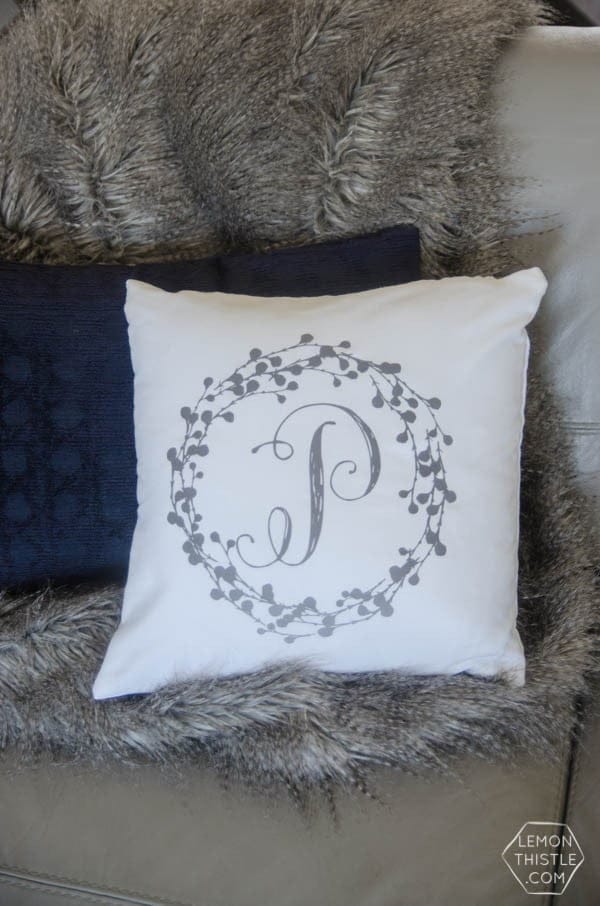
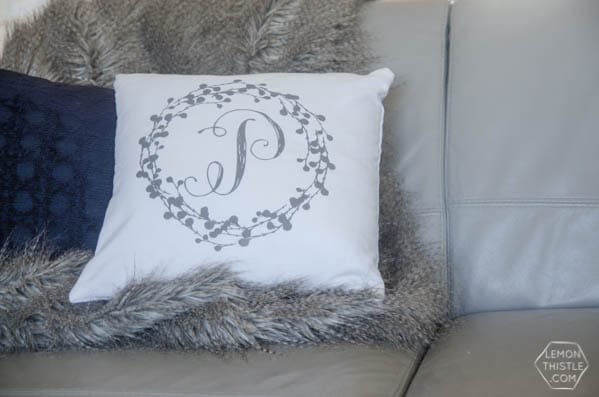
I really love the way this turned out. It’s SO simple and looks really fabulous with the rest of my spring decor.
See more Creative DIY Ideas!
- New Kid on the Block Iron On Onesie – by Colleen for Today’s Creative Life
- 30 DIY Home Projects to make with a Cricut Explore – Crafted Sparrow
- How to Use Heat Transfer Vinyl – Crazy Little Projects
- Iron On Dishtowels – Today’s Creative Life
- Iron On Canvas Gift Bags– Today’s Creative Life



Hether Buhler says
Do you have instructions for uploading the border into picmonkey? I purchased the Pillowbook font but can’t figure out how to upload the border to make the pillow and then upload to DS.
Thank you!
Kim says
She only uses the Cricut Design Space. Could you download your image, then upload it to PicMonkey? If it’s the wrong type of file, just take a screen shot, crop it and then upload that image. I hope that helps.
Colleen Pastoor says
Hi Heather! I’m so glad you liked it- I used the PNG version of the wreath *wreath 3* from the extras that came with it. Only the PNG version will work in Pic Monkey. Then select the colour and set it to black to simplify it 🙂 I’d love to see how it turns out!