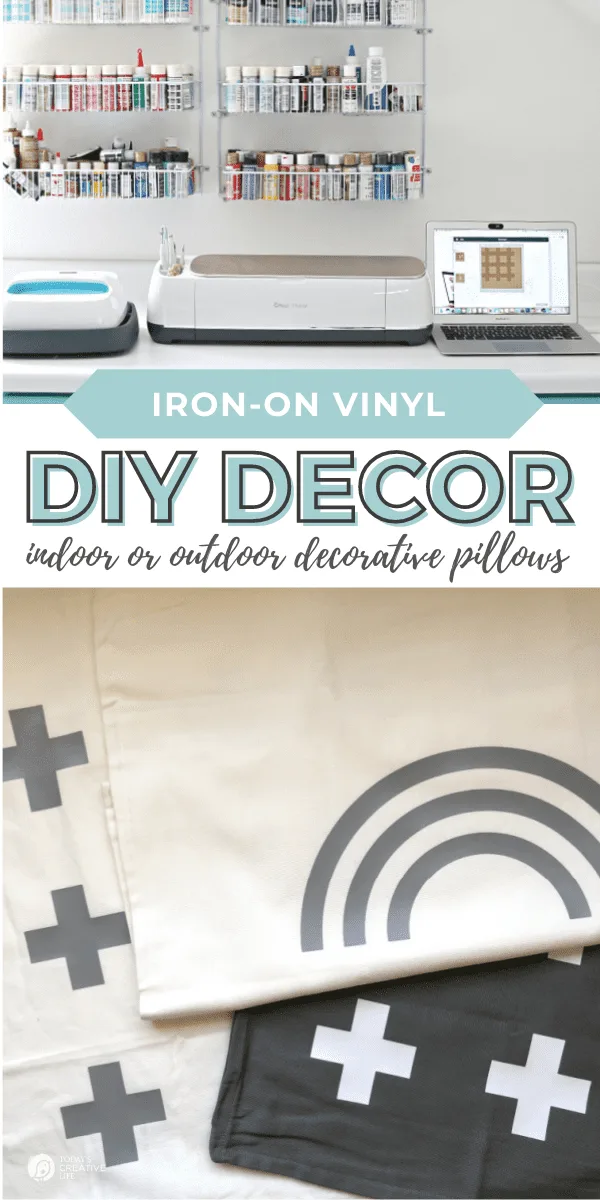
Making my own decorative pillow covers are my DIY Patio Ideas on a Budget secret. Using my Cricut Maker®, I can use the iron-on vinyl in any color to create a new look easily and inexpensively.
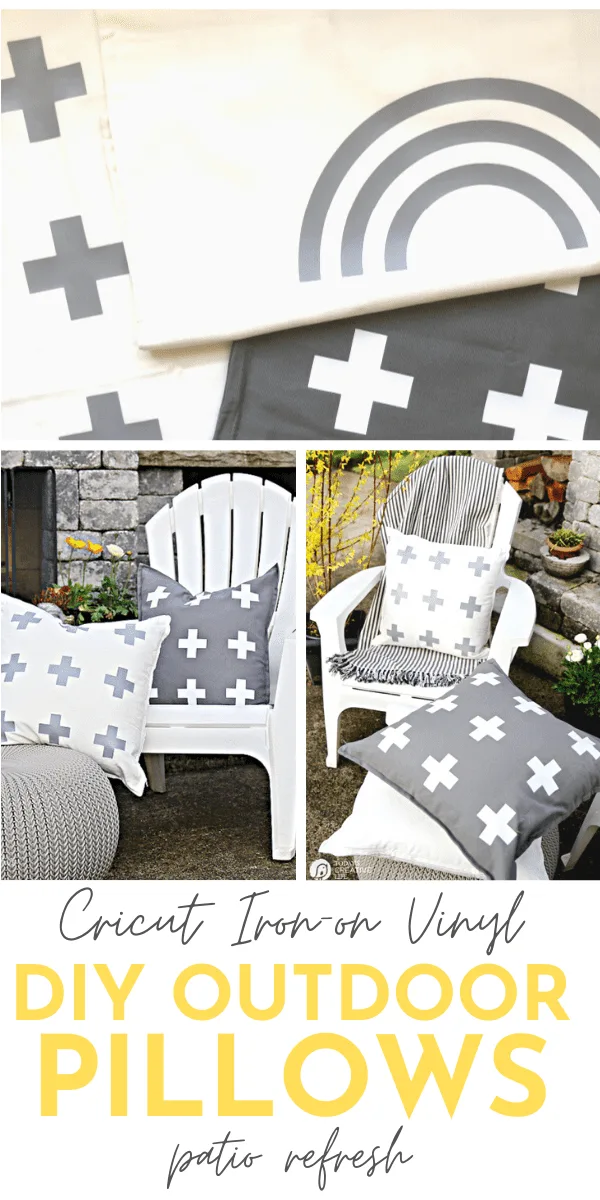
DIY Patio Ideas on a Budget
We have our deck and an outdoor patio space with our outdoor fireplace. I’m always in need of budget-friendly ideas for decorating our outdoor spaces because I want them to coordinate without being identical and I don’t want to always purchase new items.
This year I’m using my Cricut Maker and Iron-on Vinyl to easily make decorative pillows for both spaces. 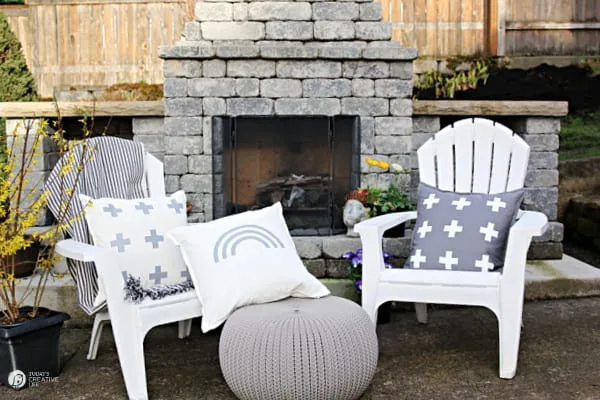
DIY Outdoor Patio Ideas with Decorative Pillow Covers
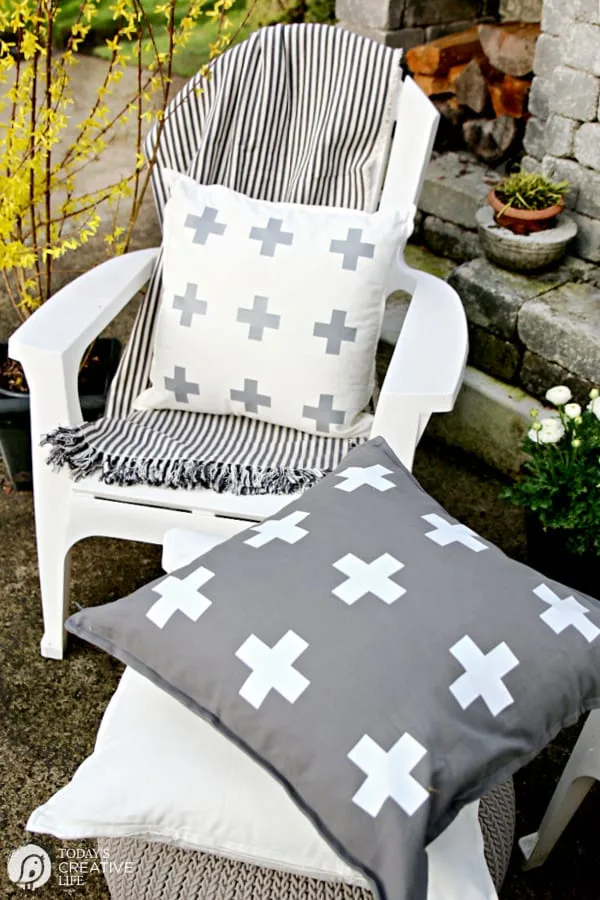
I thought I’d go with a simple minimal Scandinavian design for the pillow covers. I had 1 grey and 2 white pillow covers with coordination iron-on vinyl which would be perfect. These will go with our fireplace outdoor space that will make it even more comfortable for relaxing by the fire.
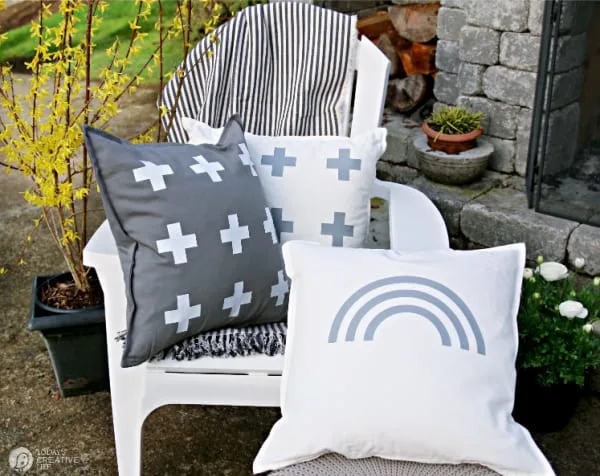
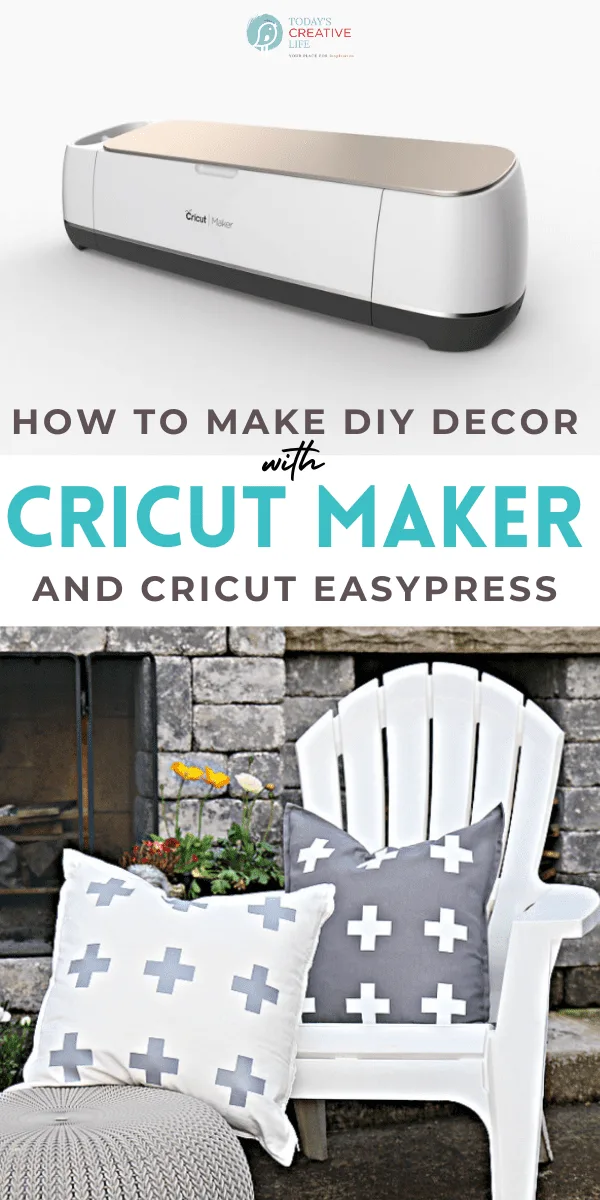
How To Make Pillow Covers with Iron-on Vinyl
DIY Patio Ideas on a Budget designing your own decorative pillows with Iron-on Vinyl and your Cricut Maker.
Materials
- Cricut Everyday Iron-on Vinyl
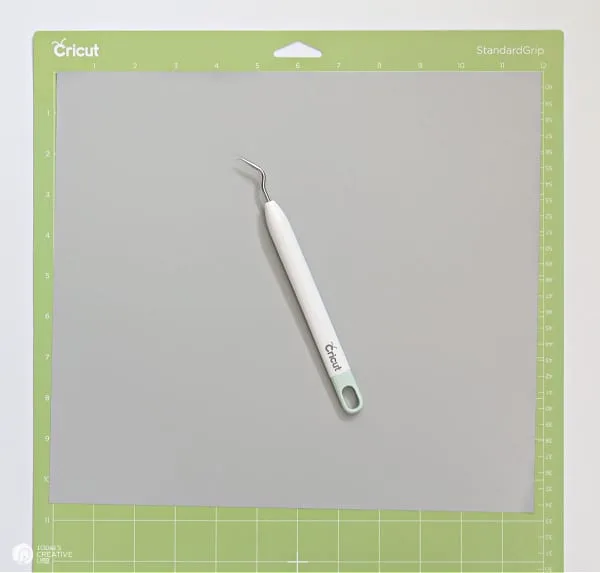
- Cricut Standard Grip Mat
- Cotton Pillow Covers
Tools
- Cricut Maker
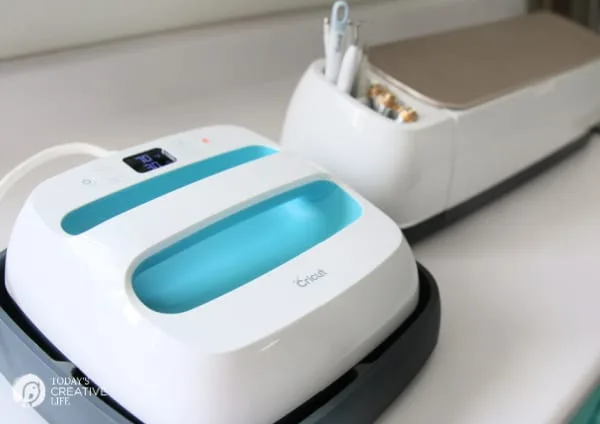
- EasyPress
- Weeder Tool
Instructions
How to Use Iron-On Vinyl for DIY Patio Ideas
- Open up your Cricut Design Space Software on your computer or phone app. Start a new project.
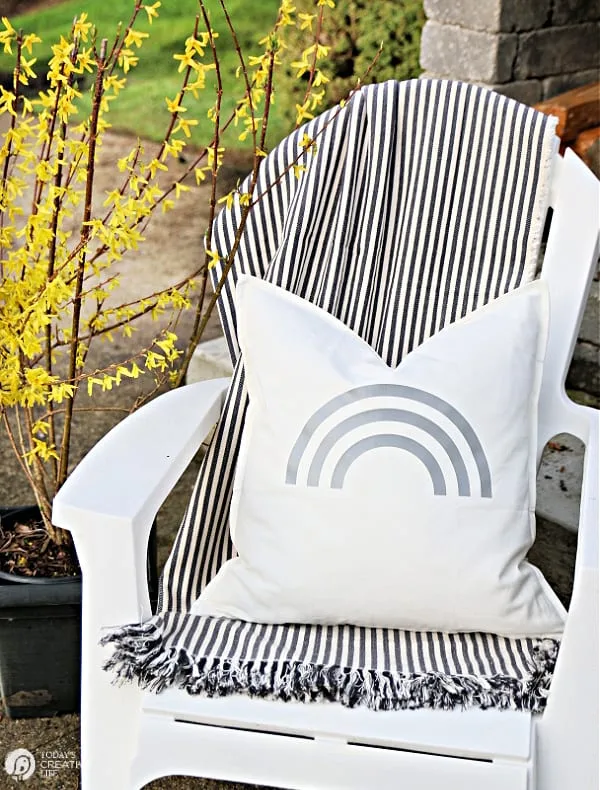
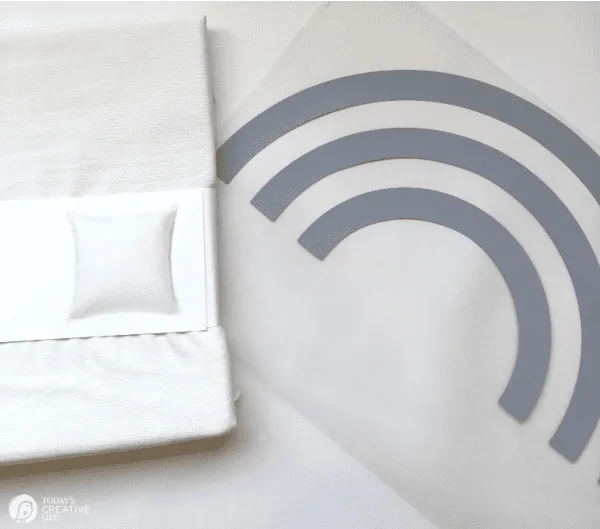
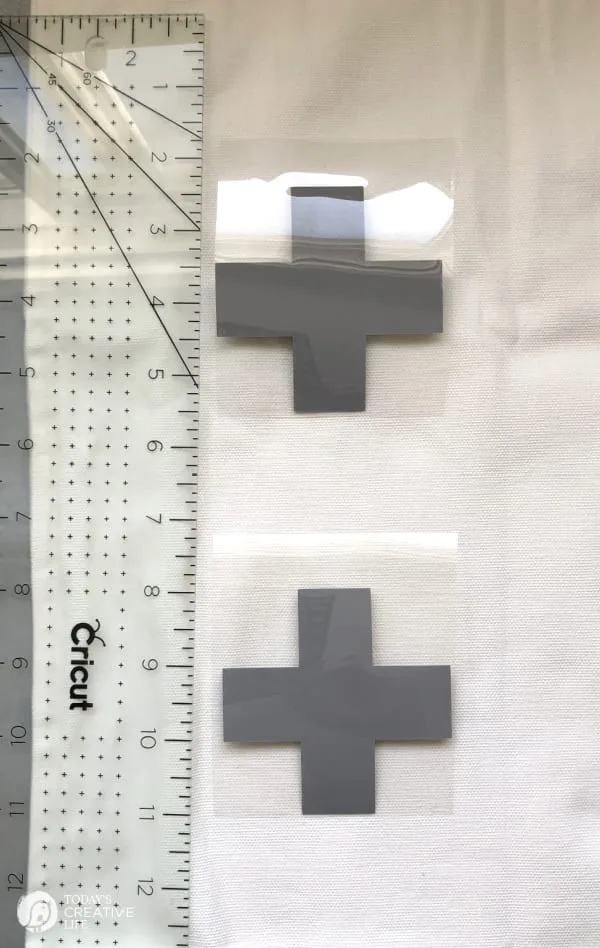
- Choose your design from the Cricut Design Space. I chose the Swiss Cross for project 1 and a Rainbow for project 2.
- Once you have your design set for your first project, click the Make It for the next prompts. (Repeat steps 1 thru 14 for project 2)
- Choose what machine you’re using from the prompt.
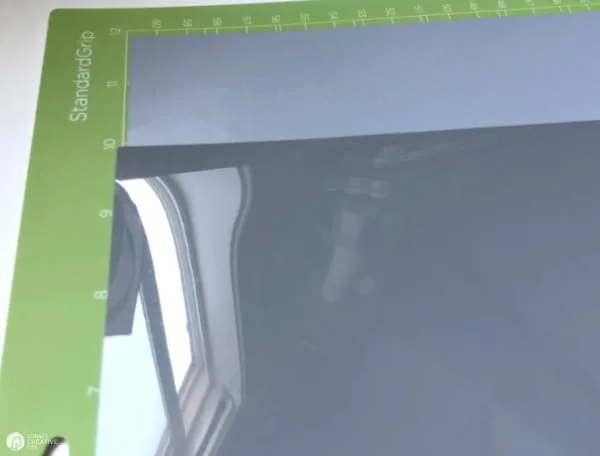
- Prepare your mat. Here’s the tricky part with using the iron-on vinyl. THE SHINY SIDE GOES FACE DOWN. I have learned this step more times than I'd like to admit.


- MIRROR IMAGE – If you’re using text in your design, you MUST CHOOSE THE MIRROR IMAGE, otherwise your wording will be backward. If you're not using text, you can skip this step.
- Keep following the commands and then hit the flashing buttons to load the mat and GO.
- Once your design is cut, I like to turn my mat over and gently peel the vinyl off.
- Keeping the shiny side down, start weeding the vinyl off, leaving your design.
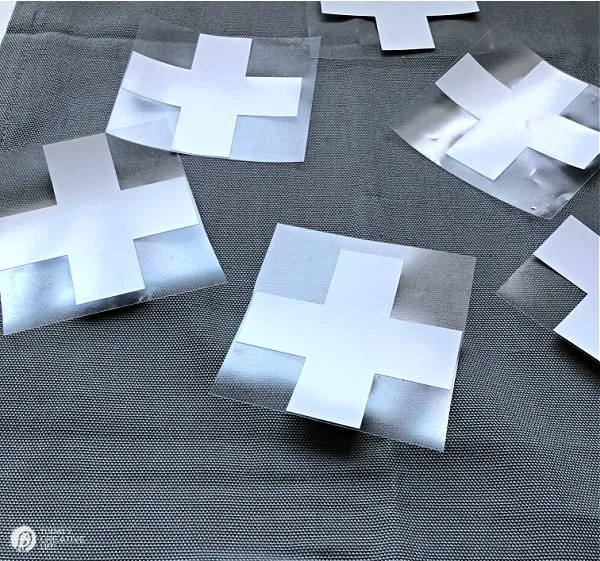
- I cut my crosses into individual pieces since I needed to space them differently than what was on the mat.

- Gather your item you’re going to iron on the design too.

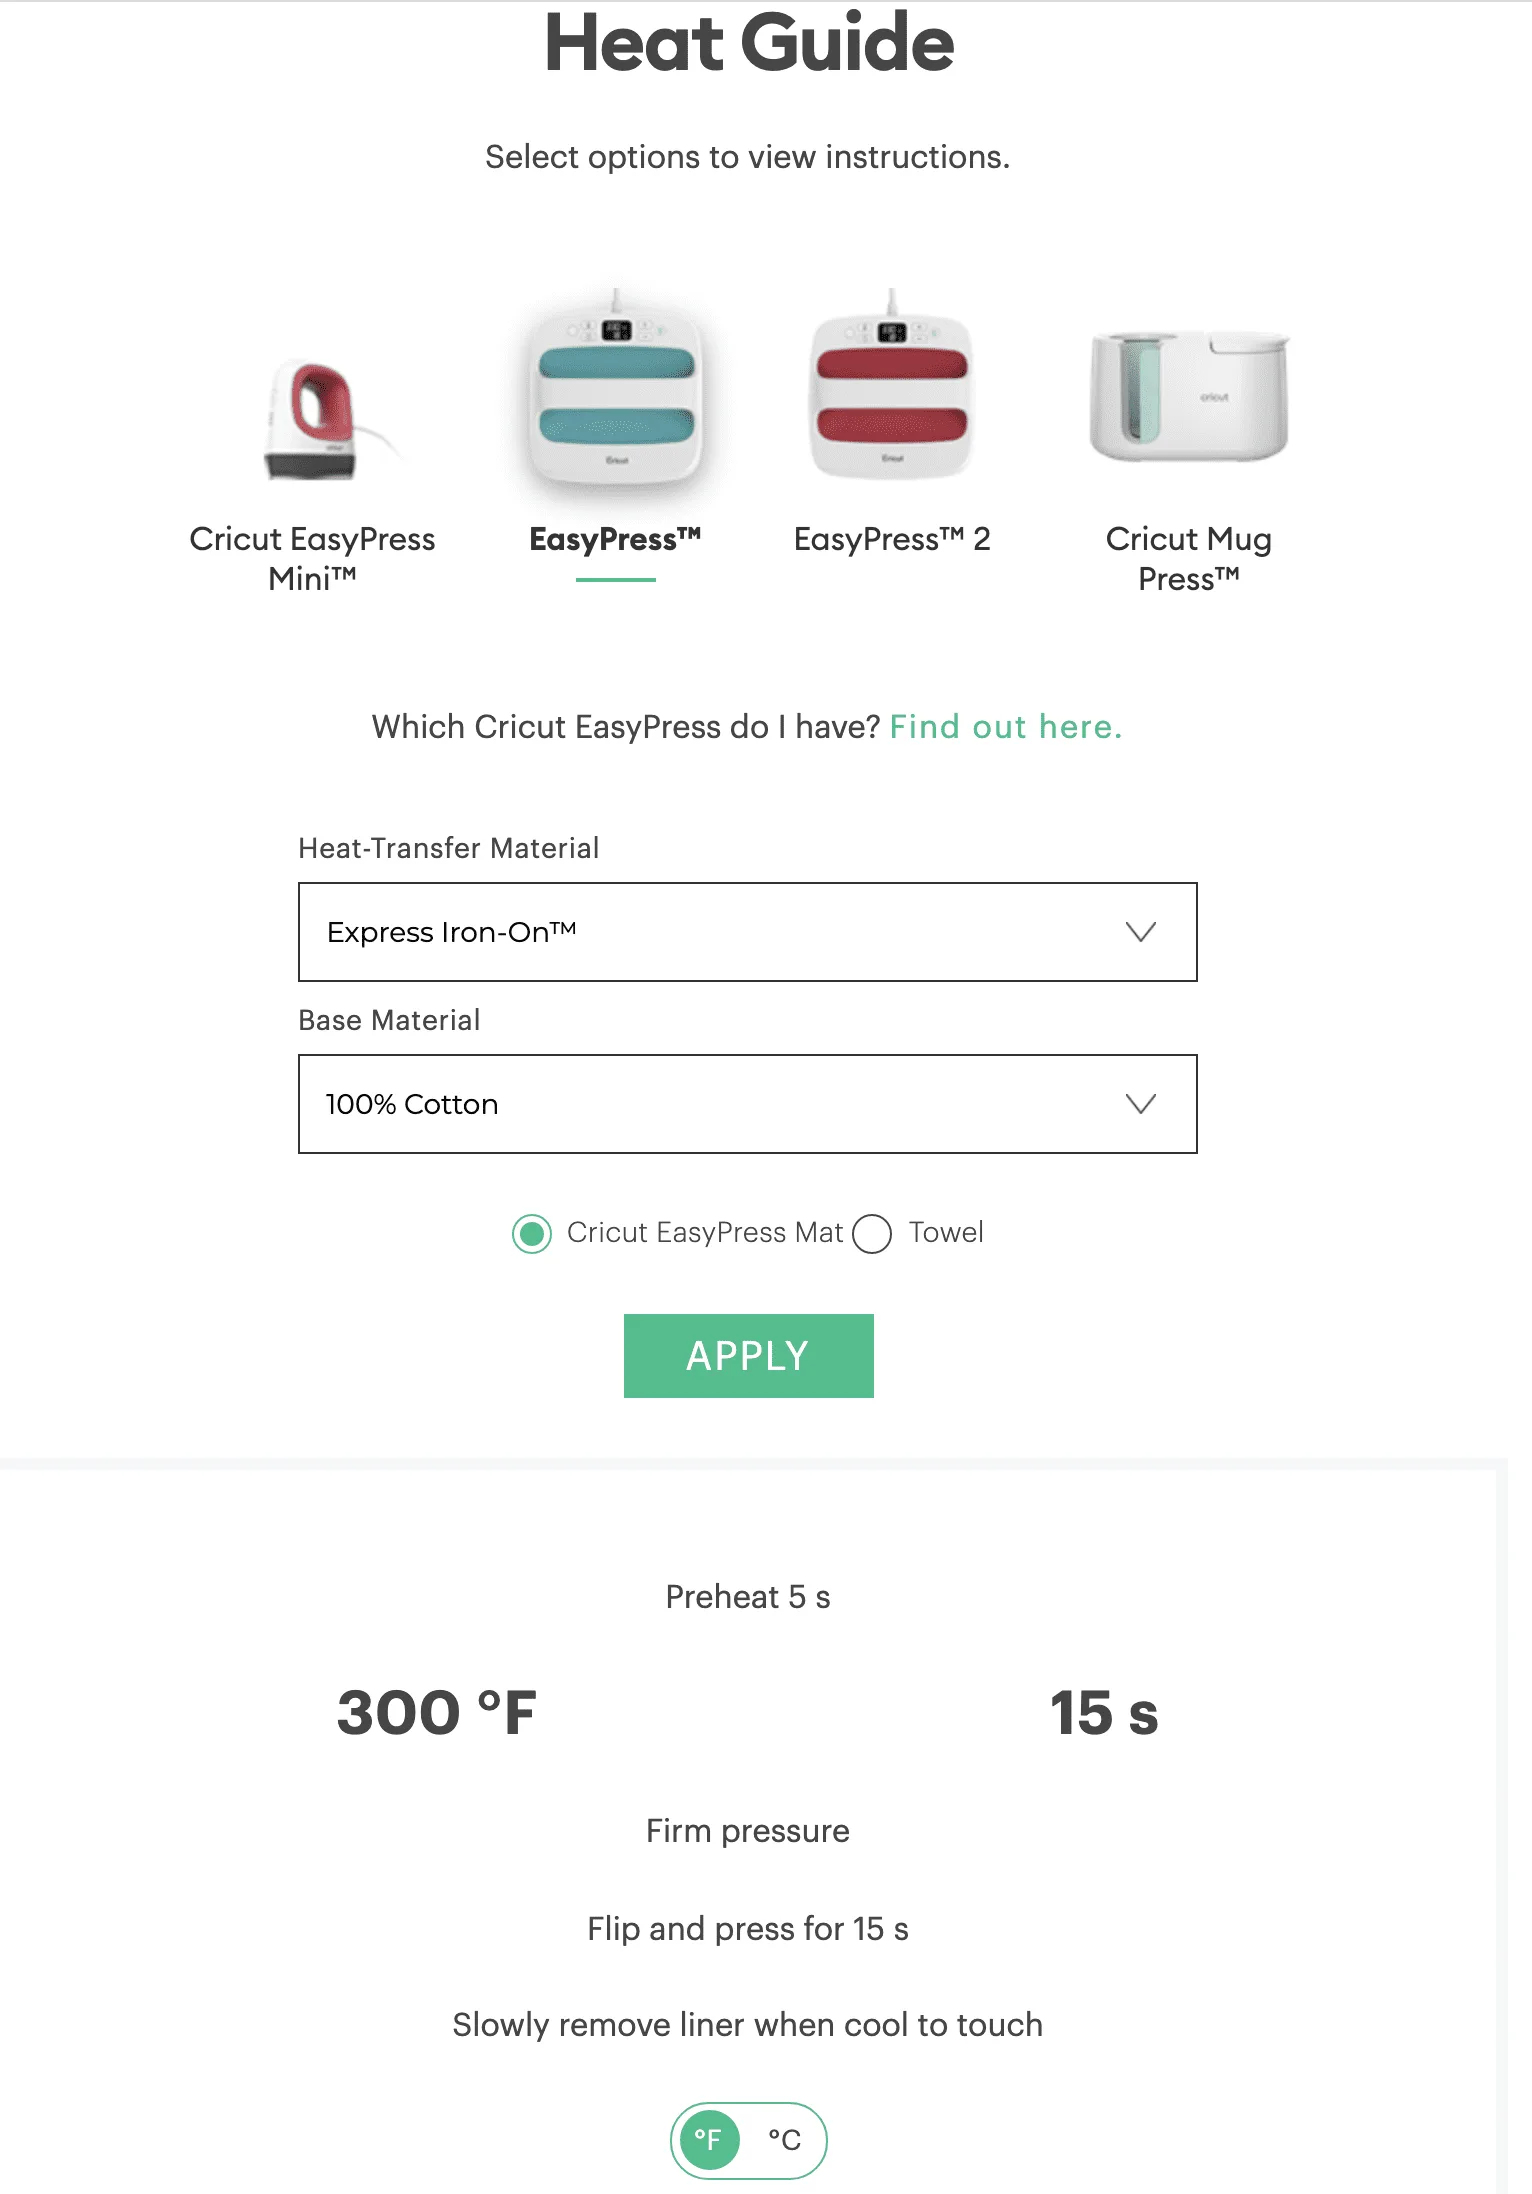
- Check the heat guide if you’re using your EasyPress. This will tell you what temperature, how long to apply, and if it’s a warm or cool peel.

- Once you have your cuts, place them sticky side down, shiny side up on your fabric where you want them to be, apply the EasyPress for the suggested time.

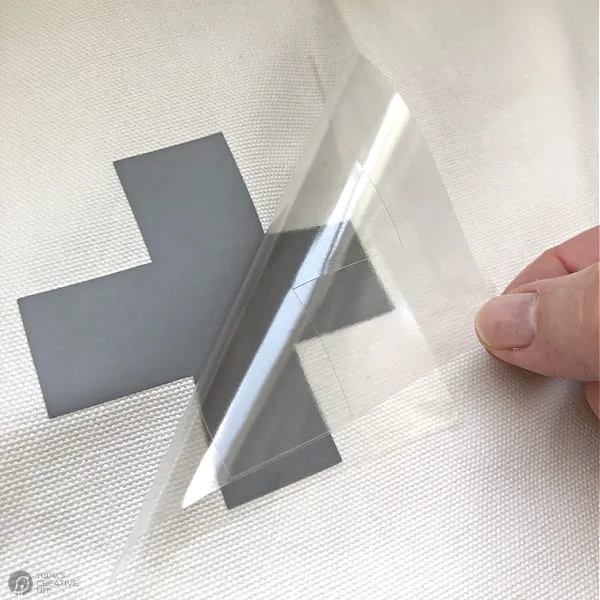
- Slowly peel off the top clear layer to reveal your design securely on the fabric.

And you're finished! 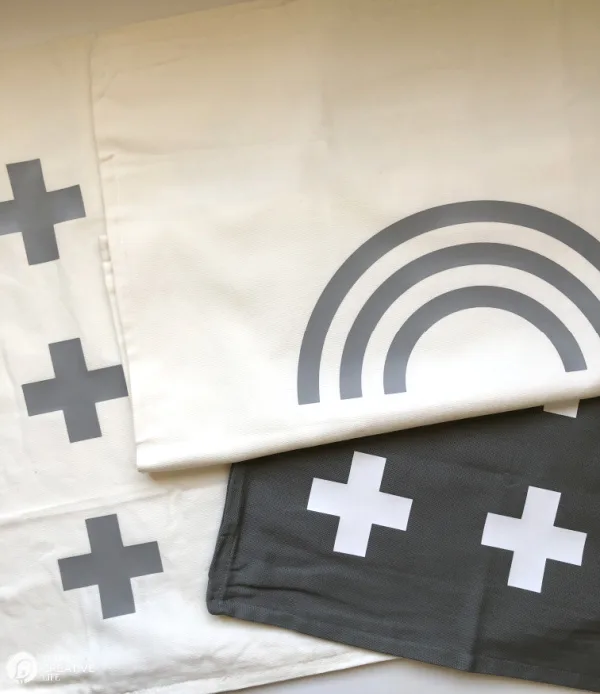
Notes
- If you don't have a Cricut Cutting Machine, you can still use Cricut Iron-On Vinyl and hand-cut designs.
- You can use an iron instead of an EasyPress. No steam.
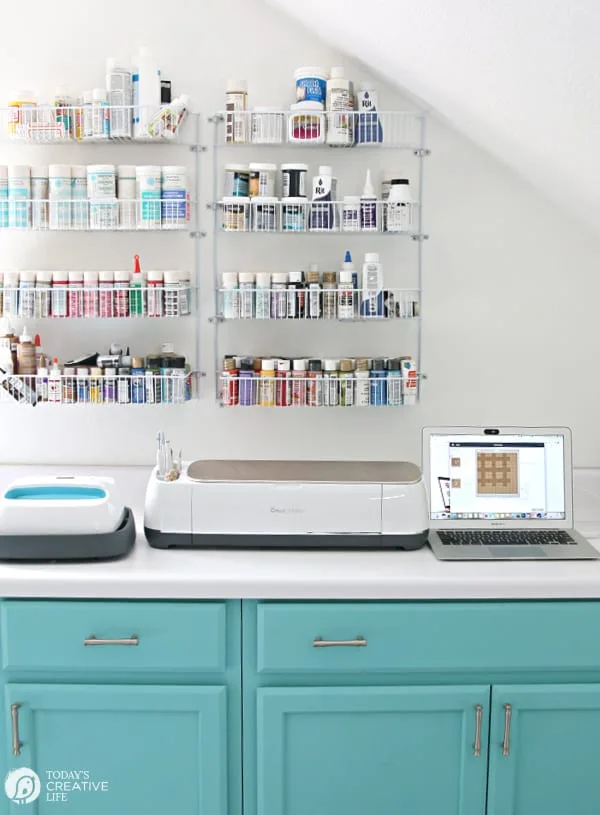
Budget-Friendly Pillows for DIY Patio Ideas.
These turned out so cute, I may have to use them indoors for a while until the weather gets nicer.
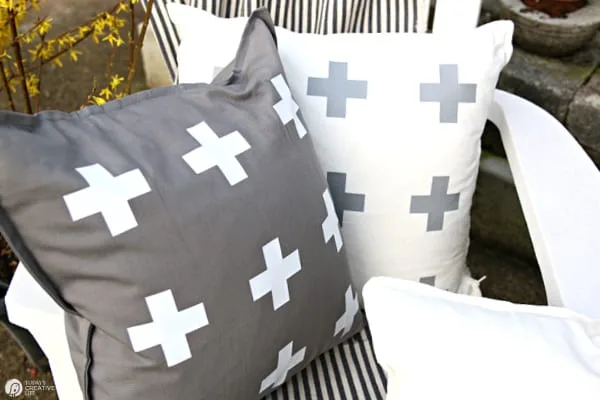
As mentioned, you can use any color pillow cover and iron-on vinyl. You can even layer designs for multiple colors.
Cricut Crafts & Project Ideas
Using a Cricut Cutting Machine makes creating DIY Home Decor or Homemade Gifts that much easier!
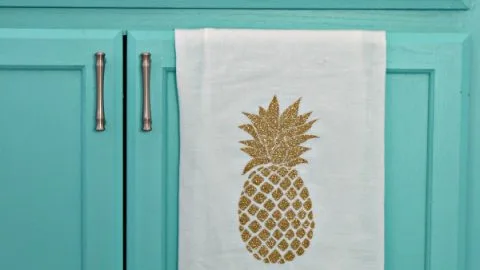
Iron-on Glitter Pineapple Kitchen Towel
Bring style to a simple kitchen towel with iron-on glitter vinyl.
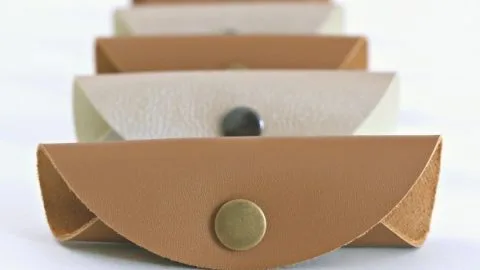
DIY Leather Cord Keeper - Cricut Maker Knife Blade Project
Cutting leather is just one of the projects the Cricut Maker can cut.
How to Make Gingerbread House Ornaments
Easy to Make Holiday Ornaments using chip board or cardboard
How to Make a DIY Paper House
Use your Cricut Cutting Machine to make holiday snow topped paper houses.
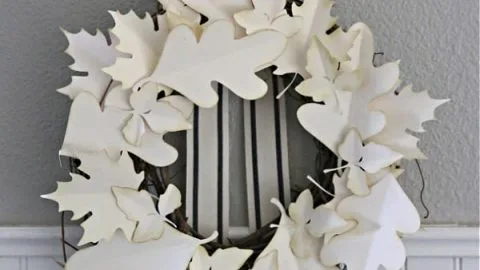
How to Make a Paper Leaf Wreath
Make this beautiful fall wreath using your Cricut cutting machine or hand-cutting paper leaves.








Dirose says
So awesome. I love the Swedish Cross symbol on anything.
I need one those machines.
Thank you!