I’m going to show you How to Make Glitter Painted Glass Ornaments in any color you need! Have you ever wondered how they get glitter or paint to stick to the inside of a glass ornament? This easy DIY Christmas craft idea is great to do with the kids!
The countdown to Christmas has begun! This certainly isn’t an original idea, but I had never tried this, although I’d been admiring them for a few years. They couldn’t possibly be as easy as everyone says.
How to Make Glitter Painted Glass Ornaments
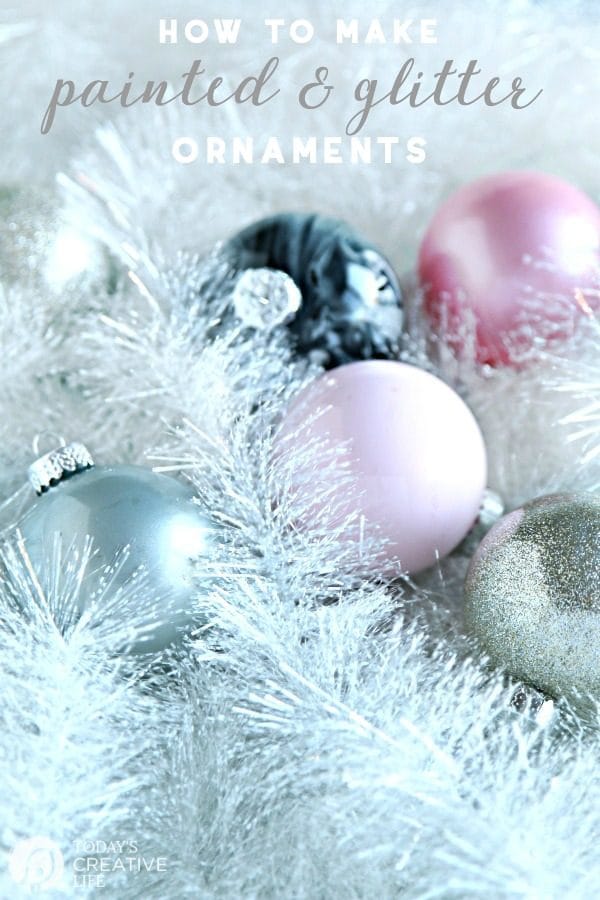
Well, guess what? They ARE easy! SO easy! I’ll be showing everyone how fun and easy these are on my monthly segment on AMNW. I think Helen the host will love these! I love finding fast and easy ways to decorate my home for the holidays, like my glittered poinsettias.
Decorating for Christmas, I don’t swap out all my holiday decor from year to year. Of course, I pick up a few items each season, but I pretty much use the same stuff every Christmas. I like Simple DIY Christmas ideas.
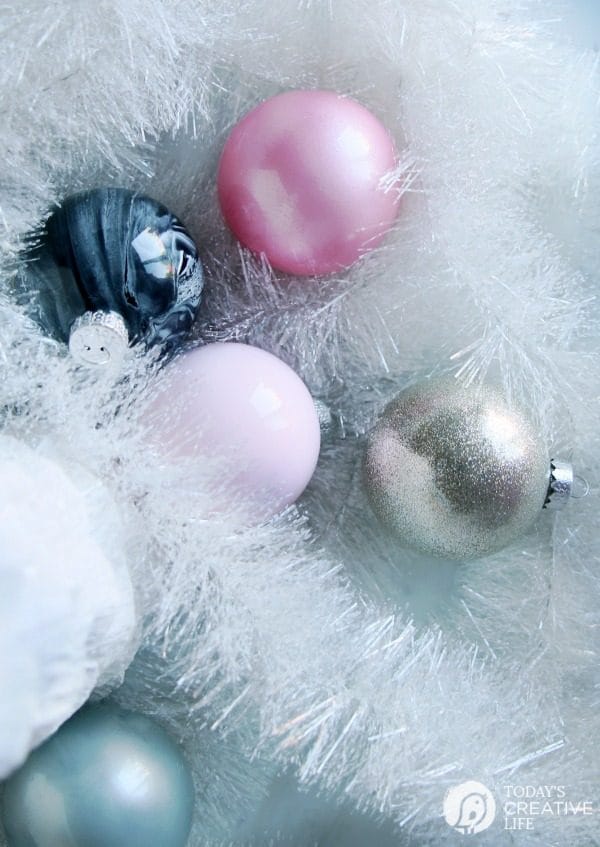
I love that you can create a custom color theme for your home whenever you need to. These are also a great project for older kids.
DIY Glittered Glass Ornaments
Affiliate links for products listed are for your convenience only. This costs you nothing extra. If you happen to purchase anything as a result of clicking, TCL will receive a small percentage. Thank you for your support. This allows me to continue to offer you free content.
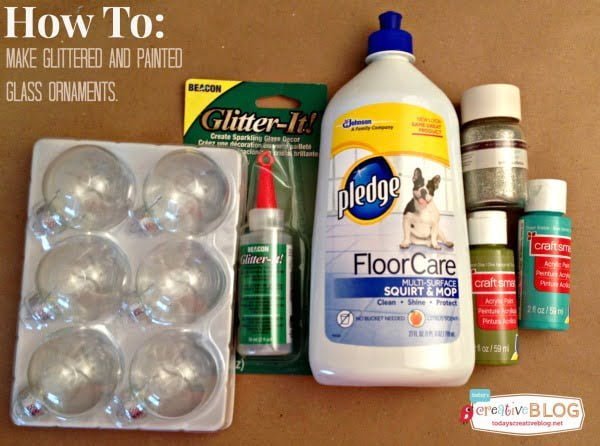
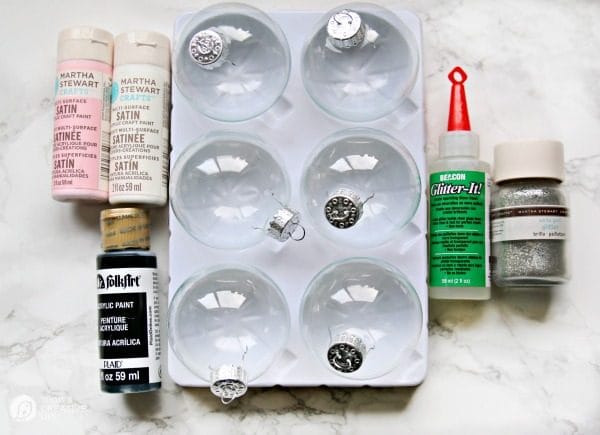
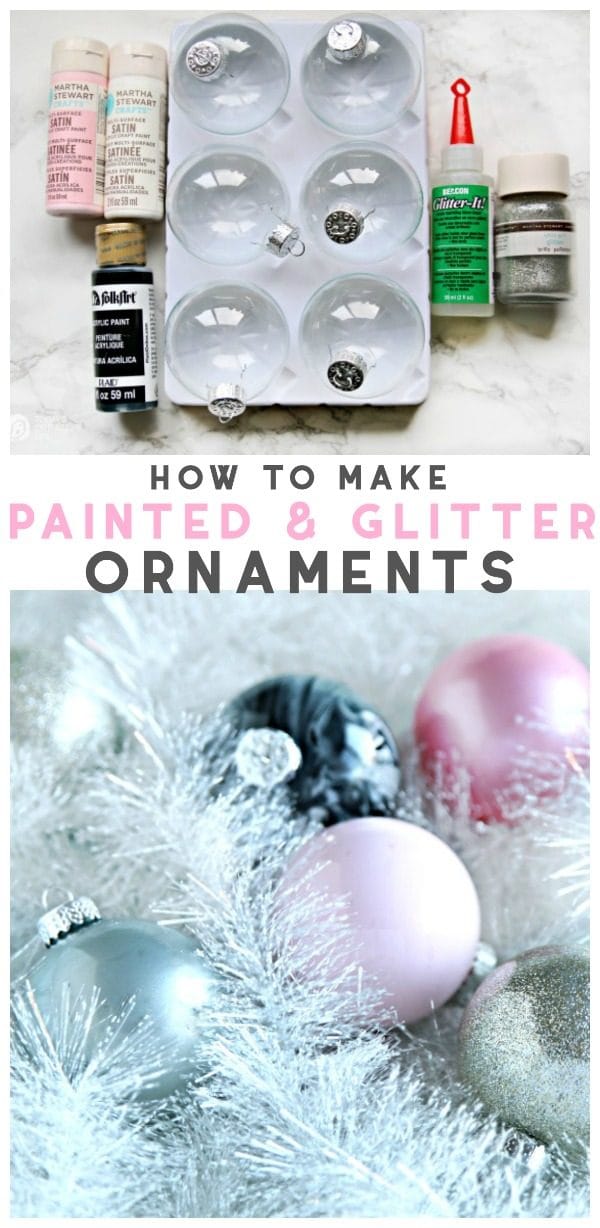
Supplies Needed:
- Clear glass ornaments – I found mine at Michaels.
- Glitter
- Pledge floor polish OR Glitter It (both work great, but the pledge is less expensive for group projects)
- Small dixie cup (for drying)
- Paper towels
DIY Painted Glass Ornaments
Supplies Needed:
- Clear glass ornaments
- Acrylic paint – I like the cheaper brands for this. Also, any with a thinner consistency works better for me. Metallic paints work great. The glitter paints dried with an opaque look.
- Small dixie cup – to set the ornament in while it drains and dries.
- Paper Towels
How to Make Glittered Glass Ornaments
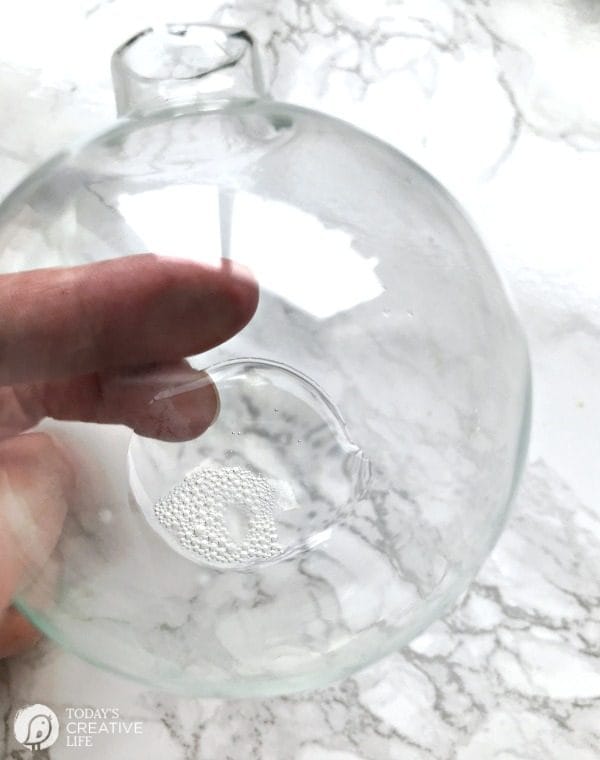
1. Take the ornament hanger off before. Pour a small amount of Glitter It or Pledge Floor Care into the glass ornament.
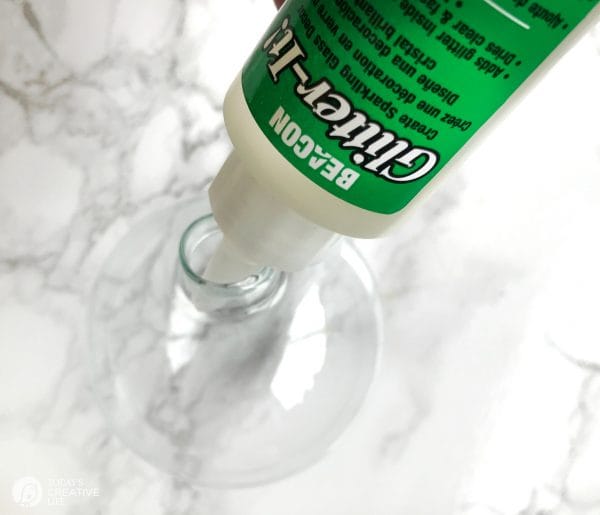
Swirl around making sure to wet the entire inside. Pour the remaining liquid out into a cup or sink.
2. Sprinkle and pour a generous amount of glitter inside your glass ornament. You may want to use a small funnel or make a paper cone. My glitter bottle had a pretty good opening for perfect pouring, so I was able to do it without a funnel.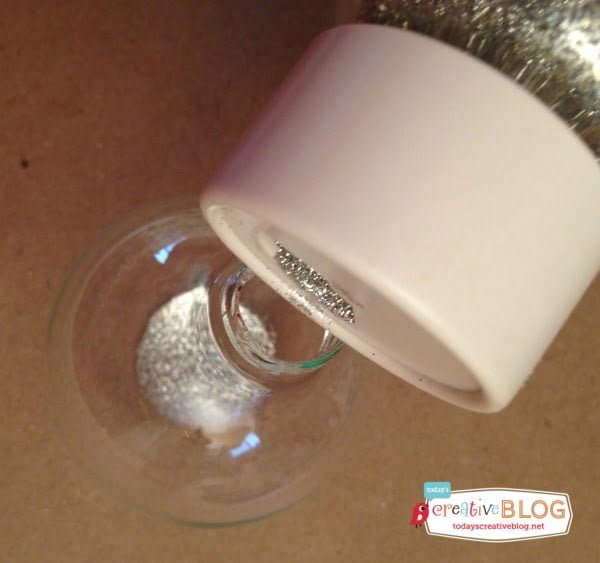
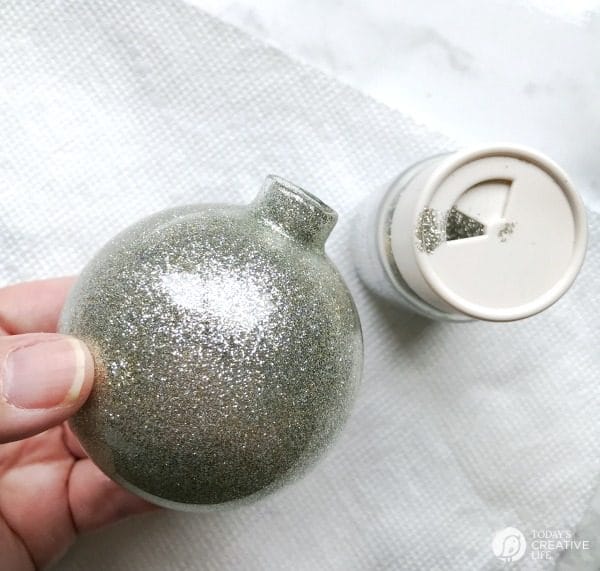
3. Covering the opening with a paper towel, shake and swirl until the inside is completely covered with glitter. If you need more glitter, just pour more in. Shake out excess glitter.
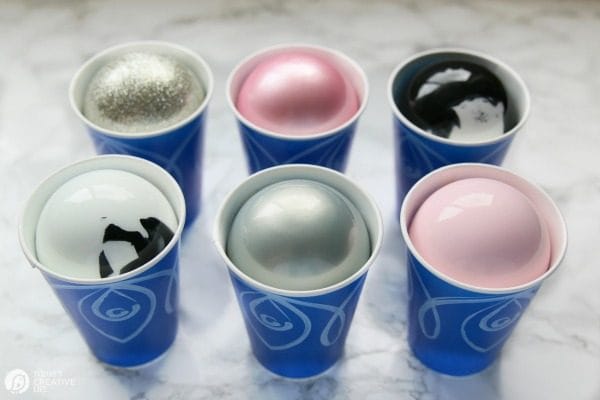
4. Set the ornament upside down with the opening facing the bottom of a small cup. This allows them to dry with no pooling of excess liquid or glitter. Dry at least 24 hours before placing the ornament hanger back on.
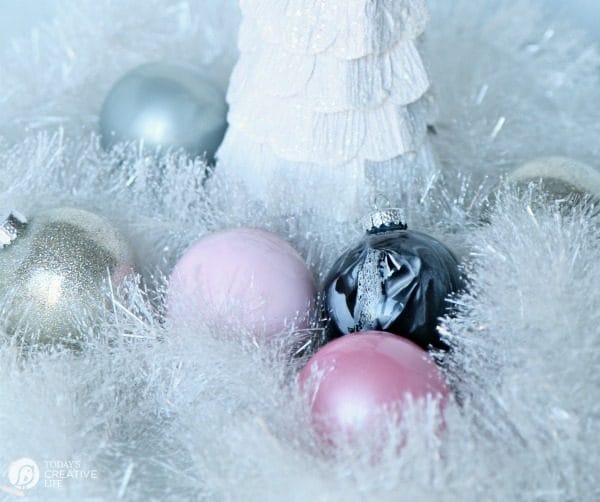
How to Make Painted Ornaments
1. Pour a liberal amount of acrylic paint into your glass ornament.
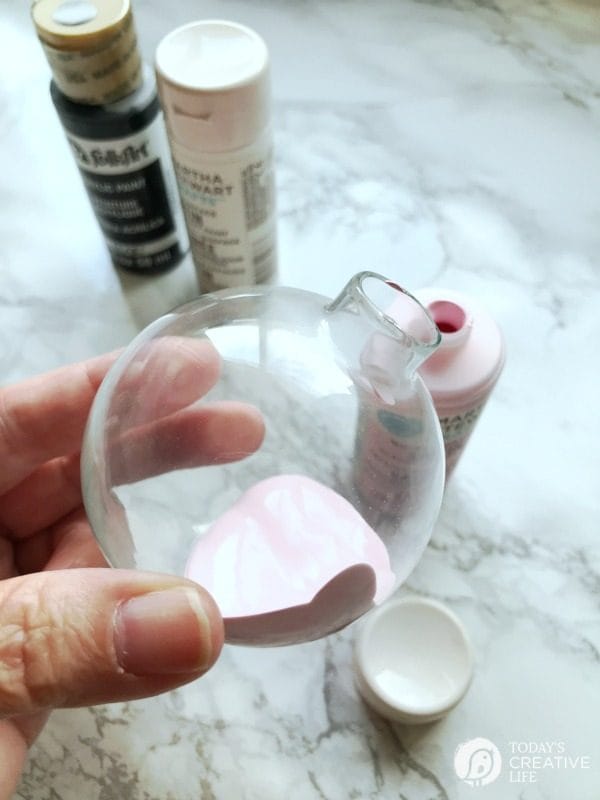
2. Swirl or gently shake so paint is covering the entire inside of the ornaments.
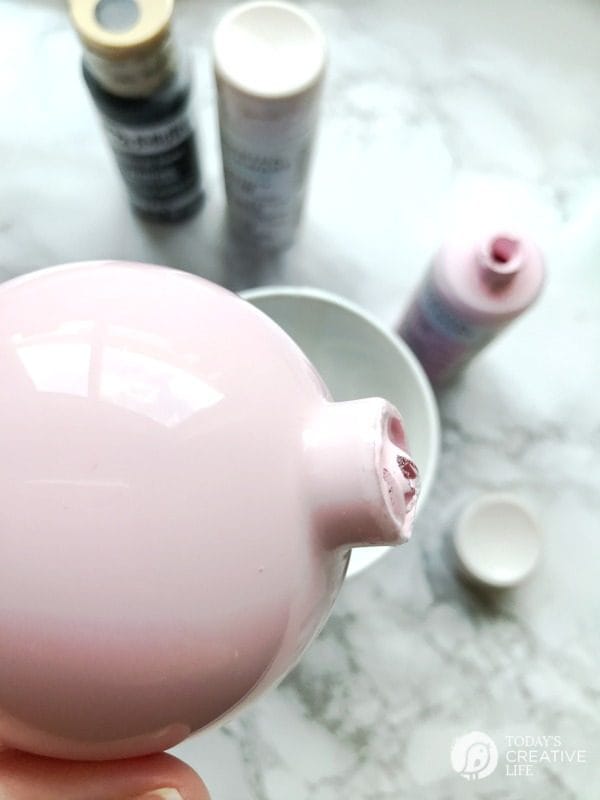
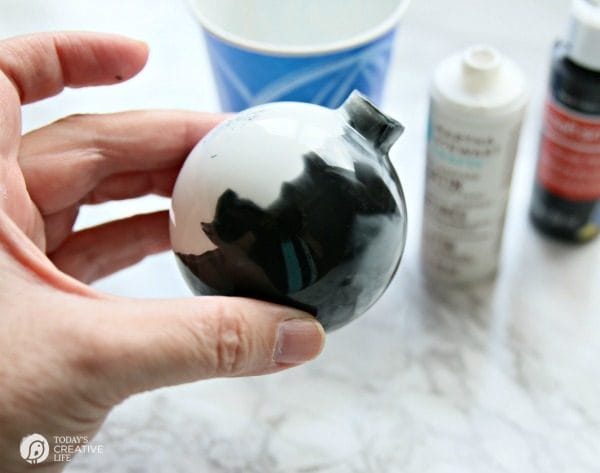
3. Place upside down in your paper cup to drain. Let it dry for at least 24 hours. Place your ornament hanger back on and enjoy!
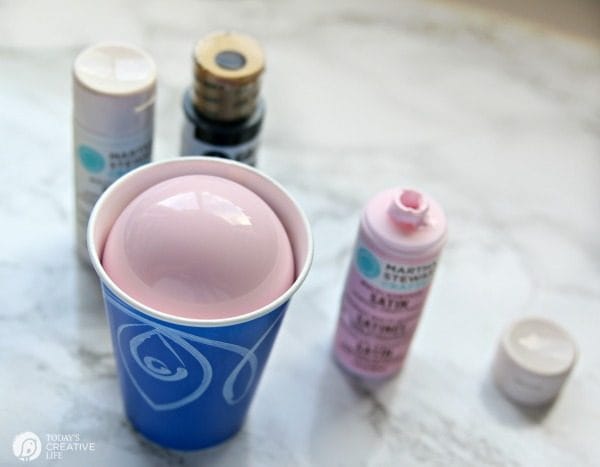
And now you know how to make glitter painted glass ornaments. The mystery is over. You choose if you want Glittered Ornaments or Painted.
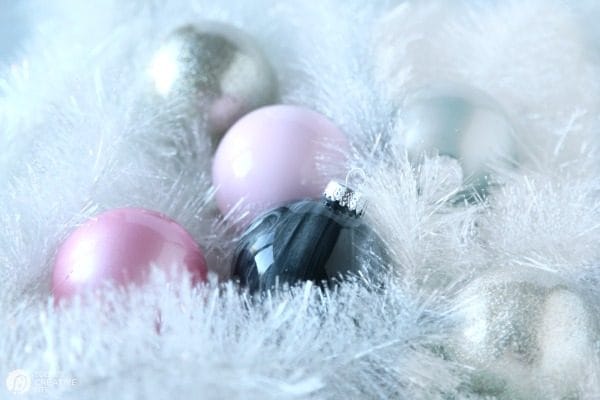
With just a few craft supplies and empty glass ornaments, you can now create color-coordinated holiday ornaments for your tree.
What color will you be making?
Follow along on
Instagram | Pinterest | Facebook
DIY Holiday Ornaments
Homemade DIY Holiday ornament tutorials and ideas.



Debra Moore says
Looked and looked for the pledge floor cleaner. Could not find. Found out they repackaged it two years ago. Now has a new name but supposedly the same ingredients. Can’t seem to upload pic. Now called “clean it” multipurpose floor cleaner.
Kim says
Thank you Debra! I’ll update the post. I have a bottle of the Glitter it, so I just use that.
Empress says
What kind of acrylic paint did you use, I tried folkart acrylic paint and it didn’t stay on the ornament. It looked to the bottom and didn’t really stick to the ornament.
Kim says
I used the brands shown in the photos. I’ve never had any issues with any brand. I wonder if the ornament you were using had a film inside and needed washing?
Sallie says
I have had trouble with the paint drying. I’ve had ornaments drying upside down in egg crates for over 48 hours and the paint is still wet! I have tried blow drying them and putting them in the oven on 200 for a while, but nothing seems to help. Any tips?
Kim says
What kind of paint did you use? If most of the paint has drained out, it’s fine to put the little hanger back in and hang. Just wipe the edge if you have any wet paint around it.
Lissa Ballard says
Hey Kim! Wondering if plastic ornaments will render the same result? Looked and looked for clear glass around here to no avail.
HUGS!
Lis
Kim says
Hey Lissa, Someone mentioned on the TCB facebook that they have used plastic. So I say go for it!
Lissa Ballard says
Thanks Kim!
Tanya says
You rocked that tutorial on KATU Kim!! These are SO stinkin’ cute 🙂 xo
Kim says
HA! Well I’m glad you enjoyed it. I never watch the replay. My double chin always shocks me. I think I’ll go have some apple pie now. 🙂
Tracey Bradshaw says
Love them – now to try and find glass ornaments in Australia! <3
Kim says
Yes…glitter must be on the inside. So so messy!
Kate Denby says
If you did want to put glitter on the outside, to prevent it from coming off all over when project complete spray the whole outside down with spray glue to seal it.
Shana says
Such a fun craft & so easy! I read about the craft this morning & thought what a great idea for mom & daughter day. We walked to target, got all of the items & are having a great time making glitter ornaments. Thank for sharing.
Kim says
Now THAT’S what it’s all about! Thanks for sharing.
Cait says
These are great! I’m going to pick up some supplies and make these with a friend’s daughter the next time I babysit!
Kim says
Perfect babysitting craft!