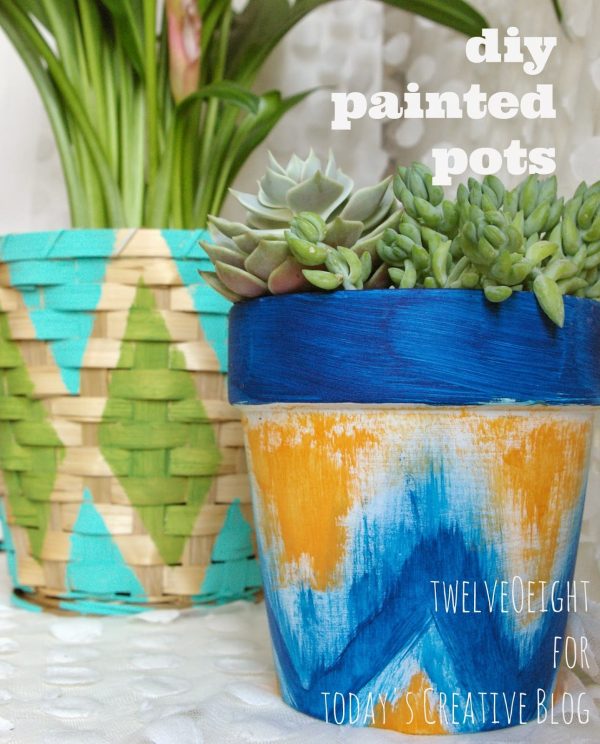
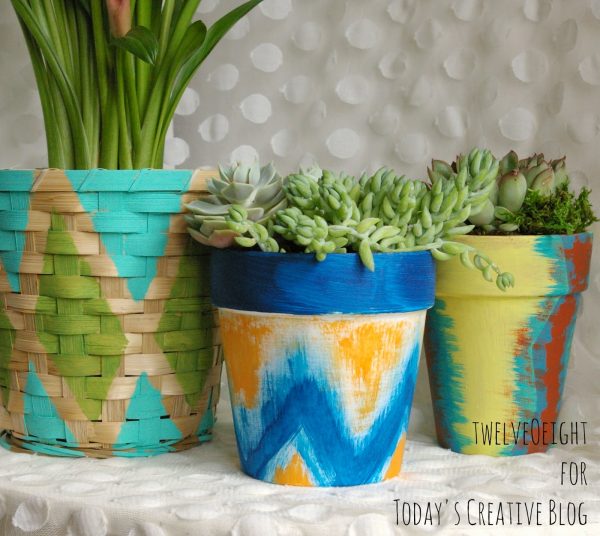
Please welcome Tanya from TwelveOeight Blog as she shares these AMAZING Painted Pots and Baskets! There is no easier way to create inexpensive decor for your patio or table than changing the look of your typical terracotta flower pot. I made these farmhouse flower pots look distressed and old with a couple of very simple tips.
Painted Pots and Baskets {Home DIY}
How to Make Painted Pots and Baskets
Supplies for painting flower pots:
- Planters or pots that need some pizzaz
- Acrylic paints in your choice of colors
- Foam or natural craft paint brushes
- Masking or Washi tape to create patterns
- Water-based Poly sealer spray (Minwax makes a great one!)
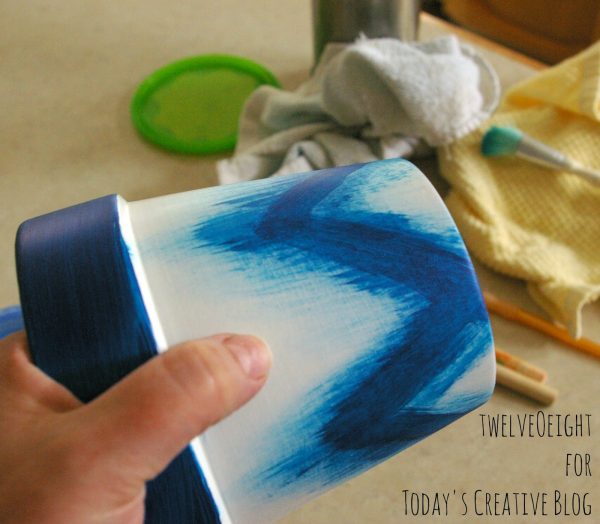
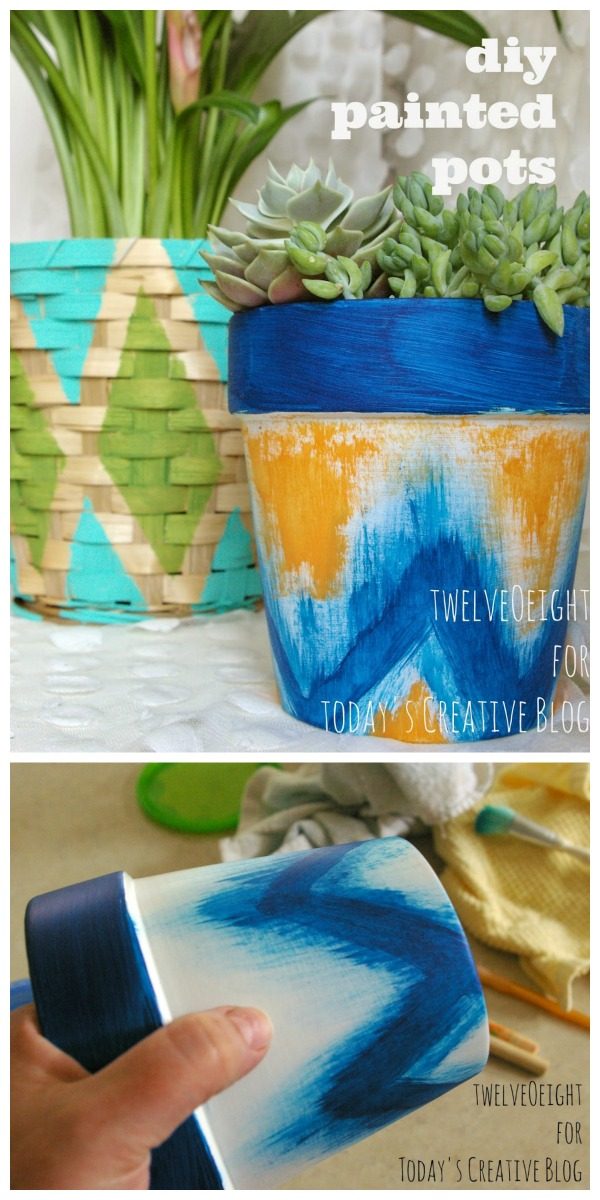
To make the blue, white and orange Ikat style pot, begin by painting the pot white (two coats) and allow it to dry well. Once the paint is dry, use a navy or dark royal blue to paint first a stripe around the top, then a freehand zig-zag pattern in the blue around the middle. Don’t reload your brush to pull the blue out to create the feathered effect, but use small quick strokes to create a fuzzy edge all around the center with the paint it already has on it.
Next, use a bit of orange paint to make a fuzzy triangle in each open area, with barely any orange paint loaded onto your clean brush. These colors really pop together, I love them!
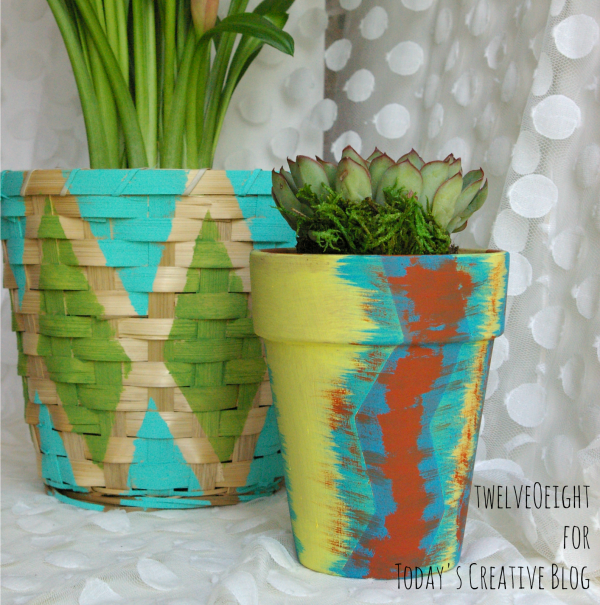
For the yellow zig-zag pot, tape off a clean vertical chevron design around the pot, and paint the exposed areas yellow. Once the yellow paint is dry, dry brush on some turquoise over the exposed terra cotta once the tape is removed. Then, add a bit of burnt orange to the center of
each section, dry brushing bits of it all around the pot.
The basket design is super easy (forgive me, I was out of masking and Frog tape so I used Washi tape, shame!) 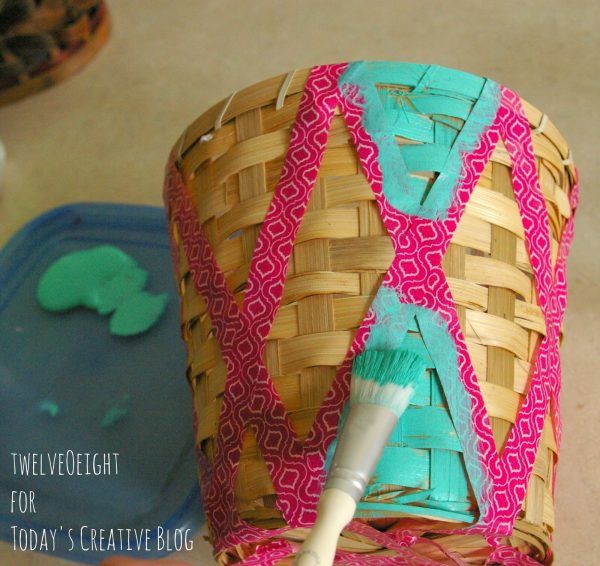 I used aqua and a spring leaf green for this container. The trick to painting a clean line on a surface like this is sealing the tape as firmly as possible and painting away from the tape. This way the paint is not being brushed up underneath the edge of the tape. It works pretty well! After you have painted your triangles, allow the paint to partially dry, remove the tape and let the paint dry completely before filling your new sassy container.
Thank you SO much for crafting with me, and a big hug & thank you Kim for sharing your wonderful creative space with me today!!
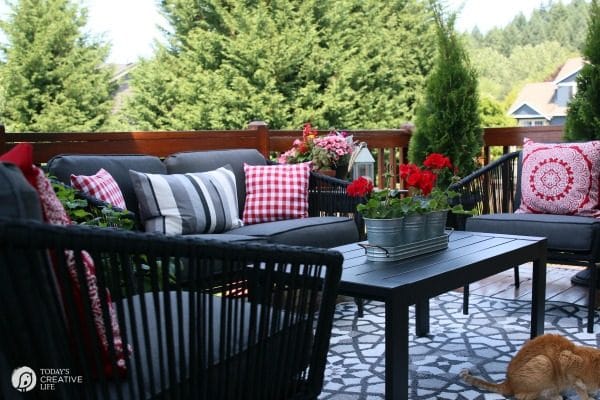 Small Patio Decorating Ideas
 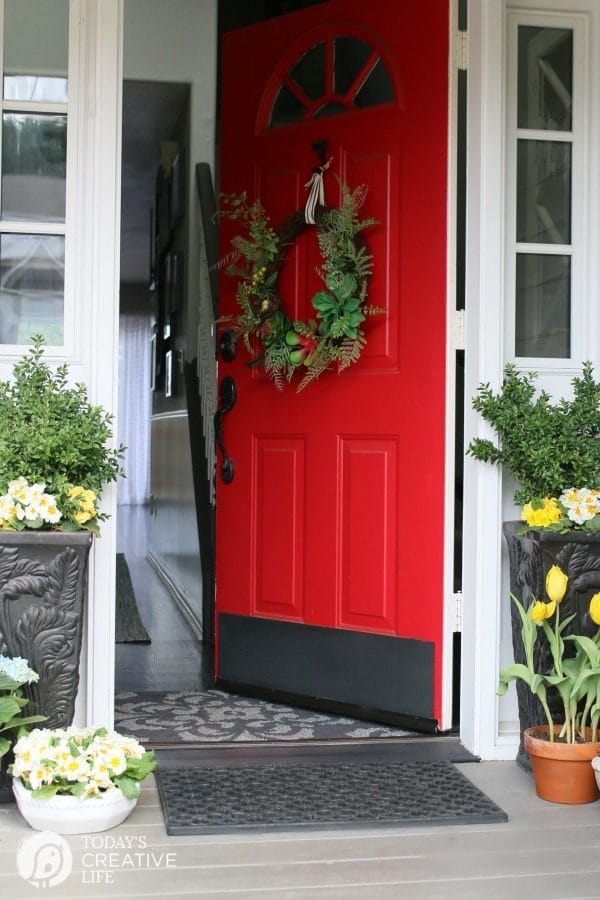 Front Porch Ideas for Spring
 Table Centerpiece Ideas



Leave a Reply