Welcome to my annual Celebrate Summer Series, where I introduce you to a few of my fellow bloggers and their creative ideas! I am amazed with this Repurposed Chair Back Coat Rack that my blogger friend Gail from My Repurposed Life has created! She always comes up with the coolest ideas. Remember this ladder she made from wood spindles? You can find more repurposed ideas on her site! (I have added affiliate links to all the supplies needed. This cost you nothing extra.)
Here’s another great idea for repurposing something after it breaks. DIY Mosiac Picture Frame.
I’m so excited to share my easy repurposed chair back coat rack here at Today’s Creative Life! If you’re not familiar with My Repurposed Life, it’s a site that encourages you to pick up some power tools and cut up some furniture. Nah, not always. But I have been known to transform old, unwanted pieces of furniture into new and useful pieces. I decided to share an easier one with you today so I wouldn’t scare you too much!
Repurposed Chair Back Coat Rack
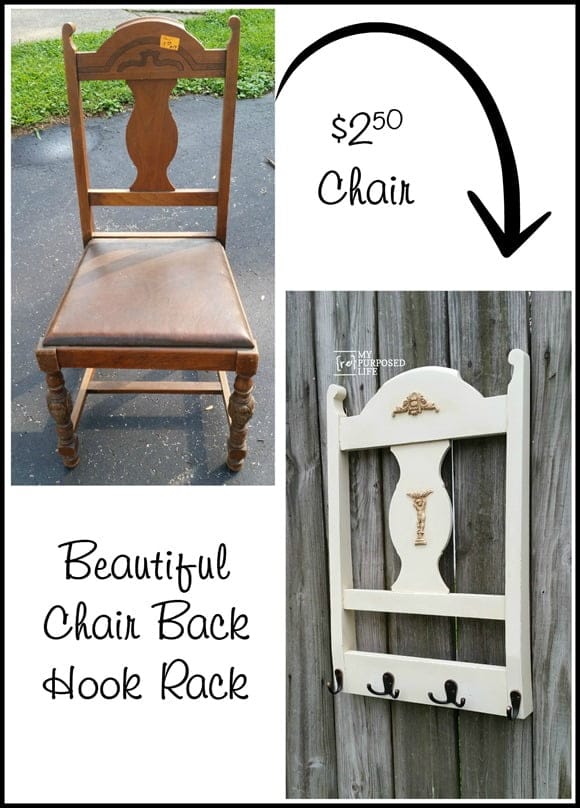
Let’s take a look at how this coat rack made out of a chair came together . . .
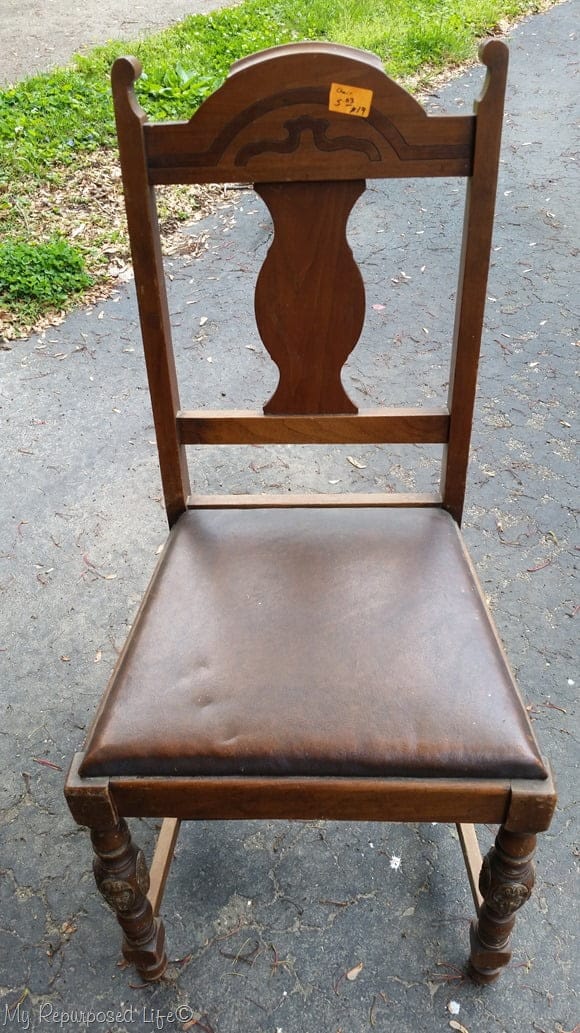
This lonely chair had been marked at $5.03, but was 50% off when I bought it at Vendors’ Village. What a deal! A chair for only $2.50? I have this thing with chairs, if you’re interested you can listen to my podcast All About Thrift Store and Curb Shopping—where I discuss my top five things to look for when I’m junking.
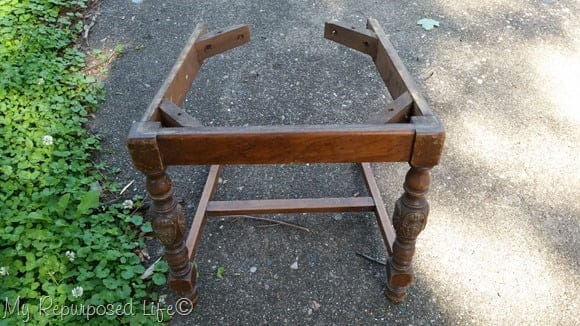
I began by removing the chair back from the chair seat, which was fairly simple to do by removing some screws.
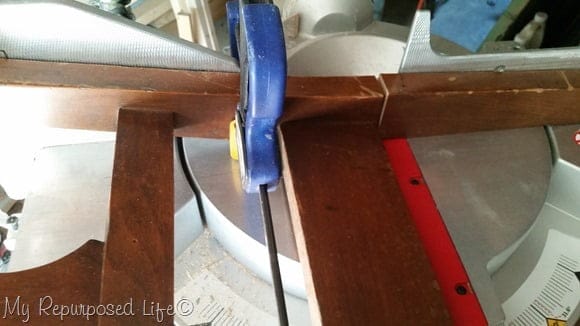
After the back was removed, I needed to cut the bulk of the legs away from the back. I did this on my compound miter saw, but you could easily do it with a hand saw or a jig saw.
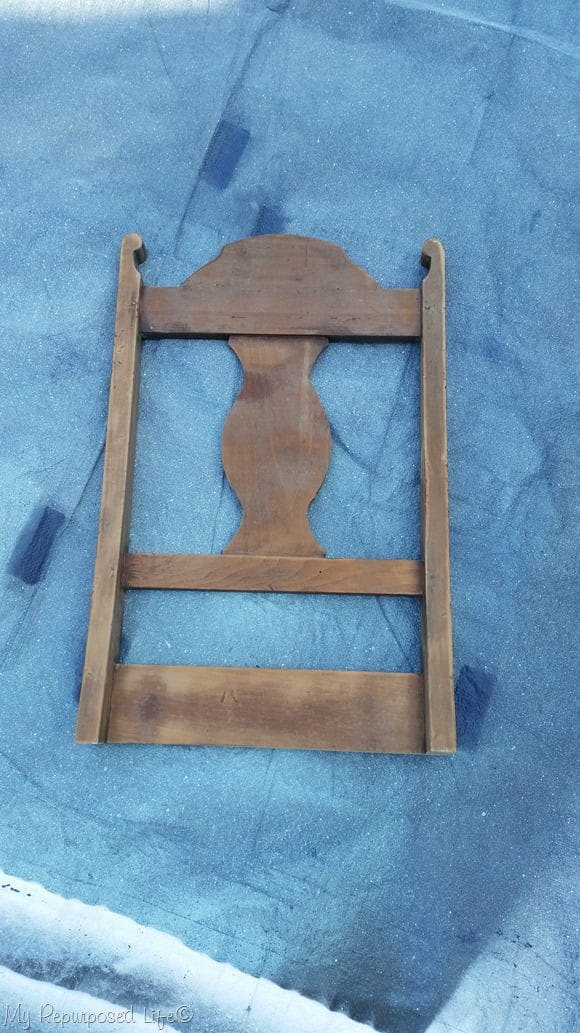
I was left with this mall section of the chair back. I sanded some of the finish away.
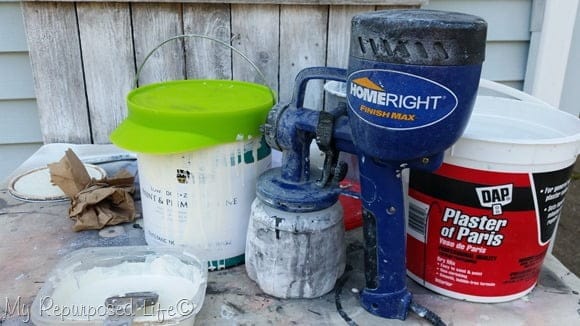
I mixed up a quick batch of my diy chalky paint primer that I use on 90% of my projects and used my HomeRight Finish Max to spray the chair back with my favorite white, Polished Pearl.
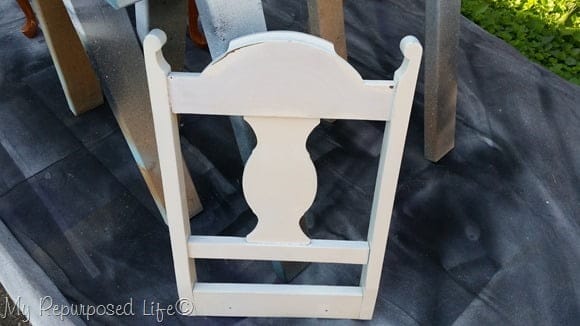
This was after the first coat, when I decided to fill in the detailed lines with some spackling.
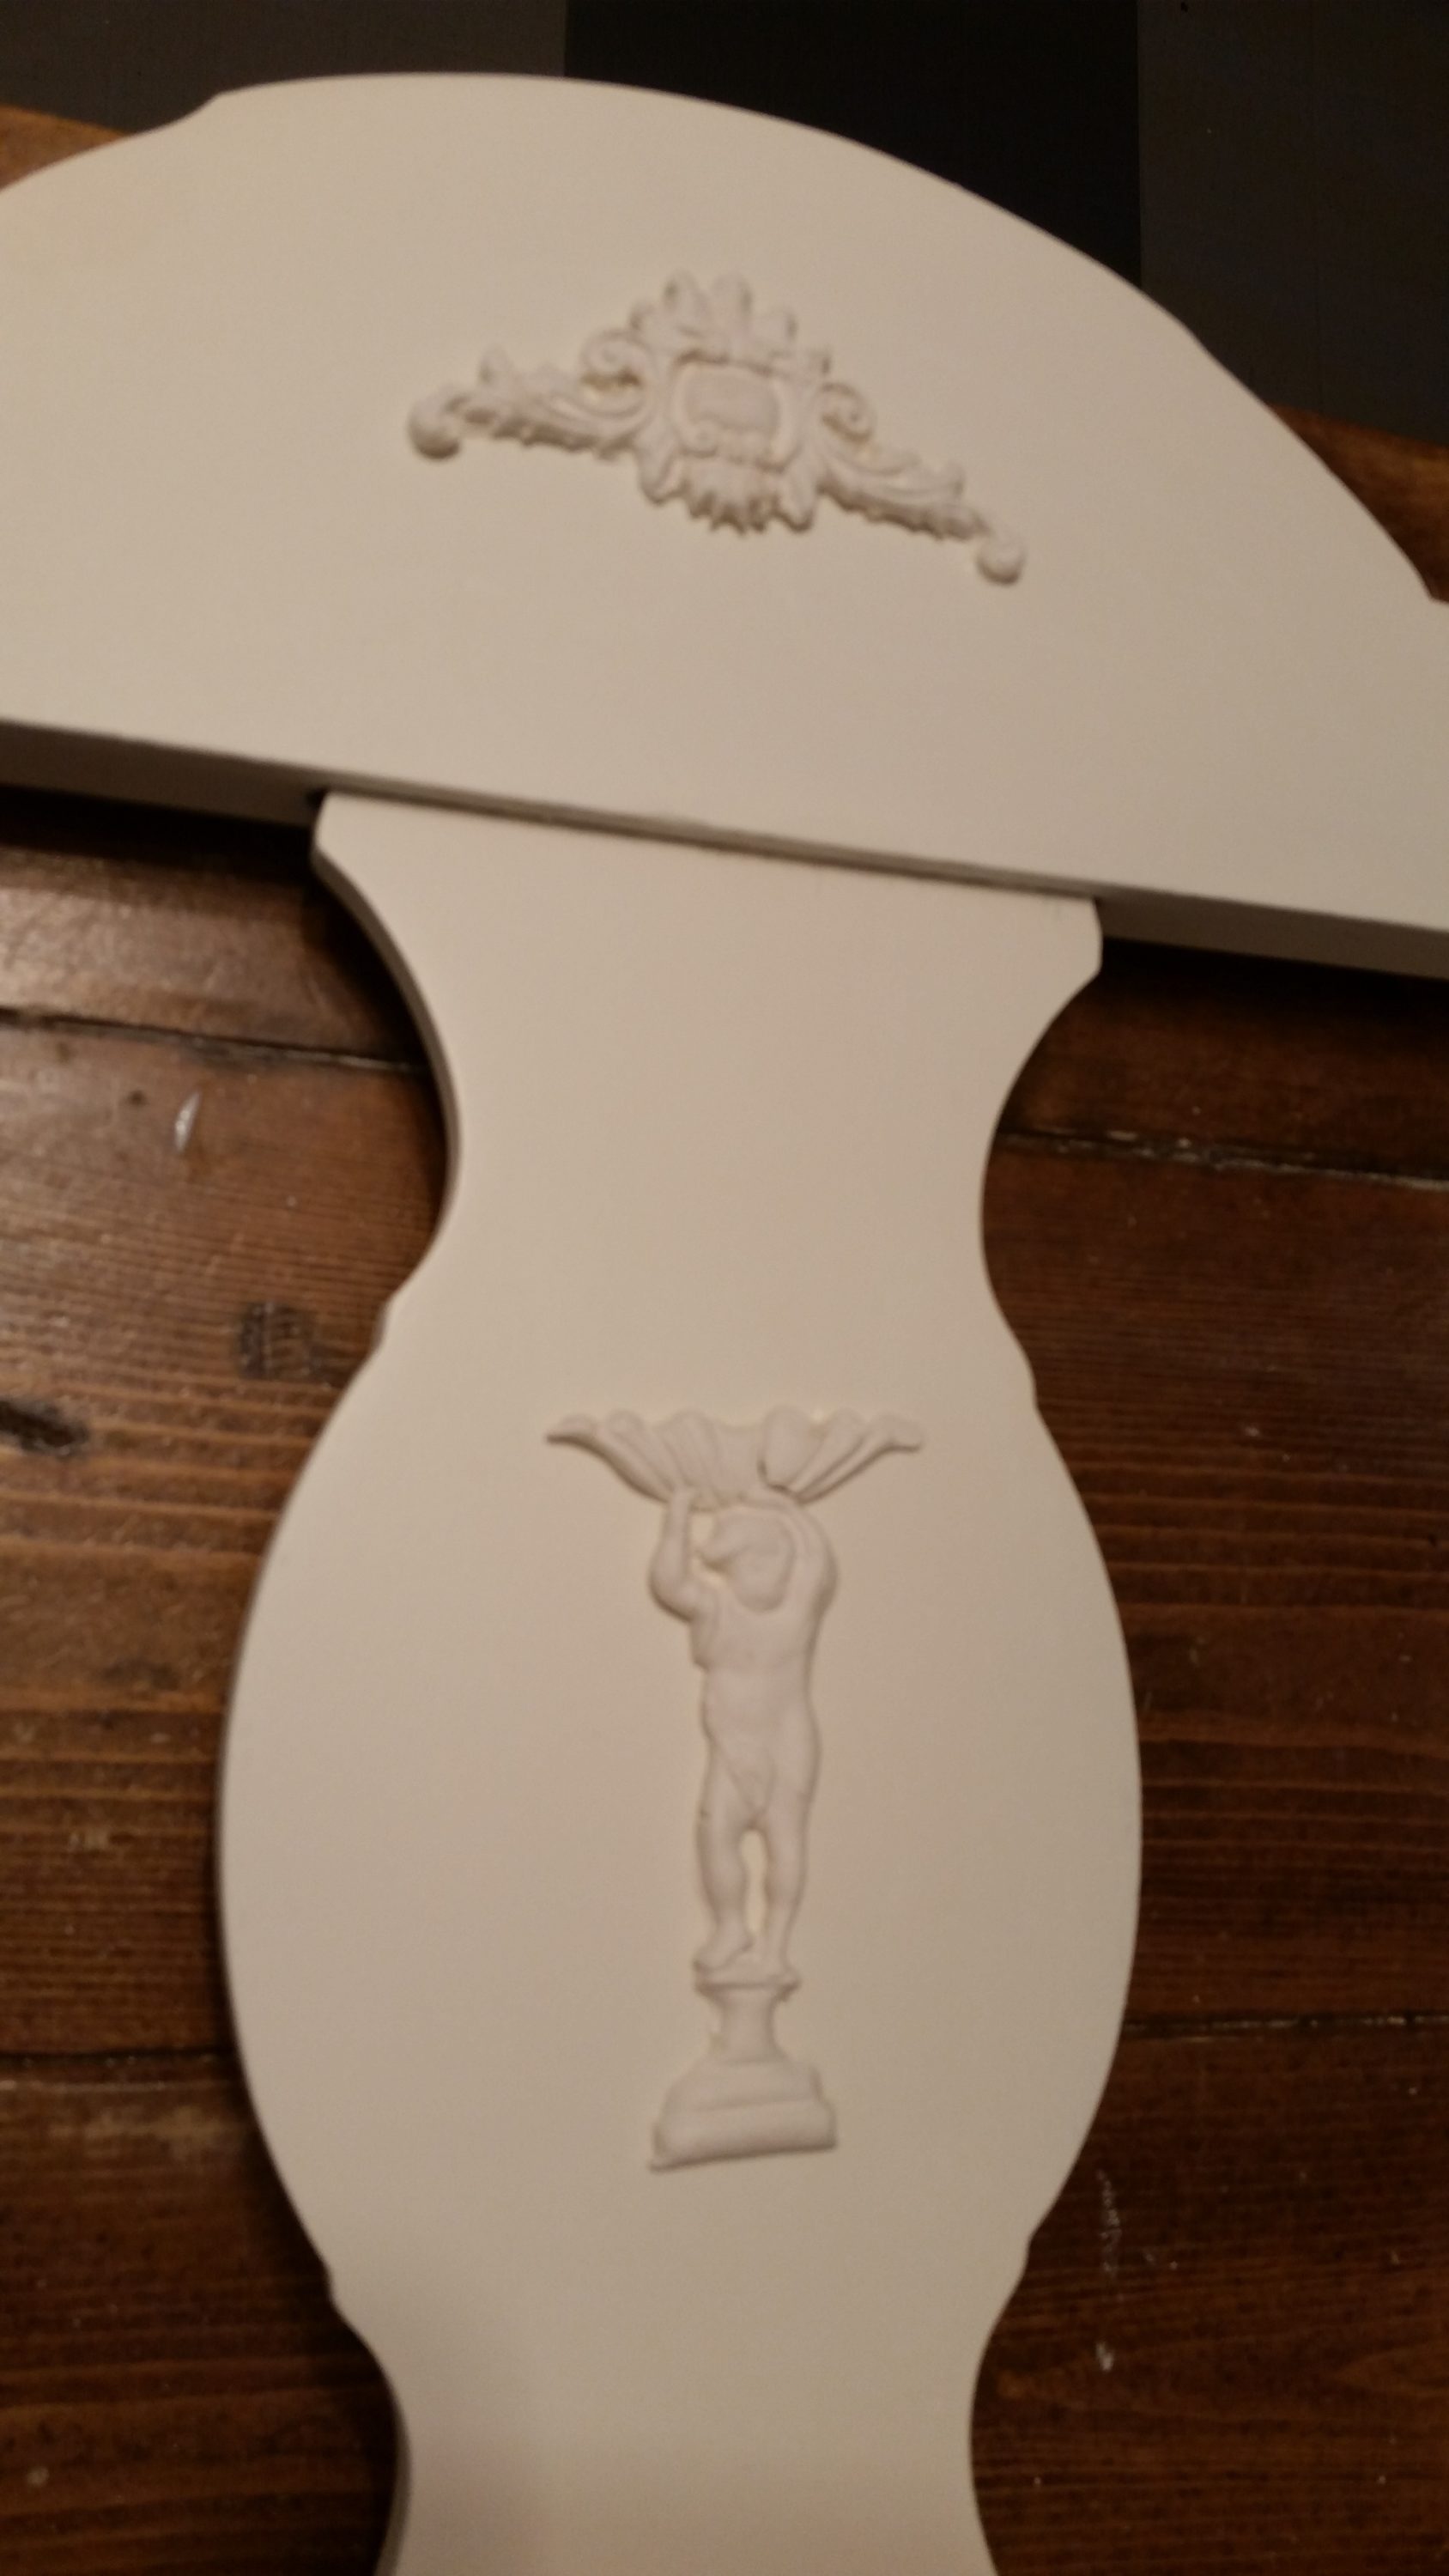 I used some of my IOD paper clay molds to add some details to the top (where I filled in the carved lines with spackling) and the center of the chair back.
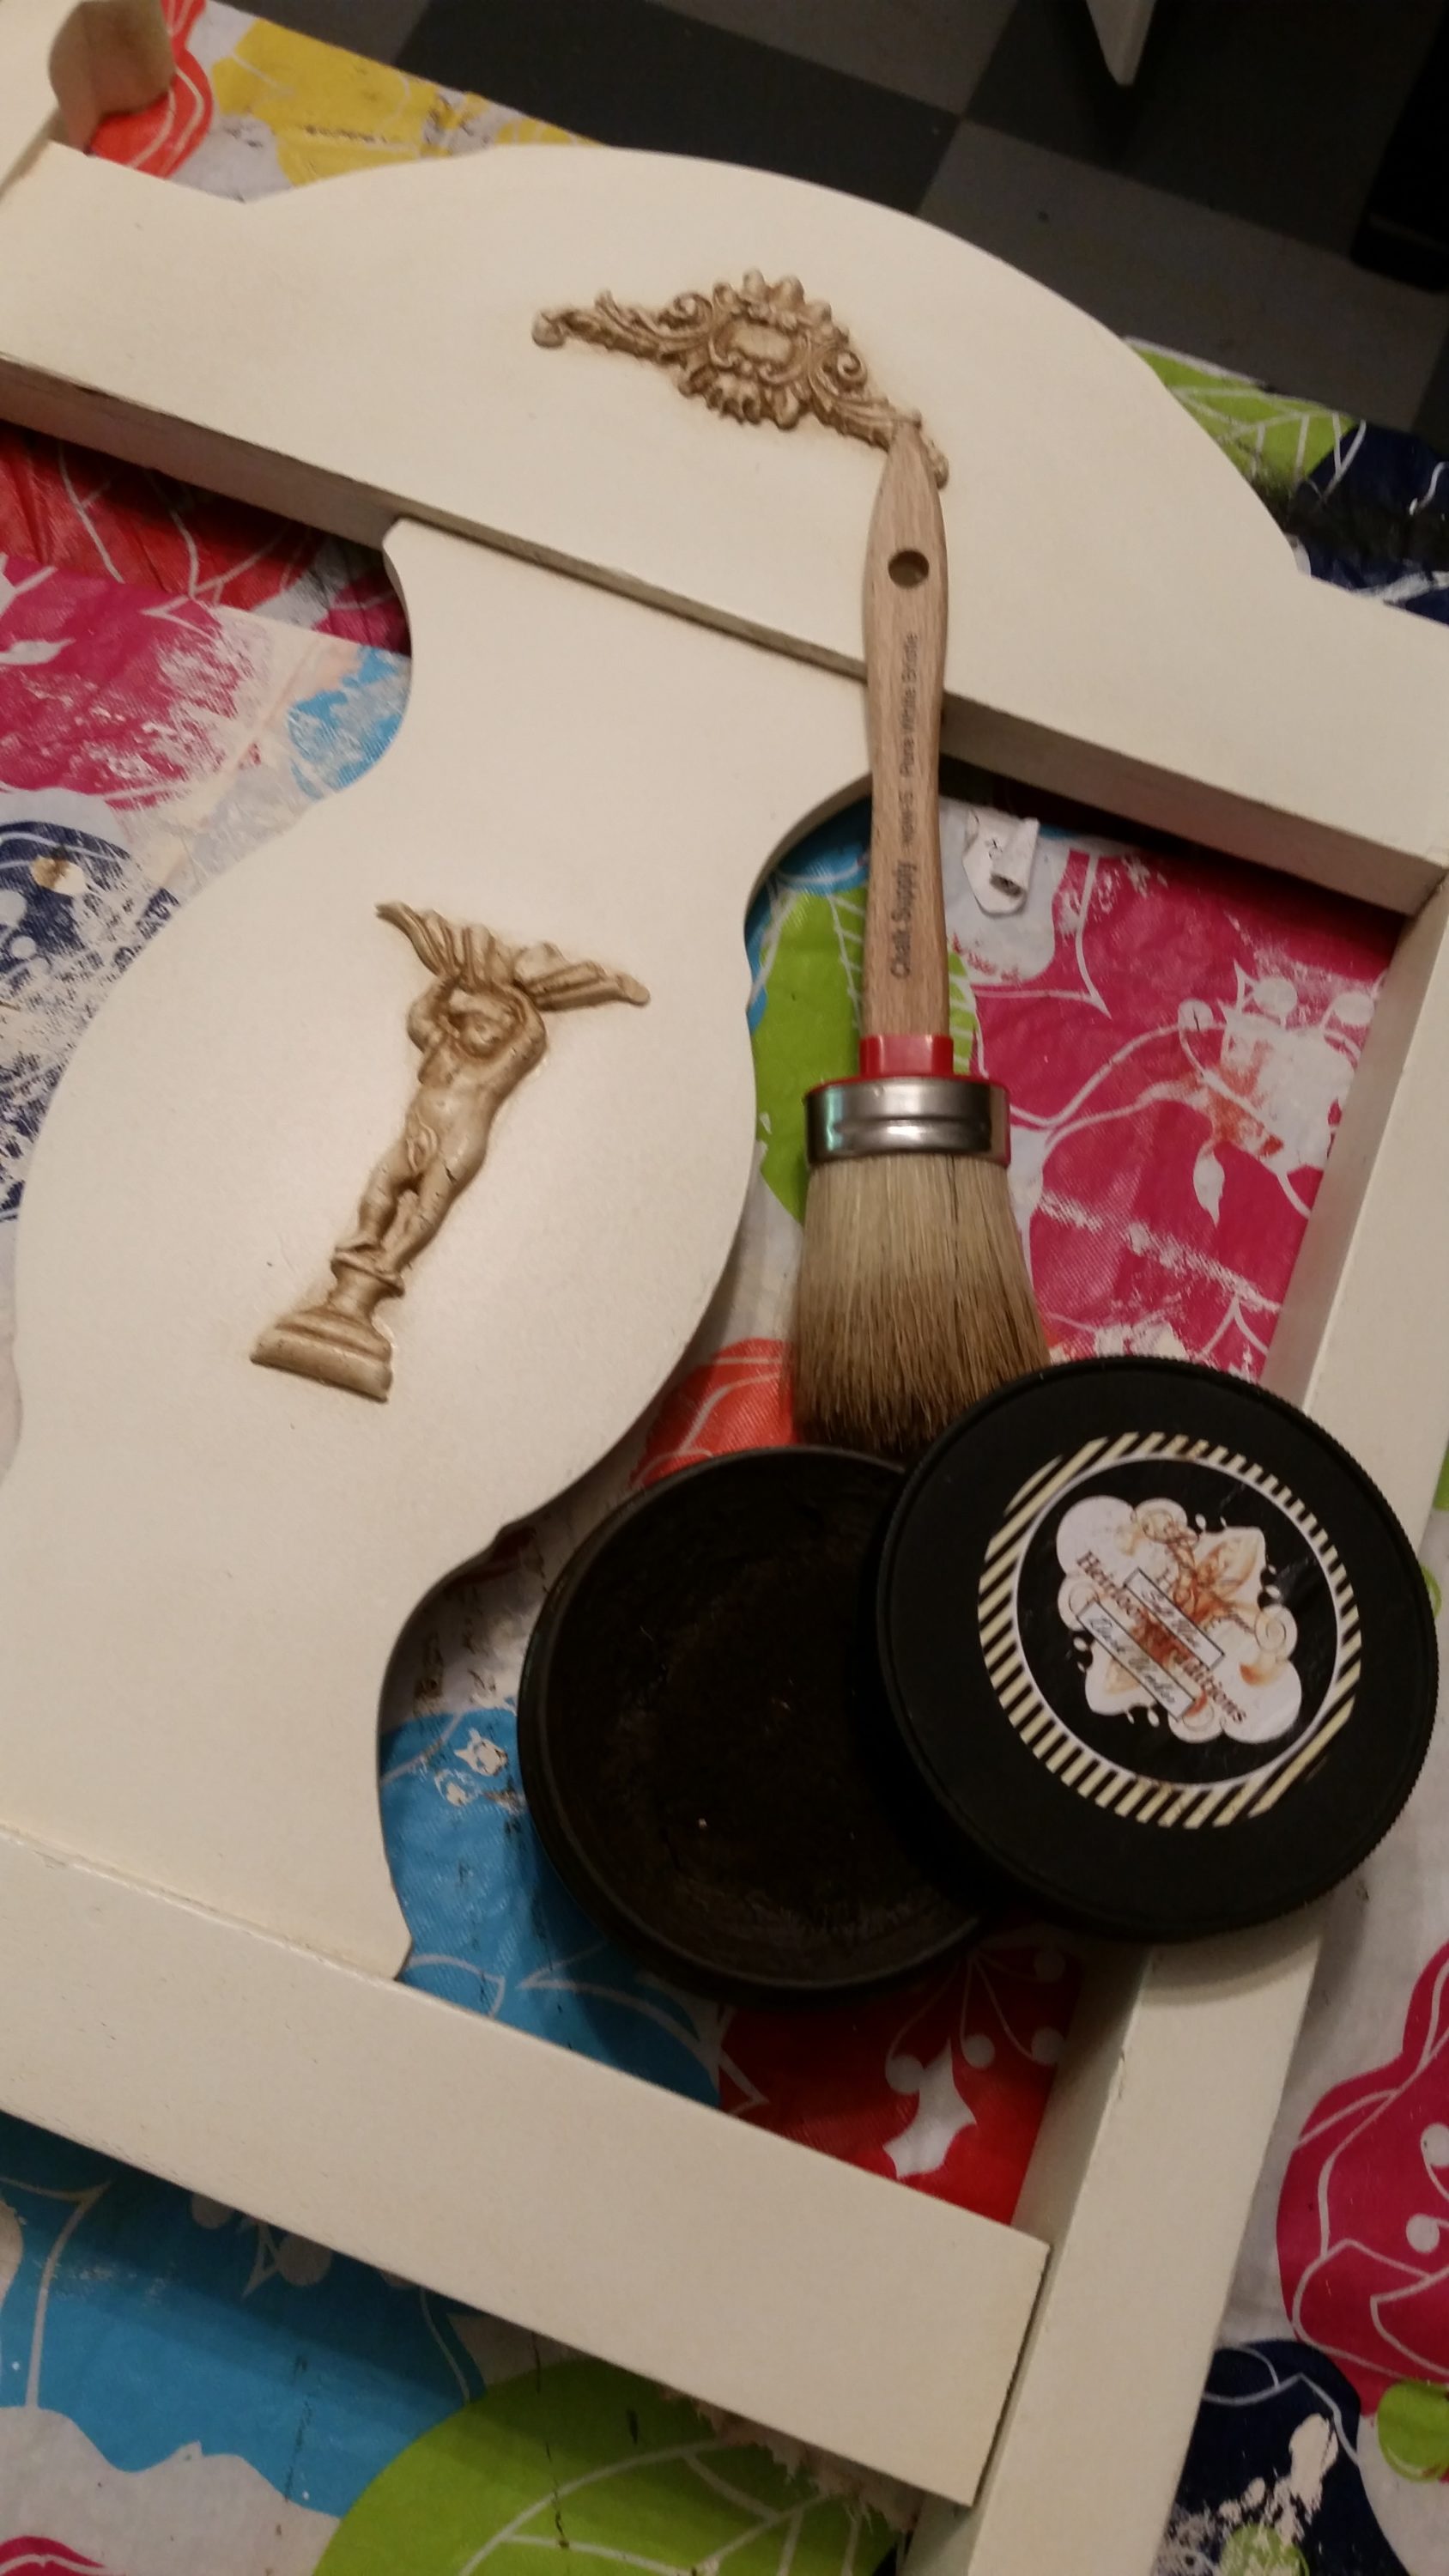
I used some dark umber wax from Heirloom Traditions to make the details of the appliques show up better.
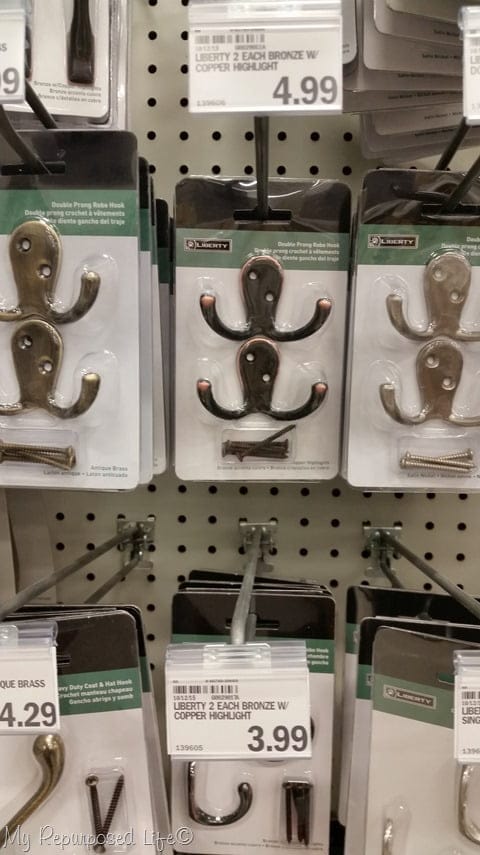
I didn’t have any hooks from D. Lawless Hardware, so I used store bought hooks that were much higher, it’s definitely time to stock up on some more hooks from my friend Dave!
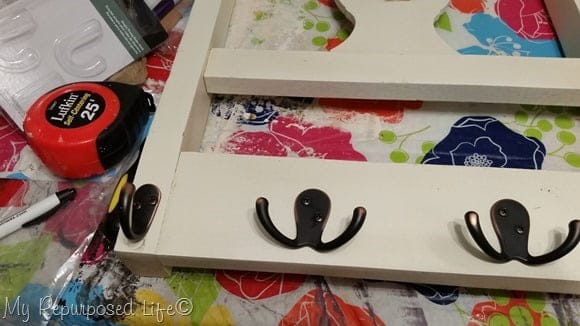
I had to switch out the screws of the double hooks with shorter ones, because the ones that came with these hooks were too long for the chair back.
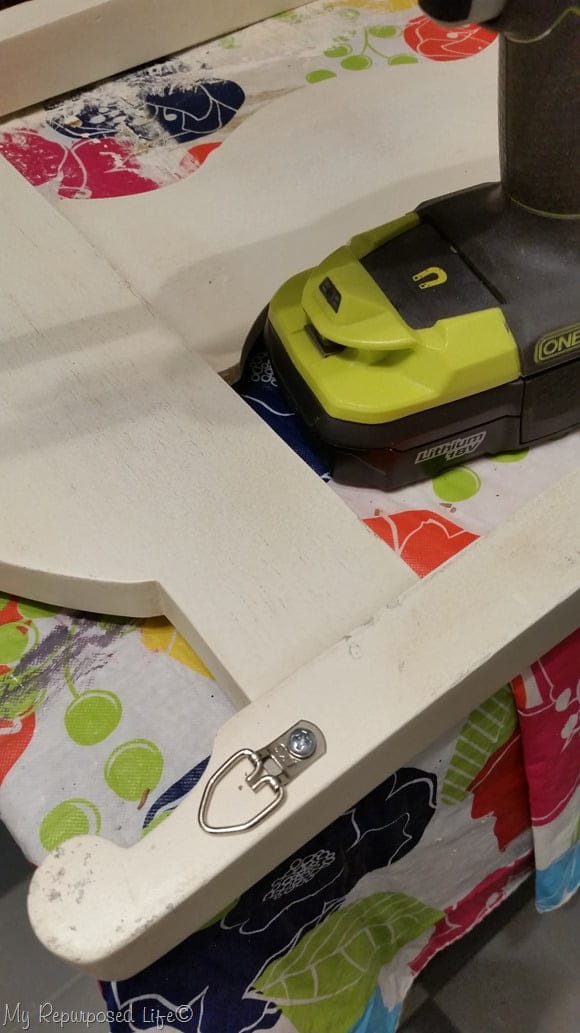
I used my favorite d rings to enable the coat rack to hang safely on the wall.
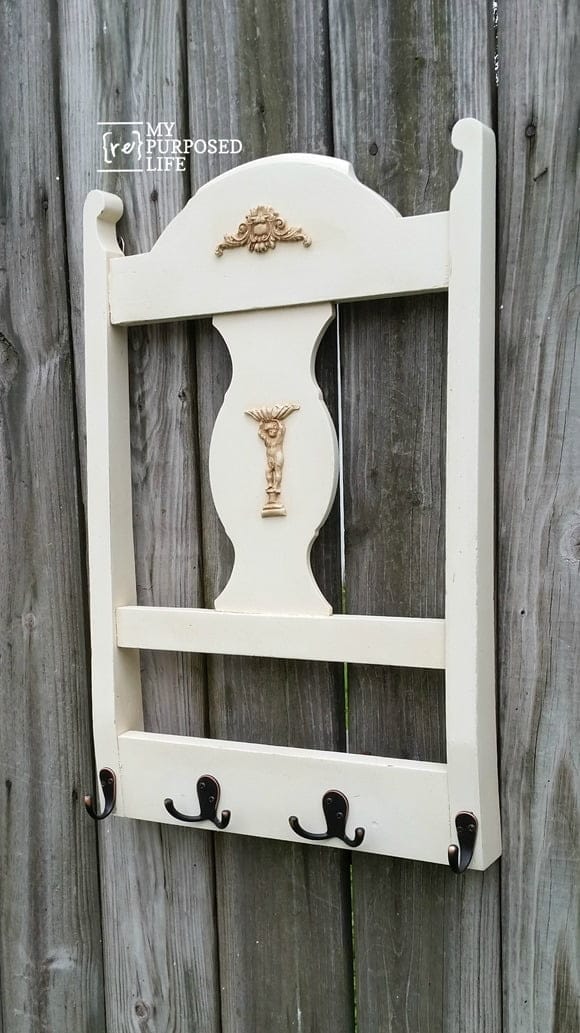
No, it’s not really meant to hang on the fence, but it was the best place for me to “stage” it for a good photograph.

Isn’t it amazing how beautiful it turned out? If you have an old chair and some hooks in your stash, you could make this Repurposed Chair Back Coat Rack in an afternoon.
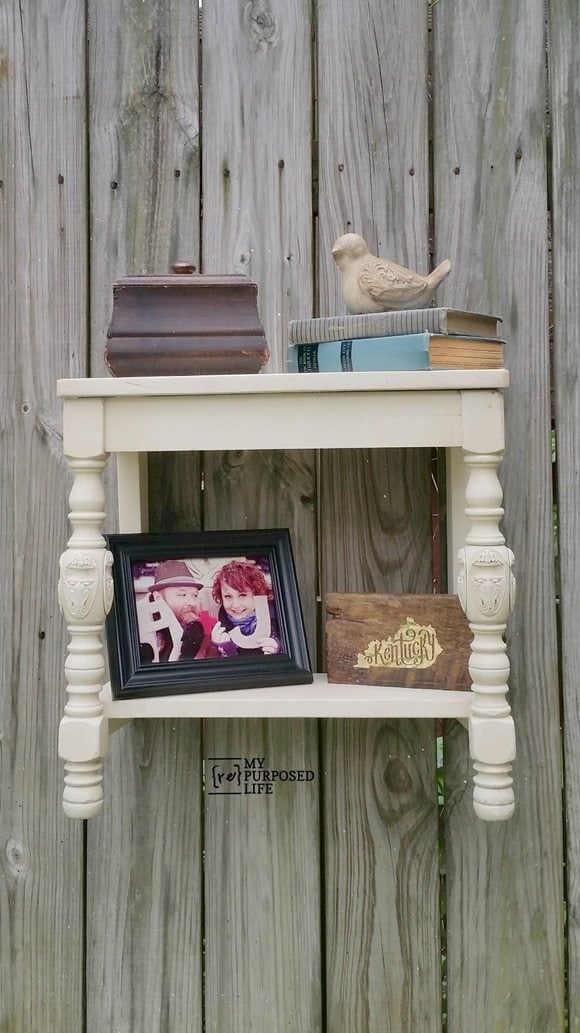 In case you are wondering what happened to the other half of the chair—I made a wall shelf out of the bottom of the chair and the back legs that I cut off the chair back.
So, with one $2.50 chair, I got two projects. Did I mention how much I LOVE chair projects?
What have you made out of a chair lately?
gail
Thanks again Kim for allowing me to hang out at your place, I love making new friends!
Lots of inspiration when you check out 250+ Repurposed Projects
More DIY Ideas!
- DIY Vintage inspired Laboratory Vases – Today’s Creative Life
- DIY Cloche Jars – Today’s Creative Life
- DIY Hose Hanger – My Repurposed Life
- Installing a Real Carriage Barn Door – My Repurposed Life




gail says
So fun to see my chair back coat rack project here on your site Kim!
Happy Summer!
gail
Kim says
You’re amazing Gail!! Love this idea! Thank you for being a guest.