Every mom needs a DIY Lego Travel Bag for easy activities for kids while in the car!
Please welcome my guest today, Bonnie from Fishsticks Designs! What treat to have more sewing ideas on TCB! With summer road trips here, you’ll love this Lego Travel Bag for Activities For the Car.
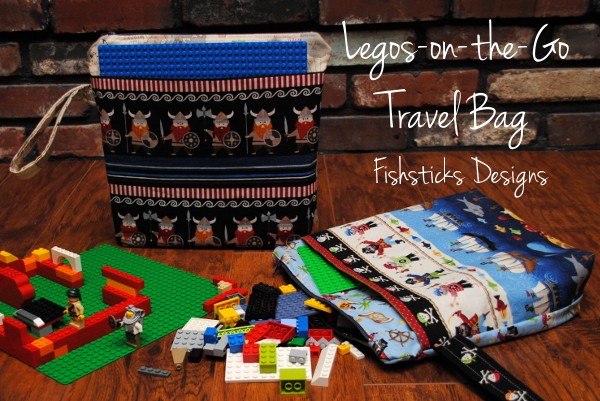
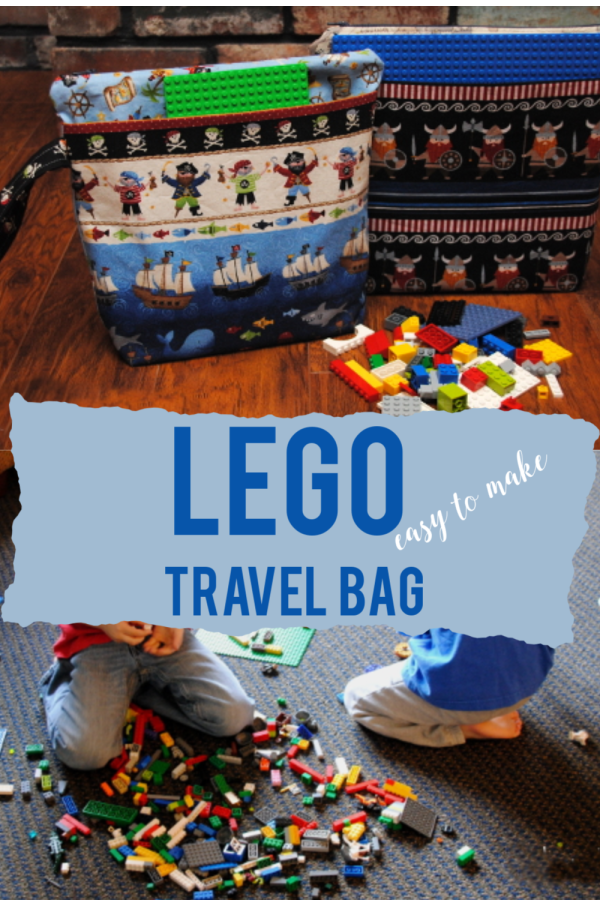
Lego Travel Bag – Activities for the Car
Hello, fellow crafters! My name is Bonnie, and I’m the designer and blogger at Fishsticks Designs. I’m really excited to get to share a fun and practical sewing project with you today!
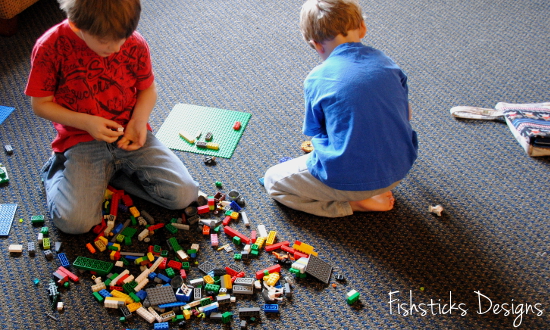
Summer almost always means family travel time, doesn’t it? We set off on a family trip early this summer to West Virginia, Washington, DC and Virginia, and we had a great time. When you’re traveling with kids, though, sometimes you really need a quiet activity that they can do in a hotel room or at Grandma’s house. What better quiet activity is there than Lego building? All of my children love it, and with the right preparation, Legos can be totally portable.
I actually sewed the Vikings bag that you see above the day that we were leaving, and I’m so glad that I did! Those Legos were pulled out for multiple rainy days that kept us inside at Grandma’s, and they came in quite handy on our last day in DC when my littles were done with sightseeing. We sent Dad off with the teenagers to the International Spy Museum, and we stayed in our hotel room and played with Legos! (Actually the boys mostly played with the Legos while I finished up the laundry and got everything packed, but it turned out to be a nice, relaxing day for all!)
 How to Make a Lego Travel Bag
This is really a quick and simple project, even if you’ve never sewn a zipper before. (You really need a zipper for Legos. Those tiny blocks escape from drawstrings and velcro far too easily!) Here’s what you need to get started:
Lego Travel Bag Supplies
1/2 yard each of an outer and a lining fabric
3/4 yard of your front pocket fabric (or 1/2 yard, if your fabric can be cut across the grain)
1 yard of fusible interfacing
1-12″ or longer zipper
Start by cutting out your pieces. You’ll need two 13″ squares for the outer bag, two 13″ squares for the bag lining, one 4″X14″ strap piece, two 1 1/8″x3″ pieces for the ends of your zipper and one 13″x22″ pocket piece.
If you’re cutting a striped fabric for your pocket, or if you just want to position a certain image on the front pocket, the top of your pocket will fall 11″ above the bottom edge. (I left a bit of the selvage on mine so that the red dotted line would fall right at the top of my pocket. The selvage was smaller than my 1/2″ seam allowance, so it ended up hidden inside.)
Iron interfacing to your two lining pieces and your pocket piece.
Fold your pocket piece over and match up the short edges. Press well along the fold. Line the raw edges of the pocket up with the sides and bottom of one outer piece. Baste in place 1/4″ from the edges.
To prepare the strap, fold and press the strap piece in half the long way with wrong sides facing.
Unfold, then fold each long edge into the middle and press again.
Fold in the center again and press.
Topstitch each long edge at approximately 1/4″.
To prepare your zipper, pin one of the 1 1/8″ X 3″ pieces of fabric with right sides facing at the top end of the zipper, as shown.
Stitch across, just to the outside of the zipper stop. (Be careful not to hit the metal piece with your machine needle.)
Fold the fabric out at that end of the zipper and lay it out flat with the top facing you. Measure 12″ from the short end of the fabric and trim your zipper at that point.
Line your second 1 1/8″ X 3″ piece of fabric up at the opposite end of the zipper and pin with right sides facing. Sew across 1/2″ from the end, backstitching and forward stitching a few times to secure the end of the zipper. Fold the fabric out.
Trim this full zipper section to 13″, evening up the two fabric end pieces.
To begin assembling the bag, lay one of your outer pieces of fabric out with the right side facing you. Center your zipper on top with the right side down and raw edges lined up.
Lay one of your inner pieces on top of the zipper with the right side facing down. Line up the raw edges, and line up the inner piece with the outer piece under it. Pin in place. You should now have a “sandwich” with your outer fabric on bottom, zipper in the middle and inner fabric on top.
Sew in your zipper now using a zipper foot. Position your needle so that it falls 3/8″ from the raw edge. Sew to just before the zipper pull, backstitch, remove the fabric from the machine, and pull the zipper pull past where you’ve already sewn. Start stitching agan just before where you left off and stitch all the way to the end.
Flip the front and back pieces over so that they are wrong sides together and the unattached side of the zipper is now at the top.
Repeat the process above to attach the other outer and inner layers of fabric to the opposite side of your zipper. (Place the zipper face down on the right side of the outer layer, then place the inner layer on top so that the right sides of the inner and outer are together. Sew in the zipper.) Now your bag should look like this when it’s layed out flat:
Press the fabric away from the zipper on the front and the back. (Be careful to keep the iron away from the zipper teeth. They will melt!) Topstitch each side of the zipper. Sew to the zipper pull, put your needle down, lift your sewing machine foot, pull the zipper pull past the foot, put the foot back down and continue sewing.
Fold handle in half and line up raw edges about 1/2″ below the top of the pocket. Angle the handle upward slightly, and pin it to outer layer of fabric only. Stitch at about 1/4″, backstitching and forward stitching to reinforce.
Open your zipper all the way up. Don’t forget this step, or you won’t be able to turn your bag right side out! Flip your inner and outer pieces towards each other, lining them up with right sides facing, like this:
Pin fabrics in place like this. At the zipper, you’ll have a bit of extra fabric. That fabric should be folded towards the inner side of the bag.
Begin sewing your pieces together about 2/3 of the way across the bottom of the inner pieces. Sew all the way around the big rectangle, 1/2″ from the edges, forward and backstitching a few times across the handle to secure it well. Leave about a 3″ opening in the bottom of the inner pieces.
To form the bottom corners on the outer bag and the lining, measure and trace a 1 1/4″ square on each of the four corners.
Cut out all four corners.
Pinch the corners and match up the bottom and side seams. Pin in place.
On the outer bag, be careful to push the pocket pieces to the front side of the bag. The front side of the bag will have the pocket’s basting stitches.
Stitch each corner 1/2″ from the raw edges.
Turn the bag through the opening and then through the zipper. Push the lining down into the outer and check to make sure that everything looks as it should.
If everything looks nice, pull the inner back out. Pin and sew the opening closed.
Now you’re ready to fill it up!
The front pocket will hold a 10″x10″ base plate or several smaller ones. The inside will hold plenty of Legos to keep a little one content for quite some time!
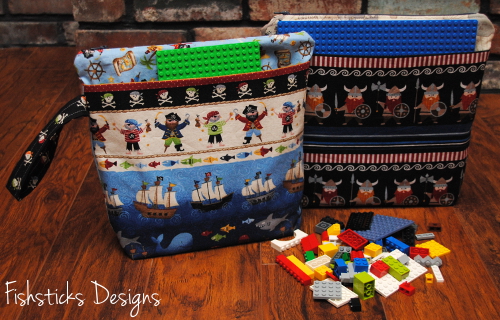
Now the kids will have their own Lego Travel Bag for car trips anytime!
 How to Make a Lego Travel Bag


 No Borax Slime Recipe
  Art Project for Kids
  How to Make a Jellyfish Windsock craft



noreen says
Forgive me if I missed it, but where did you get that ADORABLE fabric? My four year old would LOVE it!
Kim says
Go ahead and head over to the guest bloggers site, I’m sure she’d love to direct you to the fabric choices she made.
Bonnie Ferguson says
Hi, Noreen! The Viking Warriors is a Timeless Treasures fabric. I grabbed it on clearance a few months back, and it seems to be in short supply online. In a quick search, the only place I see some now is Etsy. The Pirate fabric is an Andover – Makower UK line. I bought it from my local quilt shop, but it’s available several places online.
Stephanie says
I love these little bags, I will be whipping some out four my little boys very soon! Where did you get the pirate fabric, I LOVE it!?!?!
Bonnie Ferguson says
Hi, Stephanie! The pirate fabric is an Andover – Makower UK line called Pirates. I bought it from my local quilt shop, but it’s available several places online.
Kristy says
What a great tutorial and practical item! Very easy to follow with all the clear pics too! Thanks for sharing!