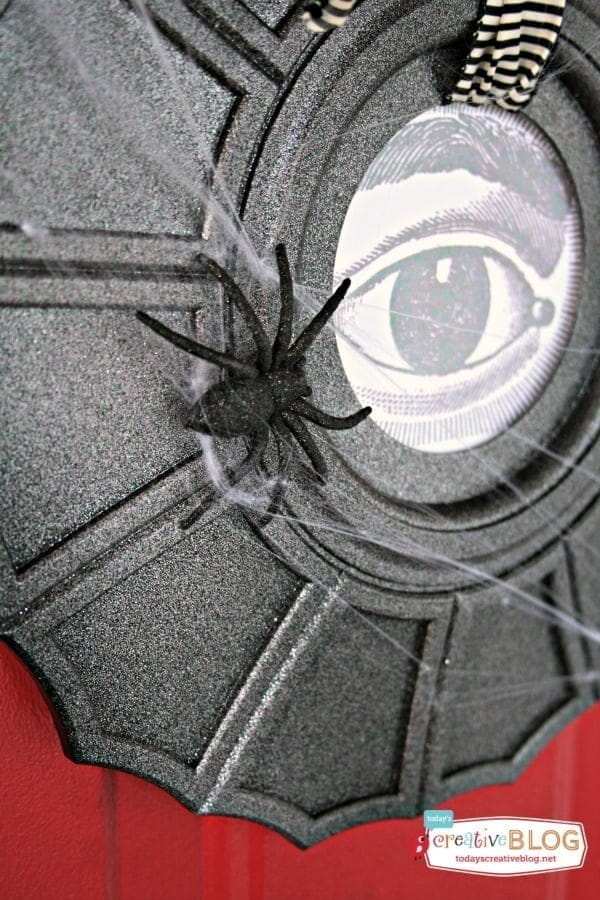
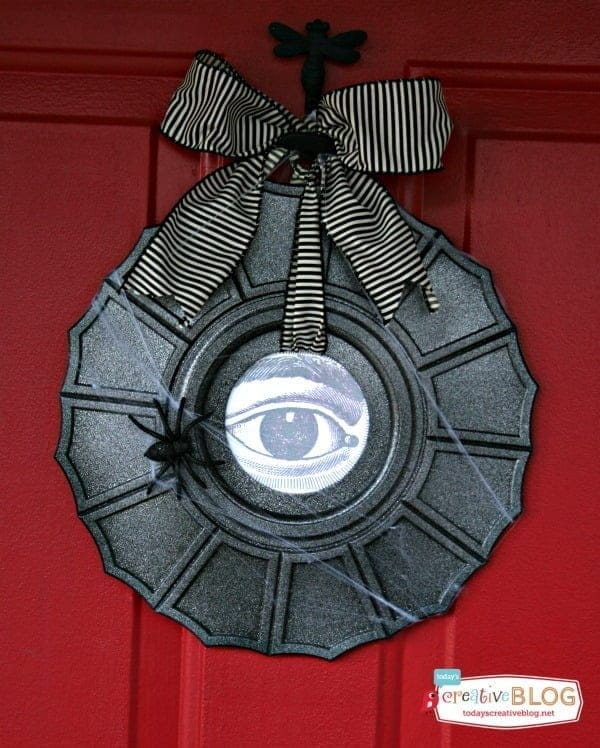
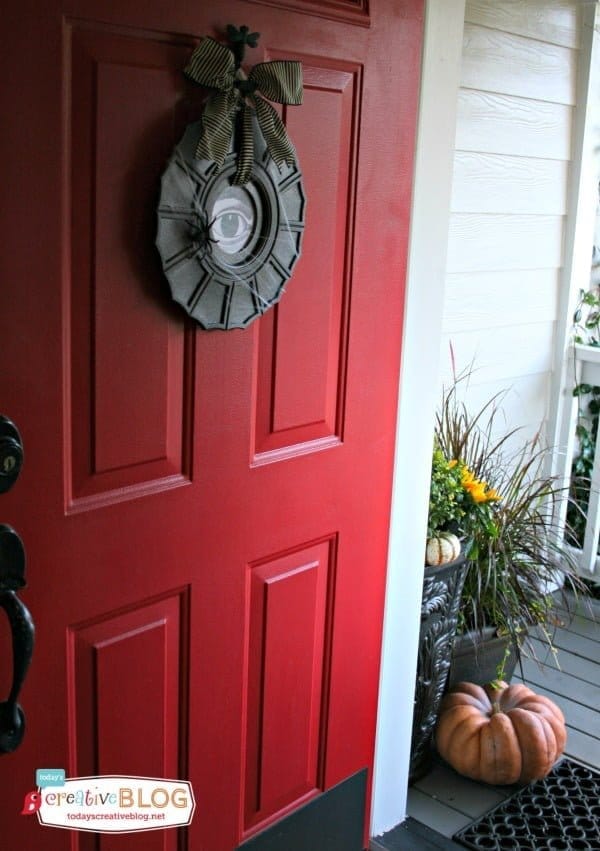
This Ceiling Medallion Halloween Wreath was one of the easiest DIY Halloween projects I think I have ever done!
I hadn’t planned on making something for my door when I was wandering through the isles of Lowe’s gaining inspiration for this months challenge as one of the Creative Ideas Team members. I was planning on doing a crystal ball for the table…..which I’ll still do, but then I walked past the ceiling medallions and this particular one caught my eye and the spirit hit me….no pun intended, but I knew that I must make a ceiling medallion Halloween wreath. I had no choice……the decision was already made.
Ceiling Medallion Halloween Wreath
I’ve admired wreaths before made from ceiling medallions and thought this one had Halloween written all over it! It was just begging me to buy it. So I put it in my cart, then quickly walked to the spray paint aisle to grab a nice black.
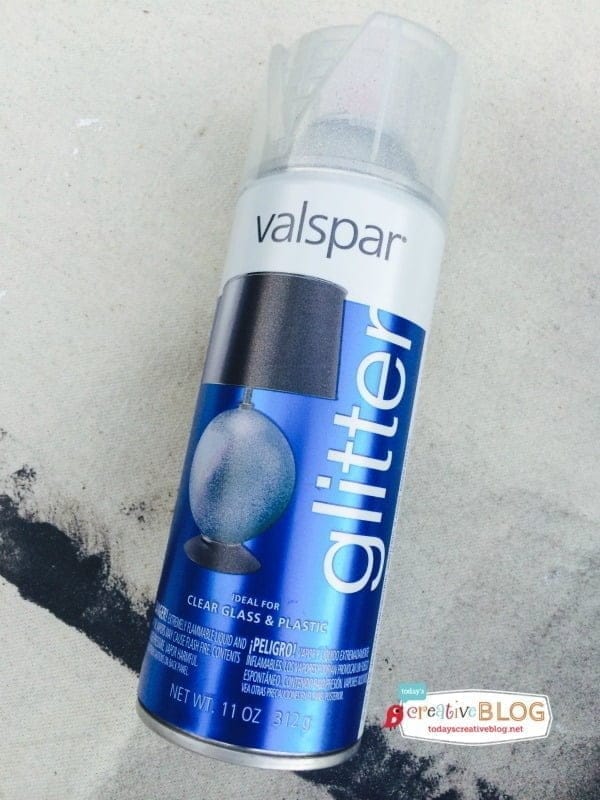
Did I want flat, satin, high gloss? My brain quickly switched to figuring out what kind of ribbon would be best and did I already have it?……. then my eye caught the glitter spray and knew it would be a great combo for Halloween. I probably already had a can, but I HAD to buy another one.
Can a girl have too much glitter? You see my point.
There is nothing I love more than a quick and fabulous project. That’s why I also love holiday printables. This Halloween Printable would be cute to decorate with too.
How to Make a Ceiling Medallion Halloween Wreath
Affiliate links for products listed are for your convenience only. This costs you nothing extra. If you happen to purchase anything as a result of clicking, TCL will receive a small percentage. Thank you for your support. This allows me to continue to offer you free content.
Supplies Needed:
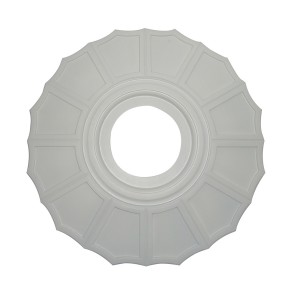
This medallion was just under $15 and found in the lighting area. It’s meant to attach around the base of a hanging light on the ceiling for a more finished look. They have a large variety of many different shapes, but this scalloped one seemed to fit the holiday!
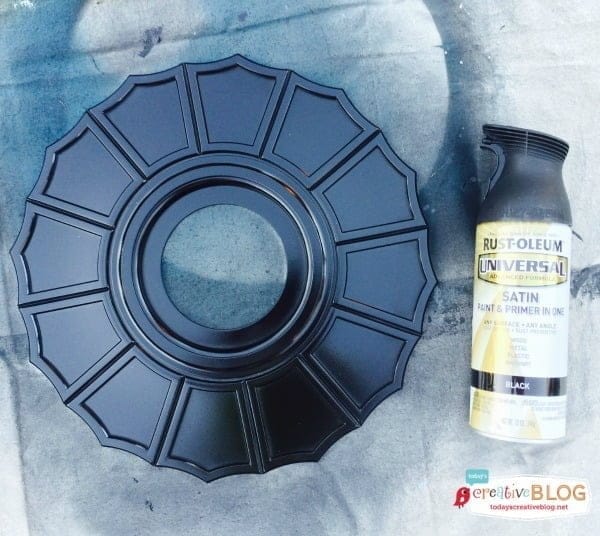
I sprayed it down with the Rustoleum, let it set, then sprayed it down with a few blasts of the glitter paint.
It was perfect!
I found the perfect ribbon stashed in my craft room, downloaded and printed the “EYE” graphic, along with a few Halloween embellishments and had myself a pretty cute wreath.
My porch isn’t completely “Falled Out”, but it’s getting there. I made it easy on myself and instead of grabbing a bunch of mums and wrapping them in burlap as I have before, I grabbed two large planters full of Fall plants from Lowes.
If you’d like to pin this for later, here is a tutorial image just for you.
It’s so fun being part of such an amazing team of Creative Ideas Bloggers! All so talented. Always great ideas and you can now use the app to find what you need. Have fun shopping around for fun projects.
As one of the Creative Ideas Bloggers, I am compensated for my time and materials. Project & product choices and are 100% mine, as well as my opinion.


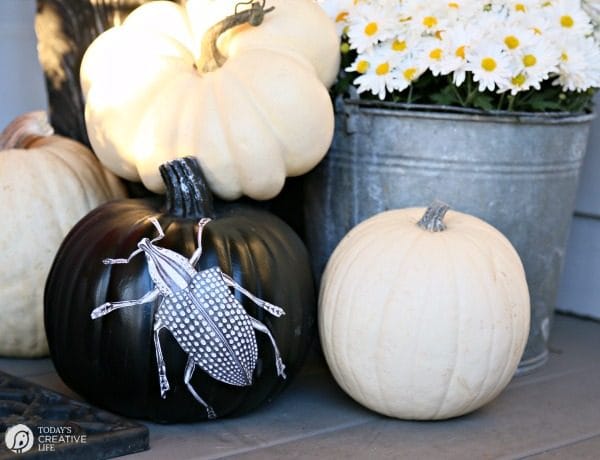 No-Carve Halloween Pumpkins
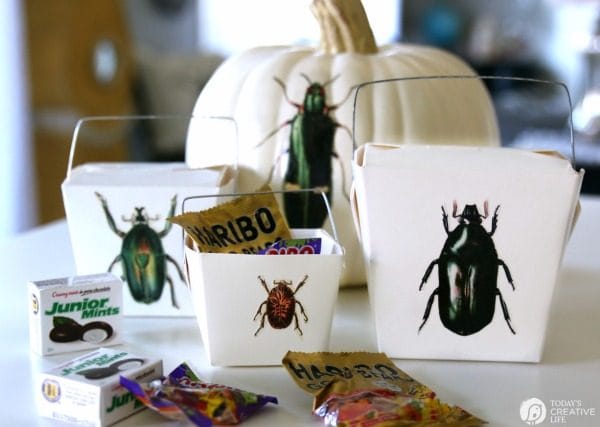 DIY Halloween Treat Boxes
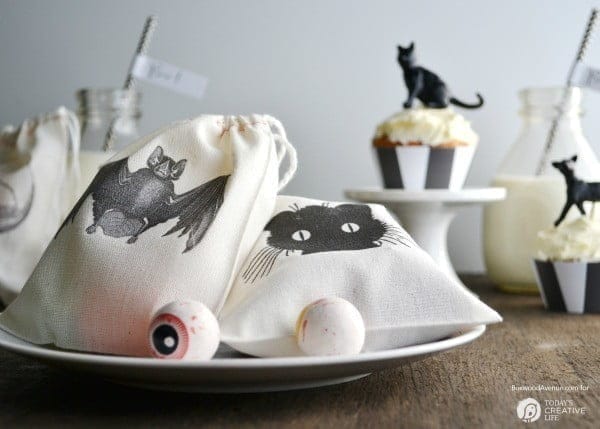 Halloween Iron-on Goodie Bags



the cape on the corner says
perfectly creepy! great idea and cute pup, too!
b
Phyllis says
i am making this over the weekend…..cute and easy
Cher @ The Craft Alternative says
This is a really, really cool idea!
Kim says
Thanks so much! I’m pleased with how it turned out!
Leigh+Anne+Wilkes+@YourHomebasedMom says
Love it and your front porch looks so great!!
Kim says
Thanks Leigh Anne!
Hani+Shabbir says
Love the eye at the center..
Kim says
That was a last touch! So glad I did it!