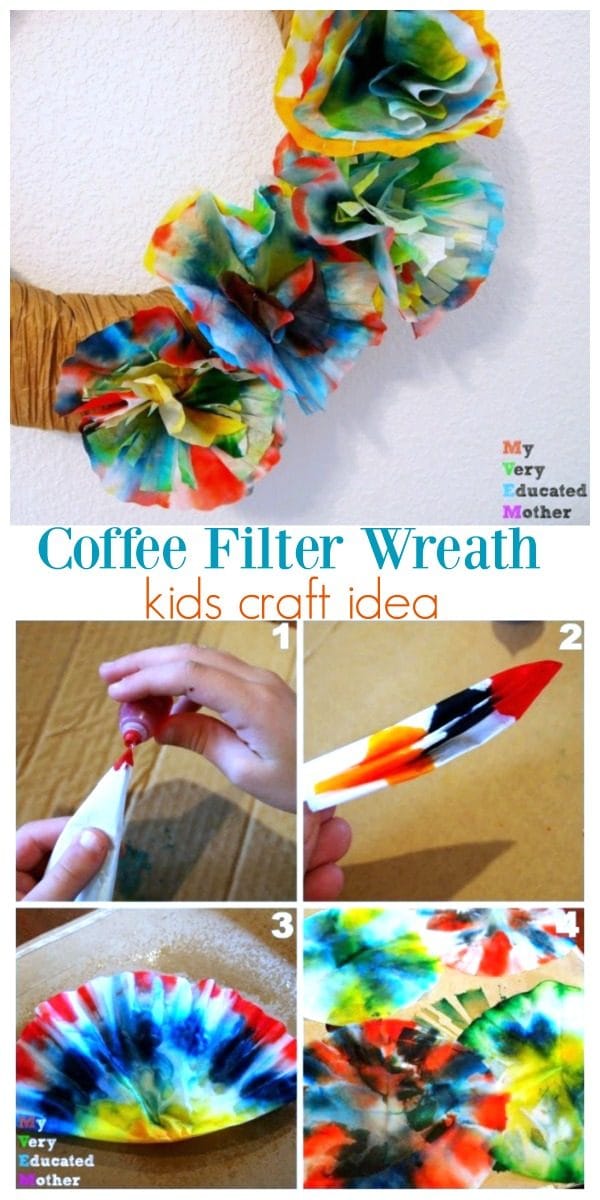
Find all you need for this kids craft on this Coffee Filter Flower Wreath Tutorial is a great project! This inexpensive kids activity can be made with a few household items.
While I’m in New Orleans (follow along #TCBinNOLA) I have so many bloggers willing to fill in, like Erin from My Very Educated Mother who is sharing this fun Coffee Filter Flower Wreath Tutorial. For more kids crafts, check out this No Borax Slime Recipe.
Hello, Today’s Creative Life readers! I’m Erin, the voice behind My Very Educated Mother, where I share crafts, recipes, and activities aimed at encouraging and fostering creativity in our lives and homes. P.S. Don’t let the name fool you, I’m still learning every step of the way! 
Here in Missouri spring has officially arrived, so I figured it was high time to get rid of the winter wreath hanging on the front door and bring in some color! ’The kids and I had already been playing with the food coloring for another project and since I’d given up coffee, don’t ask, I had a stack of extra filters on hand. We put the two together and created a number of vibrant, tie-dye-ish flowers and used them to decorate our new spring wreath! Here are all the details and what you’ll need to create a bouquet of your own!
Coffee Filter Flower Wreath Tutorial
Supplies
- coffee filters
- food coloring
- brads
- scissors
- wrapped wreath form
- newspaper or cardboard to protect crafting surface
How to Make a Coffee Filter Flower Wreath
I don’t think I need to tell you if you’re working with food coloring it’s always a good idea to cover your crafting surface and don’t even think you’re going to make it through this one with clean fingertips!
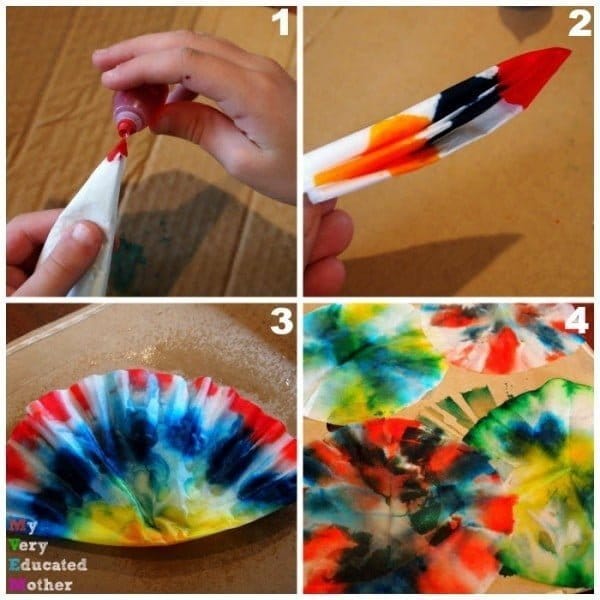
First, fold your coffee filters in ANY shape! I started out showing the kids to fold in half, then quarters, and so on, but Vin asked why he couldn’t just fold it however he wanted. He made a good point, so, we began folding all kinds of shapes.
Second, we added our drops of food coloring and then thirdly, we sprayed it with a water bottle and watched the colors spread and blend. Finally, we completely unfolded and spread the filters out to dry. Make it a fun experiment by spraying some filters before you unfold them and others afterward.
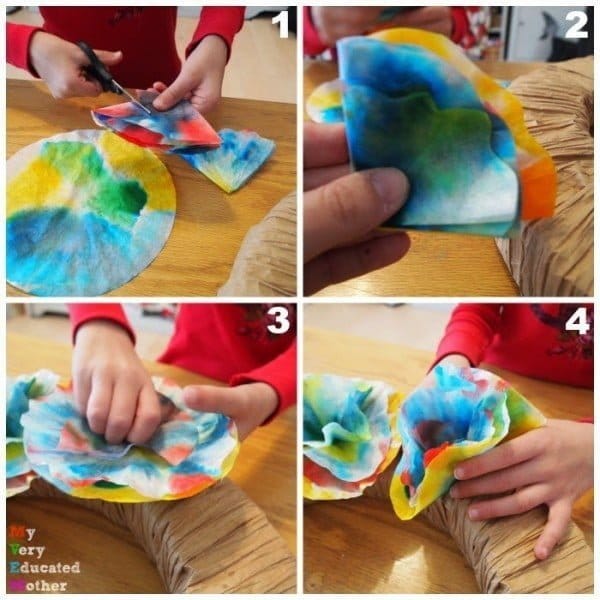
Once they were dry, we picked three filters, folded them into quarters, and used the scissors to scallop and fringe the edges. We graduated the cuts so that we ended up with a large, medium, and small filter that we pinned together in with the brad. Finally we stuck our flowers into the wreath and scrunched them up a little.

As you can see, the wreath we’re using is from a previous beach themed project. I kept it wrapped in the unraveled paper twists and have redecorated it many times. For your wreath, I’d recommend wrapping it in any material, paper, or ribbon of your choosing. Just be aware that you may have to cut the material to get the brad through.

DIY Dragonflies – Recycled Bracelet – Felt-Ribbon-Button Toy
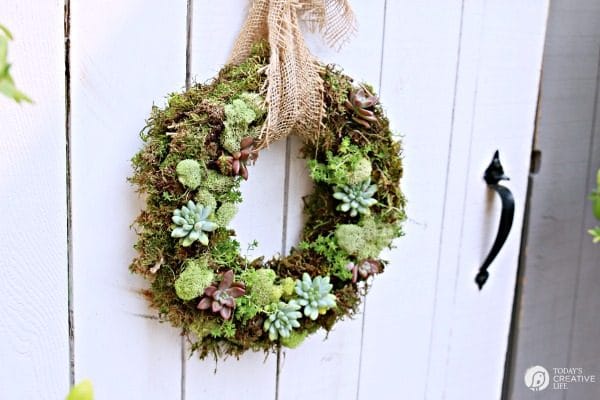 DIY Succulent Wreath
 How to Make a Birdseed Wreath
 DIY Fall Wreath Tutorial


Leave a Reply