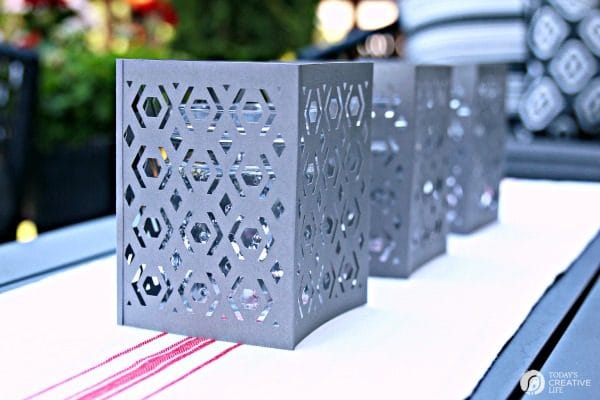
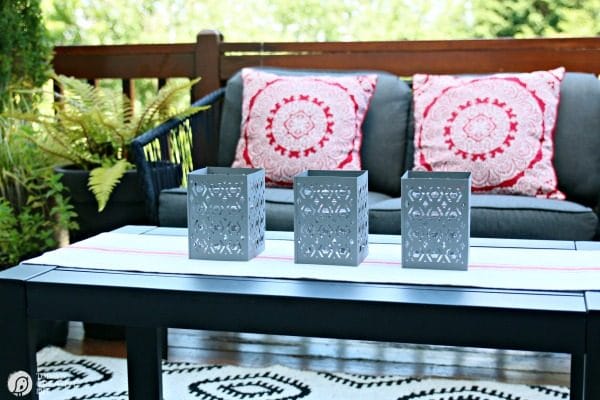
You guys are going to love what I made for my deck with the Cricut Maker and the NEW Scoring Blade! I whipped out these Cricut Scoring Wheel Paper Luminaries for some quick stylish decor, and I LOVE how they look!
See my other scoring wheel projects. DIY Gift Box & DIY Takeout Box.
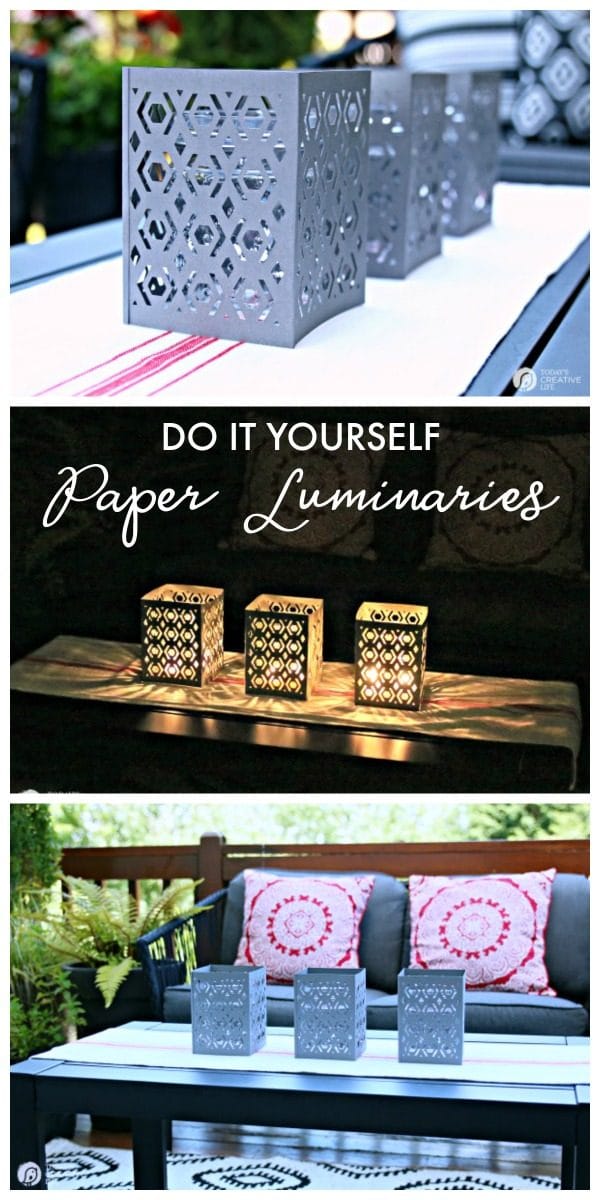
Cricut Scoring Wheel Paper Luminaries
Even though I’ve partnered with Cricut many many times, I always feel like a beginner anytime I start a new project. Of course, those feelings are subsided because they make it simple, with easy to follow instructions and prompts.
This time, they sent me the new Scoring Wheels! For all of you that love paper crafts, making home decor or 3D items, these 2 scoring wheels will make your DIY dreams come true: effortlessly make crisp folds with thick, thin and coated materials. They have 10X the pressure of the scoring stylus and are only compatible with the Cricut Maker!
I know some of you are dying to get your hands on these! Good news! HSN is launching these new handy tools, so head on over and grab your set!
There are two choices depending on your project and materials you’re working with, but the Cricut Design Space will recommend which one to use. They are clearly marked and easy to swap out. 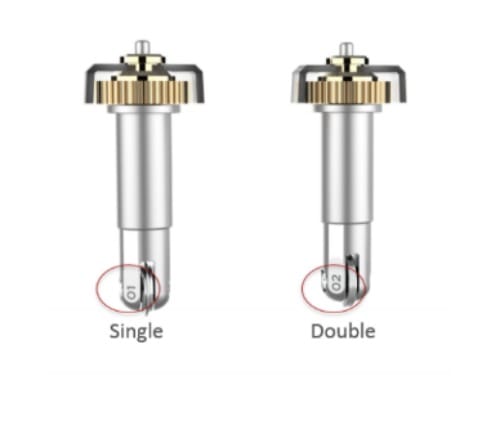
Single Scoring Wheel – this makes a deep single-line score perfect for uncoated light materials like crepe paper, regular cardstock and even acetate.
How to Make Paper Luminaries
Supplies Needed:
- Cricut Maker
- Cricut Scoring Wheels
- Cardstock – I used Grey from the basic 12 x 24 sampler.
- Adhesive: I used a thin craft double-sided tape.
- Accessories: Mat, Cricut Tools
- Jars
- Candles or twinkle lights
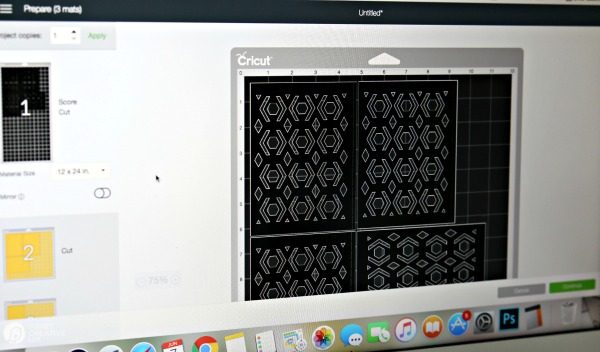
- Find the lantern design of your choice in the Cricut Design Space, follow the instructions for mat choice, place your cardstock on your mat etc… and click the Make It green button at the bottom right of the screen.

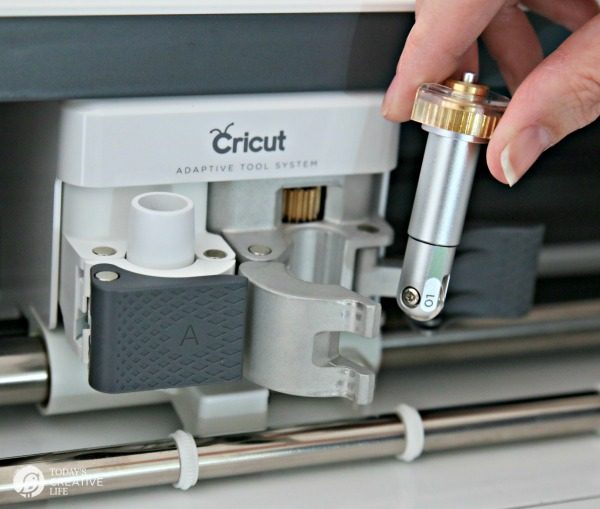
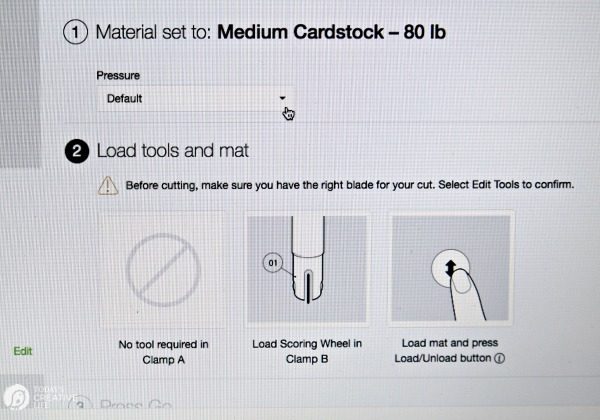
- Load your mat and follow the prompts. It will tell you what tool to load first. The scoring wheel or the blade.


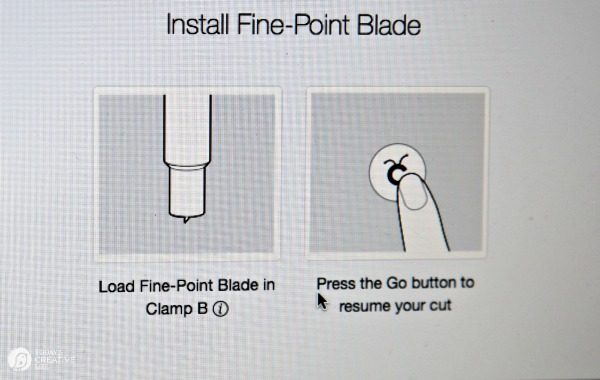
- After it’s finished with the first run through of scoring, now it’s time to cut the design. You will unload, swap out the scoring wheel for the blade and reload. Continue to follow the prompts.

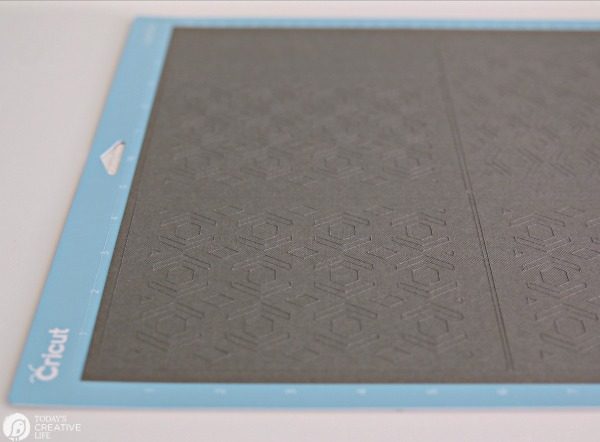
- Unload your finished product.

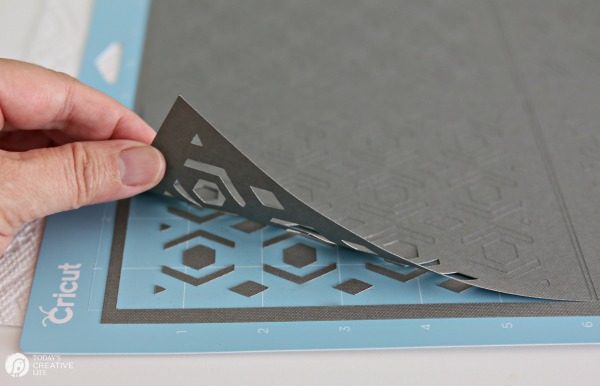
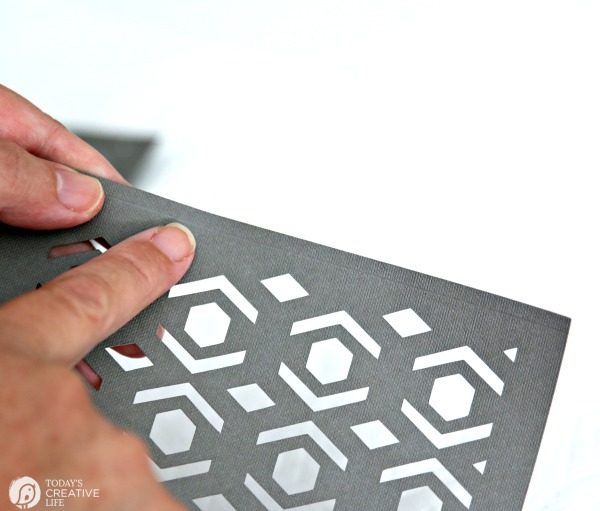
- Peel away each panel and set aside.

- Each panel will have one scored edge.

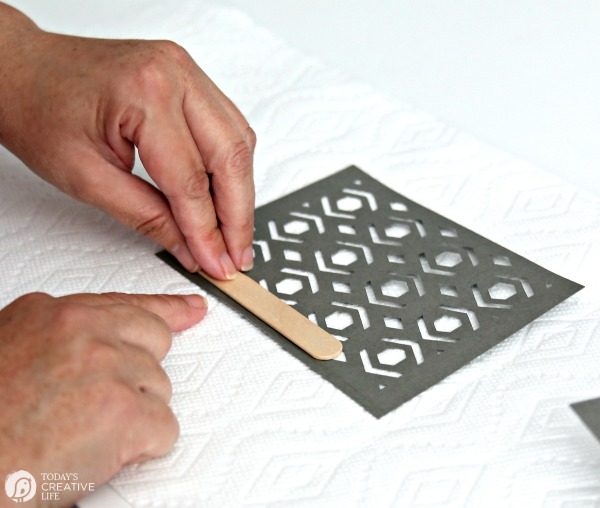
- Using a bone folder or something like a popsicle stick, fold your scored edge on each panel.

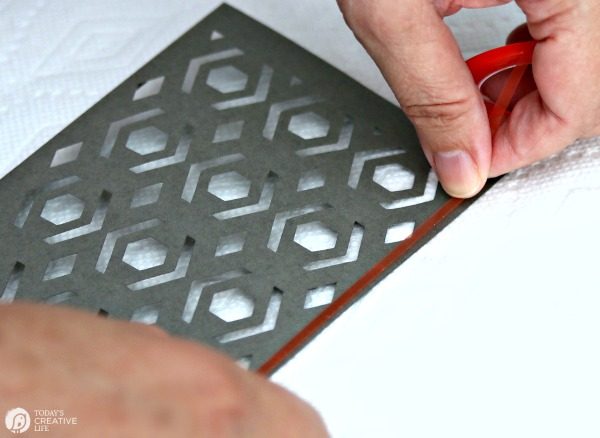
- After you have them all folded, you’ll be able to see which unfolded sides will need adhesive. I used an extra thin craft double stick tape.

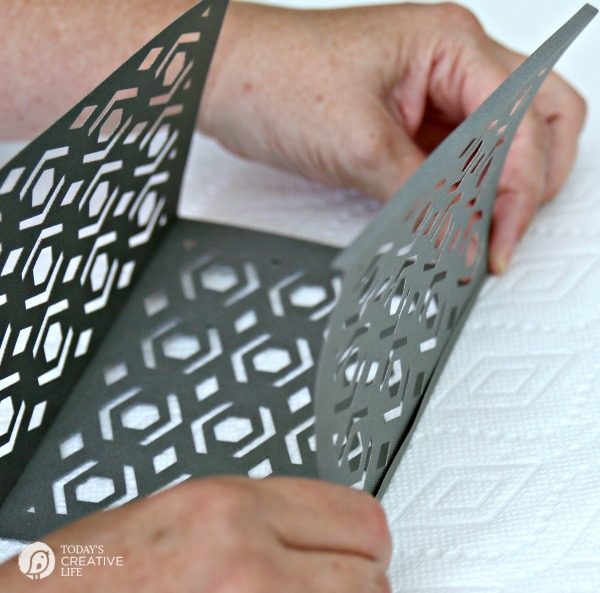
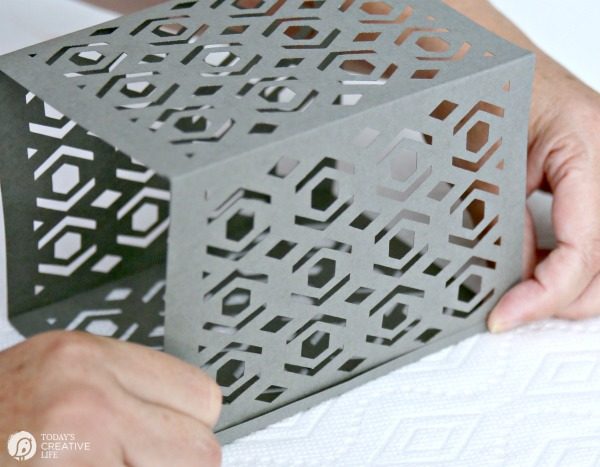
- Assemble until all 4 panels are connected. Pressing the edges firmly to get rid of any paper gaps.


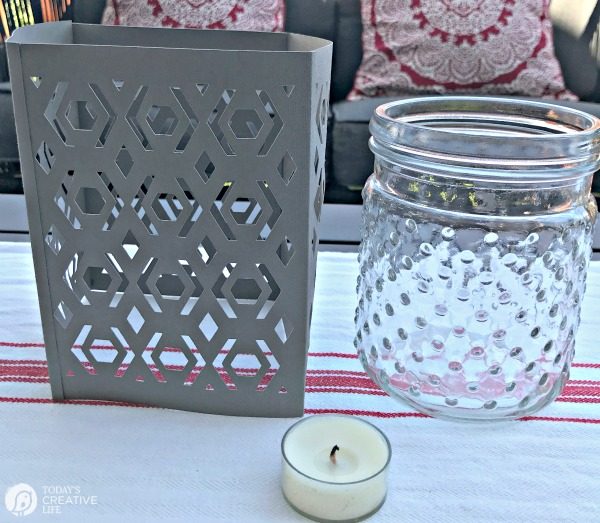
- Slide your paper lantern over a jar. Place either a votive, battery operated or solar powered candle or twinkle lights inside the jar.

Secure any lit candle inside a jar before using the paper lantern. - Repeat to make as many Cricut Scoring Wheel Paper Luminaries as you need.
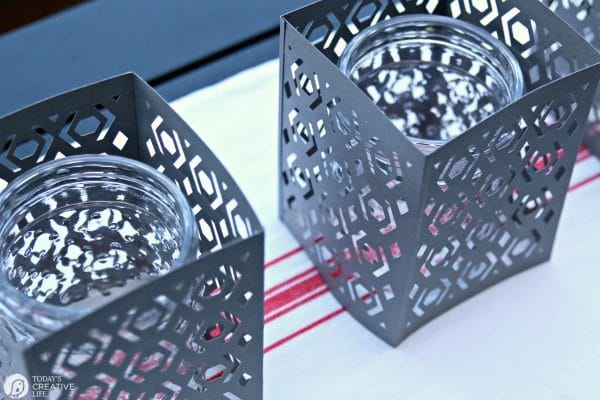
As you can see, they would make great table toppers for parties, weddings, any type of entertaining inside or out.
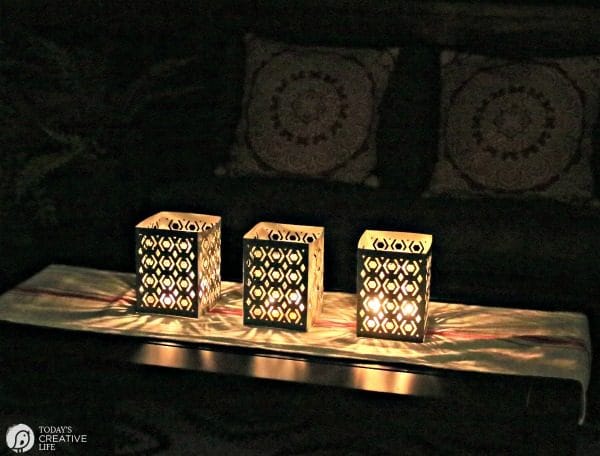
I love making instant inexpensive home decor with my Cricut Maker!
My son initially thought these were metal! They look that good! 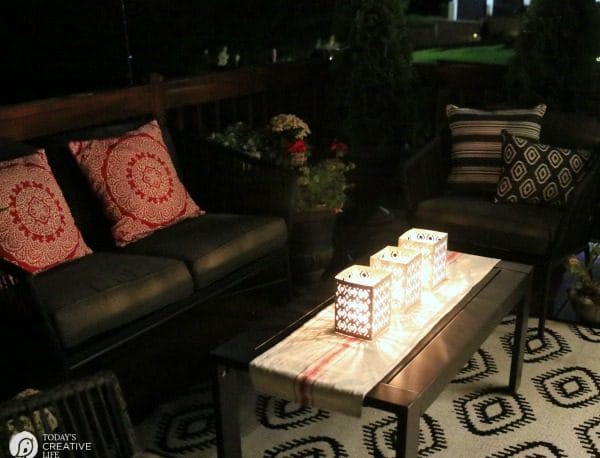
I’ve already thought of a few ideas for Holiday Luminaries using their sparkle / shimmer papers.
Ready to try these Scoring Wheels out? Order yours here.
More Craft Ideas
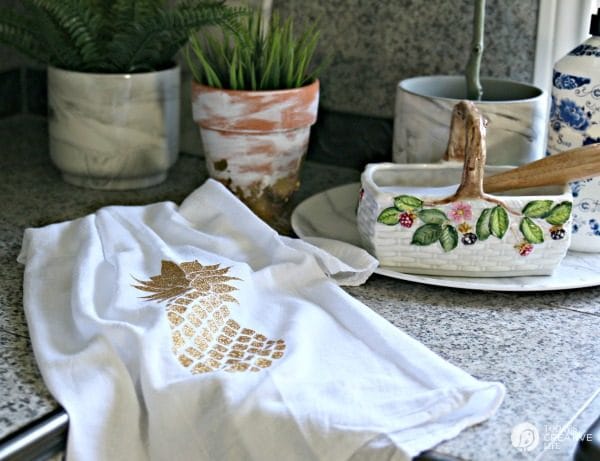 Cricut Craft Idea – Iron-on Glitter Pineapple Dish Towel
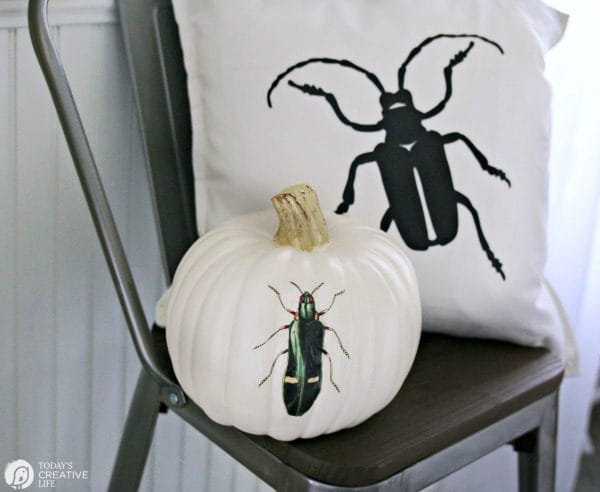 EasyPress Halloween Beetle Pillow
Iron-on Red Ticking Holiday Gift Bags
This is a sponsored conversation written by me on behalf of Cricut. The opinions and text are all mine.


Beth K says
What a great way to add some light to any party!
Kim says
I love the possibilities!
Katerina @ diethood .com says
These are SO pretty!! I can’t wait to try this!!
Courtney O'Dell says
I love how pretty and easy these are! They would be perfect for a party.
Sarah Walker Caron says
Wow, those look awesome! It’s amazing what that machine can do. These would be so pretty lining a walkway for a party.
Julie says
Can’t bekieve you made these pretty lanterns out of paper!
Kim says
Ha! The Cricut Maker has a way of making you look good!
Sabrina says
These are so pretty! Such a beautiful way to add light to the space while entertaining!
Kim says
Thank you! So easy to make!