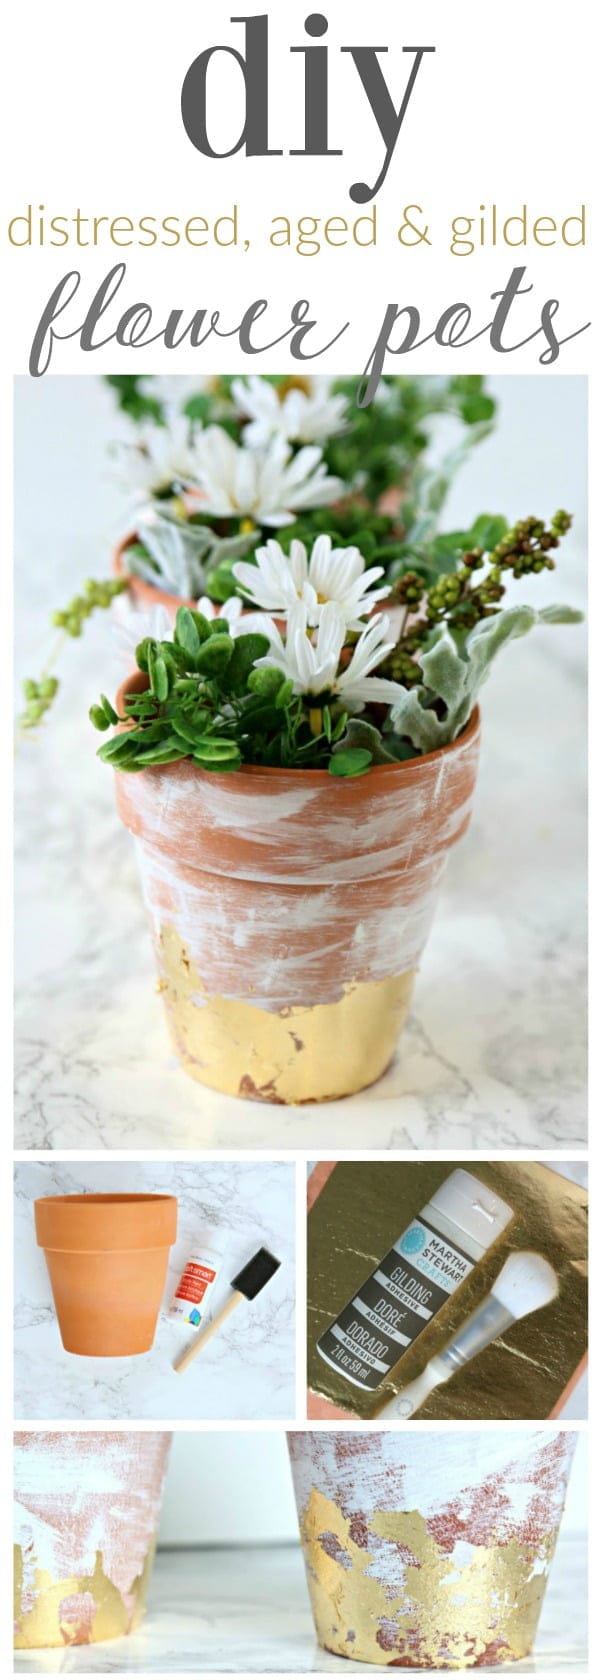
These DIY Distressed Gold Leaf Terracotta Pots are so easy, so cute and so perfect for spring decorating. It’s also the perfect easy DIY craft if you’re looking for something creative to do for yourself or with the kids or even as a group project. Aged Terracotta pots just have a certain charm, so hang on because I’m going to teach you how to create that aged Terracotta pot look in minutes.
I hadn’t pulled out my gilding gold leaf supplies since I created a few projects and gold leafed everything within reach. You can see a few of my gilding with gold leaf projects here.
Decorating or painting terracotta pots is always a fun project, it’s a great way to dress up a patio inexpensively.
DIY Distressed Gold Leaf Terracotta Pots
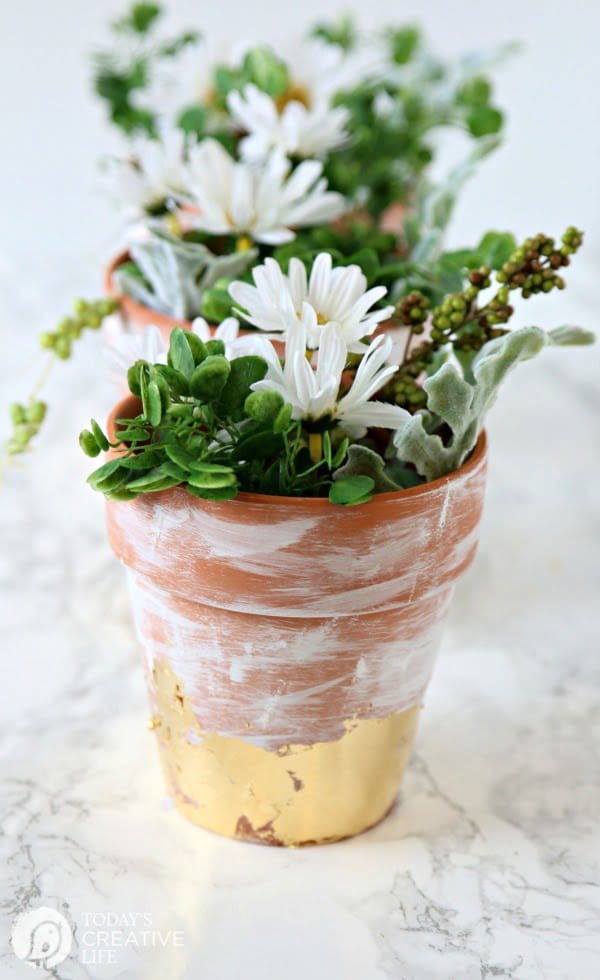
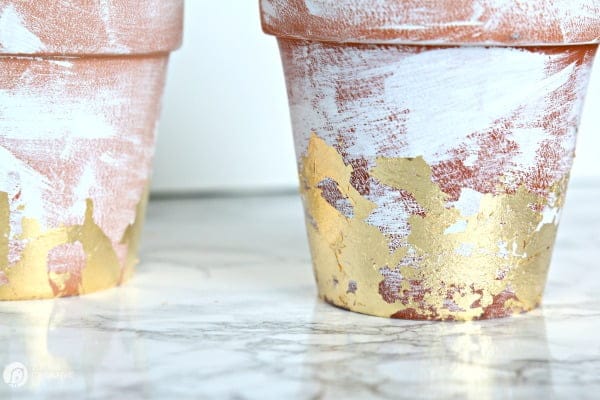
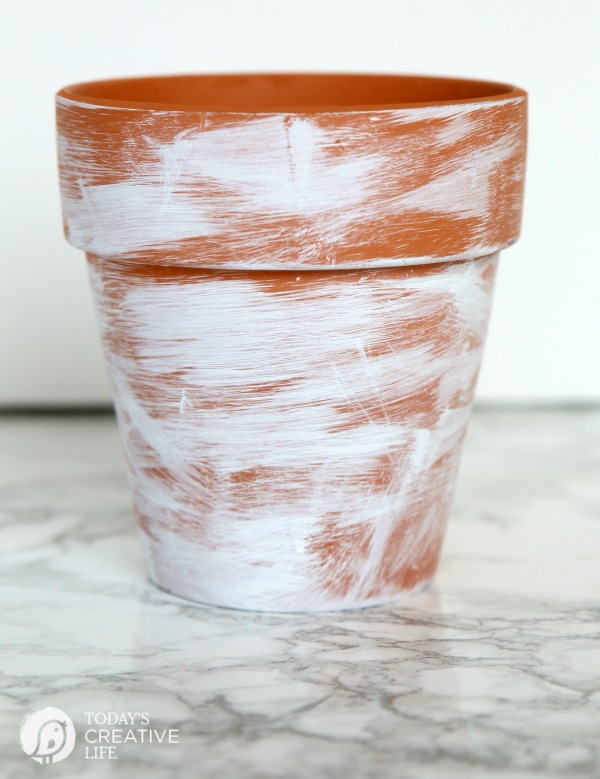
I did a “dry brush” technique on these terracotta pots to give them that aged, distressed look. After it dried, I applied the gold leaf for fun. I love the look resulting in the cutest aged DIY Distressed Gold Leaf Terracotta Pots. I’ll have to spray with a sealer that’s recommended especially if I plan on taking them outside this summer.
I’m planning on grabbing some succulents or plants to plop inside, but until then, I pulled out all my faux greenery and just started clipping, trimming and placing a variety inside each pot. NEVER throw out old greenery, you may be surprised how you can recycle the look for something new.
How to Make DIY Distressed Gold Leaf Terracotta Pots
I shot a video to show you the process if you need a more visual tutorial. I just set up my iPhone while creating this craft, so don’t expect too much magic!
Supplies needed:
Affiliate links for products listed are for your convenience only. This cost you nothing extra. If you happen to purchase anything as a result of clicking, TCL will receive a small percentage. Thank you for your support. This allows me to continue to offer you free content.
- Terracotta pots
- white craft paint
- 2 paintbrushes – You need two 1-inch size paint brushes. One for the craft paint and one for the gilding adhesive.
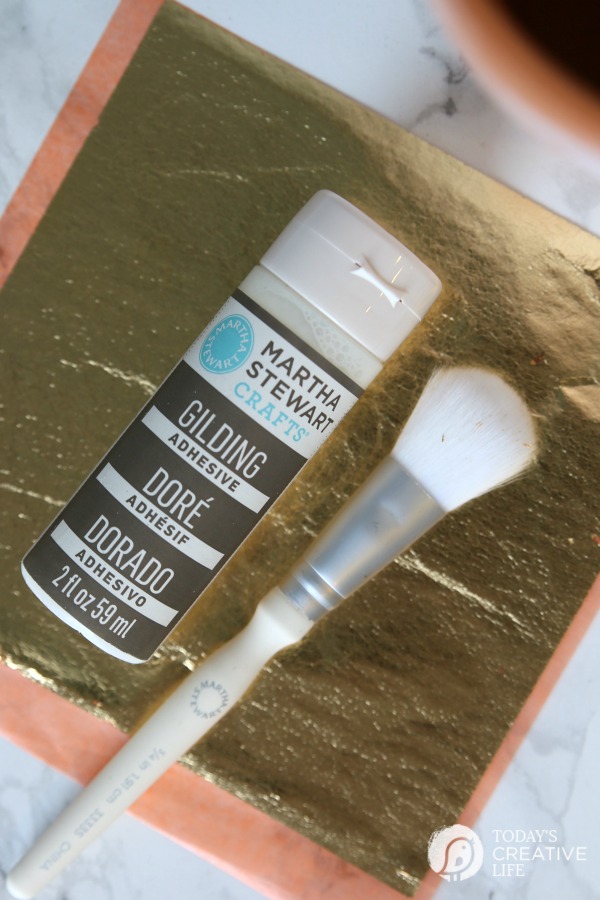
- Gold Leaf Sheets- I used the Martha Stewart gilding sheets in gold. They also have copper and silver. There are several sheets, so it’s plenty for many projects.
- Gold Leaf Gilding adhesive
- Gold Leafing soft brush – I use the linked brush, but any soft paint brush will work.
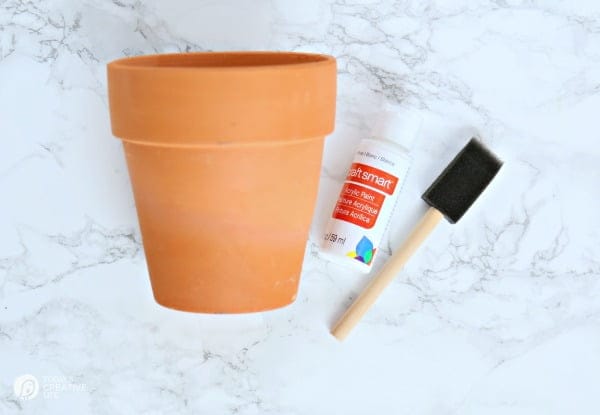
- Starting off with the terracotta pot, the white craft paint, and a paintbrush. I’ve used both the foam brush and the ones listed above in my supply list and I like the regular ones I have listed above the best. But foam is OK too if that’s all you have.
- You’ll also need something like a paper plate, or piece of cardboard. I squirt a small dollop of paint onto my paper plate and brush another section of the paper plate to remove most of the paint from the brush. You do NOT want a fully loaded saturated paint brush.

- With a light touch, make short painting strokes, which should leave paint marks that are a bit transparent.
- Let it dry. It should only take about 5 to 10 minutes if the paint is light like it should be.
- Using another paint brush, paint on a thin layer of the gilding adhesive where ever you want the gold leaf. I wanted mine around the bottom, but I’ve seen it around the top. It’s going to look good no matter where. Here’s an example from a friend of mine. Check out her gold leaf chalk painted pots.
- Take your gilding sheet and press onto the areas you applied the gilding adhesive, give it a slight rub and pick it up and apply to another area. Continue until it’s completely applied.

- Rub it all in using your hands. The instructions say to use the gloves that came with the kit, but I rarely use them anymore. But if you’re a stickler for craft rules, then use the gloves.
- Using your soft brush, brush off all the little extra pieces.
- If you want to seal it, use a gold leaf spray sealer or a brush on one. Follow the sealer directions.
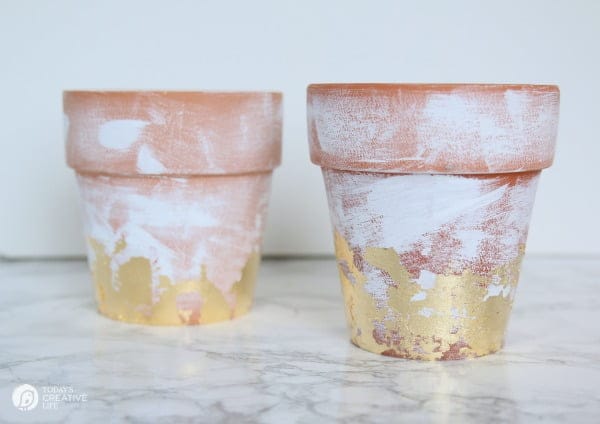
I love them! The hint of gold with the distressed aged terracotta pot look is exactly what I was going for!
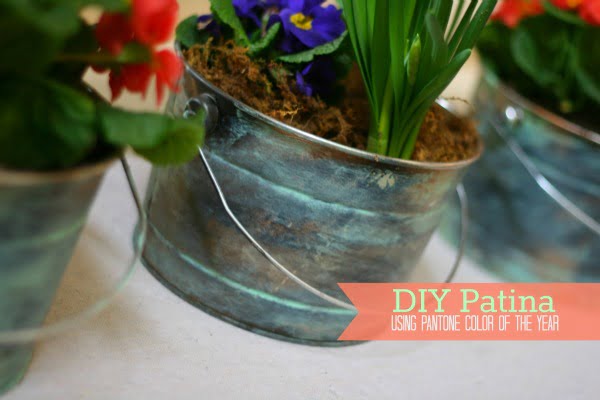 DIY Faux Patina
 DIY Laboratory Vases


Leave a Reply