These DIY Laboratory Flower Vases are being shared by Jeanie from Create & Babble. With her step by step tutorial, I think you’ll be ready to make your own! Visit her site for more creative ideas! She’s got a lot!
Happy Summer! I’m so excited to finally be able to say that. Especially after a cold and rainy Spring here in the northeast! Hi everyone! I’m Jeanie from Create & Babble, a blog about making pretty things and making things pretty!
DIY Laboratory Flower Vases
Have you seen the Vintage Laboratory Flower Vases that have been so popular lately? I just received an email yesterday from an online home decor website selling one for $29.95. What??? It’s made with 4 pieces of wood and some glass bottles. We can make this with stuff we already own. Let me show you how to make your own DIY Laboratory Flower Vases.
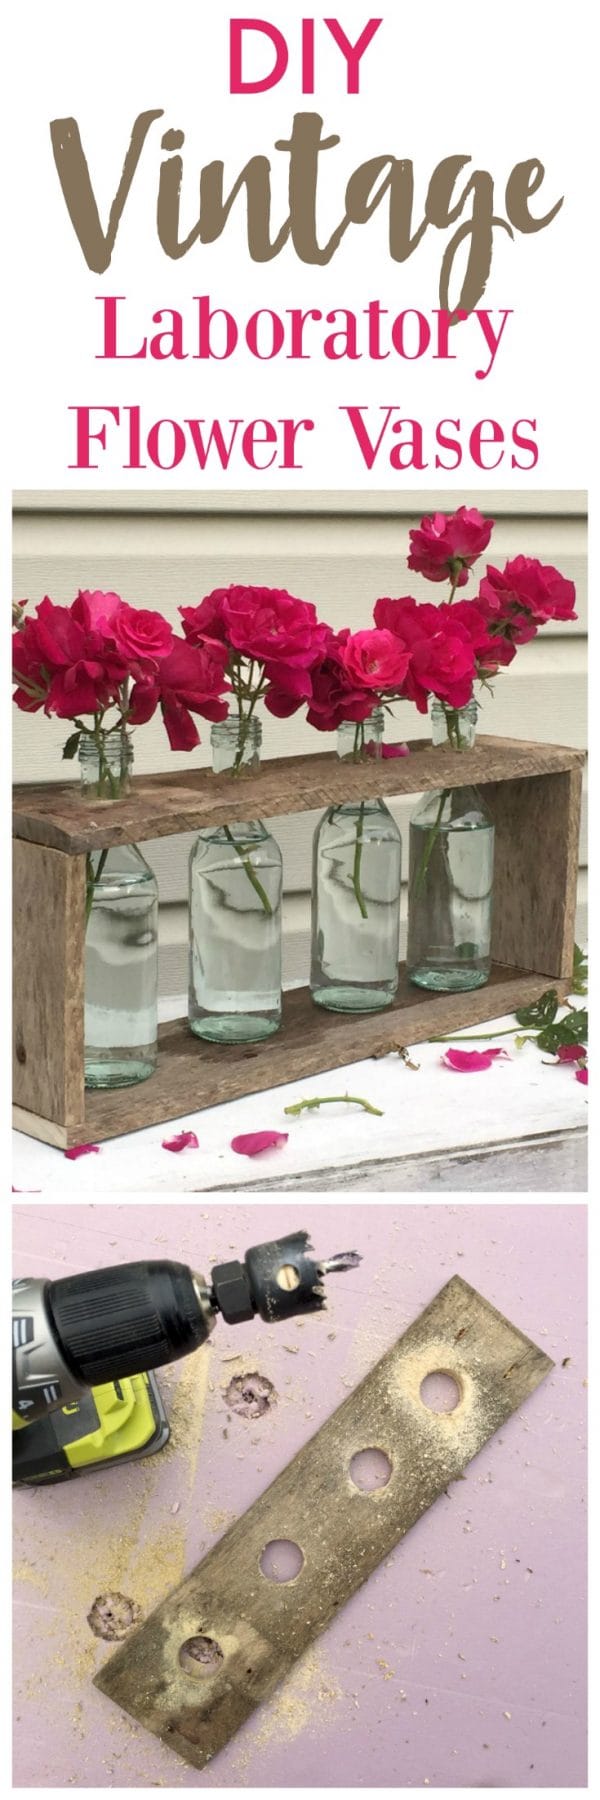
DIY Laboratory Flower Vases Supply List
- Wood scraps. Pallet wood works perfectly for this little project. (If you follow me on Facebook, you may know that I recently found some old pallets near the dumpster and I salvaged some wood from them with no particular project in mind at the time.)
- “Beakers”. I used 4 individual serving-sized wine bottles that I saved. (I knew I would find a good use for those cute, little bottles ; ) Any small bottles with a neck will work.
- Drill/Driver with hole saw bit (a jig saw may also work for making the holes)
- Wood glue
- Brad nailer (or brad nails and a hammer. A staple gun would work fine for this too)
Directions
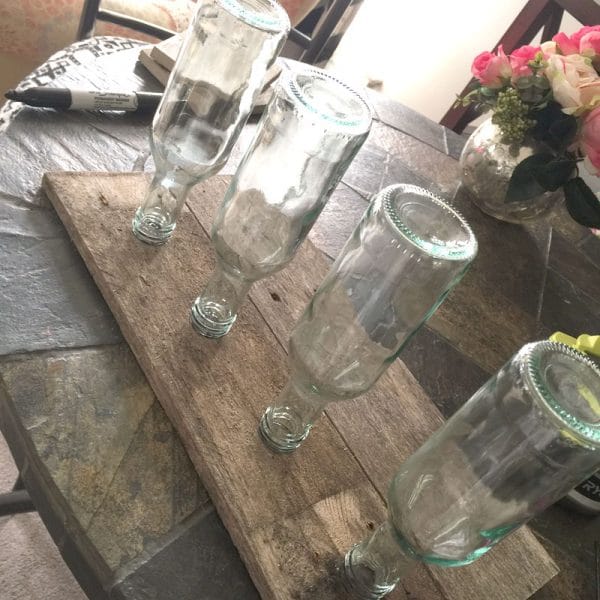
First you will need to determine the size. Space out your bottles and measure how long the wood needs to be. Don’t forget to leave room on the ends. I determined that I needed my vase holder to be 15″ long and about 5″ high.
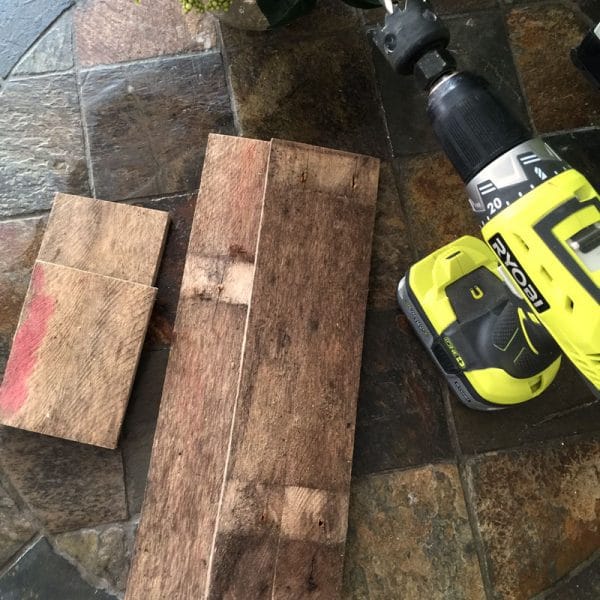
I cut a piece of pallet wood into two 15″ lengths for the top and bottom and two 5″ lengths for the sides.
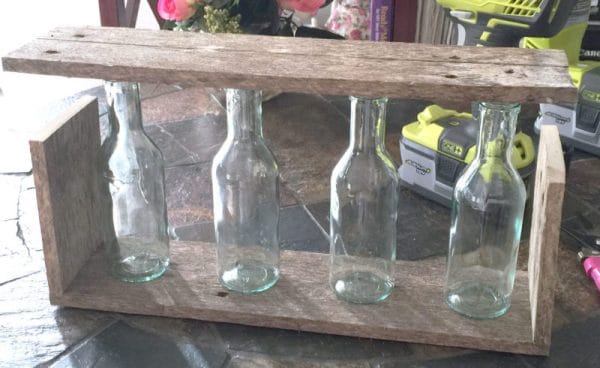
Now dry fit the pieces together to make sure the bottles will fit.
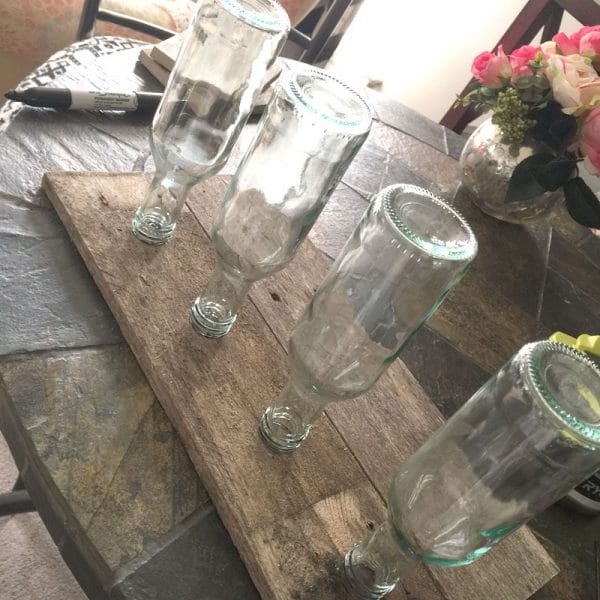
Flip the bottles over and trace around the rim with a pencil to mark the spots for the holes.
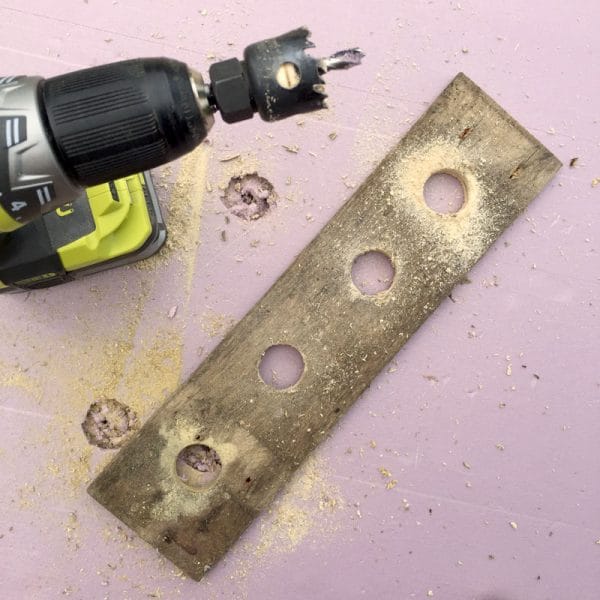
Now it’s time to cut the holes in the top piece. I liked using a hole saw bit for this. But I think a jig saw would work fine too. If you’re working with old pallet wood, remember it can split easily. I found that placing (and holding firmly) the work piece on a piece of rigid insulation and then drilling right into the insulation works best for thin or fragile wood.
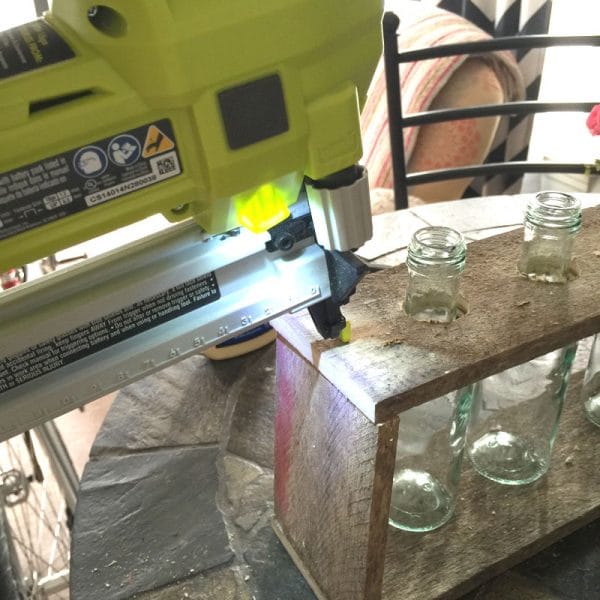
Next, glue the “box” together using wood glue, then secure with a brad nailer (or brad nails and a hammer). One important note: place the “beakers” in the display box before gluing and nailing the box or you may not be able to get them in!
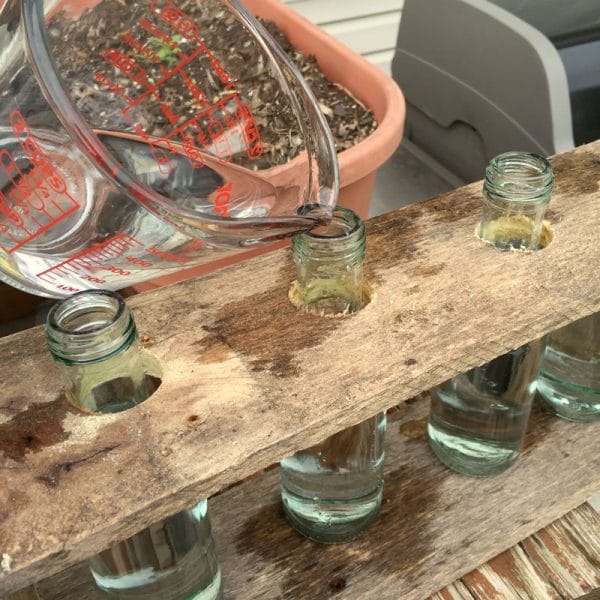
Since you’re attached the wooden display together with the bottles in it, I found it’s easier to fill the bottles using a measuring cup. Outside. ; )
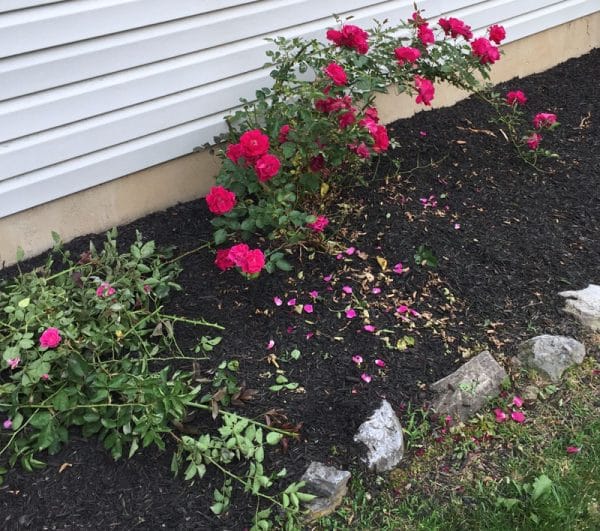
The last thing you’ll need is flowers. I’m not much of a gardener. In fact I thought I had removed this rose bush from the side of my house a few years ago. Well look what’s back! Since it’s an overgrown mess, I cut it back.
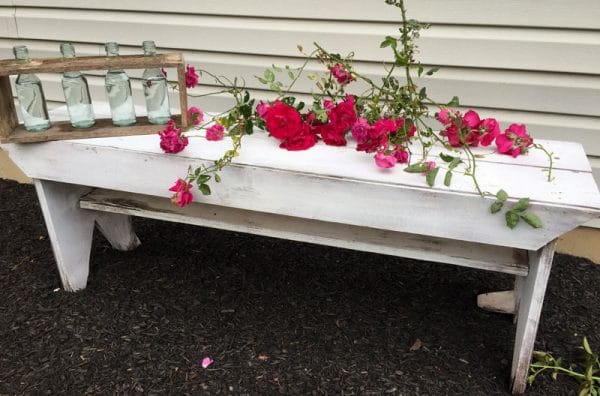
I used those clippings to fill the “beakers” of my DIY Laboratory Flower Display Rack.
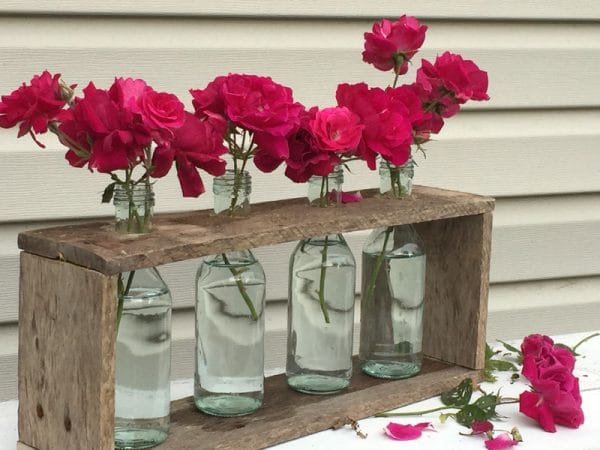
If your thumb is as brown as mine, feel free to fill it with artificial flowers!
If you like decorating with flowers, be sure to look at these stunning, super-sized, jumbo paper flowers that are so easy to make!
Or if upcycling and repurposing is more your thing, you’ll may like to see how I made a garden bench from an old headboard.
And for the Silhouette owners, I’ve got loads of ideas, projects, and inspiration for you!
More DIY Projects
- DIY Cloche Jars – Today’s Creative Life
- Make a Kitchen Island from a Desk – Create & Babble
- Industrial Pipe and Wood Hanging Beds – Infarrently Creative
- Old Wood Spindles Idea – My Repurposed Life for Today’s Creative Life


Leave a Reply