A few years ago, I was on our local ABC affiliate morning show, AMNW showing Portland this easy DIY project. How to Make Full Size Photo Booth Photo Strip. It’s the perfect DIY wall decor project because it’s EASY! I have used it in several places in my home and it’s now in my Teen Hangout in our basement.
I had flown in my nephew to surprise my son for his birthday. While I had them together, I may as well take a few photos for this photo booth photo strip idea I had swirling around.
Make Full Size Photo Booth Photo Strip
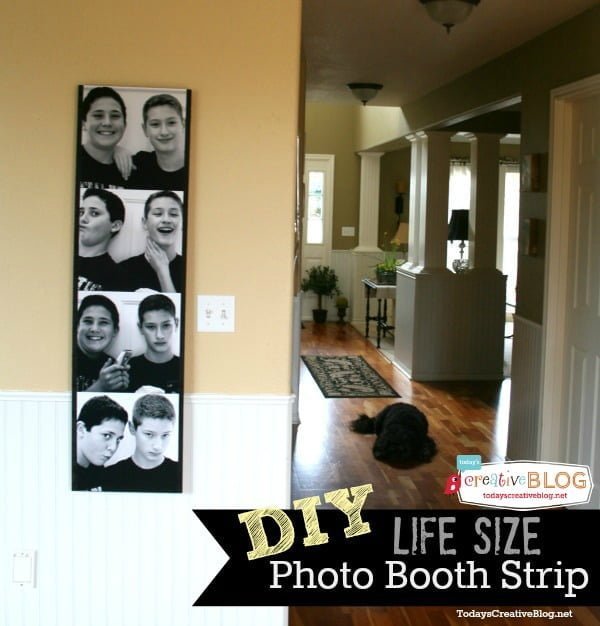
They were good sports while I played around and in hindsight, I would do it differently and hang white butcher paper or a light gray fabric for the backdrop instead of the back of our front door. (The back of our front door is no longer white, come see how I painted it a dark charcoal.)
How to Make a Photo Booth Photo Strip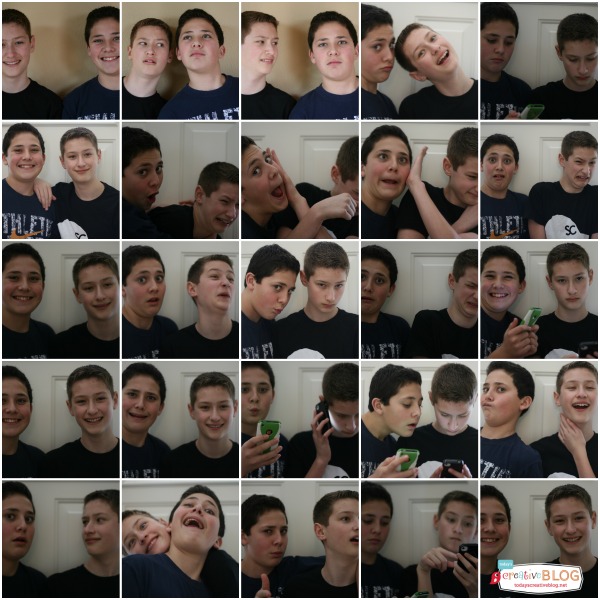
- Find your Backdrop – As mentioned above, you’ll want a light-colored, neutral background. Butcher paper, white shower curtains, and fabric are all good choices.
- Dark Clothing – I knew I would be making the photos black and white, so I told them to throw on a dark t-shirt.
- Get Close – Some kids may have a harder issue with this. You can see that my son and nephew warmed up pretty easily.
- Take LOTS of photos! I gave prompts for different looks. I asked them to look confused, annoyed, scared, silly and of course the famous Blue Steel Zoolander had to come out.
- Use a Tripod – I didn’t use one, but if I were to do this again, I would. Using a tripod allows you to better utilize the self-timer, which can create some pretty funny outtakes and crisp and clear photos.
Kids may be a little apprehensive at first, but as you can tell, these two are pretty easily entertained.
Select 4 photos for each strip. I used PicMonkey (affiliate link) to edit them. It’s a free photo editing site that’s very user-friendly. After you select the photos you want to use, I made them black and white and uploaded to Costco’s website. I believe you can also edit them right there if wanted.
I ordered my selected photos in a 12 x 12-inch size. Of course, you could do a smaller version……..like 6 x 6 inch. As long as it’s even, you’re good.
Photo Booth Back Board
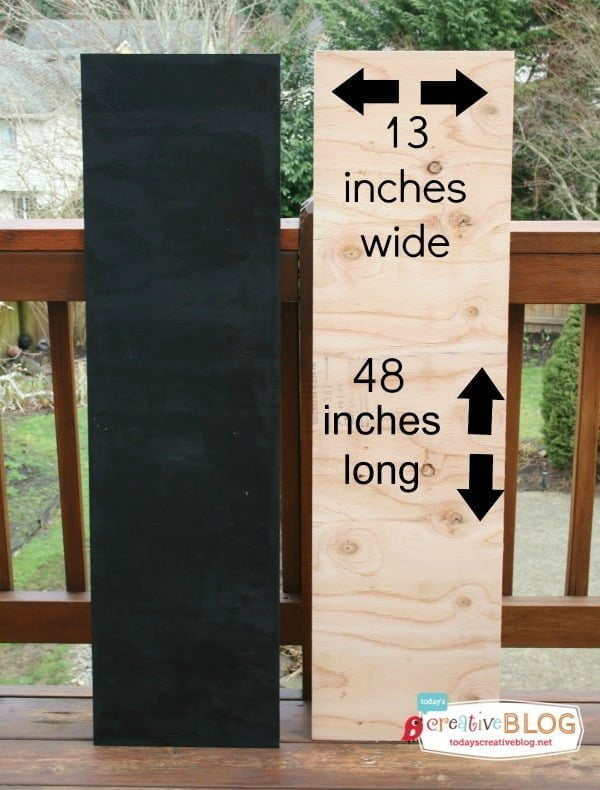
I headed to Lowe’s and just told them what dimensions I needed. I had them cut my boards to 13×48 inches. Then I painted it black.
Our board started to bow, so we nailed a long narrow 2 x 4 on the back side vertically in the middle. We also nailed a small horizontal piece of wood on the backside near the top for easy hanging.
Gluing the Photos
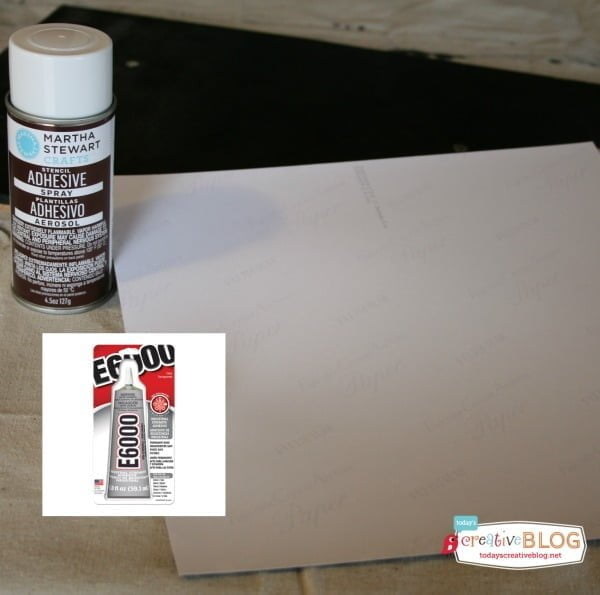
I wanted to use my spray adhesive, but since I was doing this in the garage and my hot water heater is there…….and this stuff is highly flammable, I opted for a safer indoor option and used my trusty E6000 glue. The spray adhesive is easier if you can do it in a well-ventilated area.
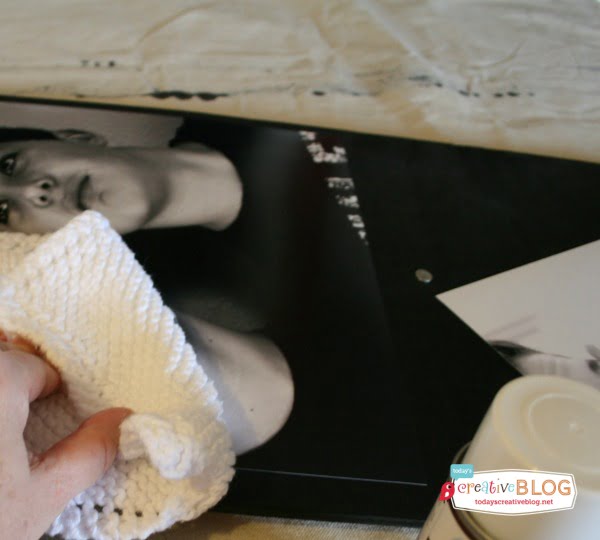
I squirted glue around the edges and center. I placed my photo on my backboard and then used a soft cloth and firmly rubbed the photo so there were no bumpy spots from the glue. It would have been smarter for me to use an older paint brush and to brush the glue on. 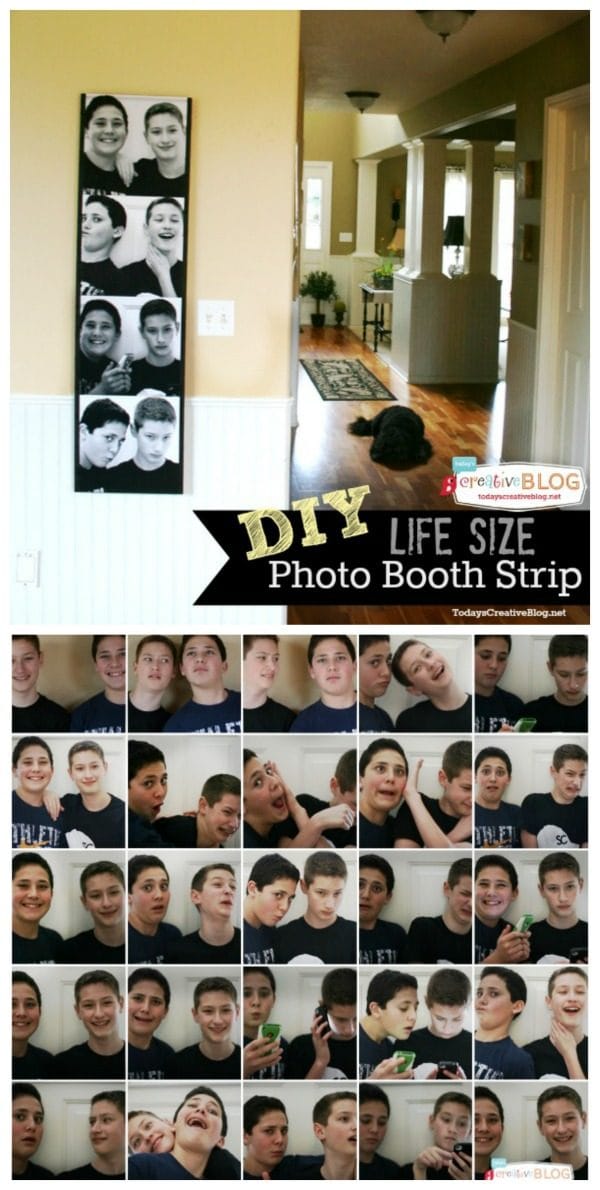
I glued each photo right up next to each other so it would look just like the photo strips from a photo booth. Allow the photos to dry, rubbing with a soft cloth every now and then and you are done! Now you can Make Full Size Photo Booth Photo Strip wall art to add fun and interesting DIY wall decor for your home. Great for playrooms, teen hangouts, game rooms or college dorm rooms.


Tanya says
This is such a cool project Kim, pinning 🙂
xo, Tanya
EricaS says
After you glue the pictures to the board, do you cover them with a protectant (like Mod Podge) or just leave them as-is? I would be worried that they would get messed up in my home. I have a 14 month old that likes to sling his sippy cup around… 😉
Kim says
I don’t place anything over them, but I don’t know why you couldn’t apply the photo with modpodge and then more over the photos.
Desaree Martin says
Awe I love this idea!
Janett Toosley says
Sounds like a great project.
Susan @ SunfowerHugs.blogspot.com says
You are right–this does look very easy. I definitely need to give this a try!
creole wisdom says
Positively LOVE this idea!