Learn how to hang a picture easily without frustration in just a few simple steps! These tips will help you hang frames and wall art that is level and secure.
I know many of us have wondered How To Hang a Picture the easy way at one time or another while trying to decorate our homes. Picture walls are one of those decorating tasks that create more anxiety hoping you don’t mess it up! I think you’re going to like the end result of my picture gallery wall. Just keep reading.
I tend to always want more than one thing on a wall…gathering a collection of items or photos. You can see how I’ve arranged my Sid Dicken’s Memory Blocks in my living room in my Easy Decorating Ideas post here. I’ve got 3 more to add to it.
How To Hang a Picture

Hanging pictures or art on the wall doesn’t have to be difficult! I have hung and rehung more wall art than I’d like to admit because I hate to use a ruler, but guess what? When you do, it’s perfect!
Luckily, I’m married to a perfectionist, so I usually enlist his help when I’m doing something more difficult, like a gallery wall, where items need to in perfect alignment. He picked up a tip from my sister on how to hang a picture that is much easier, which I’ll be sharing later in this post.
Planning a Picture Wall
When we had a mini-remodel in October, where we painted, had new hardwood floors installed, swapped out the lighting and updated the powder room. I really needed to update our gallery wall and knew it would be happening after a fresh coat of paint. The space I use has a couple of challenges because of the thermostat and the doorbell ring box. A gallery picture wall hides those perfectly!
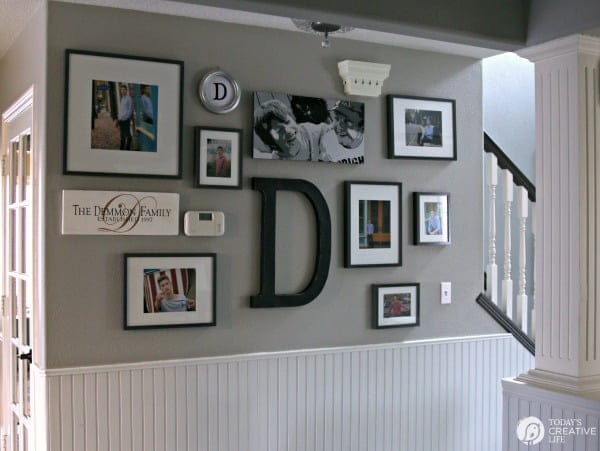
I had created that picture wall below about 12 years ago with a combination of white frames I found at garage sales and black frames I picked up from the Dollar Store and then distressed them myself.

I’m sure I have a better photo, but for some reason, I could not find it for the life of me! This one below will have to do. While we’re looking back, here’s what my living room gallery wall used to look like.

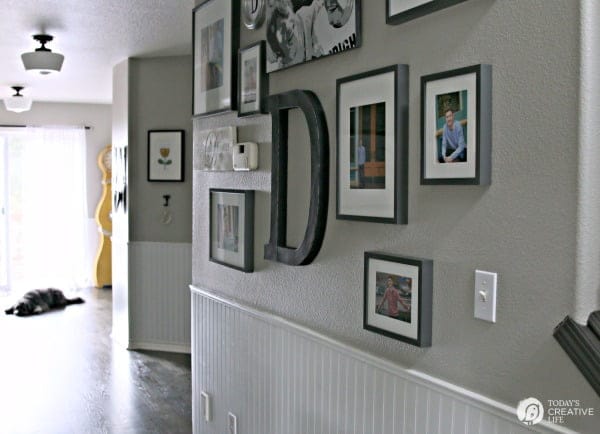
Such a cleaner look now.
So much better. I know it looks like a shrine now for our son, but in my defense, we just had his senior photos taken.
Gallery Wall Tips

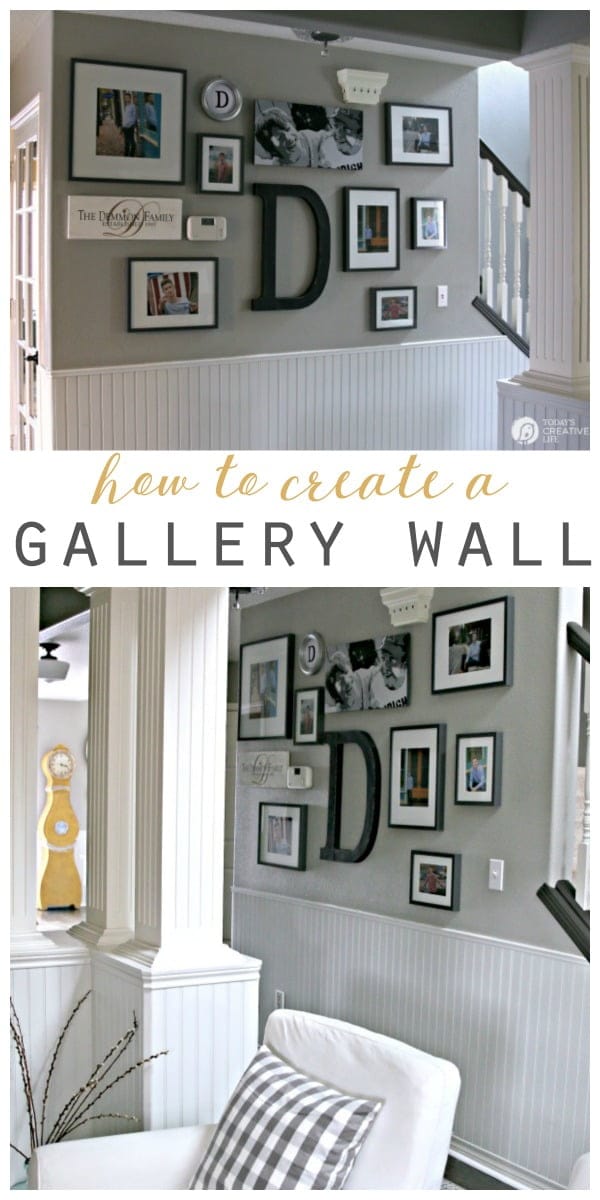
Off to IKEA where I found an assortment of gray frames in sizes 8 x 10, 5 x 7 and one large 12 x 12. I wasn’t sure if I was going to keep my large letter “D”, but it ended up making the cut. I also kept the wood sign that the gals from Lolly Jane made me WAY back in 2008, as well as the mixed gray Andy Warhol painting from a place that is no longer in business. (I did find this place (affiliate link) that looks like you can get something similar.)
How to Create a Gallery Wall
- First I measured the space of my wall where I wanted my gallery.
- I measured a space out on the floor, using painters tape to mark the perimeters.
- Then it was time to play. I first placed my larger or featured items down first.
- After setting the spacing for my featured items, I laid out all the frames in different configurations, using some frames in landscape (horizontal) or profile (vertical) until I had what I was happy with.
- Leave them there, or take a photo so you can duplicate the look onto your wall.
- If you’re completely overwhelmed, try this app. It helps you organize a layout for your gallery.
How to Hang a Picture the EASY Way!
This picture-hanging tip will save your sanity. I’d say it’s pretty much a “curse-free” way on how to hang a picture.
Picture Hanging Supplies
Affiliate links for products listed are for your convenience only. This costs you nothing extra. If you happen to purchase anything as a result of clicking, TCL will receive a small percentage. Thank you for your support. This allows me to continue to offer you free content.
- Level
- Hammer
- L-Shape Square Ruler
- Painters tape
- Finishing nails
- Pencil
- Marker
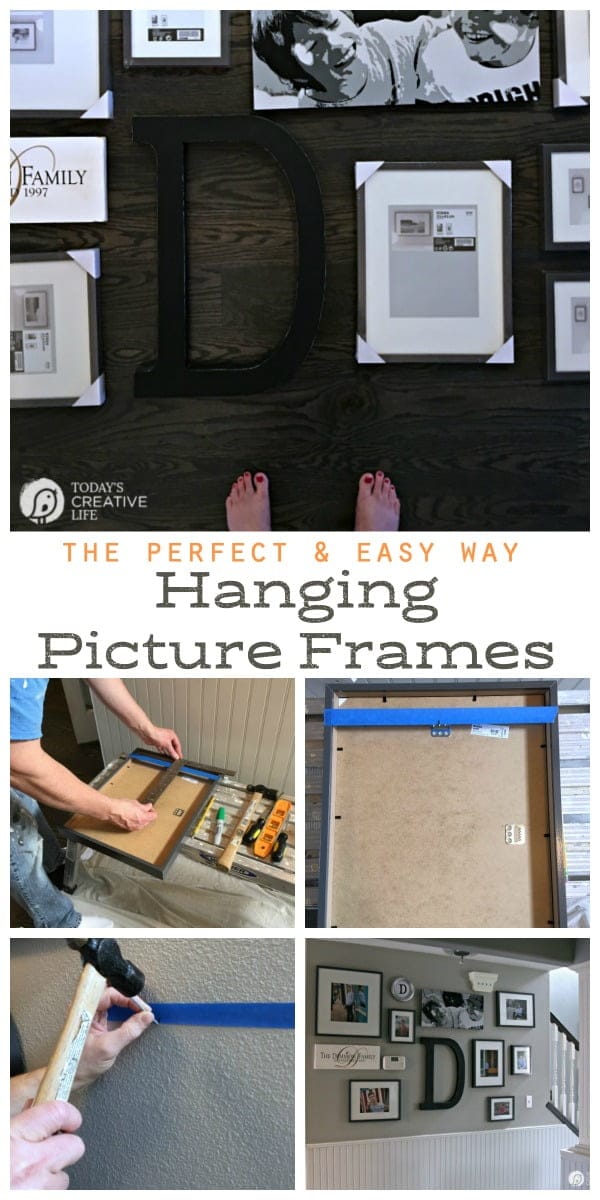
- Hold your frame where you want it. Using your pencil, mark a faint line on the upper top corners.

- Place painters tape across the back where the hanger is and measure to establish the center. Place a mark with your marker on the tape in the center. Also, measure how far the tape (where the hanger is) is from the top.


- Place the tape on the wall below the pencil mark, at whatever you had measured. If the hanger is one inch below the top of the frame, then place the tape one inch below the pencil marks.
- Hammer your nail right where the marker is marked.

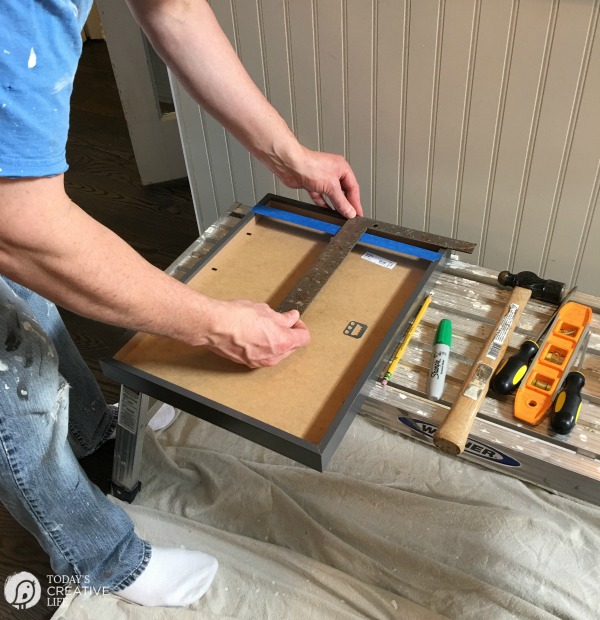


Hang your frame.
Because this gallery picture wall is in a space of my home that gets a lot of traffic, the frames can become crooked easily. I have used a teeny bit of that blue mounting putty on the bottom corners on the back side. This keeps them even and in one place.
After getting all the frames hung, I still needed something small in the upper left area just to the right of the large frame. I wasn’t sure exactly, but I knew it would present itself if I shopped around my house.
Ahhh, that’s better. My round monogram “D” was perfect.

There are still small pockets if I decide to add to it, but for now, I’m happy with it.
Update: Since writing this post, I have found some really great picture-hanging tools.
Picture Hanging Tools
I'm sharing a few tools that make hanging picture frames much easier. These will help mark and level, taking any of the guess work out.
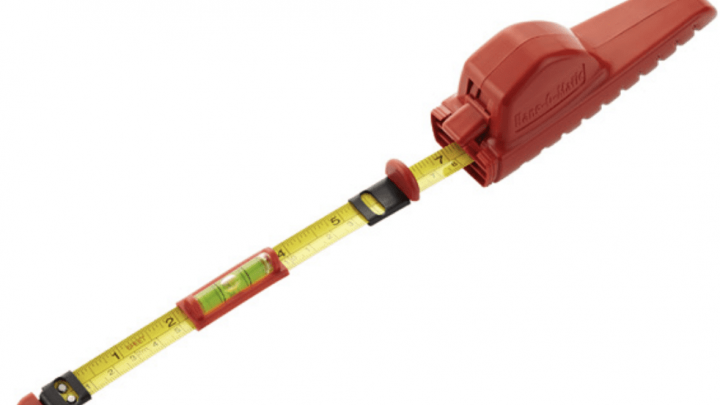
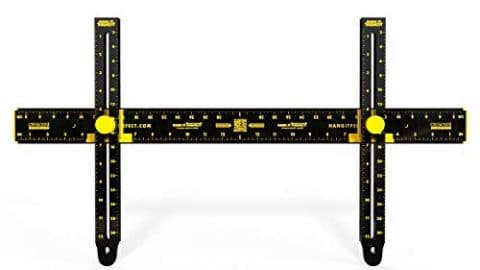
Hang-O-Matic All-in-One Picture Hanging Tool Kit-HM1P - The Home Depot
This tape measure hanging tool kit is inexpensive and functional for hanging wall art.

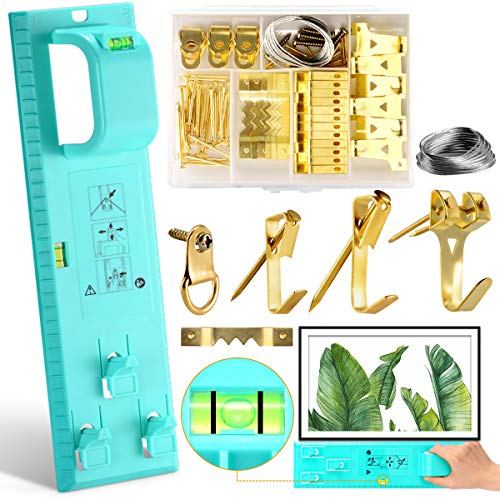
GARTOL Picture Hanging Tool with Level Ruler, Picture Hanger Wall Hanger Kit Multifunctional Picture Frame Hanger Tool with Accessories for Marking Position, Hooks, Nails, Hanger Level (Yellow)
This picture hanging kit comes with everything you need to get those frames up on the wall.
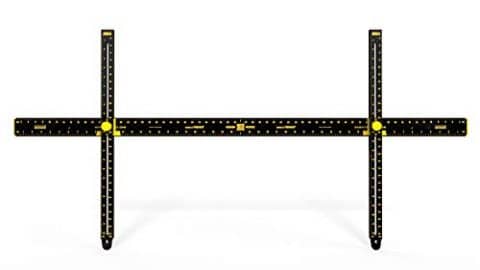
Crescent Creative Products HIP48 Hang It Perfect, 48", Black
This tool comes in a variety of lengths.
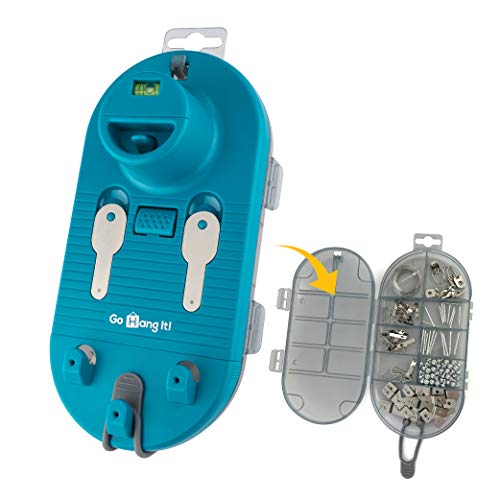
Go Hang It! Pro – The Original All-in-One Picture Hanging & Leveling Kit | Zero Measuring Required | Easily Hang Sawtooth/Wire Hangers | Includes Hardware Case +85 Pcs Picture Hanging Essentials
Compact and functional.
Picture Hanging Tool Kit, 105 Pieces Heavy Duty Picture Hanger Photo Frame Hanger Tool with Level Ruler Bubble Position Nail Measuring Tool for Marking Position for Hanging Photo Frames Mirrors
Every household should have a picture hanging tool kit.
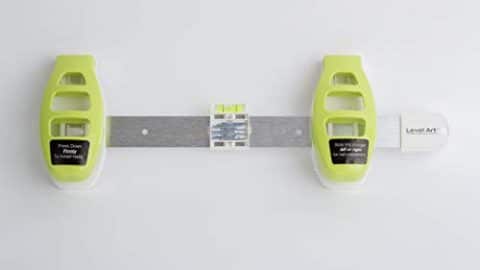
EZ-Hang by HANGMAN Level Art Picture Hanging Tool, White & Green (EZ-LA12)
Slide and mark. Easy to hang pictures with this tool.
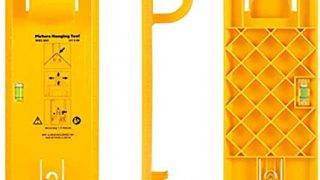
Picture Hanging Tool with Level Easy Frame Picture Hanger Wall Hanging Kit (Yellow)
Hanging picture frames and wall art is easier with the right tools.
Crescent Creative Products HIP24 Hang It Perfect, 24", Black
This tool comes in a variety of lengths for all your picture hanging needs.
Pin both to save for later!
Resource List
IKEA Ribba Gray Frames | Wall Paint Color is Mindful Gray by Sherwin Williams | Rug: Gray and White Braided Runner | Monogram “D” Cardboard Letters | Lolly Jane Wood Signs | Swedish Grandfather Clock (I bought mine from Antique Farm House, but Amazon also has them) | Gray & White Gingham Pillows |


Diane Roughton says
Loving the large letter ‘D’on your gallery wall. Any idea where I may get one from?
Kim says
Hi Diane, Thank you! The large D is made from heavy paper, similar to cardboard. I bought it from Joanne Fabrics.