Never have cold tortillas again when you use this insulated DIY Tortilla Warmer. This easy to sew project from fellow blogger The Good Hearted Woman is a great . Don’t you love a functional sewing project? You’ll also love this Swim Suit cover up made from a mens 5xl t-shirt.
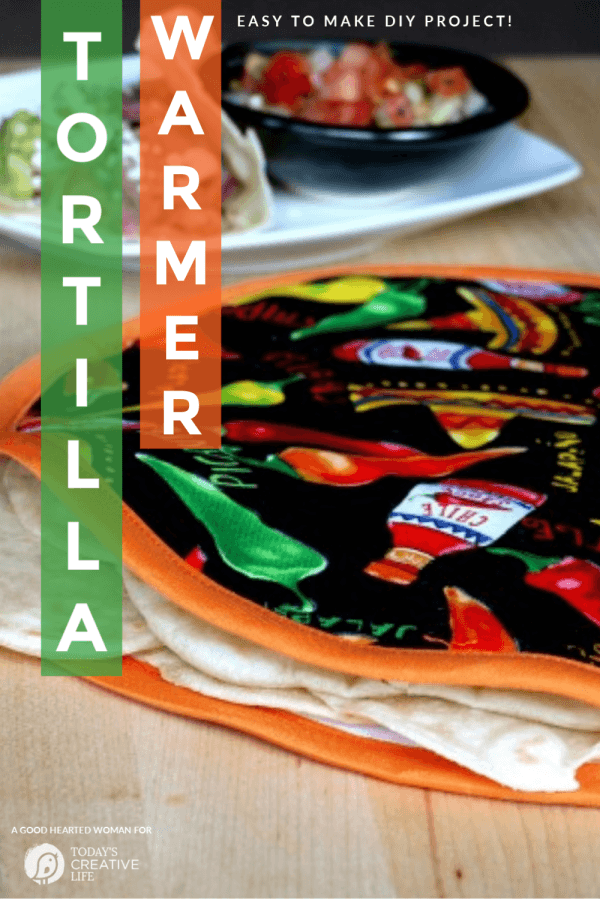
DIY Tortilla Warmer – Sewing Project
If I had to choose one surprisingly indispensable item in my kitchen – something I didn’t know I needed until I had one – it would definitely be my fabric tortilla warmer. I discovered these little wonders at Portland’s Saturday Market a few years ago, and have used one nearly every day since. These insulated fabric warmers are great not only for heating tortillas in the microwave and keeping them warm but for heating many other foods as well. (My kids have been known to make quesadillas in ours: I do not recommend this. Not at all.)
I always use my tortilla warmer when I make homemade tortillas. I stack them in, fresh and hot right out of the pan, and the heat and steam soften them perfectly by the time we are ready to eat. (Making tortillas is much easier to make than you might think: check out my step-by-step directions for homemade flour tortillas.)
How to Make a Tortilla Warmer
You may be able to find fabric tortilla warmers at your local farmers market, but if you have a sewing machine and half an hour, you can easily make one yourself.
Tortilla Warmer Supplies
- 1/3 yard patterned fabric (I got this chili print for 75% off!)*
- 1/3 yard muslin*
- 2 – 12×12-inch pieces of 100% cotton batting (i.e., Warm & Natural)**
- 2 – 16-inch lengths of extra-wide double-fold bias tape
- 1 – 25-inch length of extra-wide double-fold bias tape
- Thread
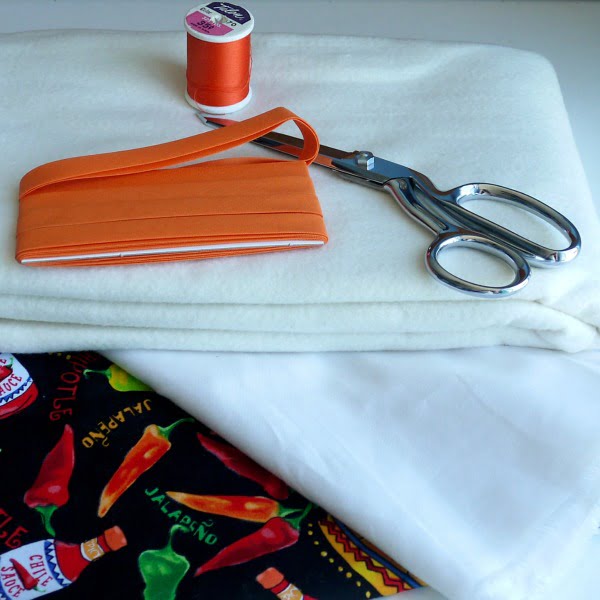 Since this is not a project that requires meticulous cutting precision, I cut all the fabric and batting pieces at once. (I’m a quilter and a bit of a perfectionist to boot, so if you lean that way too, trust me – everything will be OK.)
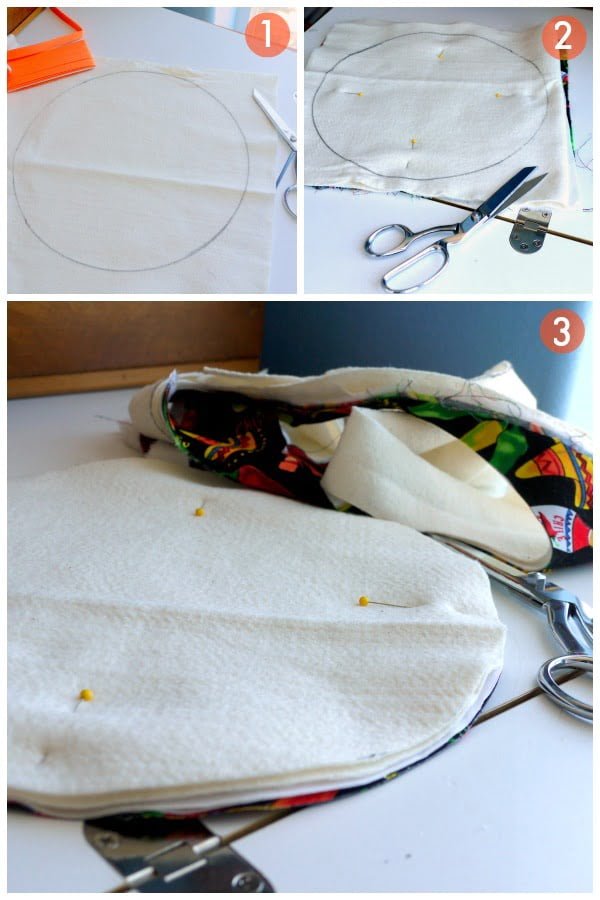
1. Using a compass or the rim of a large serving bowl, draw an 11-inch circle on one piece of the batting. This is your pattern.
2. With the batting pattern on top, stack two layers of patterned fabric, two layers of muslin and both pieces of cotton batting.
3. Cut out all the pieces so that you have two patterned fabric circles, two muslin circles and two batting circles.
Next, make the two fabric-circle sandwiches.
4. For each sandwich, stack one of each – muslin, batting, and patterned fabric. (Right sides out!)
5. Sew a 1/4” seam around the edge.
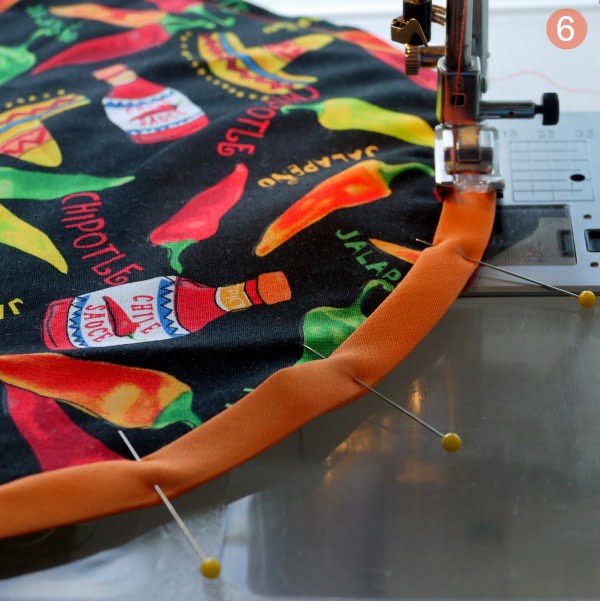
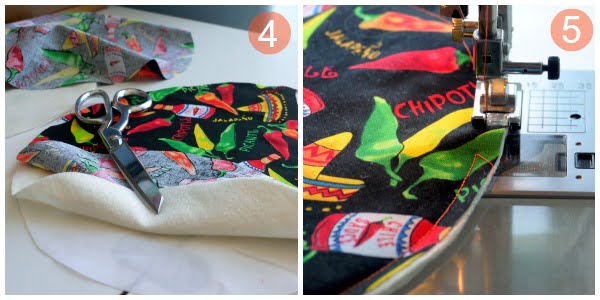 6. Attached one 16” piece of bias tape to the edge of each fabric sandwich. (To clarify, each fabric sandwich is still separate at this time.) I use a straight stitch, but I’ve seen tortilla warmers sewn with a zigzag stitch too. It’s just a matter of personal preference.
Now it’s time to sew the two fabric sandwiches together.
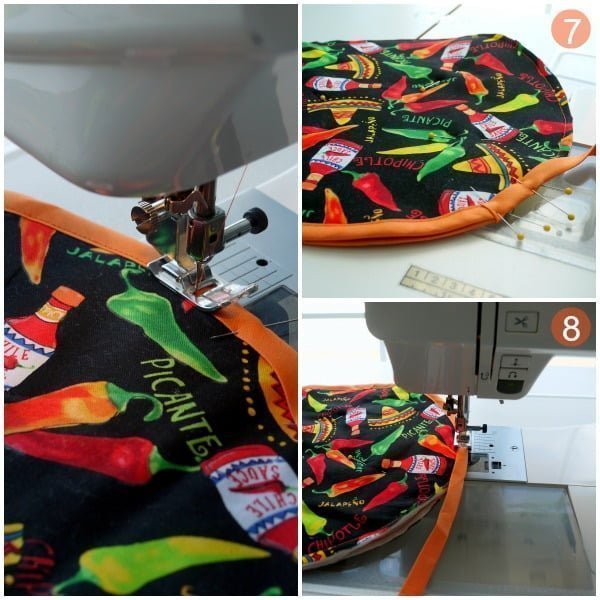
7. Pin the two circles together, right-sides out, with the bias taped edges aligned. Trim any bits of overhanging, mismatched edge fabric on the raw “unbiased” edges. This will all get covered up, but having them even makes attaching the final piece of bias tape much easier.
8. Attached the 25-inch piece of bias tape to both circles at the same time. Be sure to turn under 1/2” of each end of the bias tape.
NOTE: I could tell you that I pin these together carefully before I sew, but that would be a lie. I just pin the turned under end in place, and then snug the bias tape onto the edge as I go around. I think this makes for a smoother bias-tape application.
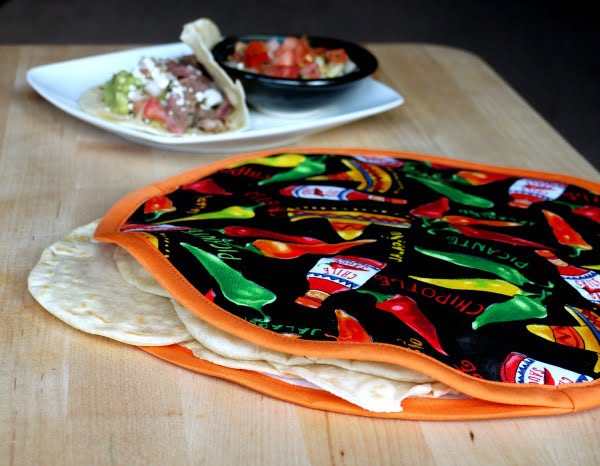
That’s all there is to it! Once you make one DIY tortilla warmer and see how fast and easy they are (not to mention how incredibly useful), you will be making them for everyone you know. And remember – they aren’t just for microwaving! Wrap one around a bottle of salsa for a great hostess gift, add one to a festive gift basket or pack one with warm tortillas for your next picnic.
* You really only need two 12-inch squares of each patterned fabric and muslin, so scraps work just fine.
** DO NOT use any batting with metal! It needs to be microwave-safe.
Sewing Projects
 How to Make a Shark Pillow
 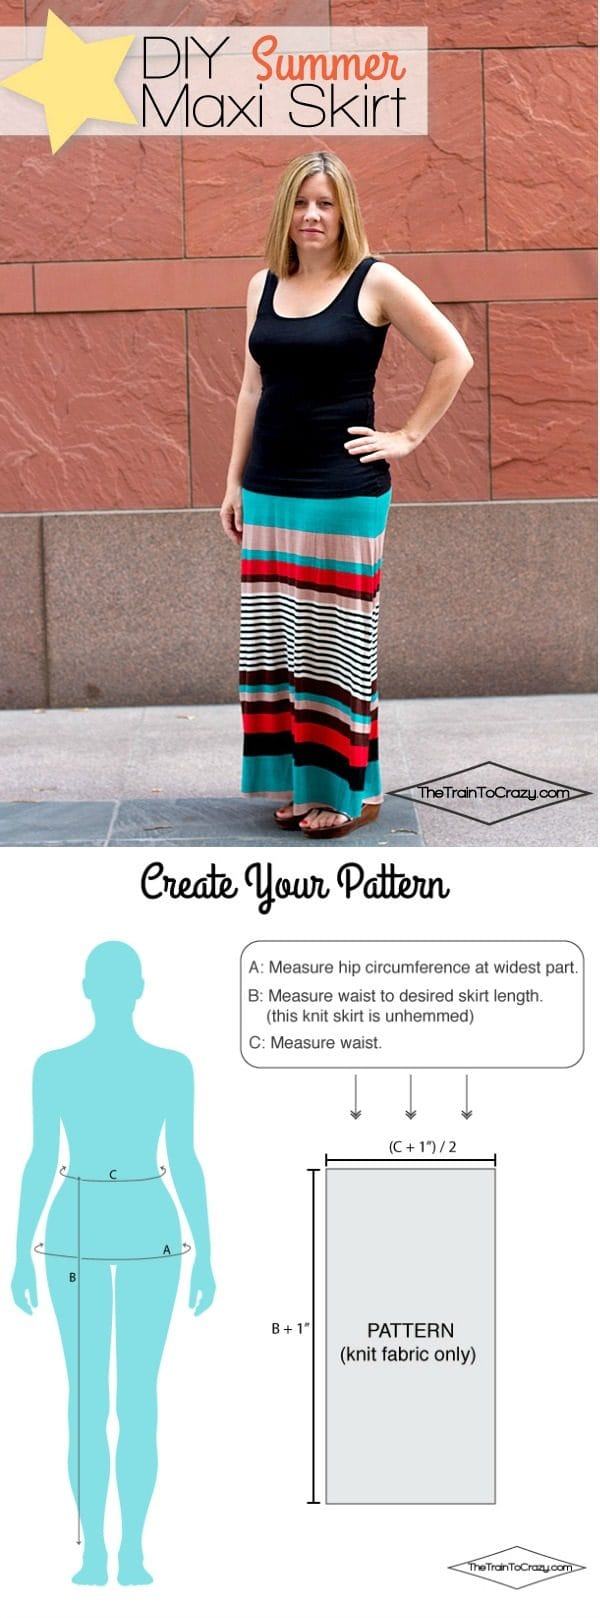 How to Make a Maxi Skirt


Michal says
I really love how easy this is and I have all the “ingredients” on hand. Thanks for sharing this easy to follow tutorial. I’m adding it to my sew Christmas gifts list.