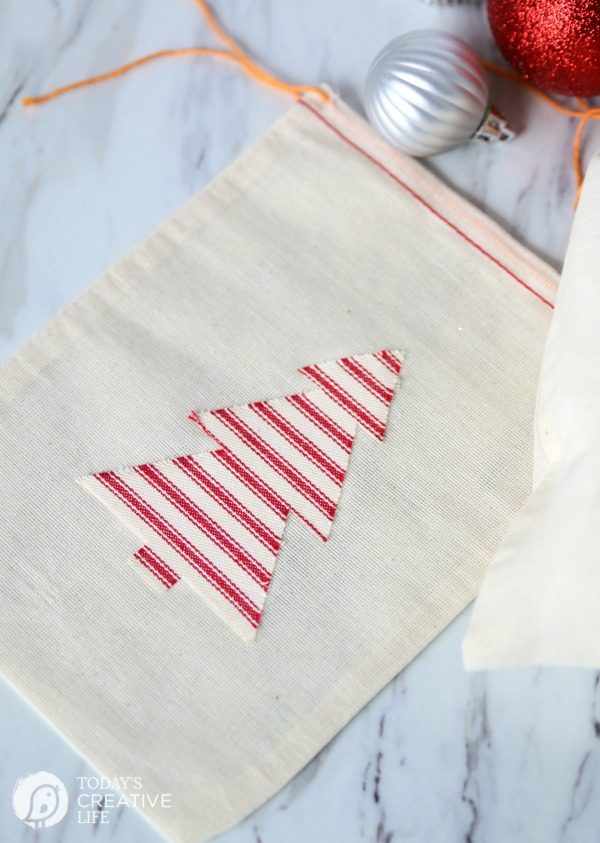
I’ve got another Cricut Maker & EasyPress DIY project for you! Don’t worry, it’s still simple, but adorable! Look at these Heat N Bond Holiday Gift Bags I made! This no-sew project is perfect for people like me! You know… people who don’t sew, but people who still want to use fabric with their new Cricut Maker.
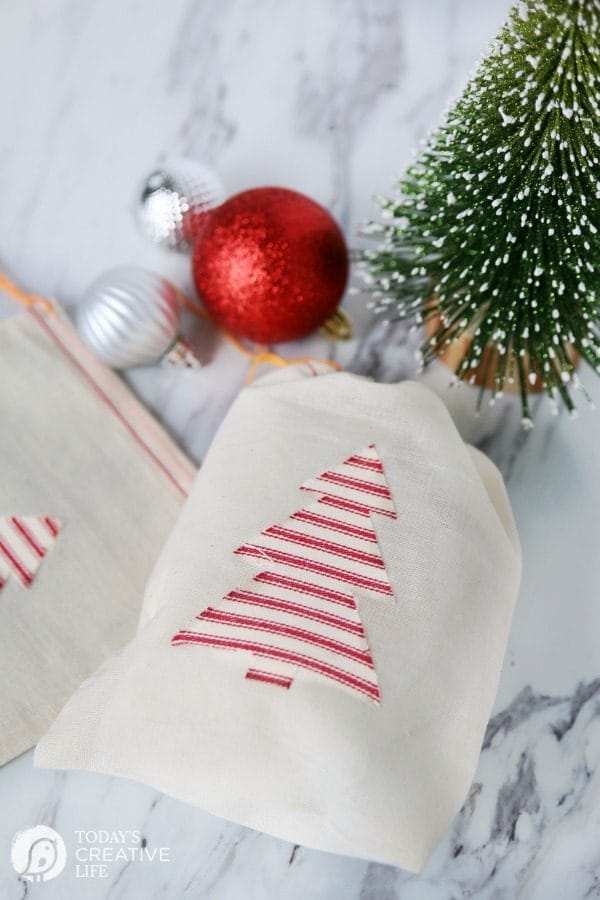
Heat N Bond Holiday Gift Bags
I actually bought the supplies last year to create some holiday appliques and never got around to it. I had never used heat n’ bond before, but after reading the instructions in the store, it didn’t seem so hard.
If you watched my Instagram Stories, then you’ll know that I had a little bit of a craft fail… but I admit it’s because I didn’t read the directions as carefully as I should have. Who has time for that, right? I also shared how easily the Cricut Maker cut fabric. I saved a couple of the videos from my story. Watch them below.
Luckily it was a very easy learning curve and I was back in business. These heat n bond holiday gift bags are very similar to the iron-on cotton gift bags I created last year. I love these little muslin cotton bags and love using them, especially during the holidays for easy gift wrapping ideas. They’re kind of like the Chinese Takeout Boxes I use all the time. So handy.
How to Make Heat N Bond Holiday Gift Bags
Supplies Needed: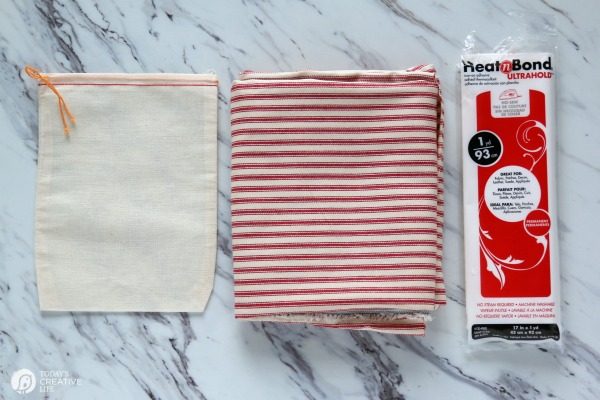
- Fabric – I used a red pillow ticking fabric. I love all things made with ticking! I found mine at my local JoAnn’s.
- Heat N’ Bond – you probably don’t need the ultrahold, but it’s just what I bought.
- Muslin Cotton Draw String Bags – These come in a few sizes.
- Fabric Scissors
- Craft Scissors – you don’t want to cut the heat’n bond with your fabric scissors.
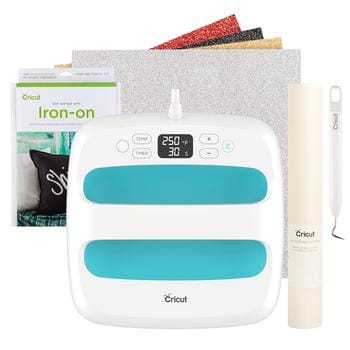
- Iron or EasyPress by Cricut
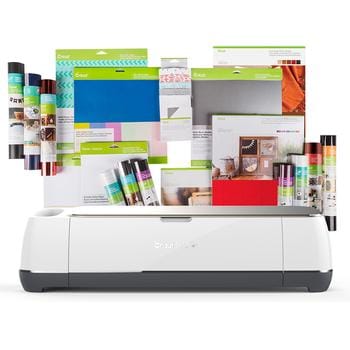
- Cricut Maker or Tree Shaped Template
- I used my Cricut Maker to cut the fabric trees. I found the template in the Cricut Design Space. The new rotary blade makes cutting fabric a dream. So if you’re a quilter, this machine is a must-have! Well… I think all crafters should have one too!

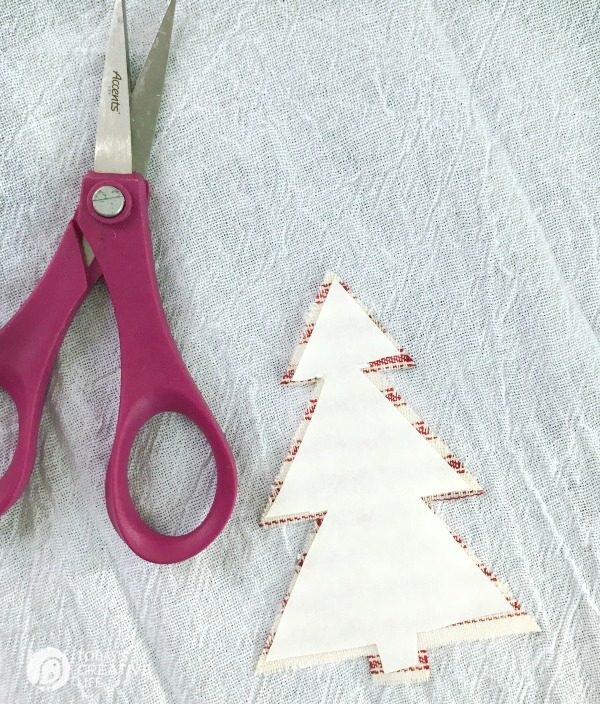
- After you’ve cut your shape, you’ll want to cut the heat n bond in the same shape, but a little smaller. Lay the tree face down and apply the bumpy side of the paper on top of the tree.
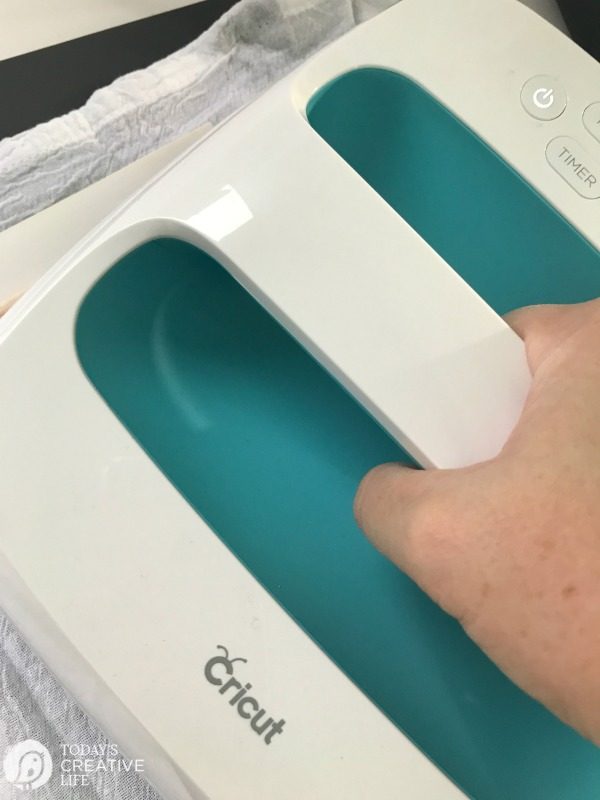
- Apply your hot iron or EasyPress Heat Press for just a couple of seconds.

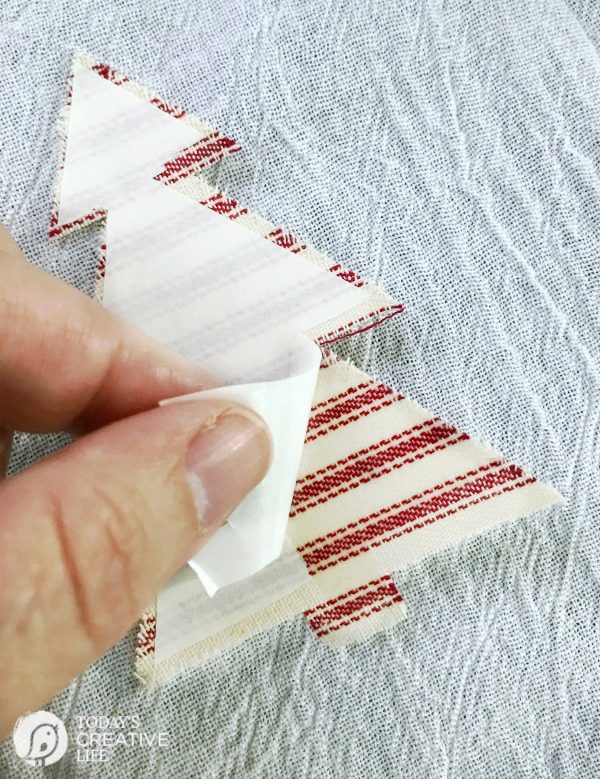
- Now carefully peel the paper away and you’ll see that the back of your design is shiny and sort of feels like oilcloth.

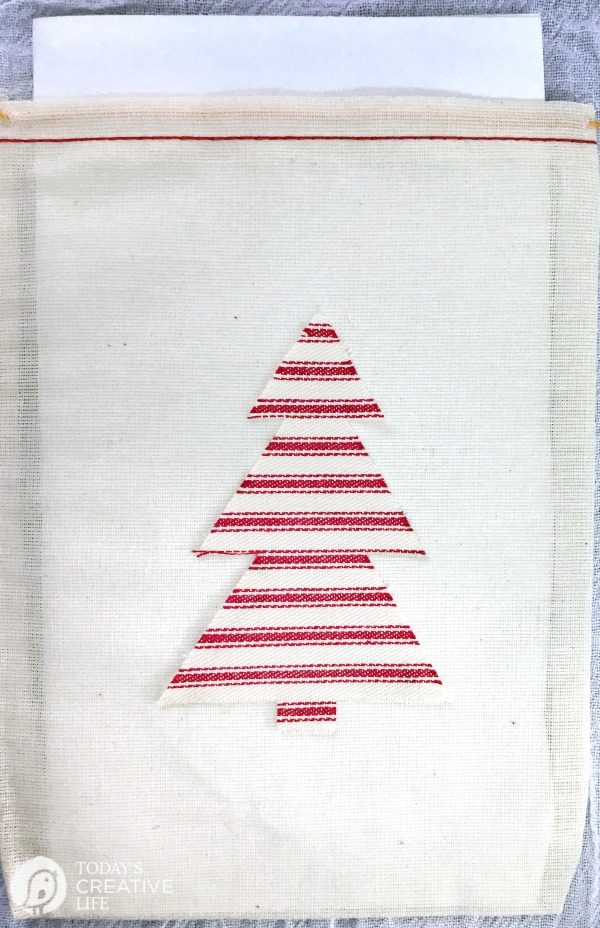
- Place the tree on whatever you’re wanting to apply it to, shiny side down.
 Since I was applying mine to a muslin cotton bag, I placed a piece of paper inside the bag so it wouldn’t possibly also stick to the other side, making the bag unusable.
- Press again with your medium hot iron or EasyPress Heat Press and your design will magically be permanently attached!

How easy was that? And such an adorable way to wrap up something special for the holidays.
With the iron-on gift bags, I did last year, I made mulling spice packets for the inside. I had a printable tag with directions. It was a great gift for neighbors, friends or even the UPS person. 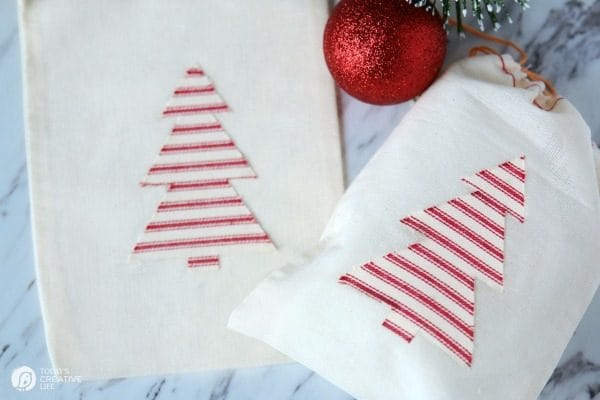
I’m not sure what I’ll put inside these yet. Maybe some Christmas cookies, or just some colorful wrapped Christmas candies. I can add one of my favorite printable Christmas Gift Tags with the little red car and I’m pretty sure it will be the cutest gift wrapping ever! 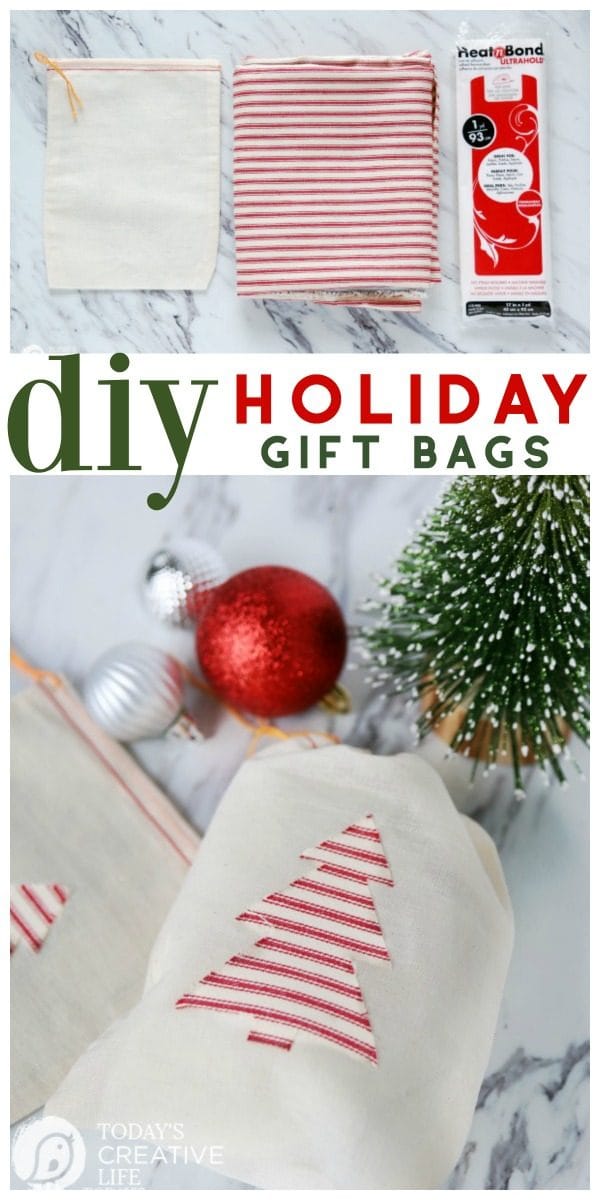
Supplies for Crafting
Christmas Gift Wrapping Ideas
 Mulling Spice Homemade Gift Idea
This is a sponsored conversation written by me on behalf of Cricut. The opinions and text are all mine.
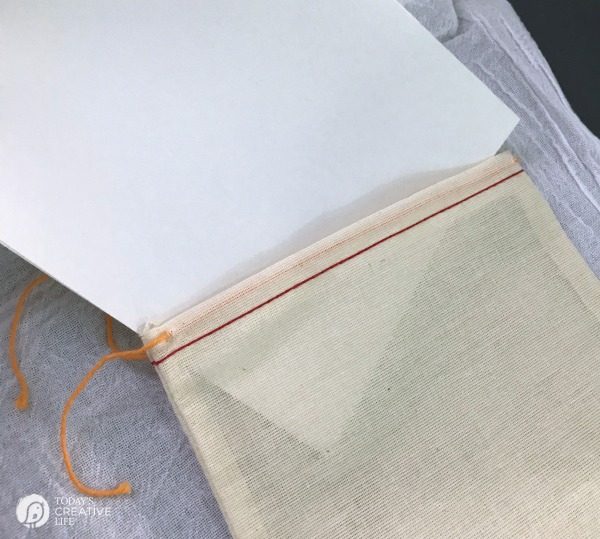 Since I was applying mine to a muslin cotton bag, I placed a piece of paper inside the bag so it wouldn’t possibly also stick to the other side, making the bag unusable.
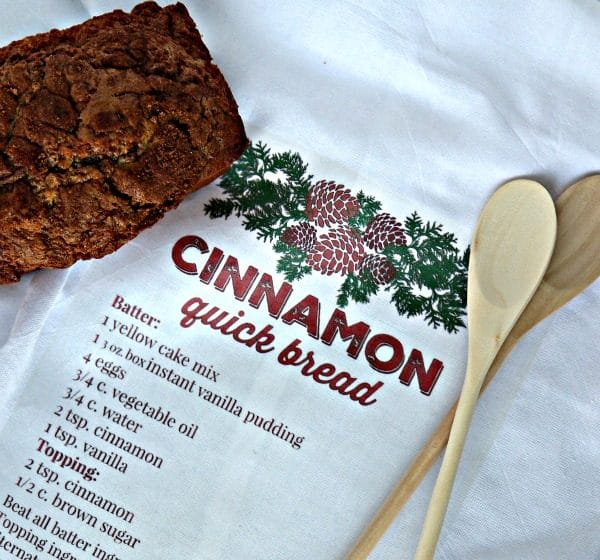 Iron-on Recipe Dish Towel
 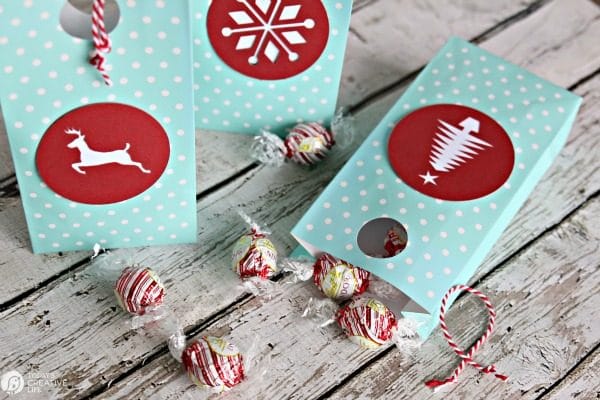 Easy Holiday Gift Wrapping
 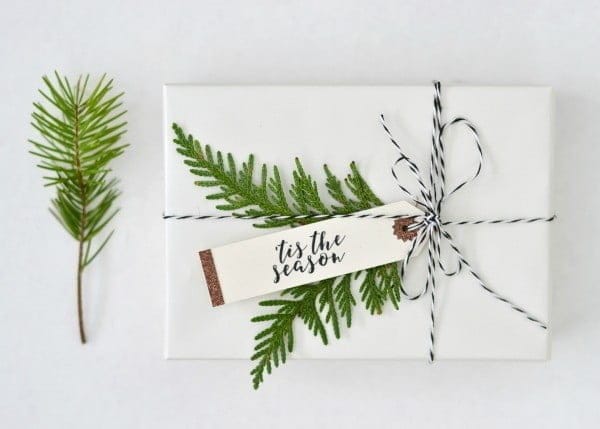 DIY Holiday Gift Tags




Carol says
Oh I love these! I think I have some heat and bond on hand too!
Kim says
Thank you!