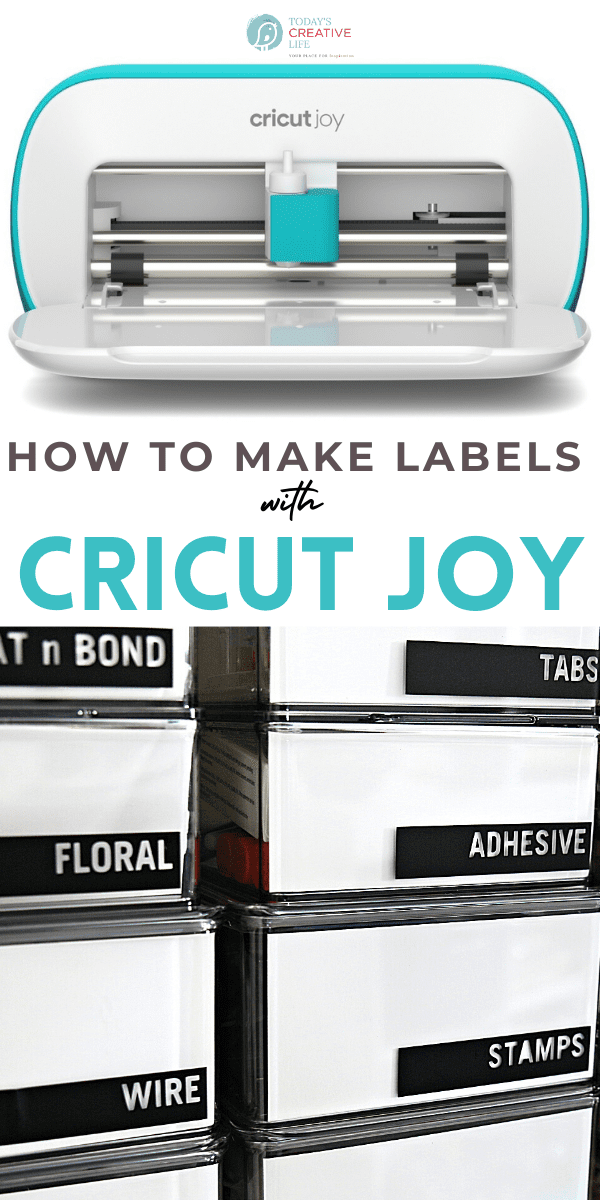
I have reorganized my craft room many times over the years and each time it gets better and better. When it comes to craft room organization, I’m learning to keep it simple with a clean design. Making my own labels using the Cricut Joy is my new home organization hack! These were so easy and didn’t take me much time at all. They were pre-designed and after loading the machine with black vinyl, I literally just clicked the Make it on my phone app and that was it!
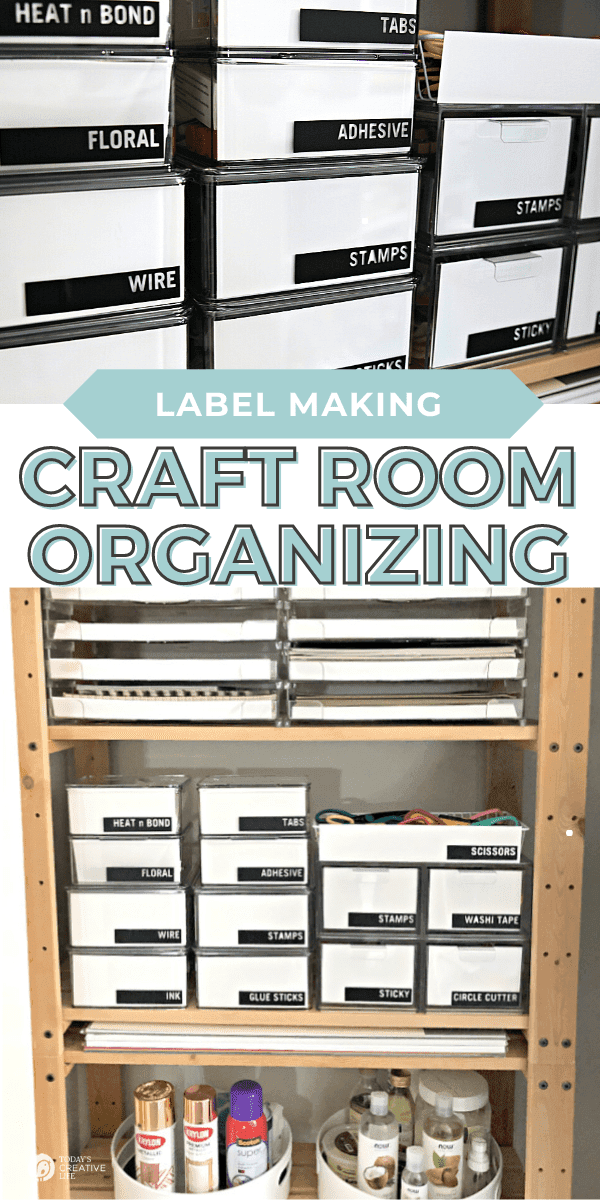
Craft Room Organization with Cricut
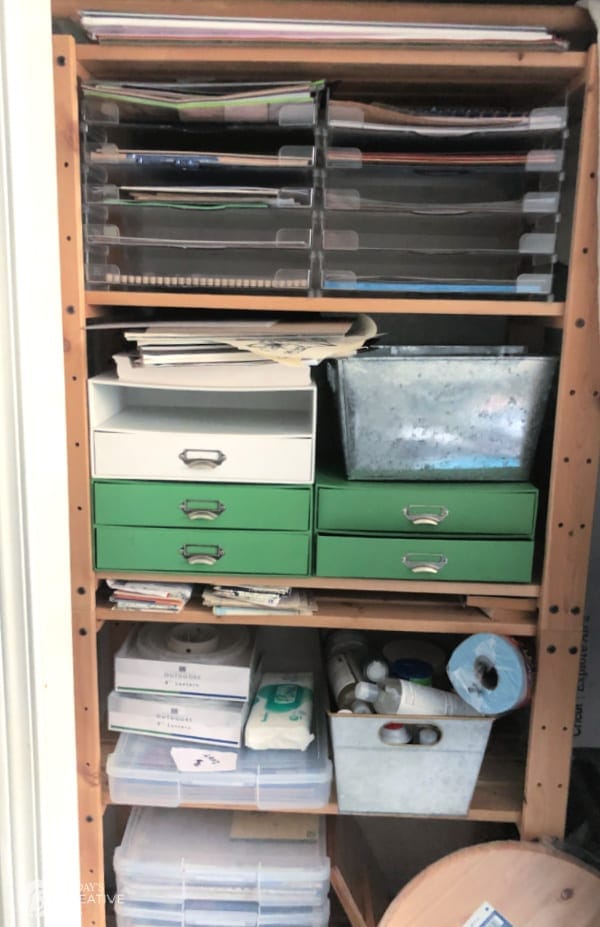
In my craft room, I have a closet with many of my supplies. It was getting messy and needed to go through what I had and get rid of items that I no longer needed.
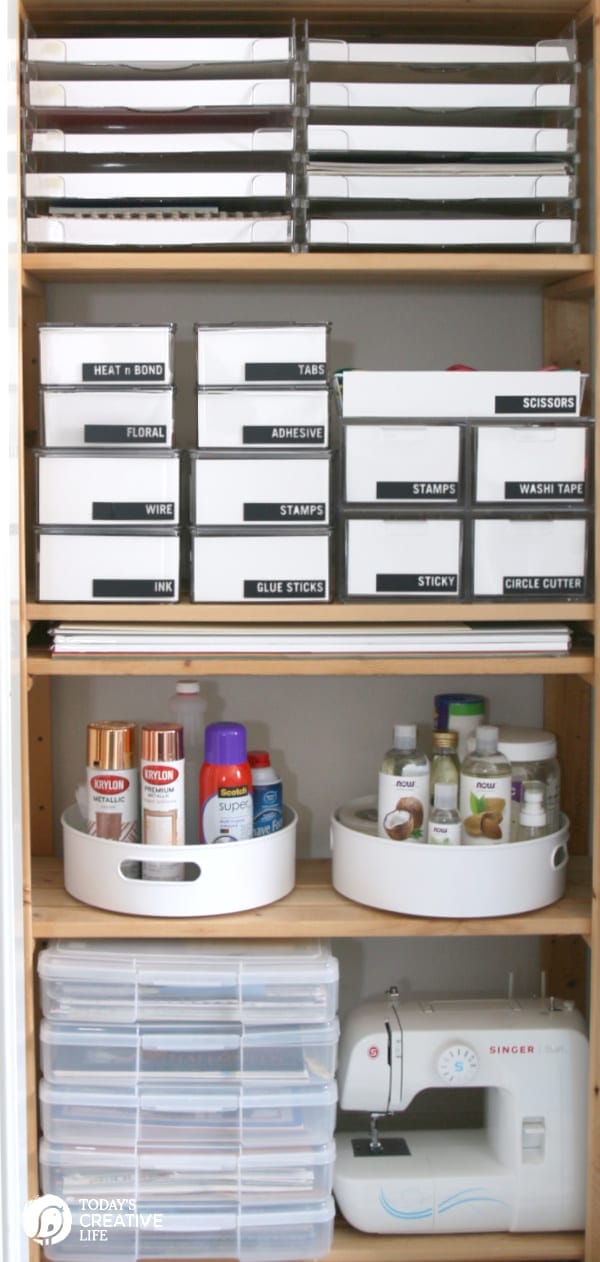
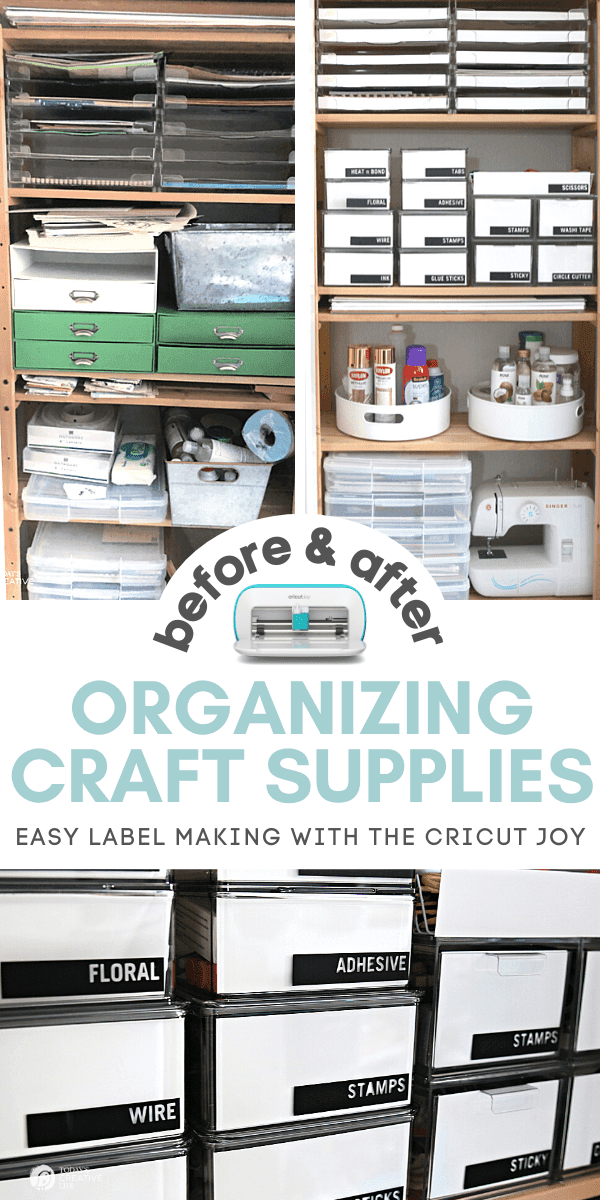
So many of my items are small and plenty that needed to be grouped together but still looked untidy when placed in my new clear containers. So I placed a piece of white cardstock inside each box and decided to use one of the predesigned labels that the Cricut Joy offers. I loved the modern clean lines and easy-to-read lettering.
Using the app on my phone, I had my labels cut in 10 minutes. It’s THAT easy!
The before and after look is amazing. With minimal effort, this space is so much nicer to look at and easier to find what I need quickly. I think it will also be easy to keep up, that’s the key. When you organize for function, it will remain tidy.
Craft Room Home Organization Hacks
It can quickly become overwhelming when you tackle an organizing job. Depending on what I’m organizing or cleaning, I always start top to bottom or corner to corner. I’m sharing my simple home organizing hacks below that always work for success and function.
Remove All Items
By removing all items, it forces you to see exactly what you have. Now you can determine what to keep, what to donate, and what to trash. So empty that cupboard, drawer or closet. This is how I organized my linen closet too.
Separate by Category
Group like items together. This makes it easier to find what you need when you need it. Some projects are great do group by color. I organize my closet by color. People love to organize books by color too. 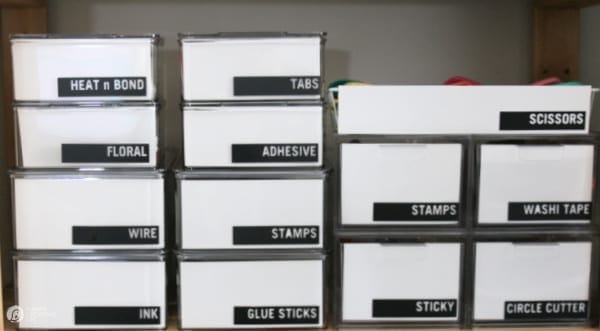
Find Appropriate Containers for Craft Room Organization
A while back I completely re-organized my cupboards. Finding the appropriate containers and jars has been a game-changer. It’s been easy to keep up and continues to make me smile when I open the cupboard door.
This same concept applies to storing craft supplies. A visually appealing system is not only functional, but it also inspires creativity, at least it does for me.
My organizing hack is to keep categories separated even if they’re related. For example, I like to keep my washi tapes separate from my adhesives. I keep my stamps separated from the inks. This allows me to keep my containers smaller and manageable. Of course, another way is to place all related containers in a larger well-marked container to group them all together.
Labels
Label every container! You can even add a list to the label if desired.
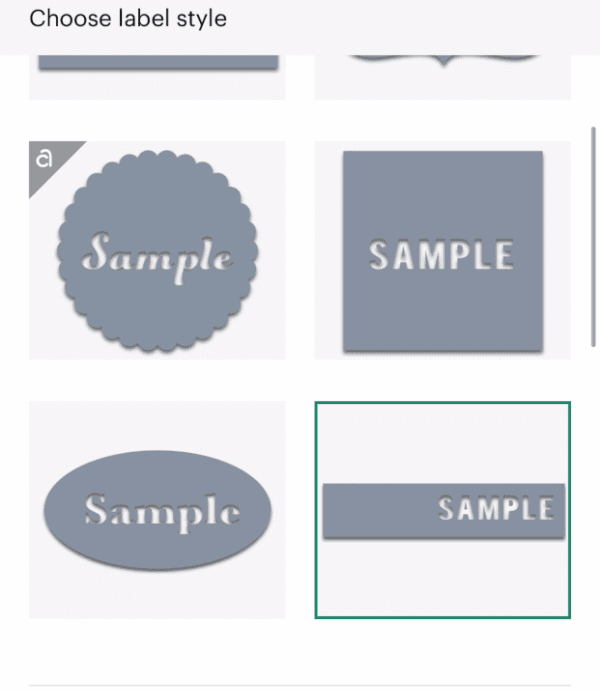
By making your own labels, you can customize what you need. They also have labels using their markers, writing in any font you choose. I chose to use vinyl cuts and love how they turned out.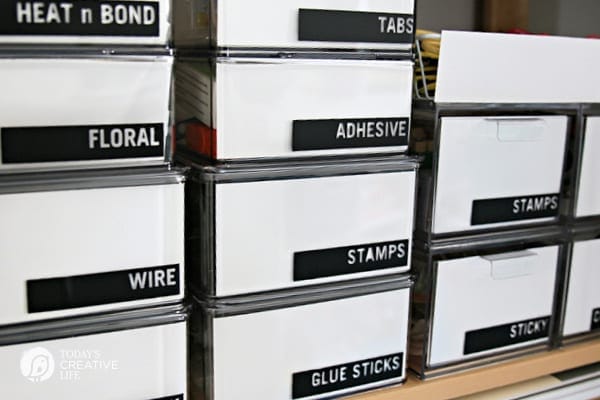
How to Make Labels with a Cricut Joy
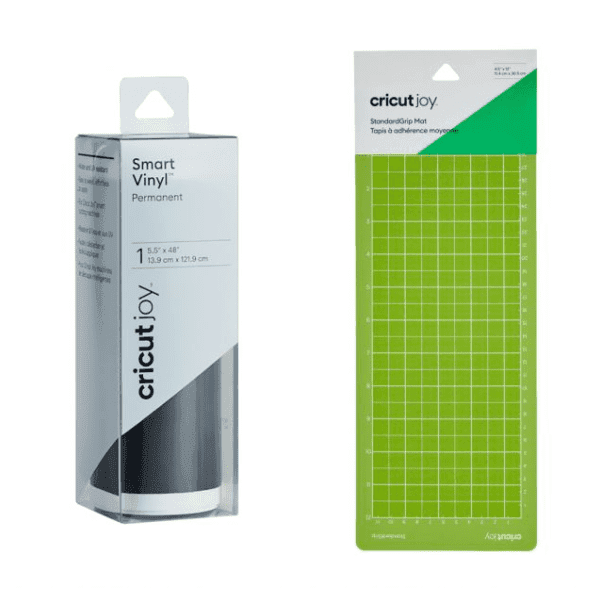
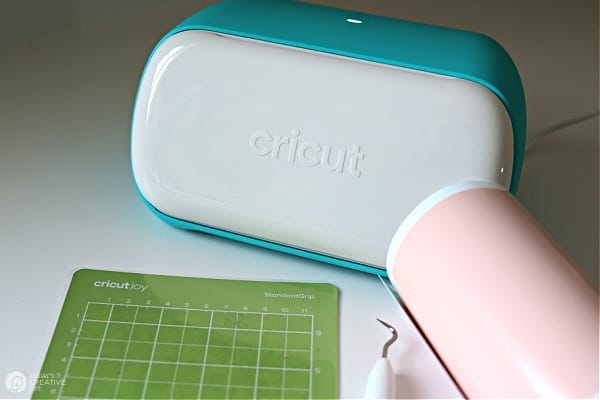
I used Cricut premium black vinyl for labels and white cardstock to create more a minimal clean look, which also gives a look of organization.
When cutting, I chose the longer cutting mat so I could cut more labels at one time. Organizing my time is just as important, right?
- Open the Cricut Joy App on your phone.
- Choose Quick Labels.
- Click Start Making.
- Choose Label Style.
- Edit size if needed and Enter Text for label title.
- Select Your Material. I was using premium vinyl.
- Click Make it.
- Select Accessory – The Cricut Joy image will show after selection.
- Follow prompts to prep and load mat.
- Cutting or Writing – it will show you what you need to use.
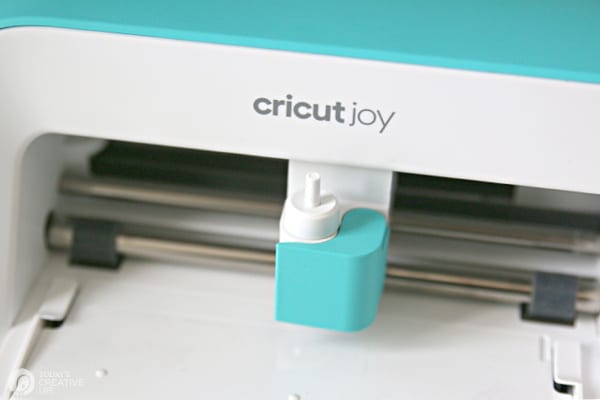
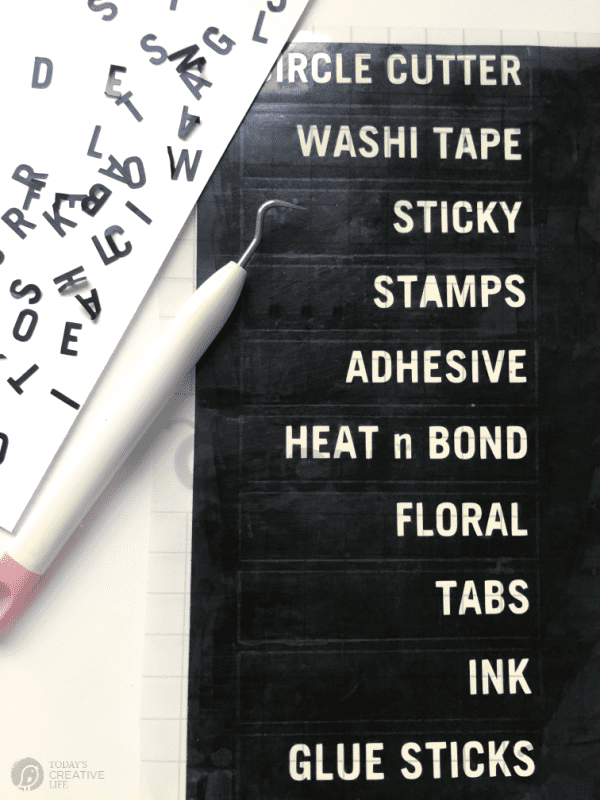
After your labels are printed, you’ll want to weed out the lettering with a weeding tool. Apply the transfer paper over the top, then use your Cricut tool to rub it.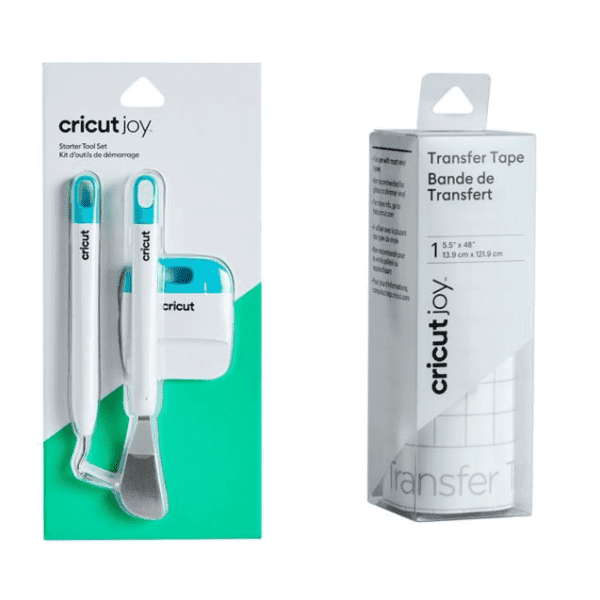
I like to then cut and separate each label. It’s much easier to use and apply. 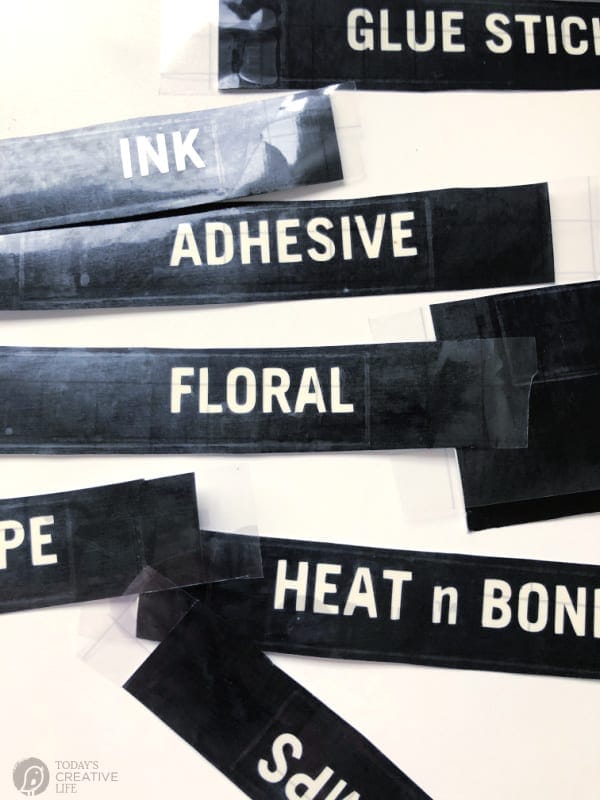
Apply to whatever item you’re using. 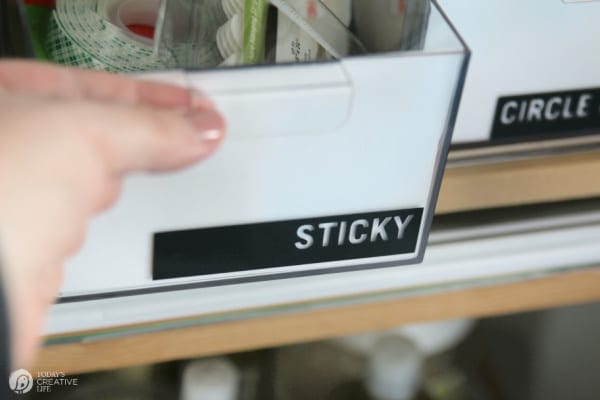
I could have applied to the paper that I have slipped inside, which would have been easier to update when needed. But I’m pretty sure this Craft Room Organization project will last me a long time.
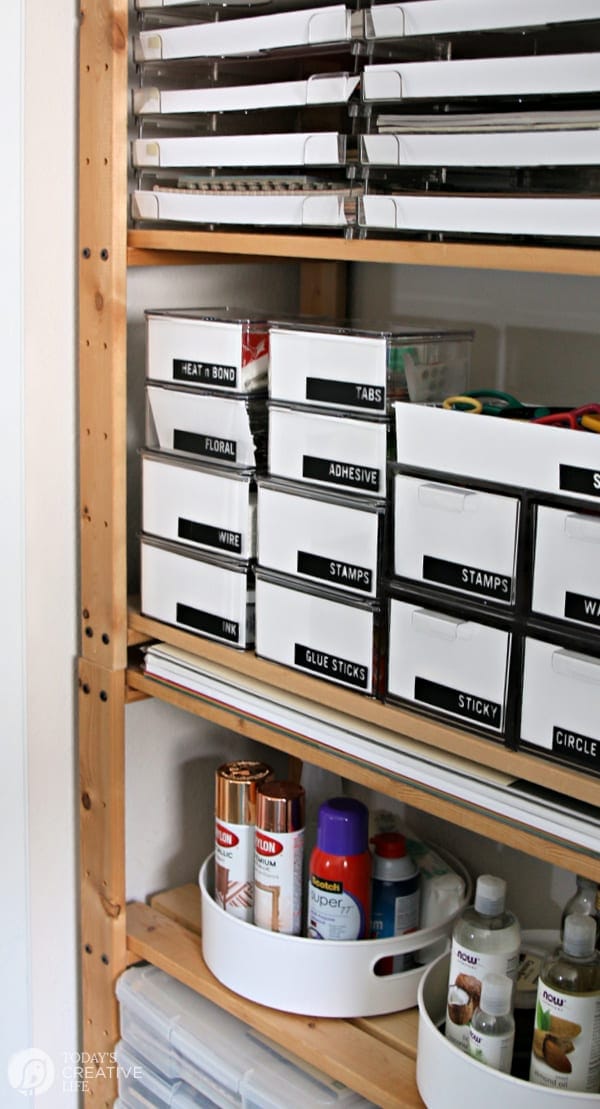
With a few simple touches, I was able to give this space a cleaner more minimal look. Getting rid of a cluttered look keeps me inspired and I actually know what I have and where. It doesn’t have to be fancy to be perfect!
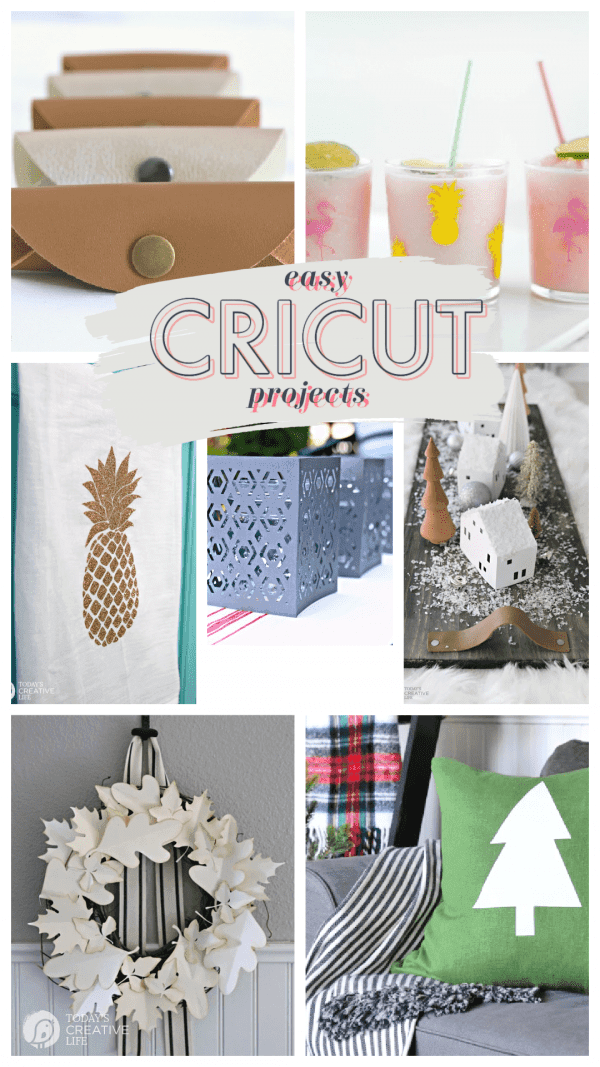
More Cricut Projects
- Easy Iron-on Holiday Pillows
- Paper Leaf Wreath
- Leather Cord Keeper
- Flamingo Party Glasses
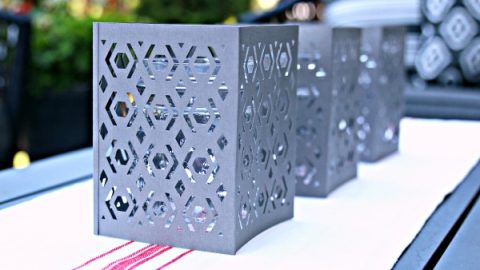
- Paper Cut Luminaries
- Paper Houses
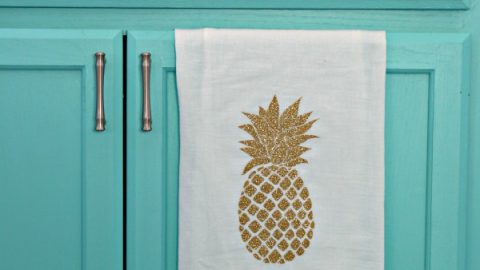
- Glittered Iron-on Pineapple Dish Towel
Cricut Joy Shopping List
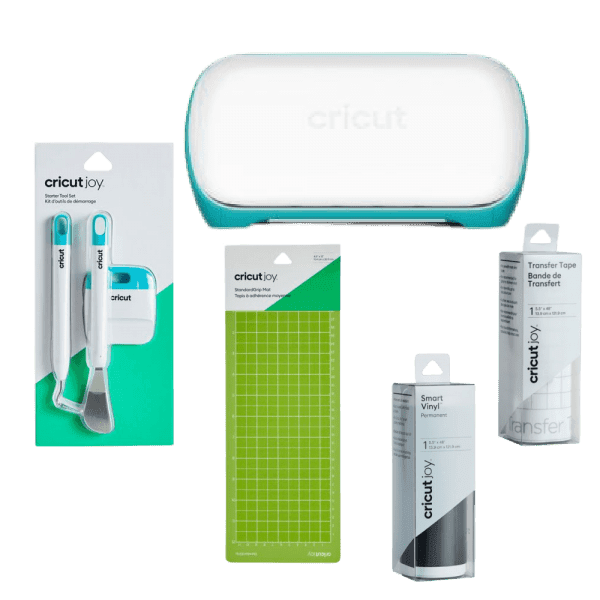
- Cricut Joy Cutting Machine
- Cricut Joy Tool Kit
- Cricut Joy Long Cutting Mat
- Cricut Joy Smart Vinyl – Black
- Cricut Joy Transfer Tape
Cricut Project Ideas
Create Home Decor, DIY Gift Ideas, DIY Craft Projects with your Cricut Cutting Machine and Tools.



Leave a Reply