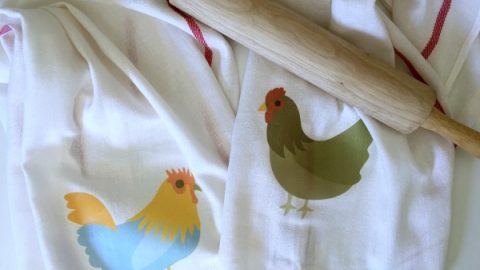
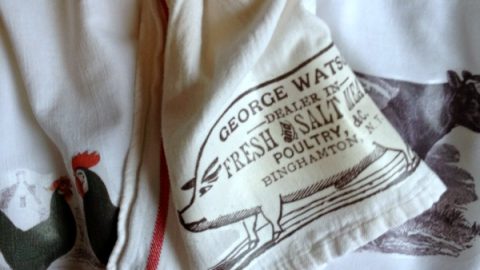
Please welcome Creative Contributor, Chloe from Boxwood Avenue. She’s sharing this DIY Home Decor Hydrangea Throw Pillow which is using my all time favorite secret. Iron On Transfer pillows and dishtowels are SO easy and make great gifts or quick home decor!
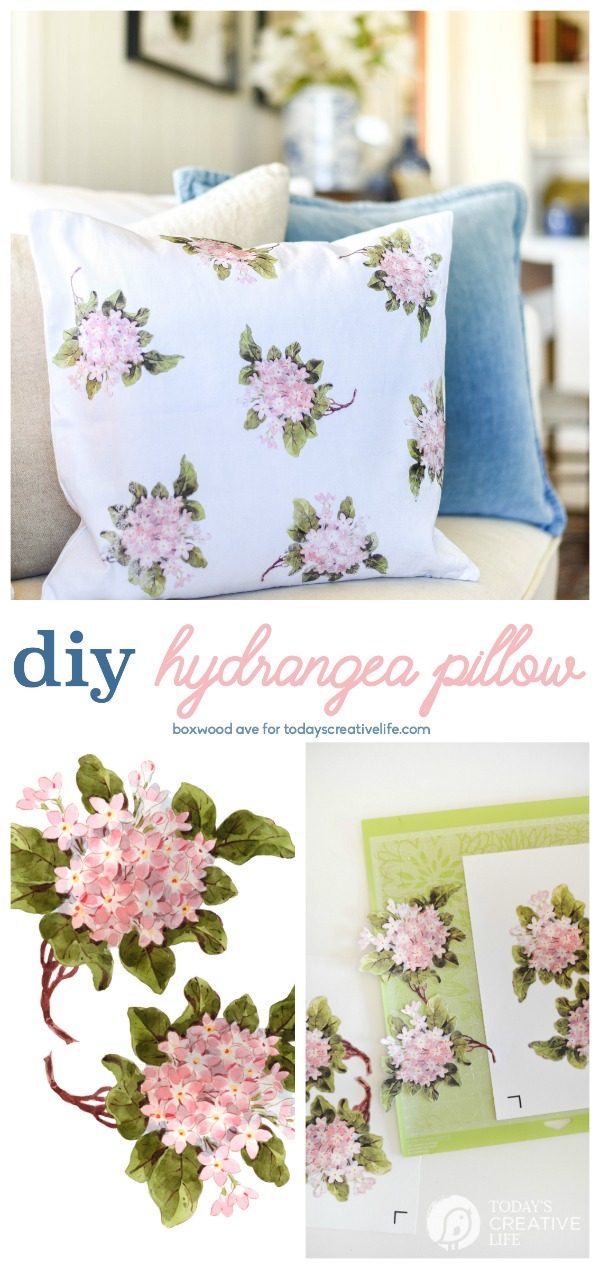
Hi TCL readers! This is Chloe from Boxwood Avenue here today sharing a fun & easy DIY Home Decor Hydrangea throw pillow tutorial!
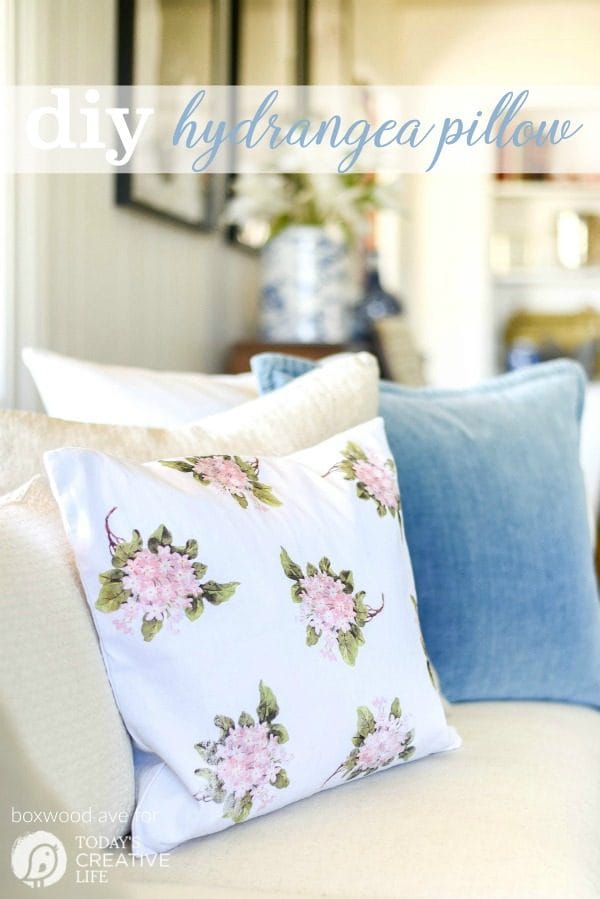
Sometimes all it takes to spruce up a room is a new pillow, would you agree? It’s even easier (and less expensive) than paint, and adds a little pop of color or pattern to a room. Be it in your bedroom or living room, pillows can breathe new life into your décor slump. I placed this pillow next to a soft blue velvet pillow, and it instantly popped against my linen colored couch! 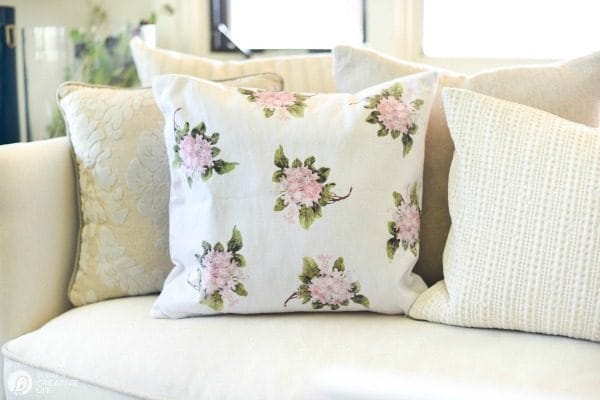
I really love hydrangeas, but hate how easily they die! I have a few tricks up my sleeve for saving a wilting hydrangea, but adding them into my décor in other ways than live flowers is so much easier than pampering the finicky blooms!
This DIY home decor hydrangea throw pillow took me less than 10 minutes to make. Seriously! The best part is that it only cost $10 to make.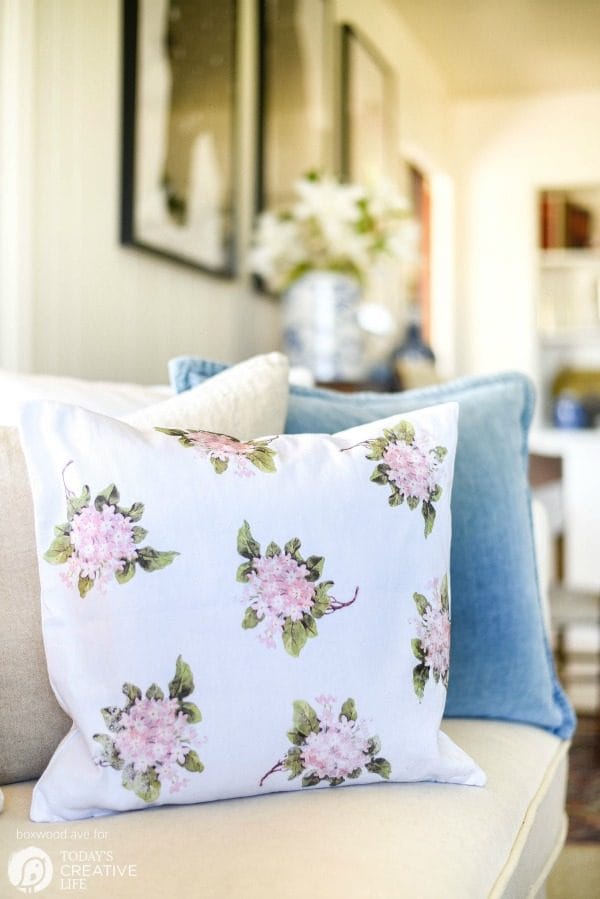
I downloaded this beautiful watercolor hydrangea graphic from The Graphics Fairy, which served as the perfect summery graphic to add to my blank pillow cover.
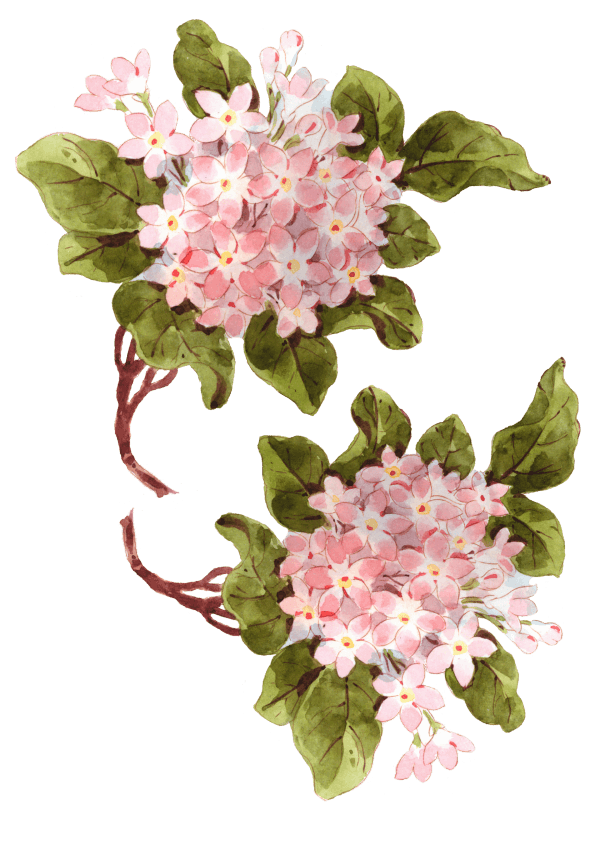
I picked up a blank pillowcase, grabbed a few sheets of TAP Paper and got to crafting!
I have gone ahead and converted the file into a .png, and sized it to perfectly fit into the Cricut Design Space, so that this project really will only take you ten minutes to complete!
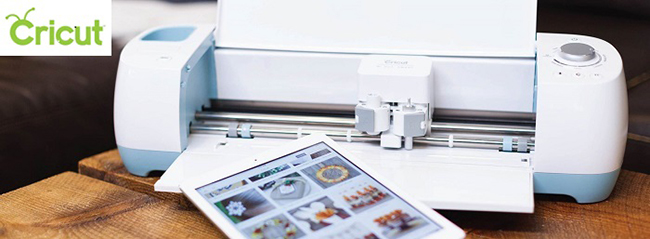
Supplies:
- 4 Sheets Transfer Paper
- Blank Pillow Case
- Iron
- Cricut Explore Air™
- Hydrangea Graphic
Affiliate links are provided for your convenience.
How to Make Diy Home Decor Hydrangea Throw Pillow
- Download the hydrangea file, then open up the Cricut Design Space™.
- Upload the file into the design space as a print & cut ‘simple image’ file. This is a .png file, so you will not have to remove any white background. Make sure you go into ‘advanced options’ and select ‘unmodified’ to preserve the original watercolors of the graphic.
- Insert the image into a new project and enlarge it to 5.75” wide. This will allow you to maximize the print space available.
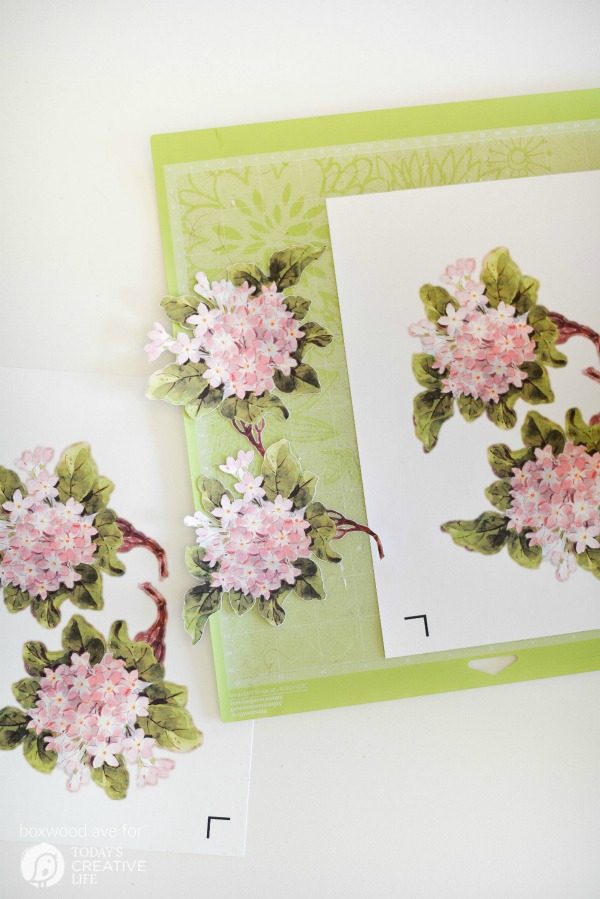
- Print the file onto transfer paper (I prefer TAP paper). I left the bleed on, and printed 4 copies.

- Load one of the printed files onto your cutting mat, and cut. Repeat for all of the printed pages.
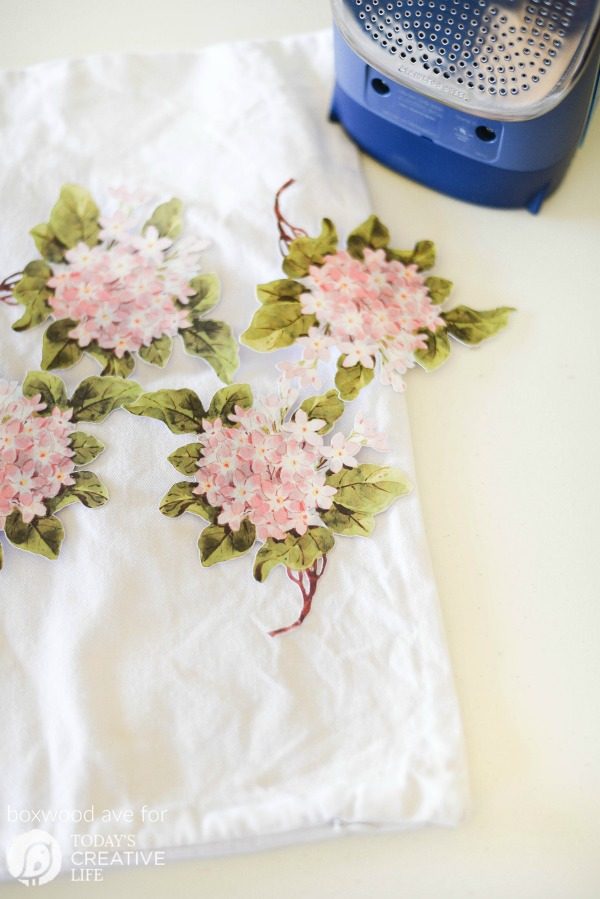
- Lay each hydrangea face down onto one side of the pillow, and arrange to your liking.

- Use a hot iron to firmly transfer each hydrangea onto the pillow, and voila! If you’ve never used TAP Paper, you might want to read my tips and tricks for best results!

As always, it was a pleasure visiting Today’s Creative Life, I hope you have a chance to come say hi to me over on Boxwood Avenue!
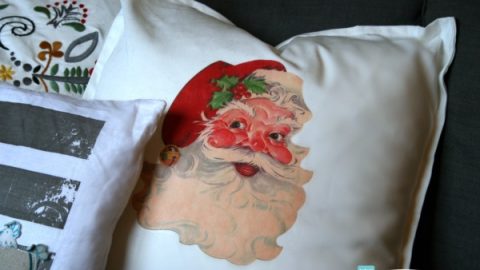
Iron-On Transfer Project Ideas
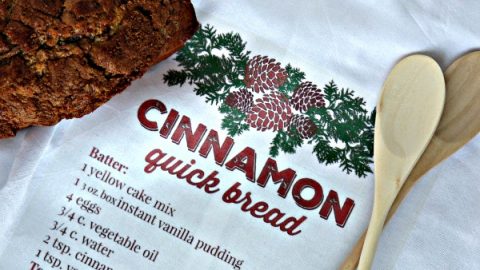
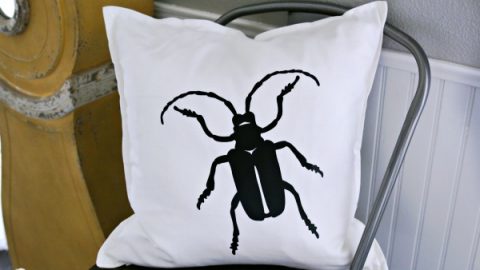
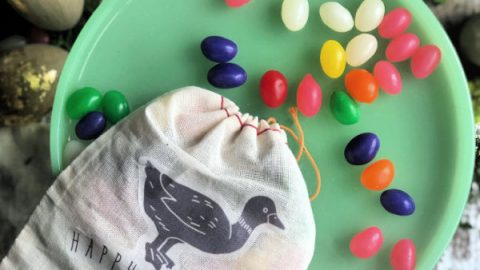
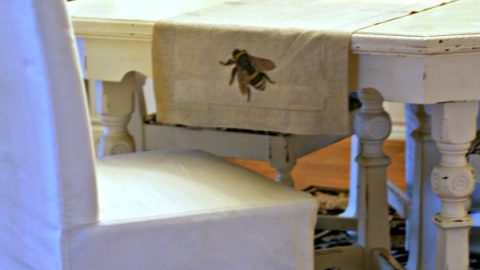
Transfer any image with Iron-on Transfer Paper. Create DIY home decor, DIY gifts, T-Shirts and more.
DIY Home Decor with Iron On Transfer Sheets
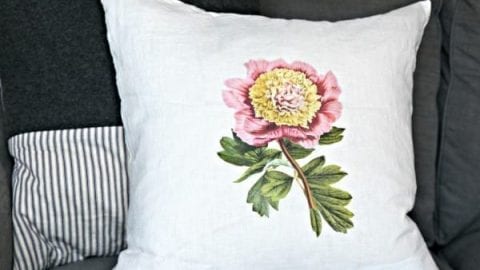
Download free botanical graphics for this easy DIY decorating project.



Denise/DIY Crush says
This pillow is simply amazing! Thank you for the link to the free hydrangea printout!!