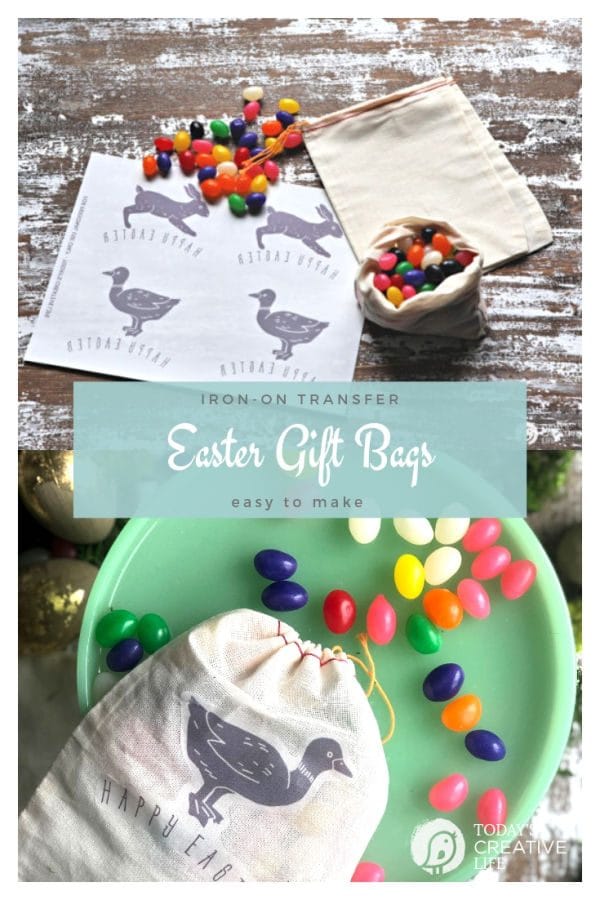
For those of you looking for a quick and easy Easter gift idea that’s also cute and creative, this is it! These DIY Easter Treat Bags took me about 5 minutes to make and make great gift wrap for so many things.
Iron-on transfers on a cotton muslin bag also make the cutest Easter table place setting or the perfect simple gift when you need something unique and fast.
DIY Easter Treat Bags
This spring and Easter craft is great for adding holiday decor to your home.
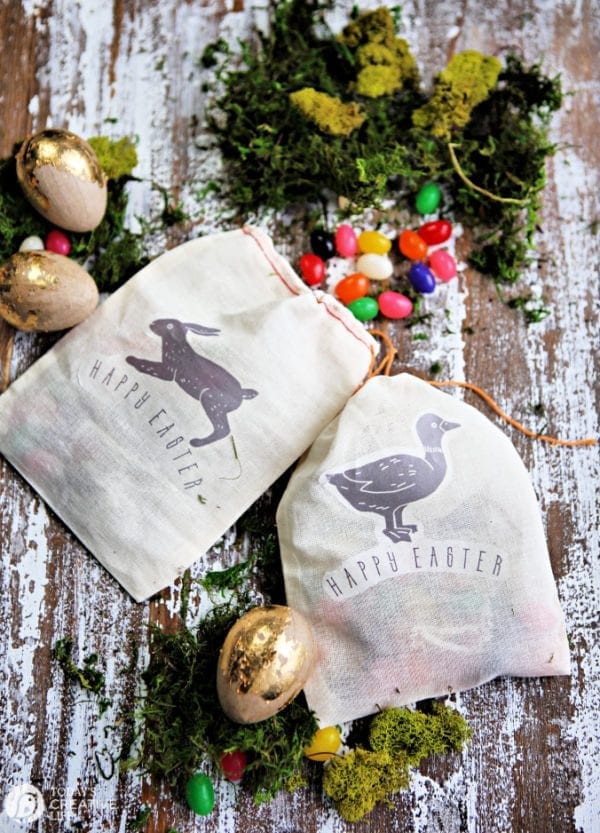 You can use this free printable on other items to make decorative dish towels, napkins or pillows for your home. Free printables are found in the Printable Vault. Use your subscriber password. Sign up here to gain access.
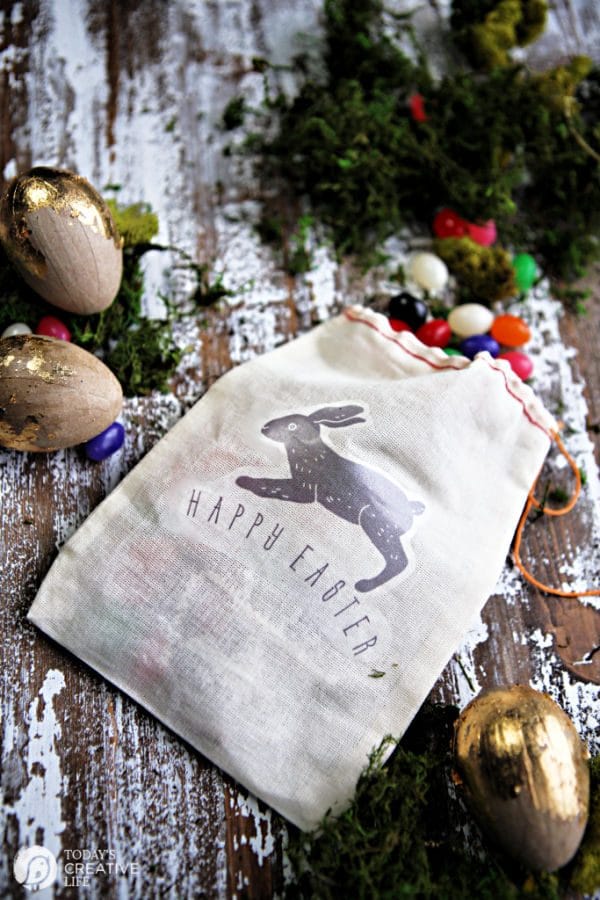
How to Make Iron-on Transfer Easter Treat Bags
Only a few items are needed to create this DIY craft. I keep all of these supplies on hand for quick holiday decorating and gift ideas.
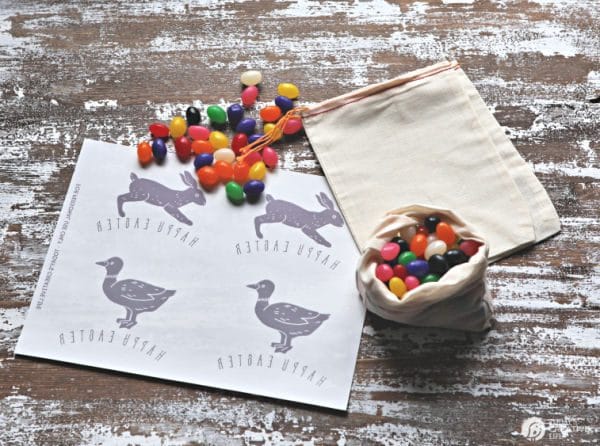
Supplies for Easter Gift Bags
- Iron-on transfer paper – I usually use Jolee’s brand that I pick up from my local craft store. Make sure you get the ones for light fabric.
- Cotton Bags – I purchased these from Amazon in a lot of 25. They are 6×8 inches. You can find bags like this in a variety of sizes, which I do think a smaller bag would have been great.
- Scissors – These are my all-time favorites.
- Ink-jet Printer – This is a budget-friendly model that would do a great job.
- Iron – I use my EasyPress. An iron is just fine, just be sure to turn off the steam.
- Printable Design – You can use any design you may already have, or you can download mine for free if you’re one of my subscribers.
- Candy – or whatever you plan to put inside.
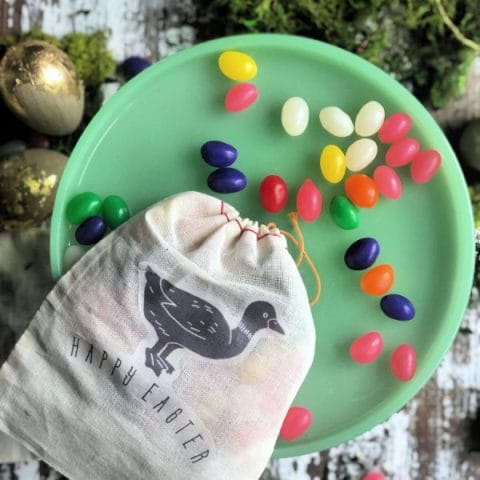
How to Make Easter Treat Bags
Easy to Make Treat Bags for Easter
Materials
- Iron-on Transfer Paper
- Cotton Muslin Bags
- Easter Design
Tools
- Ink Jet Printer
- Scissors
- Iron
Instructions
- Heat your iron to the cotton setting and turn off the steam.
- Print your design. Follow the directions on your iron-on paper package. The final printed sheet will have backward text. This is because once ironed on, it will be readable.
- Cut out each design leaving a small border. If you cut it too close to the images, it will be harder to remove.
- Place the image where you want it, face down on your bag.
- Place your hot iron over the design and press while ironing. The cotton bags can brown easily, so don’t overdo it.
- Allow the easter bag to cool.
- Remove paper – start by gently removing one corner and continue until complete. If it pulls the design up, stop and re-iron, making sure the paper is still covering the image.
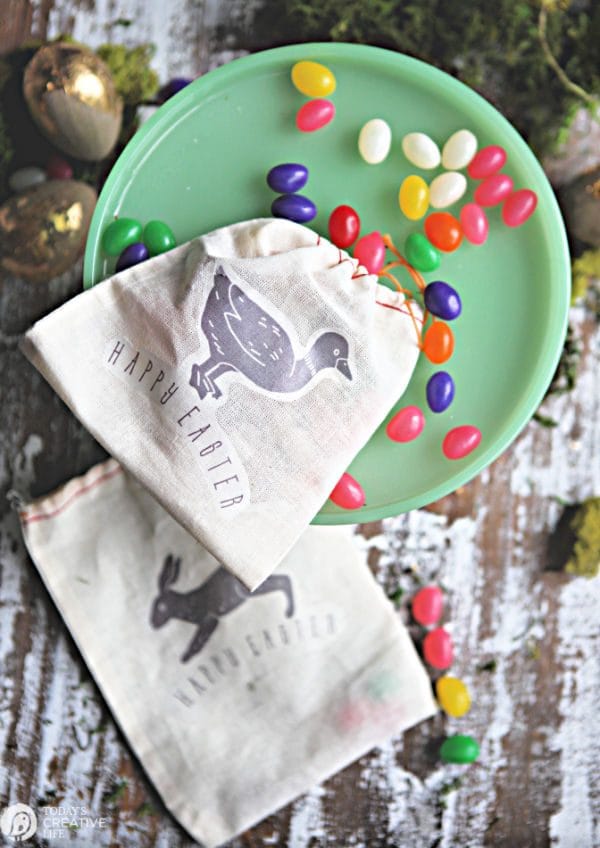
Feel free to cut the Happy Easter off if you’d like to use it for just a spring craft.
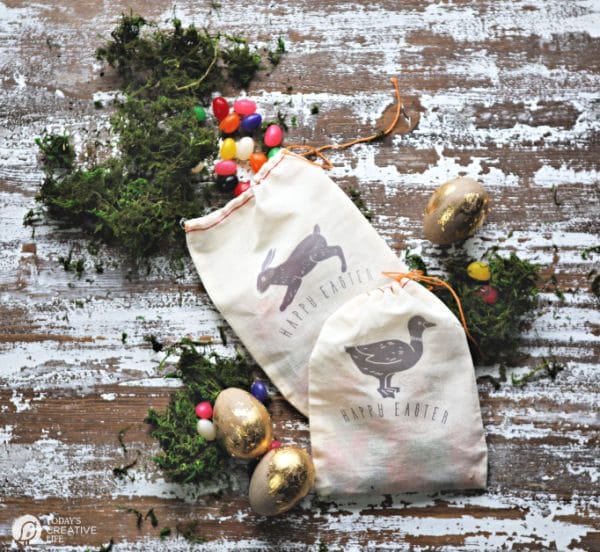
There are so many things you can create with these. You could even try ironing on cardstock and making your own cards.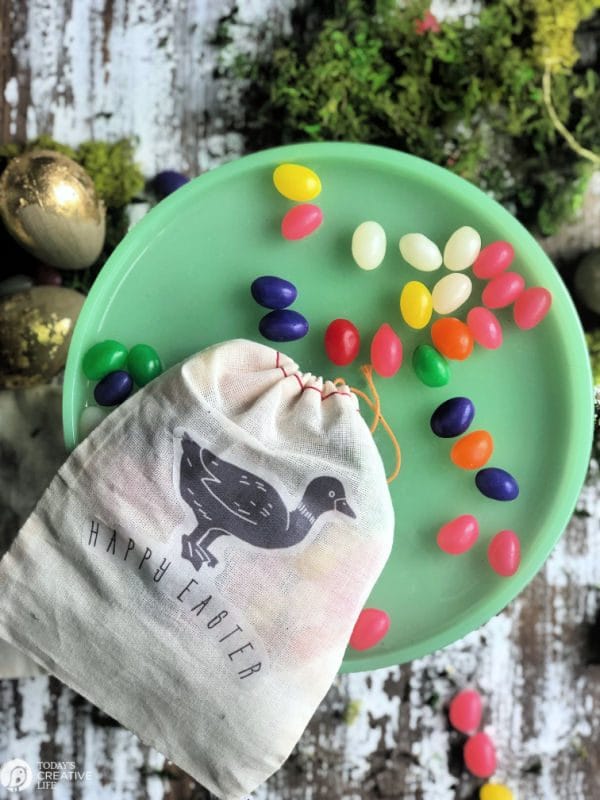
If you make these DIY Easter Treat Bags, I’d love to see it! Just tag me on Instagram at @TodaysCreativeLife and I’ll see it!
Follow along on Instagram | Pinterest | Facebook
Creative Easter Ideas
DIY Creative Easter Ideas for easy ways to enjoy the holiday! Craft, Bake and Decorate.
Sugar Cookie Easter Egg Fruit Pizza
Make this sugar cookie fruit pizza anytime of year! Just change the shape!
Birds Nest NO BAKE Easter Cookies
No-Bake Cookies are easy to make. Kids will love this! Delicious and pretty!









Leave a Reply