Easter Egg Designs are a popular topic this time of year! Don’t tell, but I hate to decorate eggs! I do! But now these mod podge Easter eggs are the perfect decorating idea and right up my alley! I LOVE the classic colors, it reminds me of the blue willow dishes my mother always had. With Easter and Easter eggs on our minds, you’ll find more Easter crafts, recipes, printables and more in my Easter Archives.
Please welcome Creative Contributor, Chloe from Boxwood Ave as she shares her latest Cricut craft idea! If you’re looking to add a new Cricut to your DIY arsenal… here’s my affiliate link for a starter kit with everything you need, which is also a great deal!
Easter Egg Designs
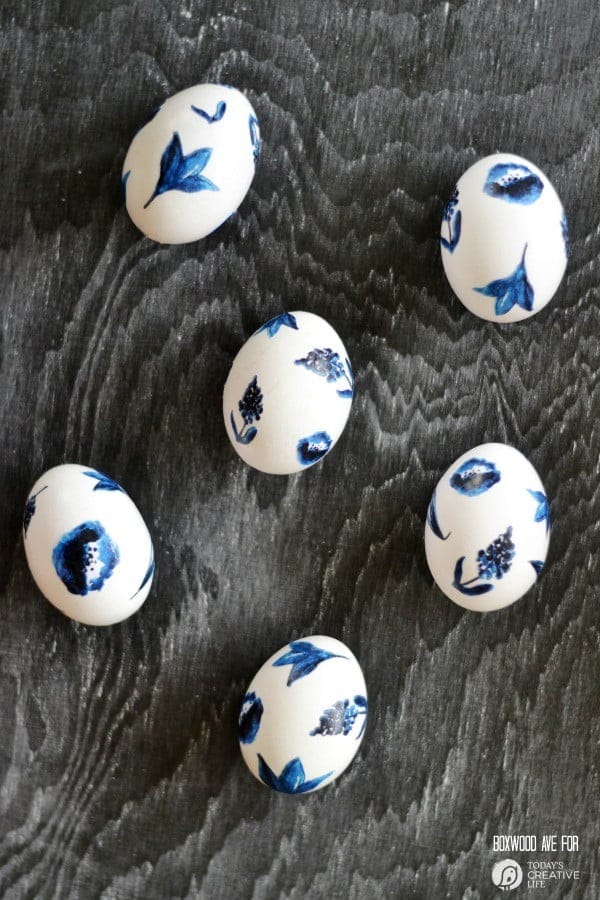
Blue and white porcelain is a classic pattern that stole my heart long ago. Earlier this week when I had the chance to pop into a Williams-Sonoma, I noticed that they had some blue and white dishes for sale. I made my way over to Pottery Barn and saw the same trend. I was so excited to see that it’s back in style.
So this year, while deciding how I would decorate our Easter table, I knew I wanted to incorporate the classic print into the décor. These Easter egg designs are a beautiful way to DIY the porcelain look without buying anything other than some paper, glue, and eggs.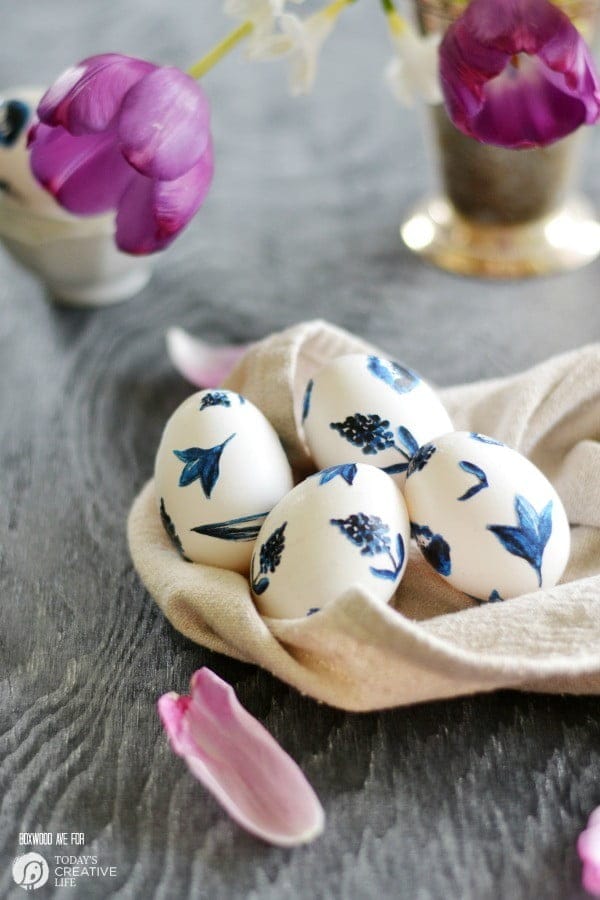
When my husband opened up the refrigerator, he looked at me and said, “Where did these eggs come from?” My reply? “Lady Gray, of course!” Lady Gray is the most regal hen on the ranch, and it wouldn’t surprise me if one of her eggs came out looking like this!
Decoupaged Easter Egg Designs – How to decoupage using inkjet printed-paper:

Awhile back, I researched how to decoupage using printer paper. I wanted to decoupage a specific image onto a plate without having to use a special printing method (these Halloween plates). The sealant spray listed below worked the best to seal images printed with an inkjet printer! It seals the ink into the paper, but still allows the paper to be pliable enough to be glued onto ceramic, and in this case, eggs. To get this look, follow the simple steps below!
Supplies:
Links to supplies are for your convenience and may contain affiliate referrals. This costs you nothing extra, but if you do decide to purchase, TCL will make a very tiny %.
- Aleene’s Sealant Spray
- Free Download – artwork from Create The Cut (personal use only)
- Eggs (hard boiled, or faux)
- Mod Podge
- Foam Brush
- One of the Cricut Cutting Machines
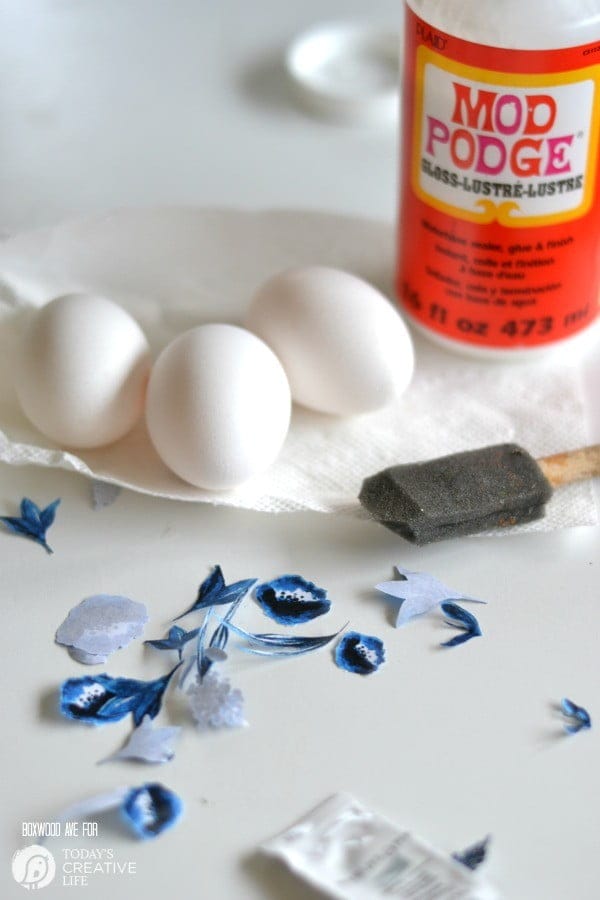
Step 1: Upload the free printable into the Cricut Design Space™ as a ‘print and cut’ file. Remove the white background, then insert the image into a new project. Size to fit a 6.5×8” space.
Step 2: Print out the project. Spray a healthy coat of sealant onto the paper. Let it fully dry, then cut using your Cricut.
Step 3: Now it’s time to start decoupaging art to the eggs. Add a bit of Mod Podge to the back of a cutout, place on the egg, and use your fingers/fingernail to smooth the paper onto the egg. You may find that you have to hold the piece in place for a while before it completely sticks.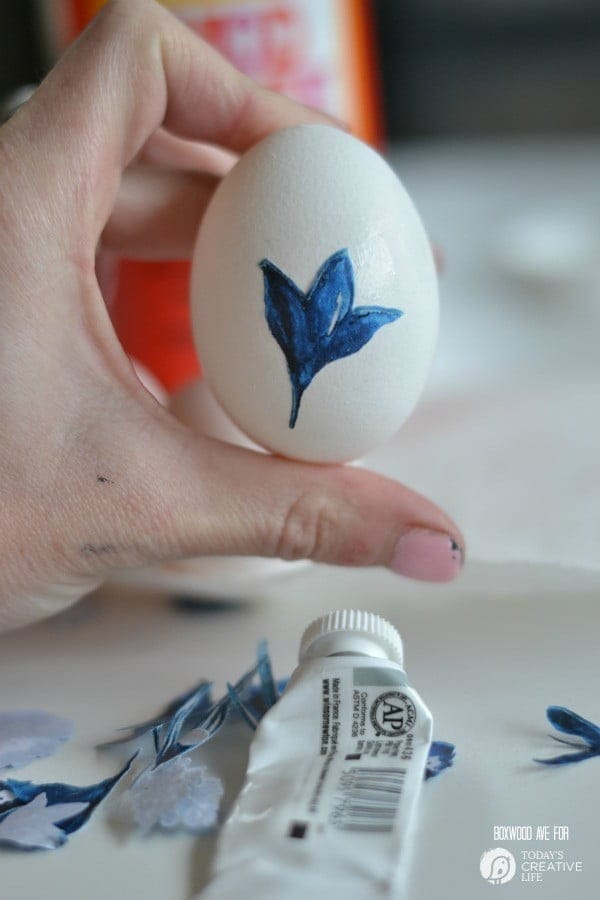
Step 4: Repeat step 3 until your eggs are fully covered.
Step 5: (optional): Add a coat of Mod Podge to the egg to finish the decoupage process. I skipped this step because I didn’t find it necessary for this project. If you’re using faux eggs and would like to reuse the eggs in the future, you might want to complete this step!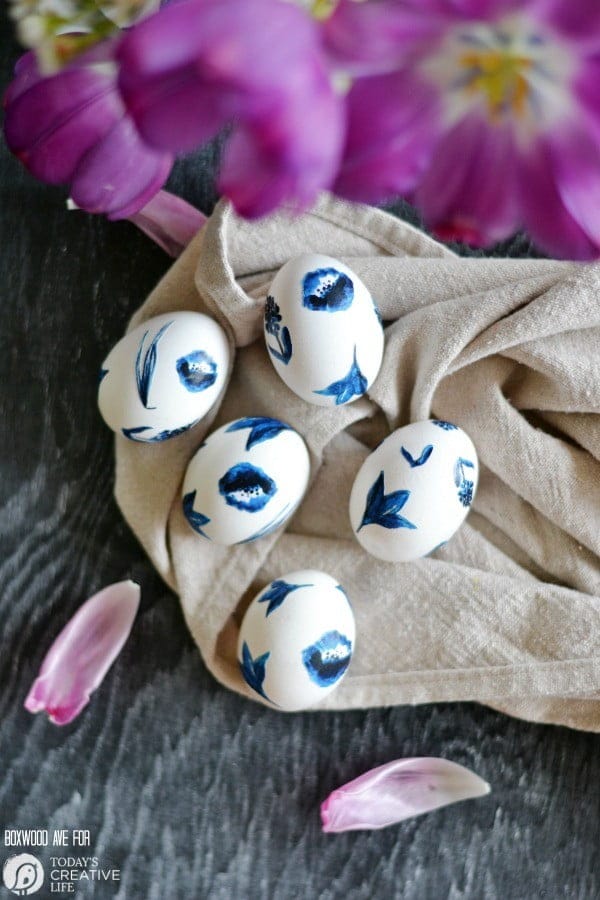
What are your favorite Easter Egg Designs? Do you like decorating Easter eggs? I’d love to hear in the comments below!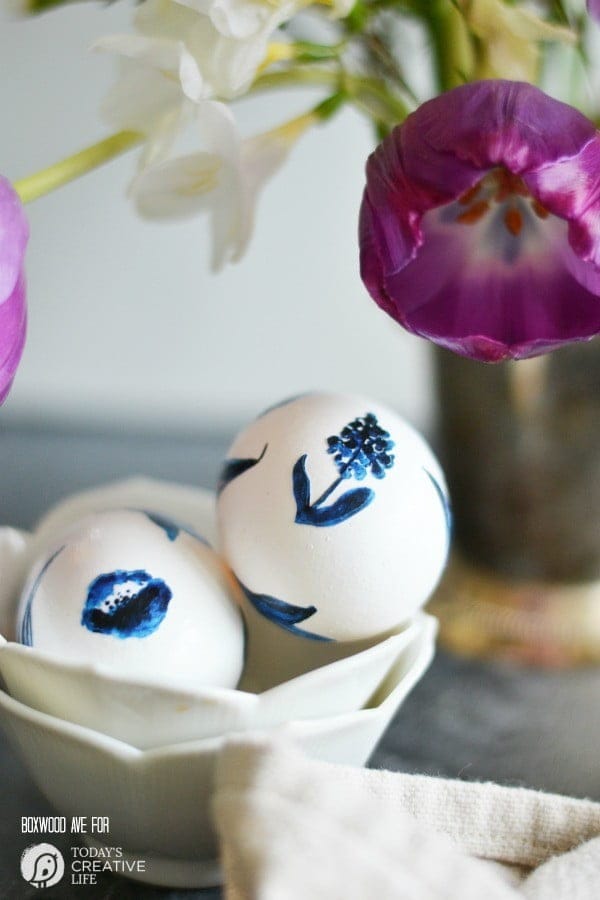

Don’t forget to come visit me over at Boxwood Avenue, I’d love to get to know you!
See more from Boxwood Ave
For more Decoupage Ideas
- How To Decoupage Fabric on a Shelf – Mod Podge Rocks
- Decoupaged Geometric Spring Vases – Crafts by Amanda
- Decoupage How To – DIY Tray – Today’s Creative Life
- Decorating Easter Eggs – Napkin Decoupage – Red Ted Art
More Easter Ideas


 Easter Printables for Spring




Leave a Reply