This How to Etch Glass Tutorial will soon be your favorite DIY project!
For the longest time, I’ve been wanting to etch glass. It’s one of those crafts that I always thought was really hard, but it’s probably one of the easiest projects I’ve done. I used the Armour Etch cream, but for a non-chemical method, I used the Martha Stewart Frosted Glass to do my craft room etched glass closet doors. It’s busy, but so is the room.
You’ll find more DIY Craft Ideas here.
How to Etch Glass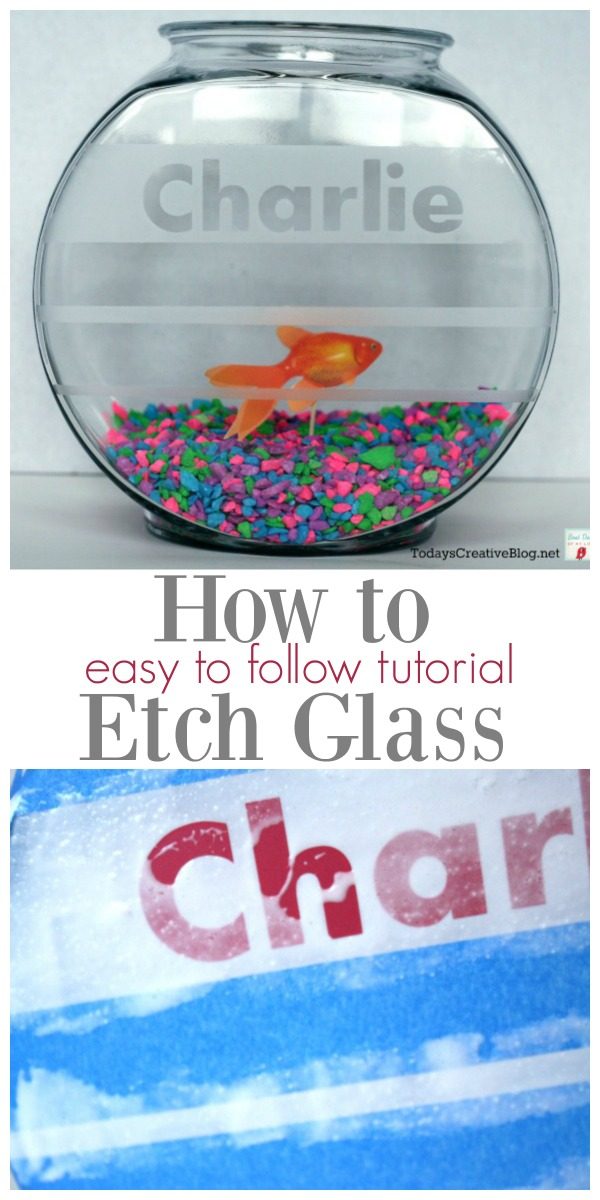
How To Etch Glass Tutorial
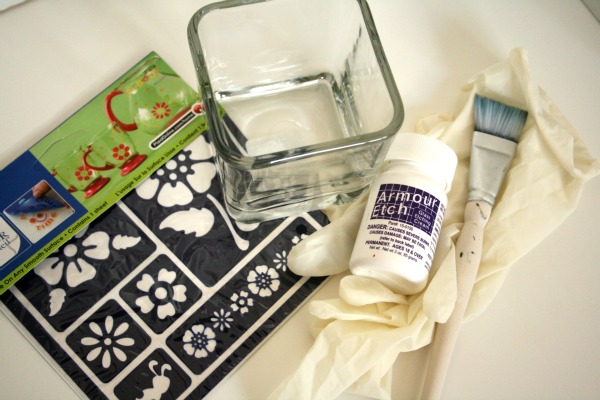
Gather your supplies. Links may be affiliate links.
- Fish bowl or any glass Item- Choose a glass item that is smooth.
- Stencil or painters tape to make your stencil- I like using self-adhesive stencils
- Paint brush
- rubber gloves
- Armour Etching Cream
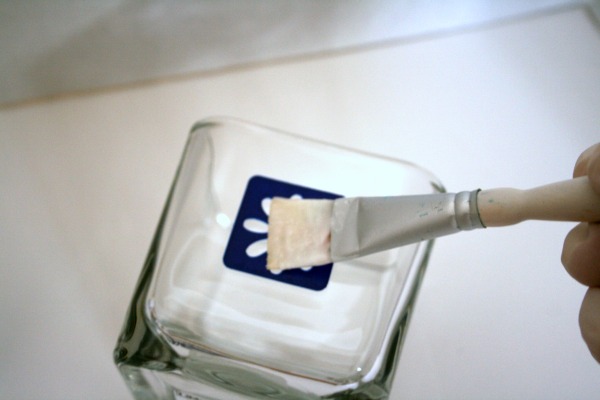
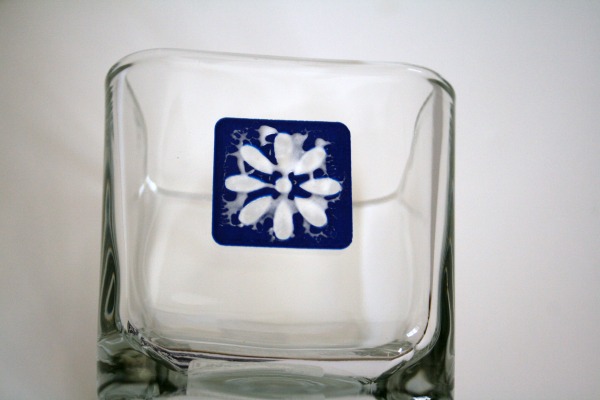
 Place your stencil on your glass item. Make sure the glass is clean. Brush the Armour Etch in the designated area. Apply it generously.
- The instructions say to leave it much less time than I do. I leave it on for around 10 min.

- After you’ve let it sit for a bit, rinse the cream off. I used my utility sink because the etching cream isn’t good for porcelain sinks, although if you’re rinsing properly, it wouldn’t be in prolonged contact anyway. If you only have a porcelain sink, just rinse REALLY well making sure all the cream is rinsed out of the sink.
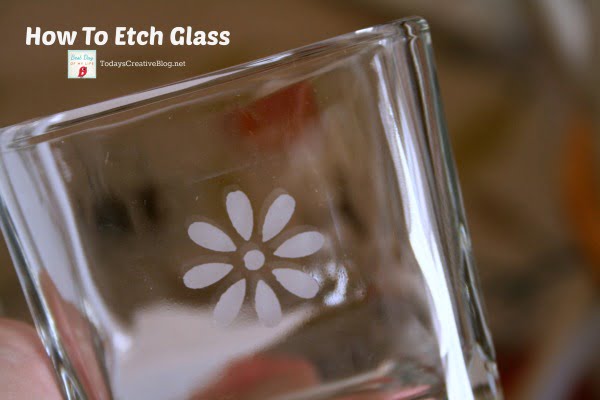
- Blot your glass item dry and gently peel your stencil off. You’ll see your design. This is permanent. This will not wipe off.
For my monthly segment on my local TV morning show, I shared how to etch glass and thought it would be fun to have a cute fish bowl on display.
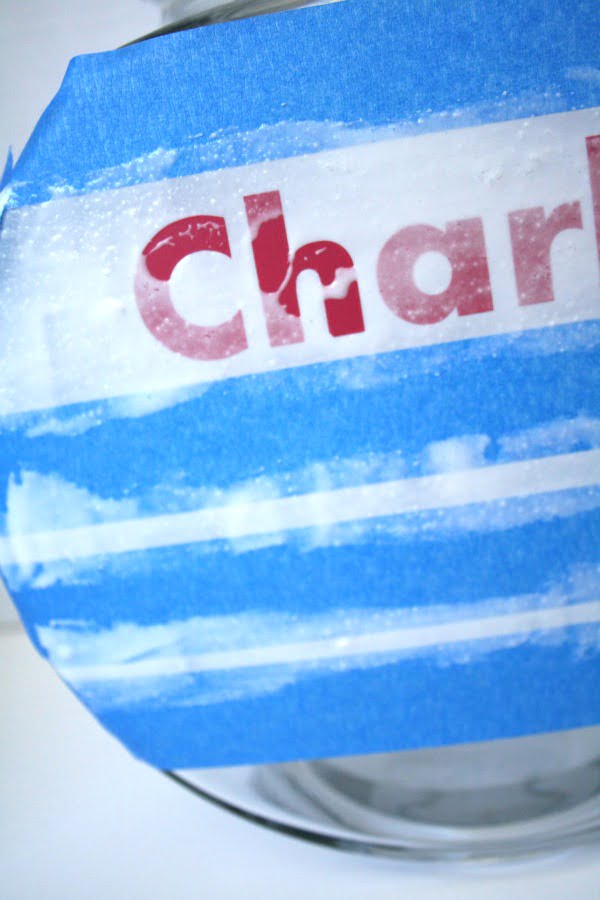
I used painters tape and vinyl letters (used my Silhouette) to create the design I wanted.
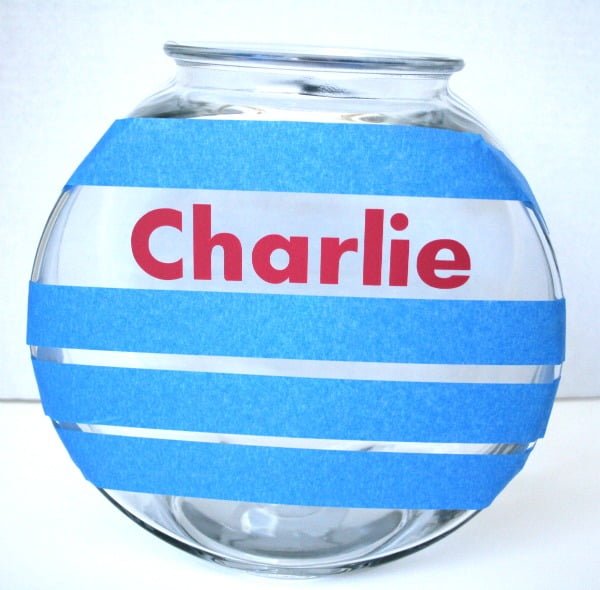 I smeared on my etching paste thick.
After about 10 min, I rinsed it all off, then peeled all the tape and letters away. Since I don’t have a fish and I didn’t want to get one JUST for the TV segment, I made a fake fish. I think it’s pretty cute……the fish bowl turned out cute too!
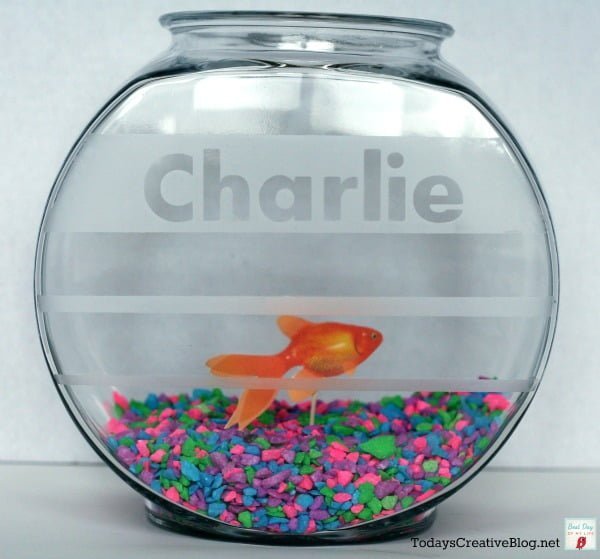 This is a great craft for drinking glasses, vases, casserole dishes. So easy!


Louise says
Can colouring be added to the etching goop?
Kim says
That would be cool, I’ve never tried that though. Sounds like a great google question.
Faith says
I love this craft! I am thinking of all the places I can etch now… do you think it would work on a mirror?
Kim says
I’ve never done a mirror, but I don’t know why it wouldn’t work. Try it on a small one first.
Jenny Lynn says
I love how the etching looks. I haven’t done any for years. But, after reading this fun post thinking it time to put names on children’s cups for summer. 🙂
Lauren says
I love glass etching! For the longest time I thought the process would be extremely difficult too. Then one day, in high school, I asked my art teacher about glass etching a project and he explained how simple the project would actually be if completed that way. That is where I had my first experience with glass etching. Since then, I have done some other etching projects, all of which have still been fairly simple. This is a great instructional post and I hope people realize that glass etching doesn’t really take any high-tech gear and really isn’t that time consuming. Thanks for the post! I hope you inspire some people to try glass etching!