Every now and then, I’m on a local ABC morning show called AMNW. I’m their “creative blogger” and I taught Helen, the morning show host how to stamp metal this month…….all in 4 to 6 minutes. I love the people and surprisingly I don’t get nervous. I only get nervous thinking I’m going to forget to bring everything and then setting up. Stamped metal is so popular for jewelry making, but I love stamping on old pieces of silverware. TCL is full of easy DIY projects like How to Make Ric Rac Flowers.
How to Stamp Metal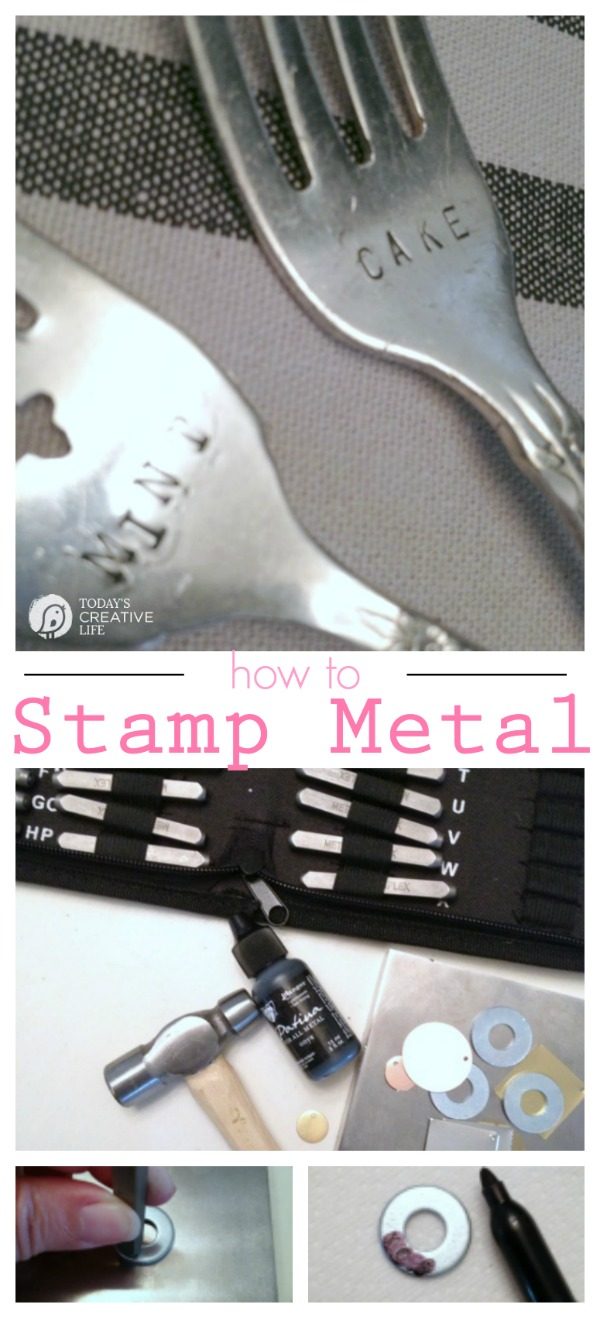
I’ve been a fan of Stamped Metal Jewelry for a long time. I have a few friends online that do it for a living and I can tell you, I’d starve. I have mastered the VERY simple aspects of this craft, making stamped silverware, washers, dog tags……using just letters and numbers. I’ll leave the fancy cute stuff up to my friends.
I made these cute stamped metal drink charms. I used blank metal pieces, but you could also use washers. (I also made other drink charms you may like that are not stamped) I’ve also seen people stamp on metal or copper plant stake markers. (affiliate link)
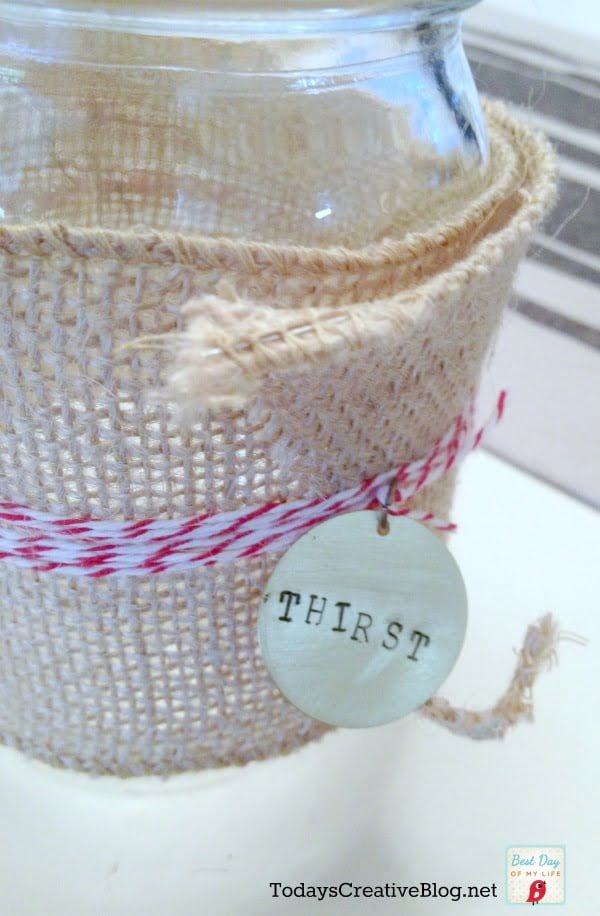
My favorite as mentioned is stamping on old antique silverware. Frame them, place a few in a mason jar, or use as a plant marker.

How To Stamp Metal
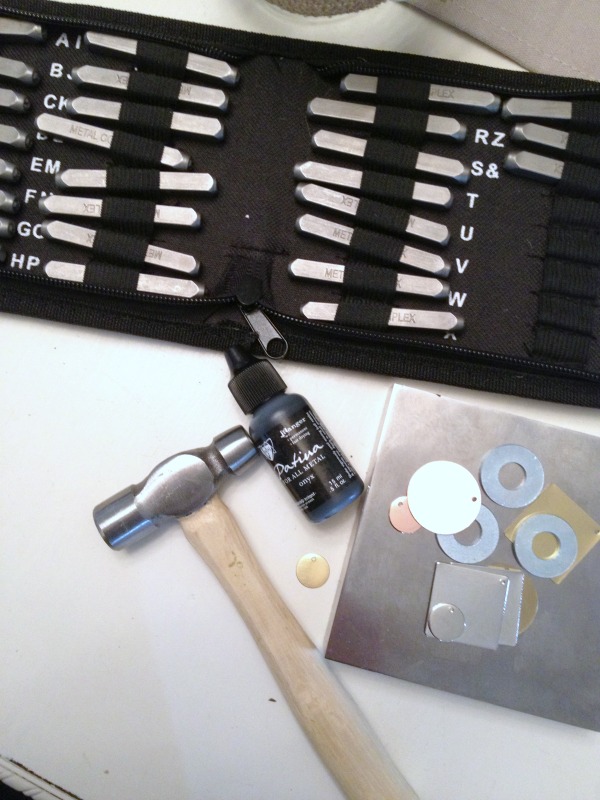
Metal Stamping Supplies
Affiliate links for products listed are for your convenience only. This cost you nothing extra. If you happen to purchase anything as a result of clicking, TCL will receive a small percentage. Thank you for your support. This allows me to continue to offer you free content.
- Metal Stamping Kit
- extra stamp shapes when you’re really ready!
- metal blanks
- Sharpie
- Gather your Supplies: First, you’ll need your kit. I found mine at my local craft store, but Amazon carries them. Some kits come with the metal block, or you’ll have to purchase one separately.

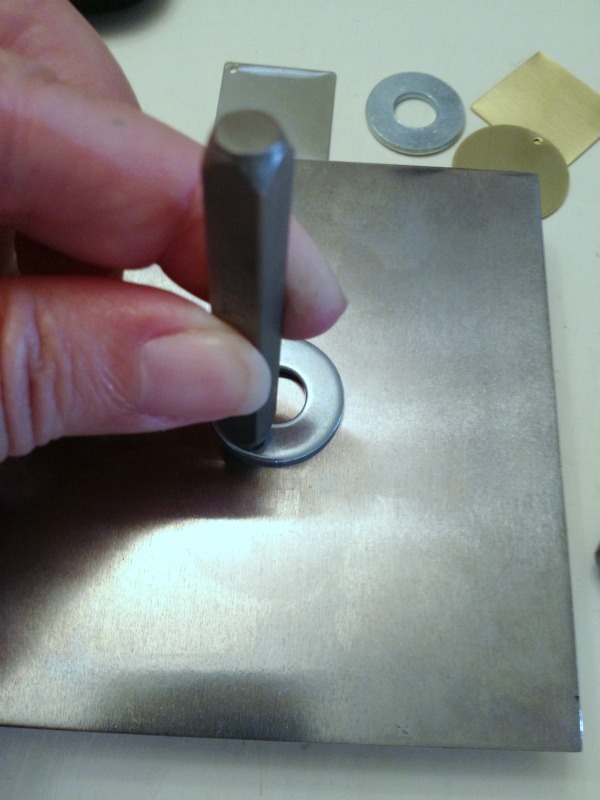
- Start in the center: If you’re doing a word, start with the center letter and work your way out. Hold your stamp steady and then give it a GOOD whack!

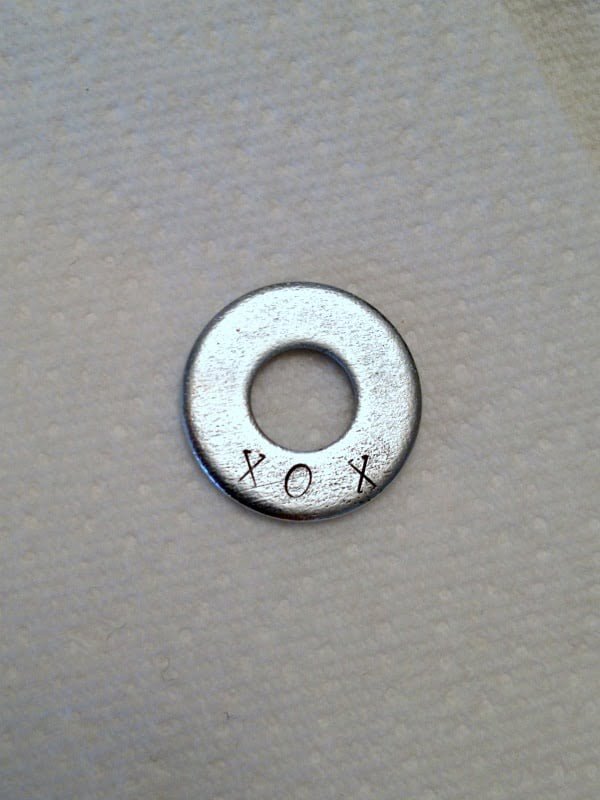
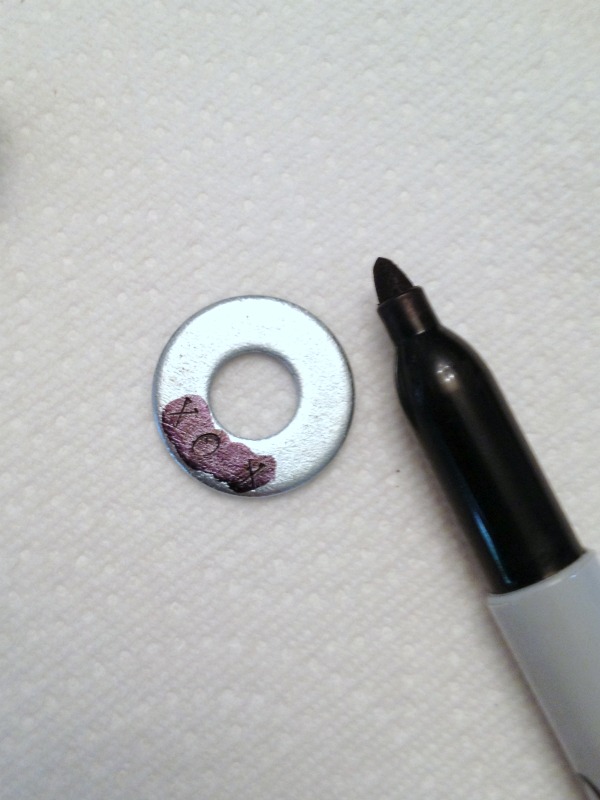
- Make it Pop: Once you’ve stamped your word, you’ll need to darken the stamped area so the word or design shows up. There are 2 ways to do this. You can use a permanent marker or a patina ink. If you’re using a permanent marker, simply color over your word as shown. Then use the steel wool to rub it off by briskly rubbing the colored area. You can also use a Patina Ink. Apply the ink, then wipe off quickly using a paper towel.

Now your stamped item is visible and ready for use!


Amanda says
Thanks for this Kim, it’s awesome! So apparently Facebook no longer notifies you when someone tags your FB page, so I thought I would let you know that I shared this with my FB fans 🙂 https://www.facebook.com/CraftsbyAmanda/posts/10153275029720217
Angela says
This is so neat! I have a friend who makes stamped metal jewelry too and I’ve always wondered how its done! I love the idea of stamping antique silverware too!
danielle says
Good Morning! I wanted to let you know that I featured this in my “What I Bookmarked This Week” post – stop by and see!
jenny lynn says
This looks like something I would enjoy doing. Glad you shared it.
Annabel says
Hehe this is the exact kit I have my eye on. I can’t wait to get one and give it a try! Thanks for the tips 🙂
Kim says
Oh good! Good luck!
Zoe says
So creative! Im’na try this. 🙂
xoxo Zoe