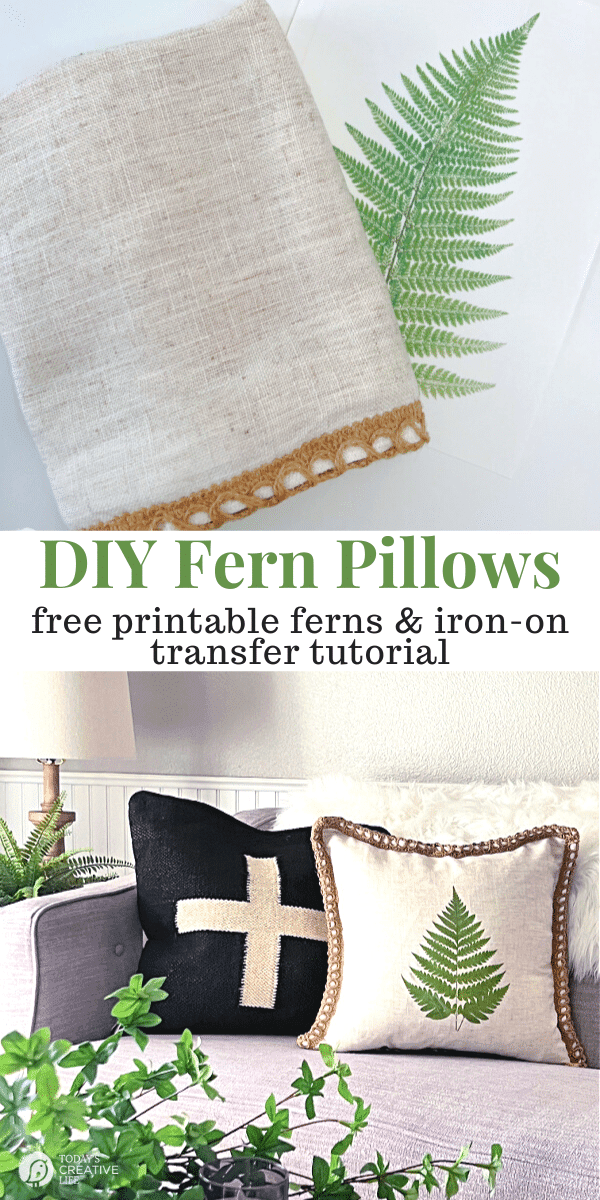
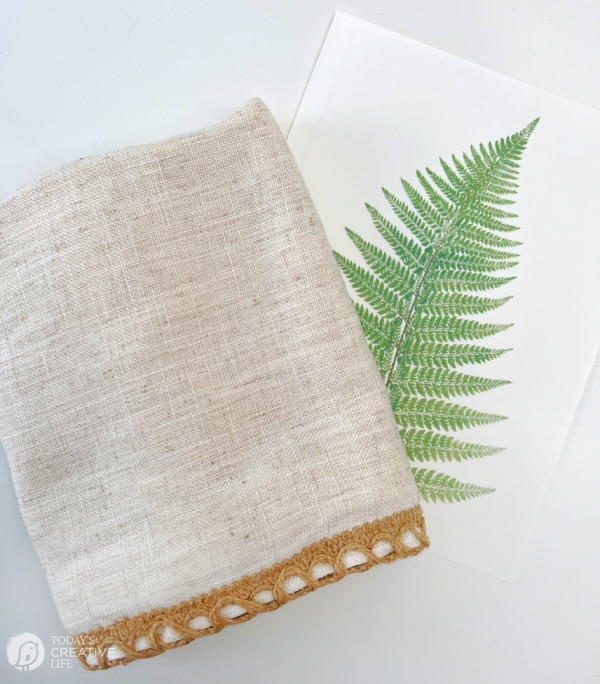
I love simple ideas for home decor! Creating new decorative pillow covers with iron-on transfer paper and my chosen design for a room refresh is stylish and budget-friendly. This DIY home decor craft is easy to do. All you need is your design (you can find these ferns in The Printable Vault), iron-on transfer paper, a pillow cover, and an iron.
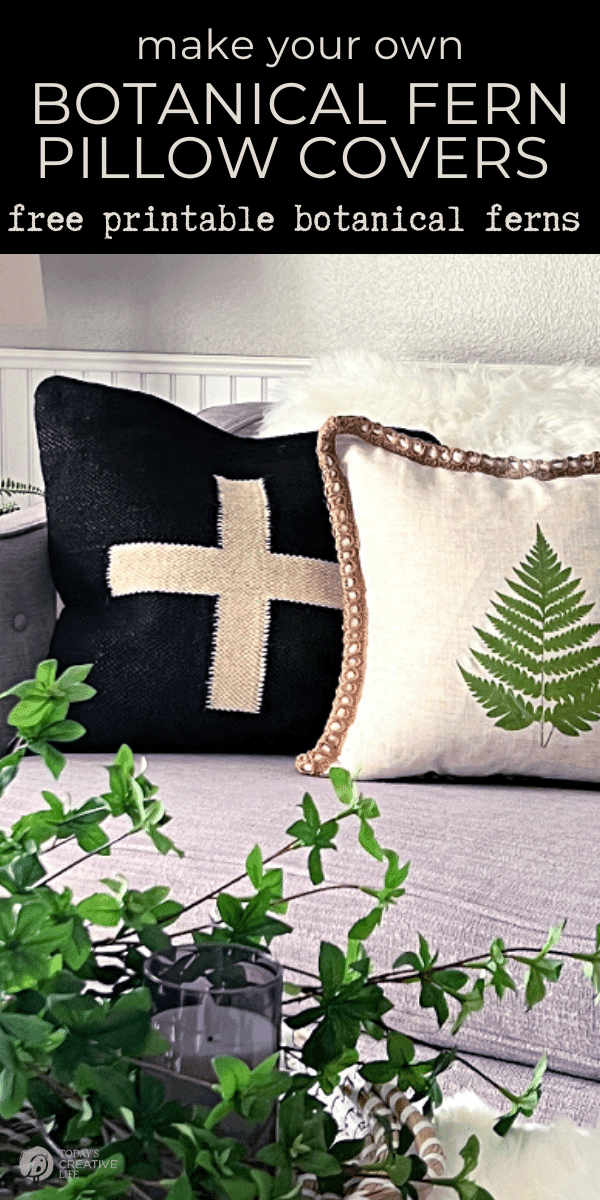
Ideas for Home Decor
If you’ve been a reader of Today’s Creative Life, then you know I love finding inexpensive ways to decorate my home. One of those methods is using botanical images with iron-on transfer paper to create seasonal DIY home decor. You can find these fern images and many more creative printables in The Printable Vault. You do need to be a subscriber. Your password will be sent to you.
Black Swiss Cross Pillow is found here.

Click below to subscribe.
DIY Decorating Ideas for Home
I like creating seasonal decor and using DIY home projects is a fun way to do that, especially with iron-on paper. Iron-on transfer paper is a versatile tool for adding a personalized touch to your home decor. With a little creativity, you can create unique and personalized pieces for every room in your home.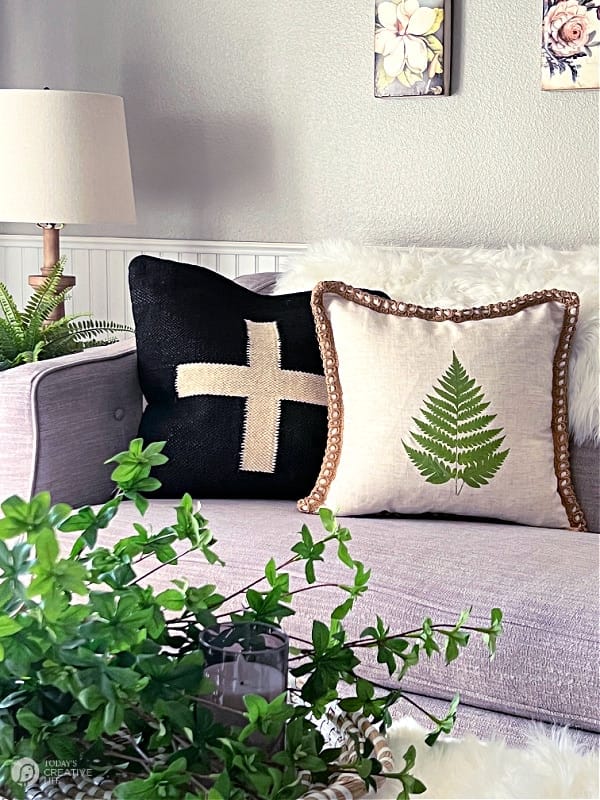
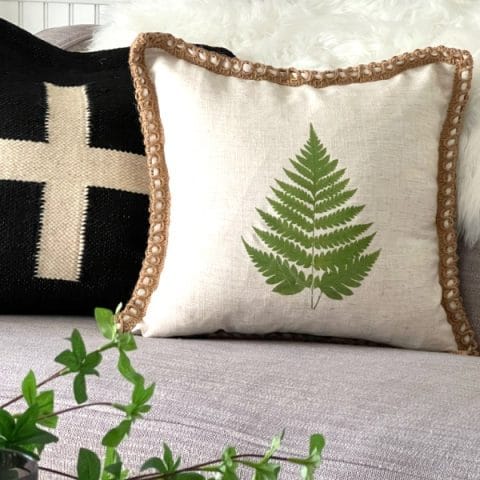
How to Make Iron-On Transfer Pillow Covers
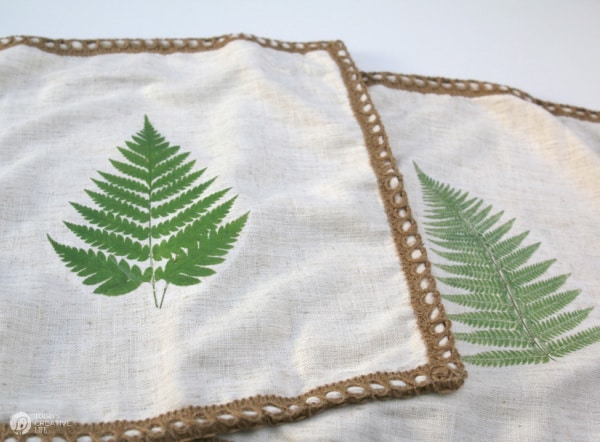
Ideas for home decor using iron-on transfer paper and botanical images to make custom pillow covers. Iron-on pillow designs are great DIY decorating ideas for home.
Materials
- Pillow Cover - Stick to simple woven fabrics. I usually get a cotton blend. No heavy textures.
- Iron-on Transfer Paper
Tools
- Iron or Cricut EasyPress Heat Press
- Scissors
Instructions
- Gather your supplies: There are two botanical fern designs that are free to TCL subscribers in The Printable Vault.

- Print the fern or your own design onto the iron-on paper. Follow the instructions on the package as some brands may differ.
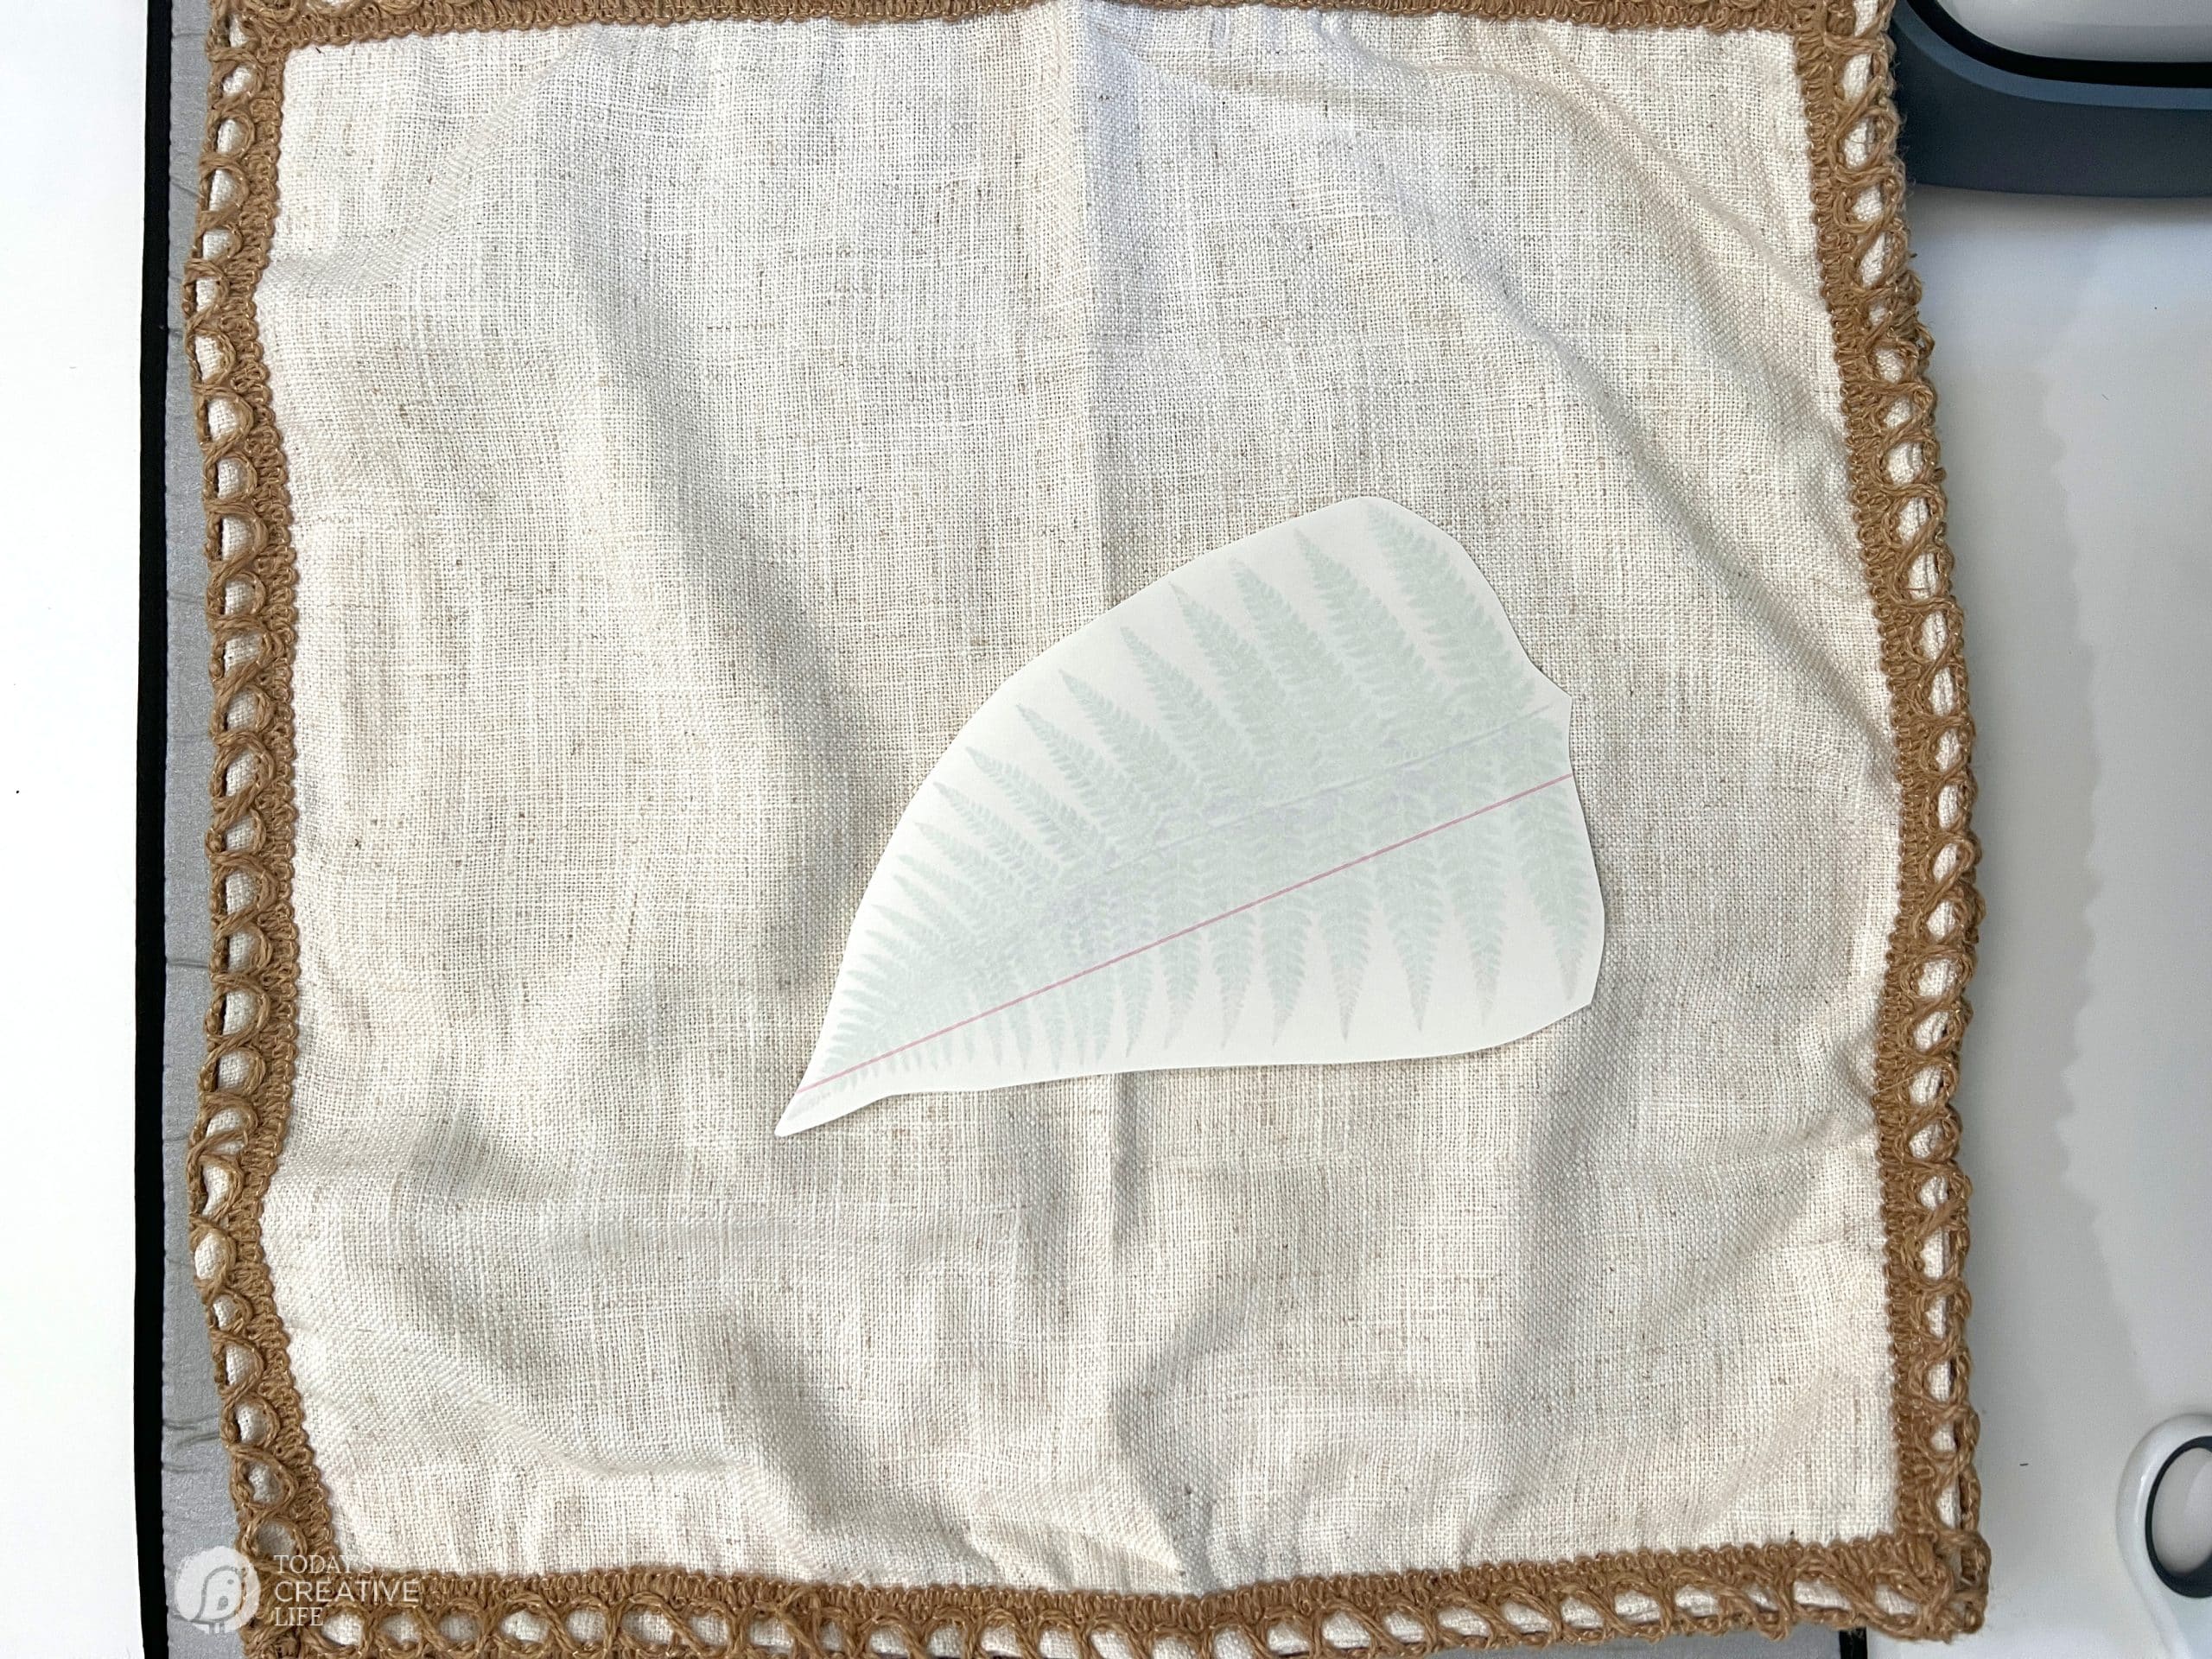
- Trim design, leaving about a 1/4 to 1/2 inch edge.
- Iron the pillow cover prior to adding the design.
- Place the trimmed design face down on the pillow cover.

- If you're using an iron, do not use steam. Follow the directions on the back of the package.
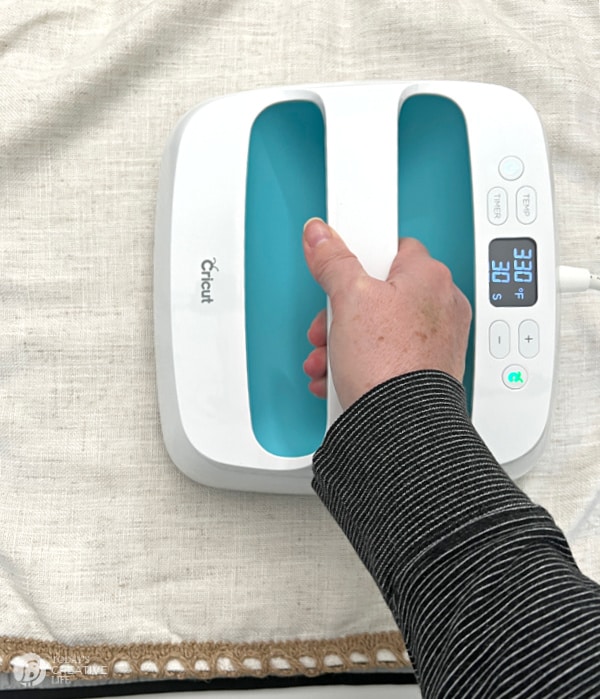
- If you're using a Cricut EasyPress heat press, set it for 330° for 30 seconds. Press firmly. Repeat if needed.

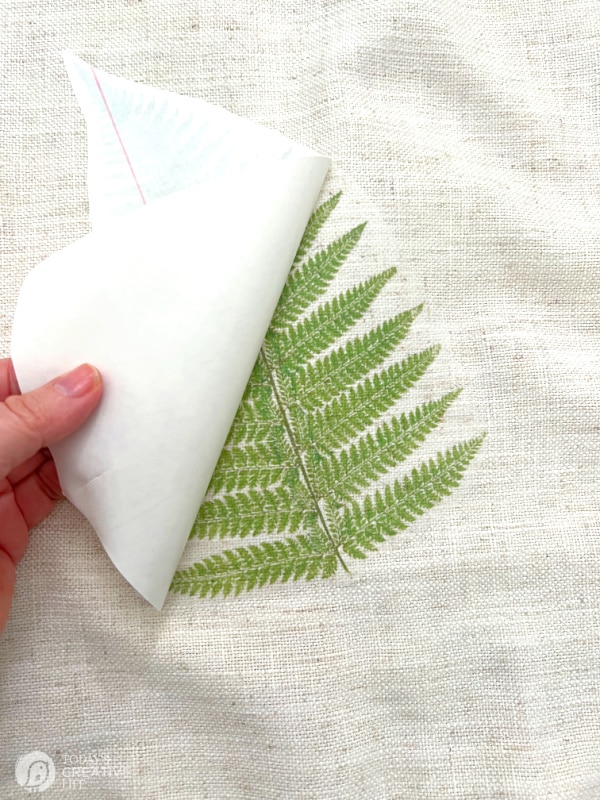
- While it's still slightly warm, slowly peel the paper away from the pillow, leaving the design.

- Fill your pillow covers with pillow inserts and enjoy.

Notes
Washing instructions: Follow laundry directions for the pillow cover. Washing iron-on transfers are fine. I always turn them inside out, especially when drying. (on low). The ironed-on design will soften.
If you're using your own designs and they have text on them, you'll have to mirror the image before printing. Most printers will have this option.
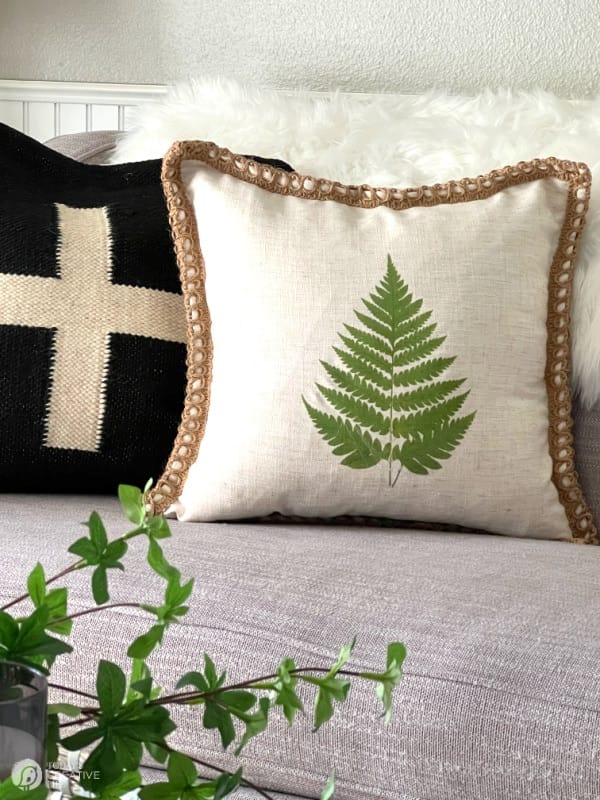
How to Transfer Image onto Fabric
Transferring an image onto fabric using iron-on transfer paper is a simple process. It’s always a good idea to read the package instructions. Here are the general steps to follow:
Materials you will need:
- Iron-on transfer paper (specifically designed for light or dark fabrics and designed for inkjet or laser printers)
- An inkjet printer
- The image you want to use. I use a lot of botanical designs that you can find in The Free Members Only Printable Vault. You can subscribe here if needed and your password will be emailed to you. Any design with text will need to be reverse-mirrored when printing. Otherwise, your lettering will be backward.
- Fabric for transferring the image onto. I stick to smooth fabric in cotton blends or linen. I use IKEA pillow covers often. I used these specific pillow covers for this project.
- An iron or a Cricut EasyPress Heat Press
- Hard surface (e.g., ironing board, table)
- A clean cotton cloth or parchment paper – The transfer paper I use doesn’t require an additional layer between the iron and the project. Although, it can help with lighter fabrics not browning if you press the hot iron too long.
Step 1: Choose and prepare your image
Select the image you want to transfer onto the fabric. Be sure to flip any text image horizontally (mirror image) before printing, as the transfer process will reverse the image.
Step 2: Print onto iron-on transfer paper
Load the iron-on transfer paper into your inkjet printer according to the manufacturer’s instructions. Print the image onto the coated side of the transfer paper using the “best” or “photo” quality print settings for optimal results.
Step 3: Prepare the Fabric
Trim the fabric to the desired size, leaving a small margin around the image. Pre-wash and iron the fabric to ensure it is clean and wrinkle-free, as this will help with the transfer process.
Step 4: Transfer the image onto fabric
Place the trimmed transfer paper with the printed image facing down onto the fabric in the desired position. Make sure the paper is centered and straight. Use an iron set to the appropriate temperature for your fabric (consult the transfer paper instructions) and apply firm, even pressure, moving the iron in a slow, sweeping motion over the entire image. Be sure to cover the entire image with the iron. Be sure to TURN STEAM SETTING OFF.
Step 5: Peel off the paper
Allow the transfer to cool for a few minutes, then gently peel off the backing paper while it is still slightly warm. Peel slowly and carefully to avoid damaging the transferred image or fabric.
Step 7: Wash and care for the fabric
Wait at least 24 hours before washing the fabric to allow the transfer to fully set. Follow the care instructions provided with the iron-on transfer paper, but typically, gentle machine washing. I usually will turn it inside out. Low dryer or air dry.
Note: It’s always best to follow the specific instructions provided by the manufacturer of the iron-on transfer paper, as different brands may have slight variations in the transfer process.
With these steps, you can easily transfer an image onto fabric using iron-on transfer paper and create custom fabric items for your home decor or other projects.
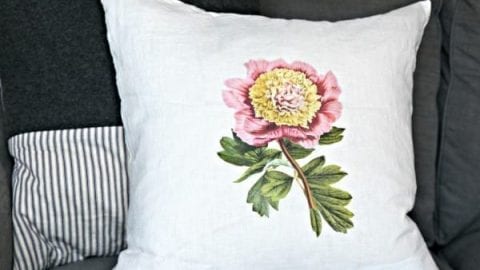
DIY Botanical Ideas
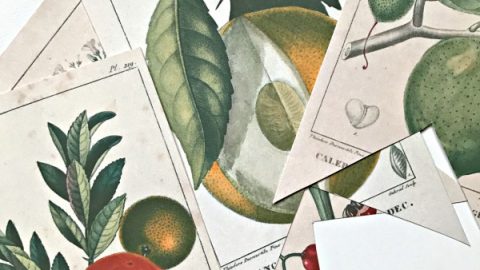
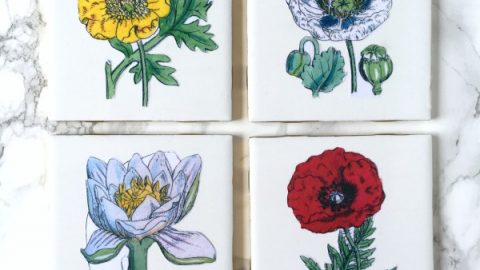
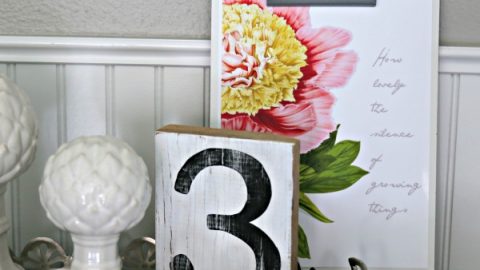
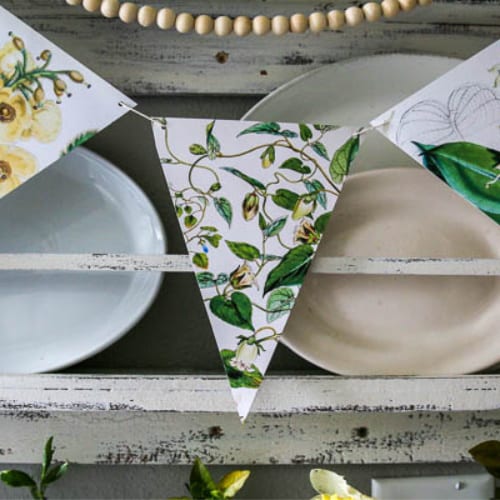
Botanicals for Crafting and DIY Home Decor.
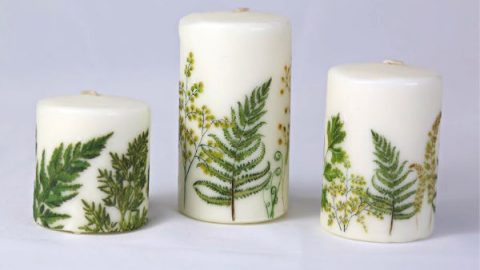
How to Transfer Images onto a Wax Candle
Follow this DIY craft tutorial and learn how to transfer images onto a wax candle using tissue paper or decorative napkins.
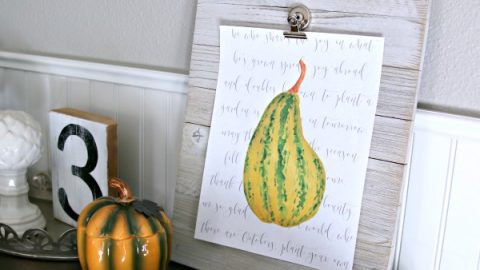
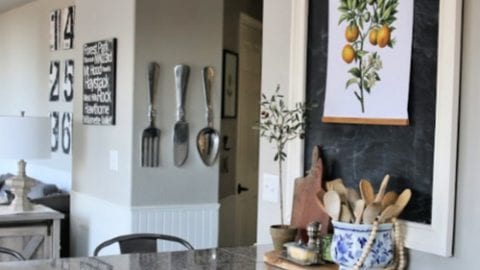
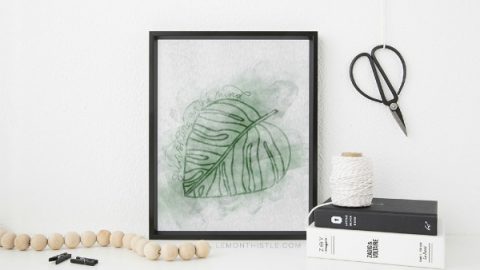
DIY Botanical Wall Art
Print your own wall art in any size you want.




Paula says
Thank you for sharing. I love the fern print. Love that the instructions are easy to follow.
Kim says
Thank you Paula! I hope you’ll tag me on IG or Facebook if you make it!