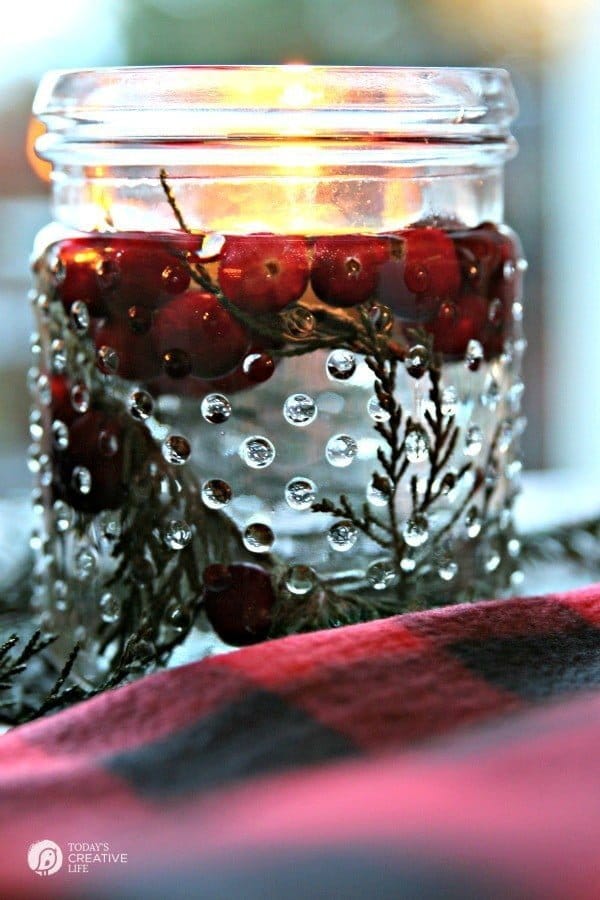
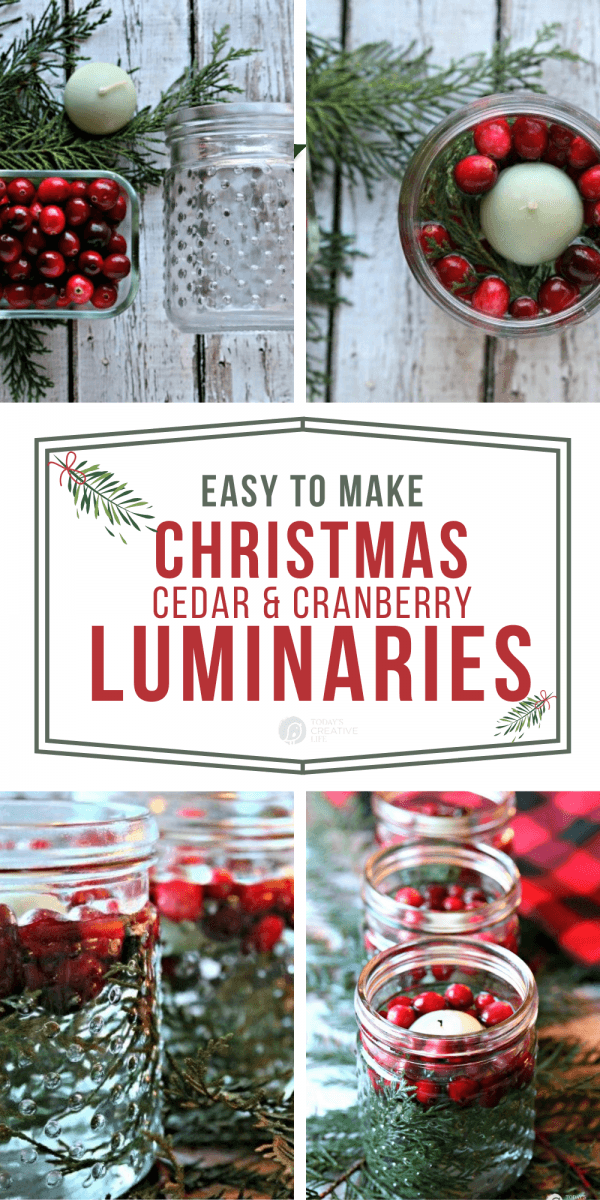
These 5 Minute DIY Christmas Luminaries with fresh cedar clippings, and real cranberries, will save your bacon when you need a quick, easy…. yet fabulous holiday table centerpiece. Simple supplies and simple to put together. These always get rave reviews.
5 Minute DIY Christmas Luminaries
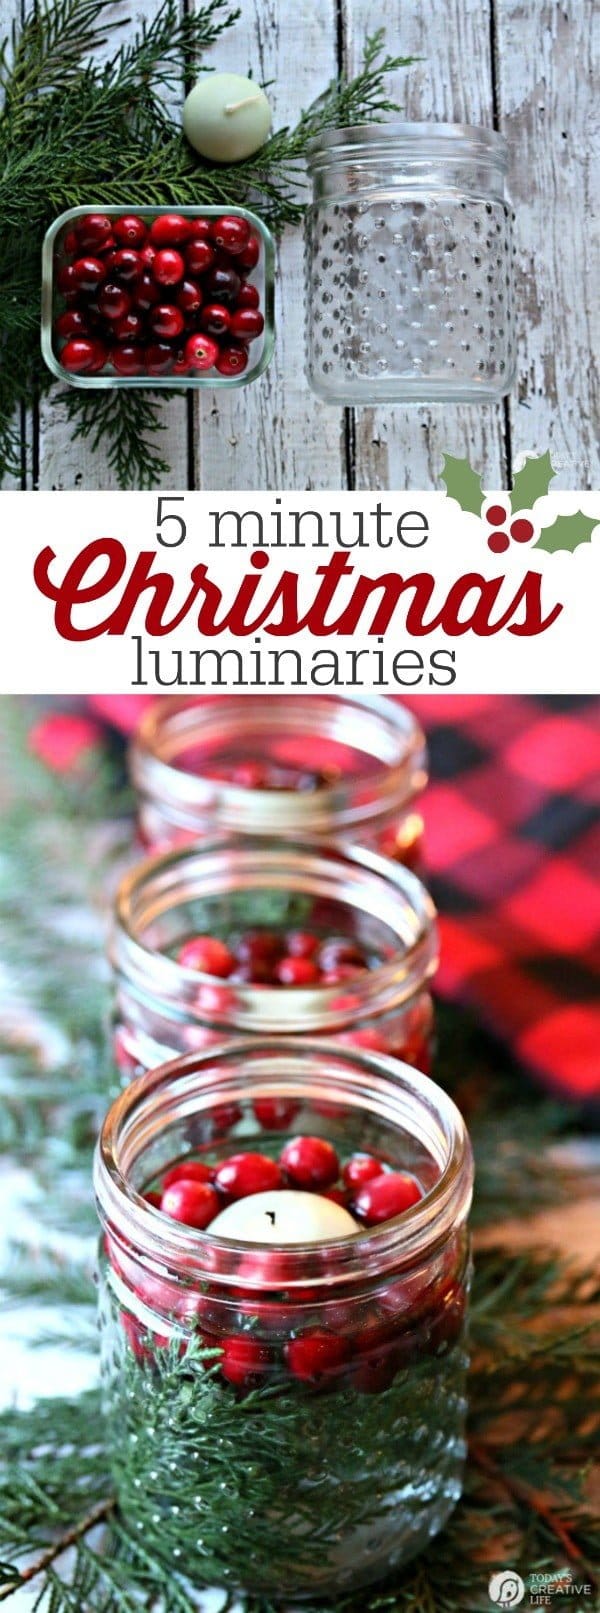
This year, I’ve been short on time which means my holiday decorating is even more simple than normal. I’m much later in getting things done around here, but I’m OK with that. Why let it create even more stress, right? That’s where these 5 Minute DIY Christmas Luminaries will really come in handy.

I’m all about living a creative life in the most simple way I can. Like you, I don’t always have a lot of time to create the perfect home I often fantasize about. My Pinterest boards are FULL of creative inspiration, and sadly that’s about as far as I get sometimes! I seem to always have grand ideas for how I’m going to decorate for a holiday, and then reality hits and I find myself scrambling. This year with my mom passing away, many things are on the back burner.
So instead of getting stressed, I have learned how to put together simple, yet creative decorating ideas that keep me inspired, yet sane throughout the season. My motto is always “It doesn’t have to be fancy to be perfect”!
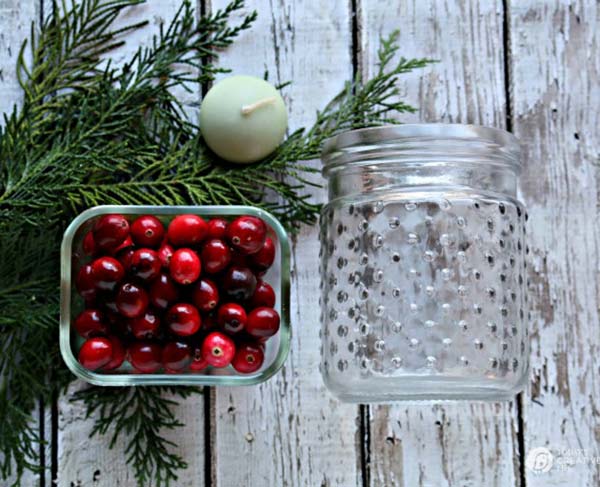
Supplies Needed for Christmas Luminaires
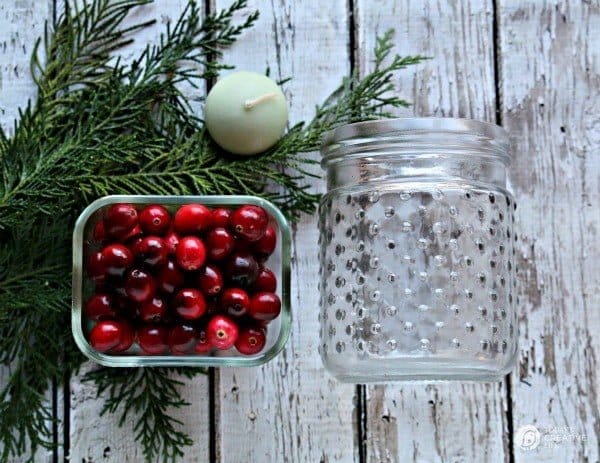
- A simple jar. Use mason jars, old pickle jars, or find something more decorative like these hobnail jars I found at New Seasons. I found them in the plant section as I was walking out with a load of groceries and stopped dead in my tracks.
- Cranberries. You can usually find a bag of them easily in your produce section. Or purchase faux cranberries to use year after year.
- Something green. It doesn’t have to be cedar, although it’s my favorite. I just happened to have a very large supply in my backyard. Shop your yard for plants that may work. (or your neighbor’s yard) 🙂 Look for Boxwood, fir, pine, etc…
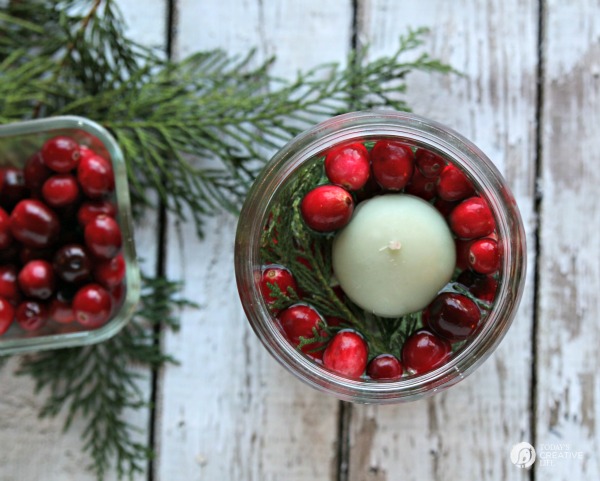
- Votives – floating votives make it easier. I’ve used the smaller non-floating type and they work, you just have to remove the metal holder it’s sitting in. I have recently found flameless floating candles for a safer option.
- Water
These luminaries will take you less than 5 minutes and can be used as a table centerpiece, to decorate your porch, your mantel or maybe all of them! I have decorated with cedar clippings and cranberries for the past 15 years. It never goes out of style.
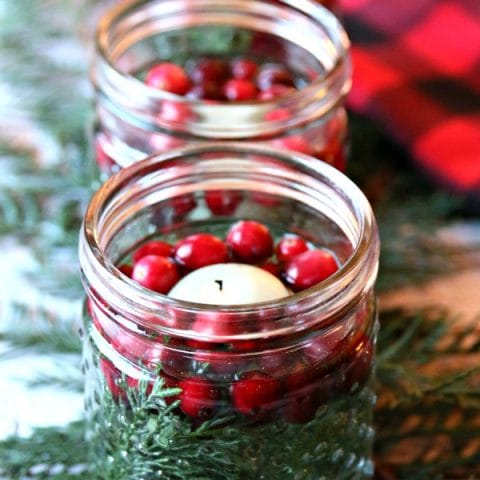
How to Make Cedar Cranberry Luminaries
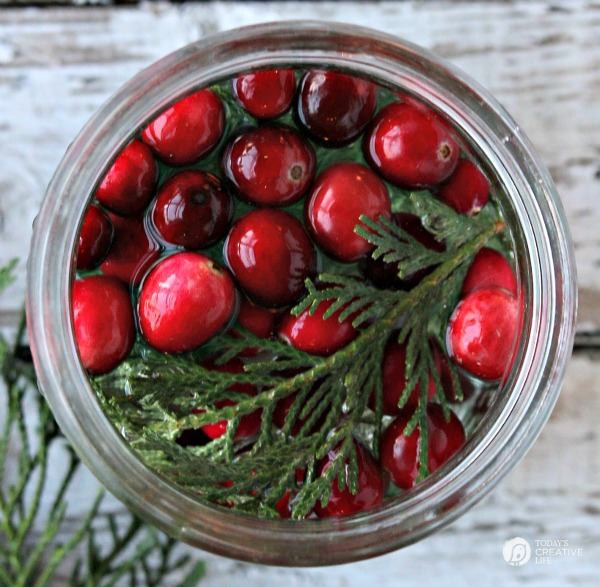
Easy to make Christmas luminaries with cedar and cranberries.
Materials
- Cedar Clippings - (any green clipping from any evergreen tree works)
- Real cranberries
- Water
- wax votive candle - doesn't have to be a floating one.
- 3 jars, or clear vases
Instructions
- Gather your supplies and make sure your jars or vases are clear and clean.

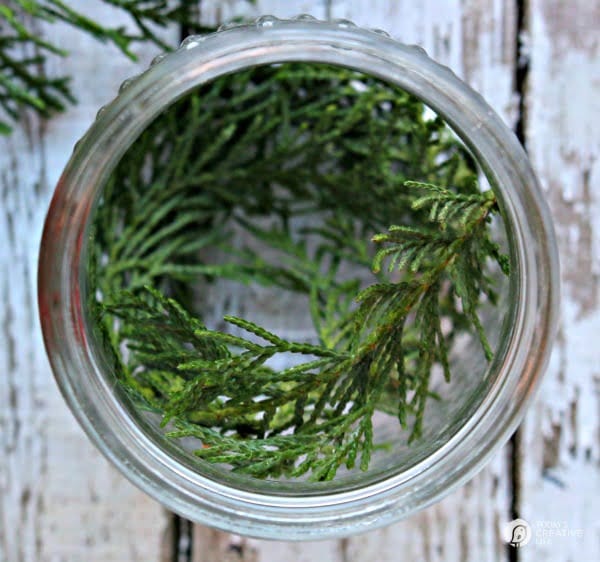
- Place a small amount of cedar inside around the edge.

- Add a small handful of cranberries.

- Fill with water, almost to the top. Make sure the greens are fully submerged to prevent any from catching fire. (there are floating flameless candles too)
- Add your floating candle - or I use the small aluminum wrapped votives you can get in bulk. Remove the aluminum outside.

Notes
Using your imagination, this method can be used seasonally with other fresh items.
Simple beauty at its best! Repeat this process until you have a number of cranberry luminaries needed.
These easy-to-make luminaries look festive day or night, lit or unlit. The red cranberries with the green cedar have a classic modern farmhouse look that you can use year after year. I have!
How to Decorate with Cedar Cranberry Christmas Luminaries
Add Ribbon or Twine
Feel free to add a decorative ribbon or baker’s twine around the rim, but keep it away from the candle flame.

Table Decor or Centerpiece
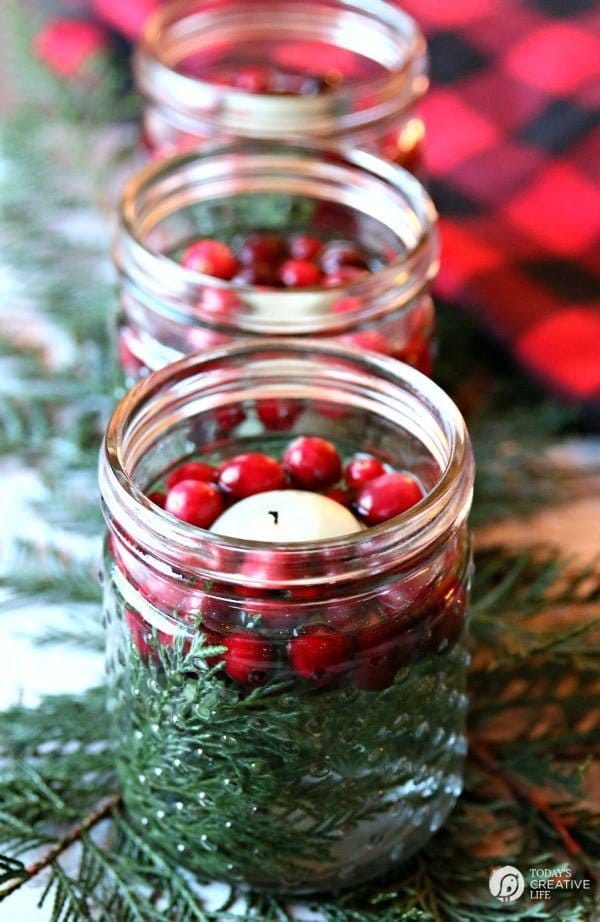
Position 3 to 5 jars together over a bed of greens, maybe even add a couple of pine cones and you’ve got yourself a stunning table centerpiece.
Add to Your Mantel
Adding a row of these along the mantel would be gorgeous!

The best part about making these DIY 5 min Christmas Luminaries? It didn’t take you more than 15 minutes to be finished decorating! And you had fun doing it!
Where will you use them to decorate?
Follow along on Instagram | Pinterest | Facebook
DIY Holiday Ornament Ideas
Easy to make homemade Christmas ornaments for all ages.
How to Dry Orange Slices
Drying orange slices can be used for DIY Christmas ornaments or any holiday decor.
DIY Floating Snowflake Christmas Ornament
This is one of those Christmas ornaments that kids can easily make.







Kelly says
What size (mL) of mason jar do you suggest?
Kim says
Any size you can fit everything in is great! I’ve seen this done with gallon size jars to small jelly jars. You just need room for a couple cranberries, greens and the candle.
penny schierling says
Hi Kim My name is Penny and these luminaries are simple UT so pretty. I’m just wondering how often do you change the water? Definitely not a green thumber here. Thank you. Penny
Kim says
Hi Penny, yes, so so simple. Thank you. I swap out new water when it starts looking cloudy.
Laura Reese says
These look amazing and are unbelievably easy! I love how the light looks when it’s lit floating in the water. Thanks for sharing!
Kim says
Thank you Laura! They are SOOO easy!
Lauri says
I absolutely love the idea of the jar with cranberries and greenery. I love your simple decor ideas. ! Thanks .
Kim says
Thank you! Always a classic and simple look.
Eden says
Made these for a party and they were beautiful. Can’t wait to do it again. Thank you for sharing these!
Jennifer says
Obsessed with these & FOR SURE adding them to my Christmas decor!
Kim says
Always so pretty!
Katie says
LOVE how easy and gorgeous this is! So making these soon!
Kim says
Thank you! It’s a hit every year!
Melissa says
Wow beautiful! I love this idea such an easy way to make a beauitful statement piece!
Kim says
Thank you! So easy!
Louise Adkins says
I love the “polka dot” jars…wish I had some. 🙂
Kim says
Thank you! I love them too. I found them at New Seasons. I’ve seen them in a Milk Glass too.
Chris @ Celebrations At Home says
This is very cute. I love the greenery added inside.
Kim says
Oh Thank you! So simple and beautiful! My kind of decorating!