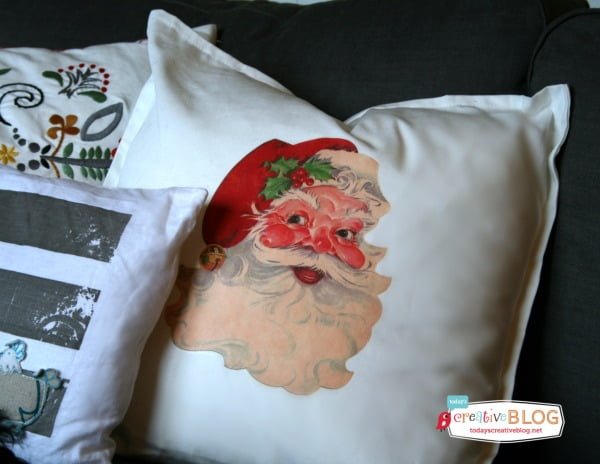
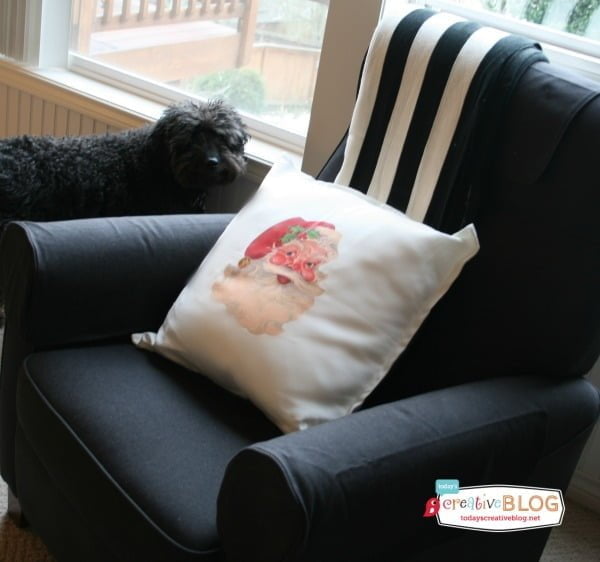
Making your own holiday decor like this DIY Iron-on Santa Pillow is easy and fun. All you need is iron-on transfer paper, the graphic and a pillow form. Simple homemade Christmas decorating is my favorite.
Last year I shared this DIY Iron On Santa Pillow on Tatertots and Jello.
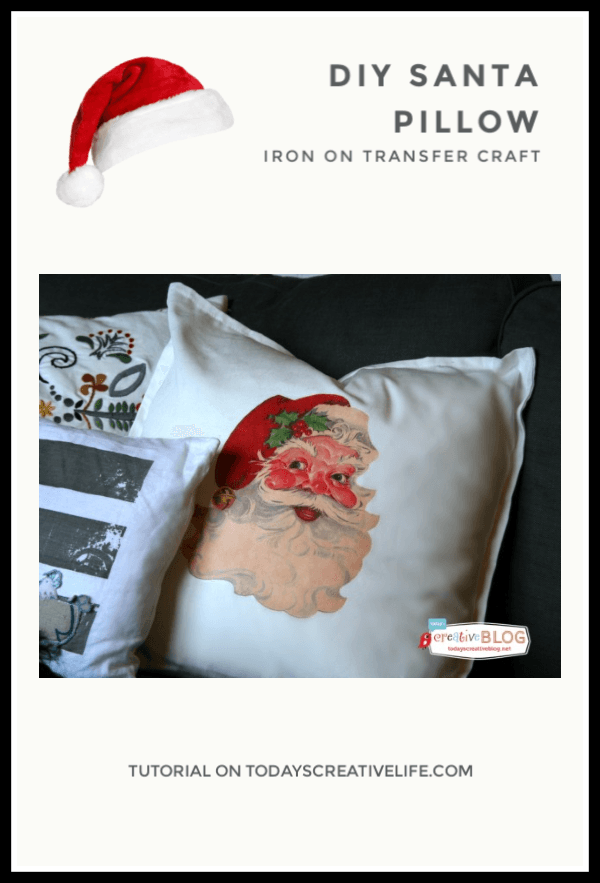
I had forgotten all about this adorable little pillow until I was starting to pull out the holiday decorations! I love this vintage Santa I downloaded for free from The Graphics Fairy so much, that I even had made an iron on Santa dish towel. I love me some Iron On Transfer Dish Towels.
I love those happy surprises when forget you had something that you loved so much!
One of my most favorite creative things to do is iron on transfers! It’s pretty easy and doesn’t require a lot of extra skill and I can create some pretty cute things in 30 minutes or less. I love easy but cool projects. (My glittered Ornaments were super fast too!)
DIY Iron On Santa Pillow
This year, I’ve trimmed down in the amount of Christmas decorating I’m doing. Life has been too crazy lately. If you follow my instagram, then you already know I’ve had two surgeries since September and the recovery has been slower than I expected, but it’s all good. (Everything is fine. Benign rare tumor in my breast that the chances of getting are 1% and then I finally had my gallbladder out)
I’ve got two parties I’m planning and I figure by adding just a hint of Christmas in each room will still make it festive, but will also cut down on the amount of work in putting it all away. Of course I have the tree and the cedar garland and the lights and my Christmas Countdown. That’s all you need, right?
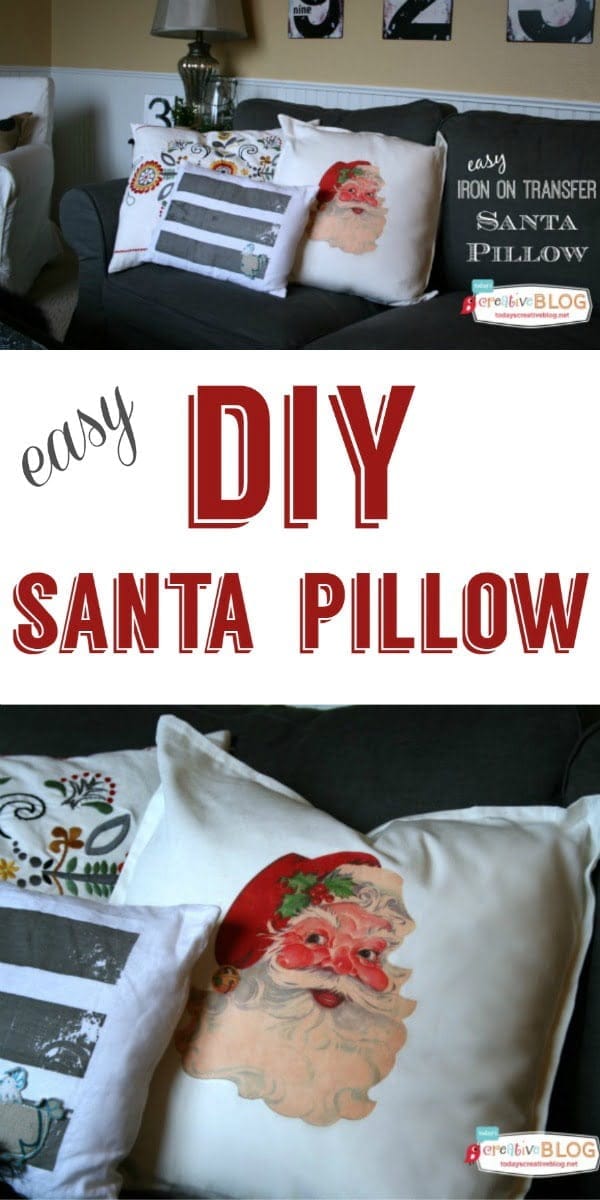
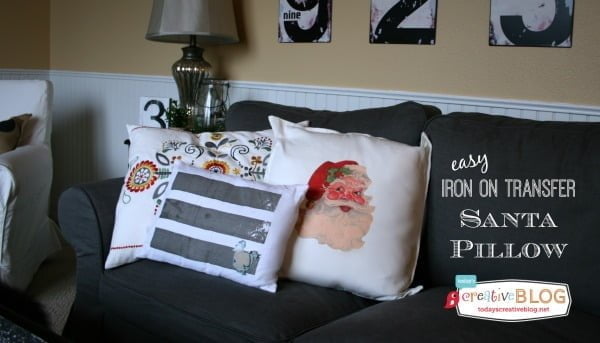
But this Santa Pillow is my favorite! It makes me happy every time I look at it and I think it adds a festive look to my family room.
How To Make – Iron On Transfer Santa Pillow
Supplies Needed:
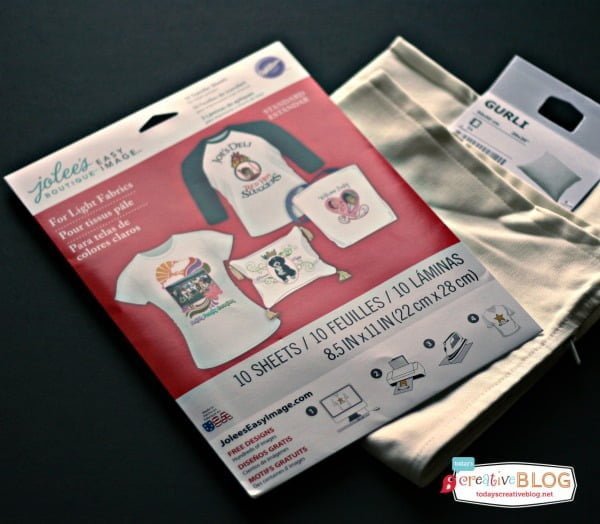
- Iron On Transfer Paper
- Pillow Cover
- Iron
- Ironing Board or Pad
- Scissors
- Printer
- Santa Image – Find it here.
I use the iron transfers from Jolee’s or Avery. You can find them at Michaels, or Office Depot. The Pillow cover is from IKEA.
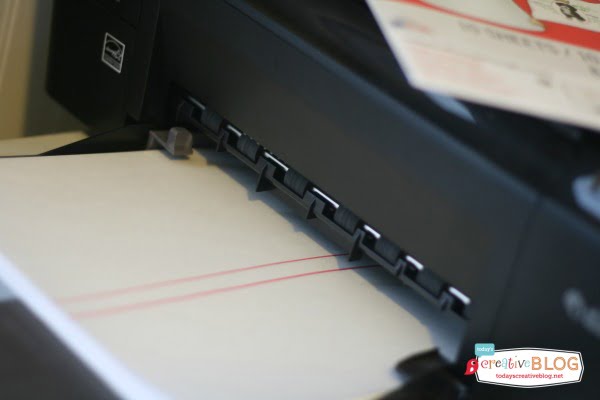
After choosing & downloading your image (I found mine at The Graphics Fairy) Print onto your iron on transfer paper. Run your paper through your printer so it prints on the non glossy side. All the directions are included with the paper.
Once you print it out, trim the edges.
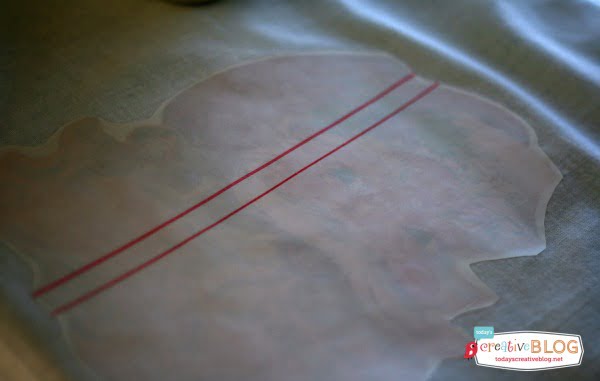
Place the image face down onto the surface you want to apply it to. You’ll be using a HOT iron, no steam. Apply pressure while ironing. Don’t over do it, I’ve discolored my fabric before by holding the iron down too long.
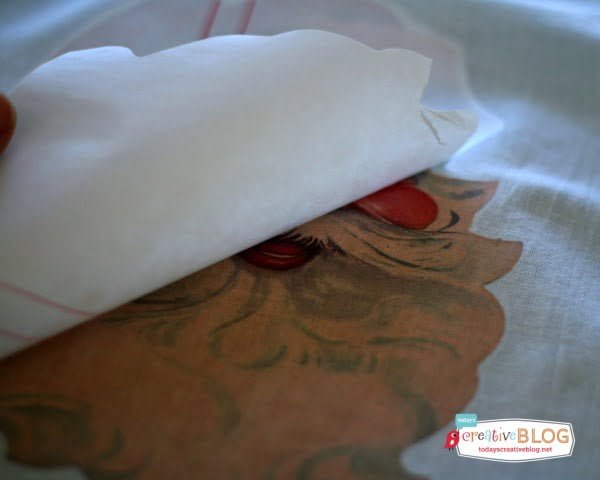
Let it cool for a couple of minutes. Don’t rub the paper with your hand immediately after ironing…….because it hurts. Just sayin…… After it’s cooled, slowly peel the paper away and you should see your image on your surface.
Creating home decor with iron-on transfers is SO easy and fast!!! I’m working on a plaid deer head this week……keep your eyes peeled.
Click here for more Christmas Project ideas.
DIY Holiday Decor
 Simple Decorating for Christmas
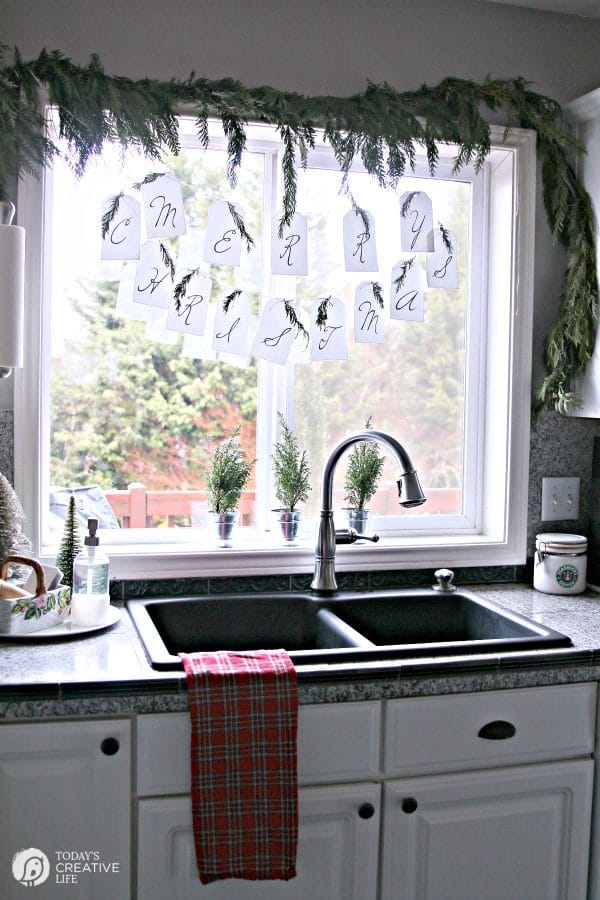 Merry Christmas Tag Banner
 Easy Christmas Centerpiece


Jeannie Garcia-Buechele says
This is a cute idea for a Christmas pillow, I love pillows and can’t wait to try this..thanks for sharing 🙂
LeAnne says
Love this! Do you have the link to this specific Santa? Our family Christmas picture album features this same Santa and I would love to have a pillow! Thanks!
Kim says
It’s located here. http://thegraphicsfairy.com/free-vintage-clip-art-santa-santa-santa/
Bonnie says
I hope this hasn’t been asked a dozen times but what printer do you use? I have a cheap HP and am worried my colors won’t be as vibrant.
Kim says
I have a HP Photosmart D110 printer. I’ve had it for a few years and it seems to do a pretty good job.