I am always looking for Decoupage Ideas, especially on how to decoupage furniture. I transformed this small end table with Mod Podge, vintage maps and a foam craft brush! See the tutorial below.
It’s no secret that my new obsession is using mod podge to decoupage my vintage maps on everything I can think of. I have so many decoupage ideas swimming around in my head that if you’re looking for ideas on what to decoupage, check out my trash can! I tend to over do everything. Like my love of numbers. Right now my house is full of vintage maps and numbers. I LOVE maps and globes. If you do too, then check out this post on 18 of the Best DIY Globe Projects!
Decoupage Ideas

I’ve been dying to decoupage this little side table for a couple of years. I finally did it! I love it! It’s not perfect…….a few tiny bubbles…….but it’s perfect to me.
How to Decoupage a Table
First, you’re going to need a few basic supplies.
- Furniture Piece
- Vintage Map or decorative paper
- Foam Craft Brushes
- Brayer
- Matte Mod Podge
How to Decoupage Furniture
Learn the basics on how to decoupage furniture.
Materials
- Furniture Piece - I used a small end table and decoupaged the top only.
- Vintage Map - or any decorative paper material you want to use.
- Mod Podge - I used the Matte formula
Tools
- Foam Craft Brushes
- Brayer
Instructions
- Clean furniture and allow it to completely dry.
- Measure and cut the paper to the size of your furniture. I have cut a template first using wrapping paper and then used it as a guide for cutting the paper I'm using for my project.
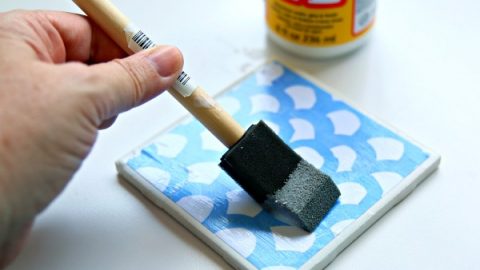
- Brush a light coat of Matte Mod Podge onto the top of the table, or wherever you want the paper to go.
- Carefully lay your cut paper over the newly applied coat of Mod Podge. You can gently slide or move into position.
- Brush a top coat onto the top. It will look cloudy but don't worry, it will dry clear.
- Roll the brayer to smooth out wrinkles. (I admittedly did not do that on this project and you can tell).
- Let it dry overnight before playing anything on top.
- If you want a protective coat, you can spray with a spray acrylic spray.
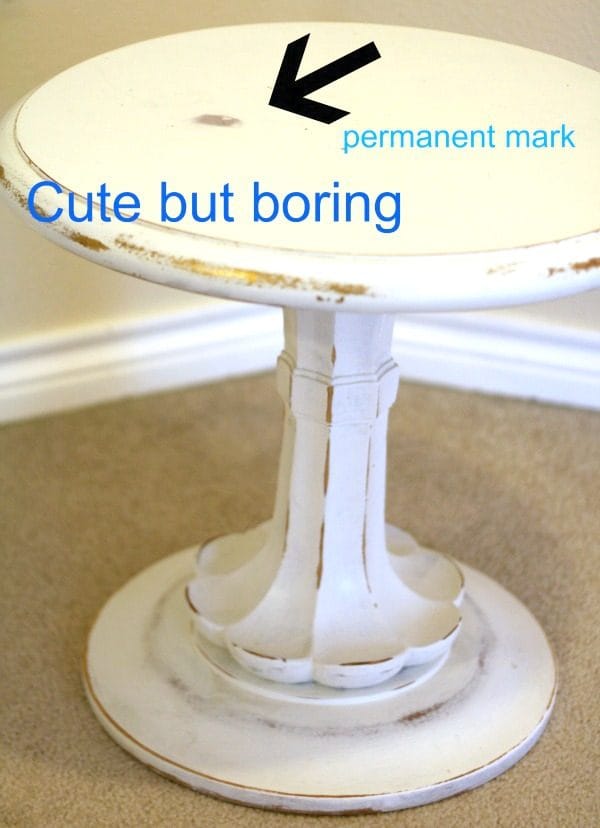
On a whim, I carried this baby upstairs to my craft room, wiped the dust off and started brushing on the Mod Podge. Within minutes, I had a new table. I used the outdoor Mod Podge for the top layer. I figured it would seal it better.
I called my son in to look at it because I knew he would think his mom was all cool……..his words were “so……you just……..(snapped) did this?” That made me feel like superwoman because we should all base our value on what a 13-year-old boy thinks of our craft projects.

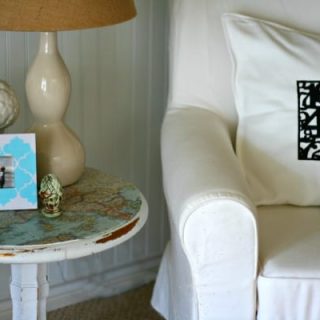
I think it’s the perfect way to add vintage charm and a little bit of blue into my home.

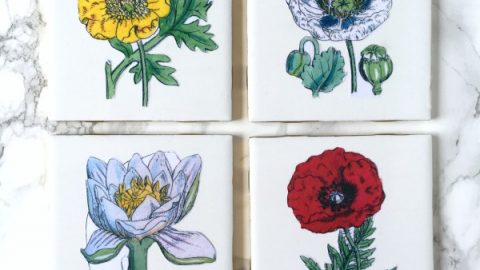
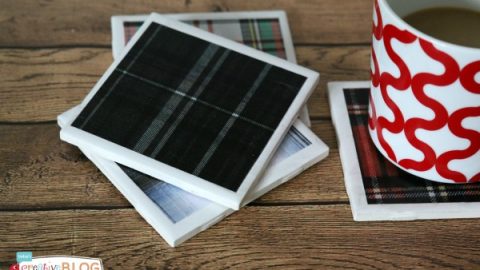
If you like this table, then you’d love these DIY Map Coasters too!
Follow me
Facebook | Pinterest | Instagram | Twitter
Decoupage Ideas and Projects
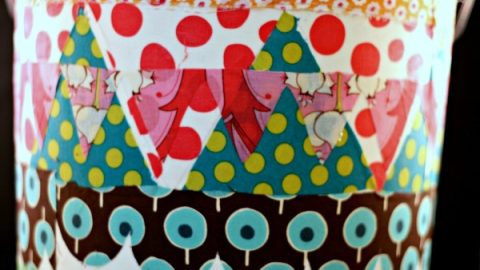
Fabric Decoupaged Trash Can
I created this garbage can with fabric and mod podge for my craft room. It's bright and colorful.
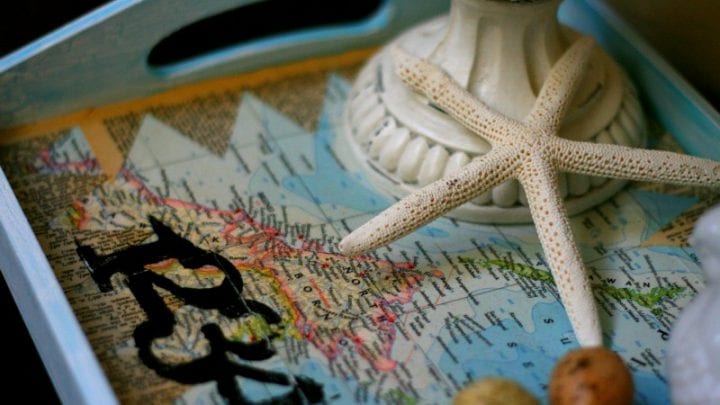
Decoupage How To - Vintage Map Tray
Create a decorative piece with a tray, a vintage map and mod podge.
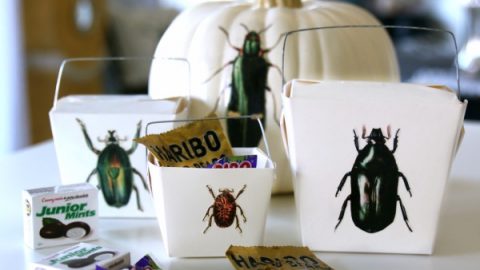
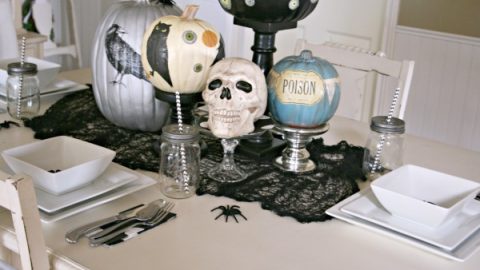
DIY Halloween Treat Box - Free Printables
Vintage bug designs are a unique way to decorate for Halloween.


Carol Pellman says
Hi, i too mod podged a map onto a table, but i IRONED my map first to get out the fold marks. It worked perfectly!
Julie S. says
I’m starting to catch your addiction to maps…can that be addicting? I love Marianne’s idea about the old rolling pin…but really, I could use my regular rolling pin…it isn’t like I use it for anything else! 😉 The maps make me want to run & get my copy of Flea Market Finds…with all those great colors from the globe, I fell asleep reading it & I’m pretty sure I was dreaming of world travel or at least covering the nightstand I inherited from my grandma with maps!!!
Ruth says
I love this table. It is so sweet. Vintage maps are awesome.
Ruth
Laura says
Absolutely gorgeous!!! Can’t believe your son has such sweet opinions on your work- my boys don’t do that:)
Amy Fountain says
Stylish vintage piece! Looks edgy as well!
danielle says
Love how you transformed the table with a map and mod podge. Brilliant! I’ve been wanting to do something similar with one of those Lack Ikea side tables, but I didn’t know what to put on top. I’ll try the outdoor mod podge. Love it!
Kim @ Sand & Sisal says
“So you just (snap) did this?!” HAHAHA, LOVE IT! Your table turned out great! I love how adding something so simple like a map brings color interest to the seating area! I’m pinning & tweeting this one Kim!
Kim @ Sand & Sisal 🙂
Sharyl@Thelittlebrownhouse says
I love that! I have a thing for maps too – and it looks so good on that table! Great idea!
Hrandica says
Your table looks nice and you did a great job. You can enjoy your work now, looking at it every day.
Greetings from Europe.
Carina says
Your table looks gorgeous. The bubbles just add to the old vintage style. Great job and thanks for sharing.
Wendy Myers says
This is awesome, makes me want to head to the restore to pick up one and try myself!
Marilyn Beaumont says
I really like your table. Thank you for the inspiration!
Lisa@creative raisins says
Oh so much better, I love how this looks
Jennifer Moore says
Loooove the table! It’s adorable!
Marianne says
Hi! It looks great! If you want to get rid of bubbles pop them with a pin and put some of the Mod Podge underneath and it should lay flat. Also when you do your next project with a map if you use a brayer or an old rolling pin it will help to not have these bubbles. You can use acrylic paint sealer and the finish isn’t as sticky as Mod Podge. All Purpose Sealer by Jo Sonja is a good one. I hope these ideas help you. I used to teach painting and we used these techniques with paper and fabric. Thanks for sharing your blogs with all of us. I enjoy reading what other people are doing.
Kim says
Thanks Marianne, The sealer is a great idea. Thanks for your tips.
Johanna says
I just mod podged my grandbaby’s dresser & found out that the BEST way to prevent bubbles, is to apply the mod podge to the surface until it gets a bit tacky. Then apply the mod podge to the paper. You don’t have to rush to get the paper on. Put it where you want it and smooth it out. You shouldn’t have any trouble with bubbles. When it’s dry, put on a top coat or two. It worked GREAT for me! BTW … the table is REALLY cute!