Make any metal bucket look distressed and aged with a DIY Faux Patina with paint. Using simple craft paints, and spray paint, you can create an aged copper and patina look following this tutorial.
As part of the Lowe’s Creative Ideas Team, we are given a monthly challenge along with a budget of gift cards. This month we were told to work with the Color of the Year, Pantone Emerald Green.

First I panicked because currently, NOTHING in my house would go with this color. After a few days of thinking….. I thought I could try doing a DIY Faux Patina.
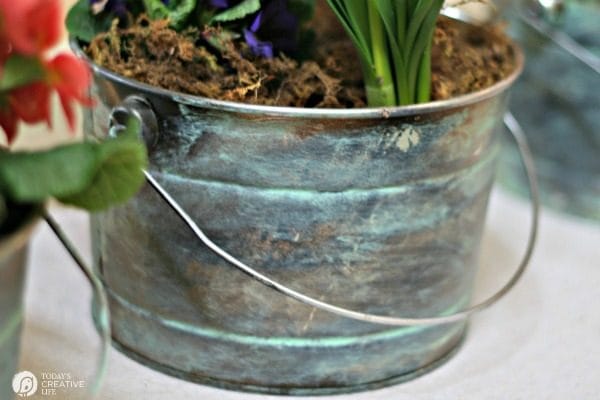
DIY Faux Patina
I’ve always loved an aged copper and patina look and thought this would be perfect for making distressed flower buckets, or pots.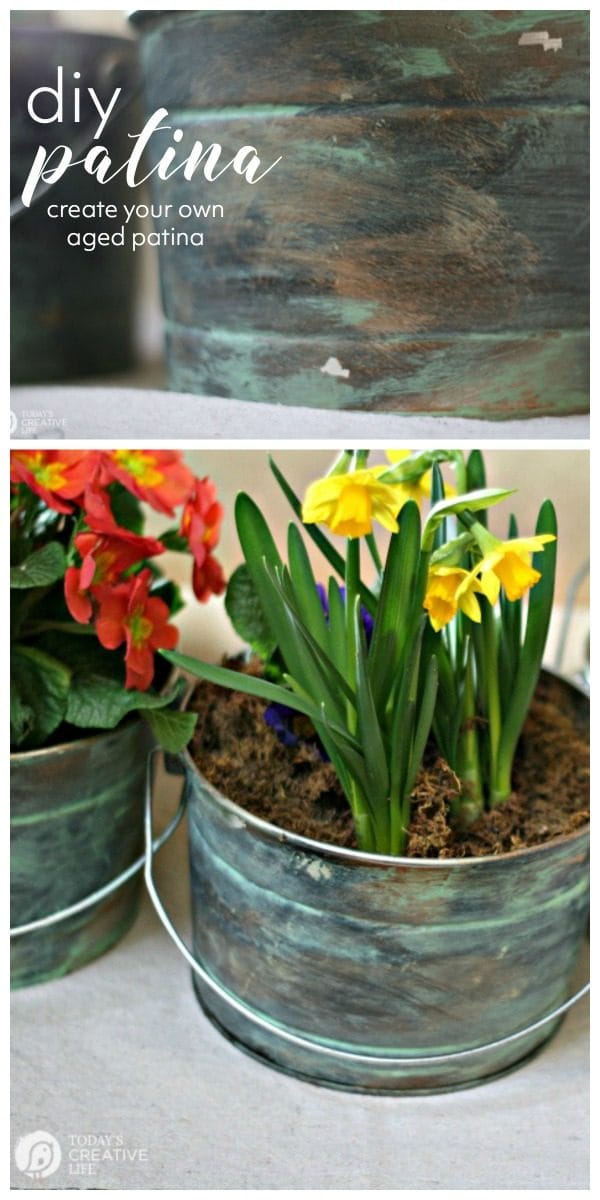
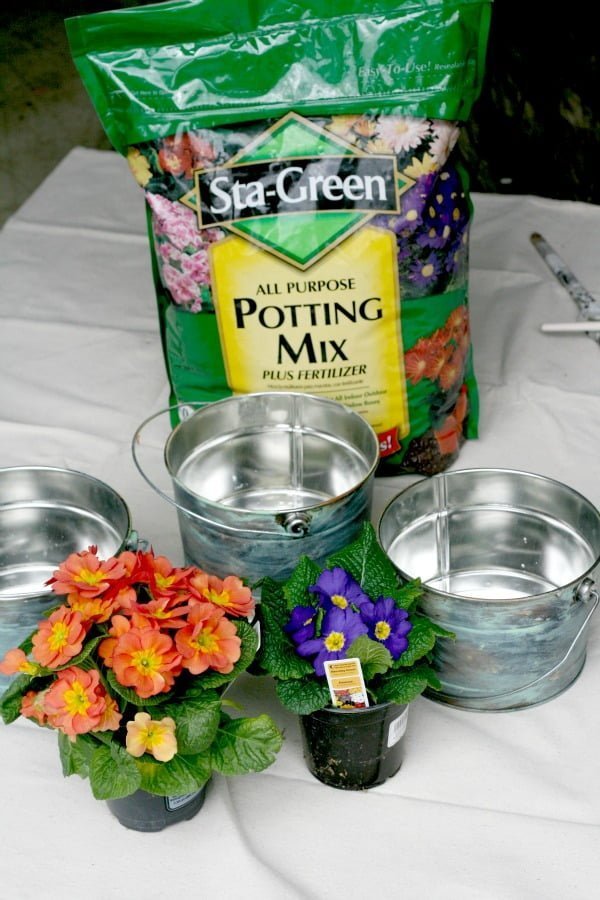
Now that I had a plan, I quickly headed to Lowe’s to have my Pantone Color mixed up, grab a few tin buckets, plants, dirt, and a new drop cloth. I loved the “messy approach” for this project. Which translates into a large margin for error. Once I figured out what would work, I took photos of each step to make it easy for you.
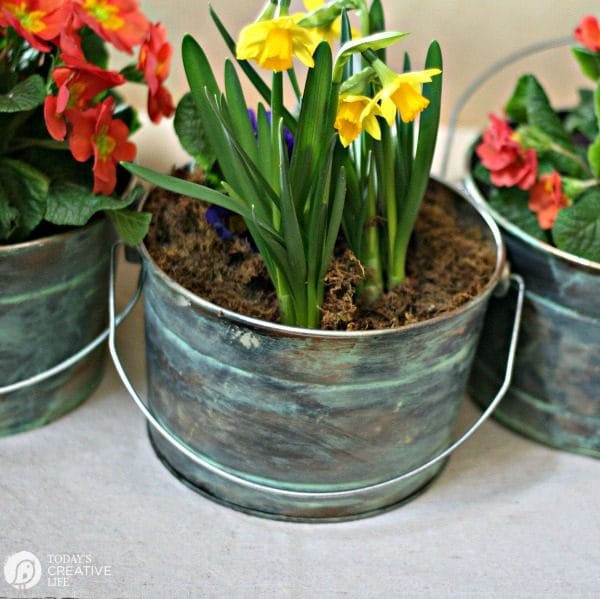
How to Paint DIY Faux Patina
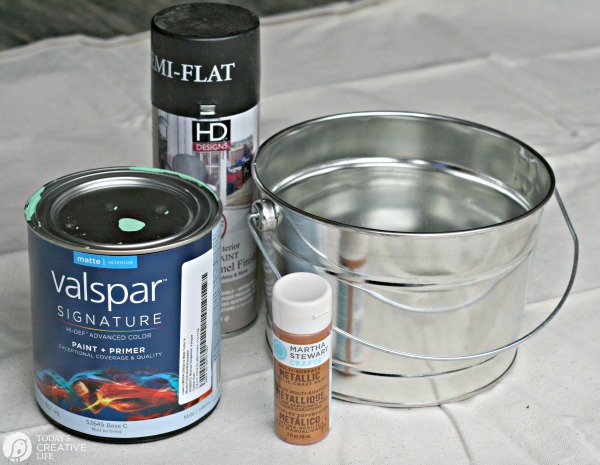
You’ll need:
- Black spray paint – matte
- Copper acrylic paint or spray paint
- Green paint – You don’t have to use the Pantone color as I did. Choose any spring green or turquoise for the color of the patina you want.
- Foam craft paint brush
- Old rags
- Drop cloth
- Tin bucket
- Spray sealer if you plan on using them outdoors.
DIY Faux Patina Tutorial
How to create a patina look using paint.
Materials
- Black Spray Paint - Matte
- Emerald Green Paint - Pantone color 17-5641 - or any other spring green.
- Copper Acrylic craft paint or spray paint
- Tin Buckets
- Craft Foam Brushes
- Old rags
Instructions
- Gather your supplies.

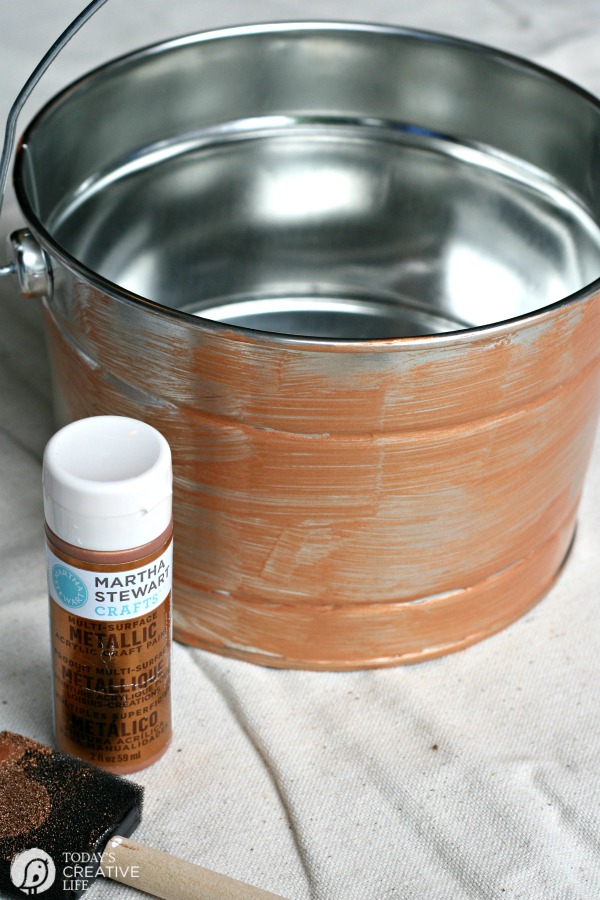
- Paint your bucket with copper paint. I used acrylic paint because I had it. But I’m thinking a copper spray paint would have worked better. Let the paint dry completely before step two.

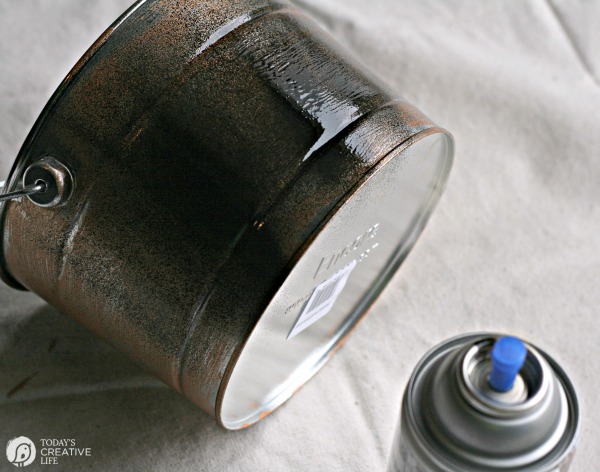
- Spray on a flat or semi-flat black paint.

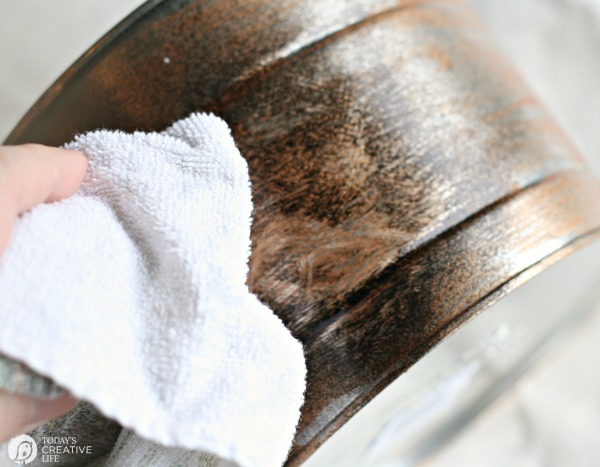
- While it’s still wet, dab and gently wipe with a rag. Allow drying completely.

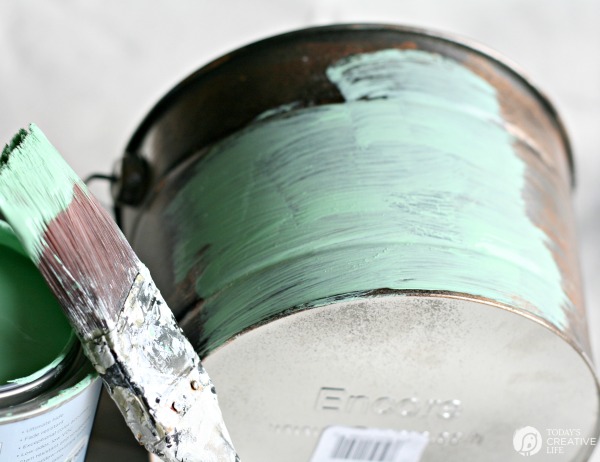
- Brush on the green paint.

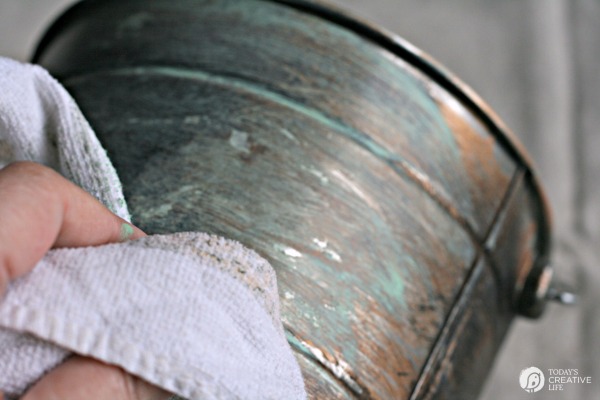
- While it’s still wet, use a rag to wipe and smear gently.

- Allow drying for a couple of hours.
Notes
- Paint colors can vary - choose green or turquoise you think will give you the color you're wanting.
- Drill holes in the bottom of any bucket you plan on using for a planter.
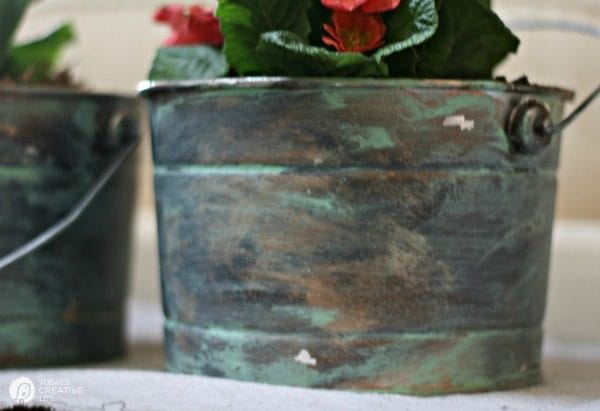
The more texture your item has, the more places for the green color to collect……..this is a good thing.
I had my husband drill a hole in the bottom in case I wanted to use them outside. I’ll have to remember to place a saucer underneath while using them indoors.
If you plan on using them outdoors, spray them with a clear acrylic sealer.
Fill your buckets with whatever your heart desires. During the spring they’re housing my primroses, and this summer I plan on using mine for herbs for my patio.
I’m kind of tickled on how good they turned out. I’ve never tried painting a faux patina before, but I must say……….it’s very forgiving and it was very easy. My kind of project!
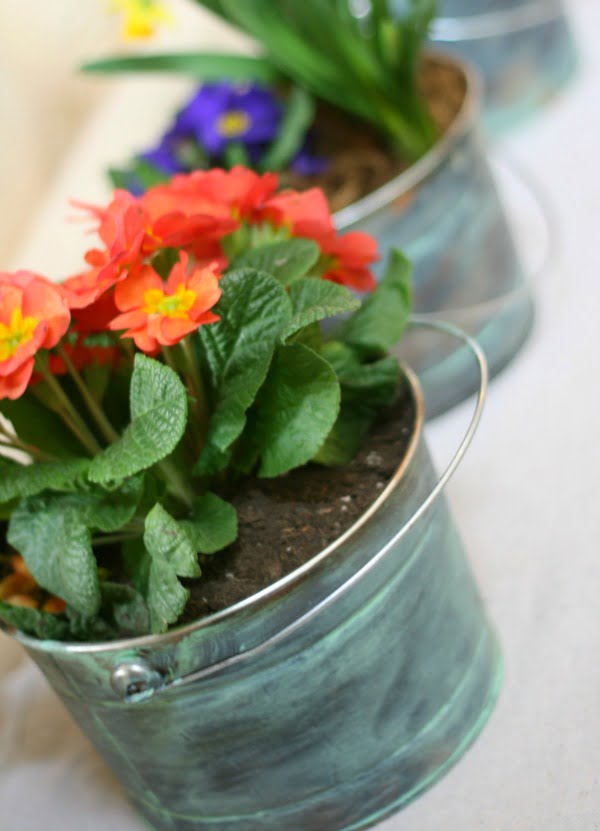
Now you can DIY Faux Patina too!
DIY Projects for Outdoor Living
Easy DIY Ideas for Outdoor Living. You'll find many stylish projects to create a better backyard.
How to Build an Outdoor Fireplace
This DIY Fireplace requires no building experience. If you can stack and glue, you can do it!
How to Make Planter Poles for String Lights
Stringing outdoor string lights is easy with planter poles



Jenny Stumbo says
I love this look! I have 2 large clay flower pots that need to be painted. Would this work on clay?
Kim says
Maybe! I’ve never tried it with anything other than the tin. Keep me posted!
Kim says
I just finished this project and I love how they turned out!!! Did you put a clear coat on yours? Want to use them outside so I wonder if they would hold up better with one?
Kim says
I didn’t, but I should have. They are rusty along the edges…….but I like the way they look.
Stan Alderson says
Hi Kim! great work on the faux patina… really turned out wonderful and just like the ones I saw on the flower shops…
Cheers,
Jules says
Hi there! This project seemed so easy and I love faux anything!! Having a disability, it’s hard to do projects that requires real elbow grease! SO I appreciate the ease of this one:) I do have a question….with planting in pails lke these, is there a need to drill holes in the bottom of them so that they drain? I have found that with no drainage, fungus can grow in the dirt…right? thanks again, Jules:)
Kim says
We did end up drilling a hole in the bottom. I thought this way, I could either place a pot inside OR plant with dirt.