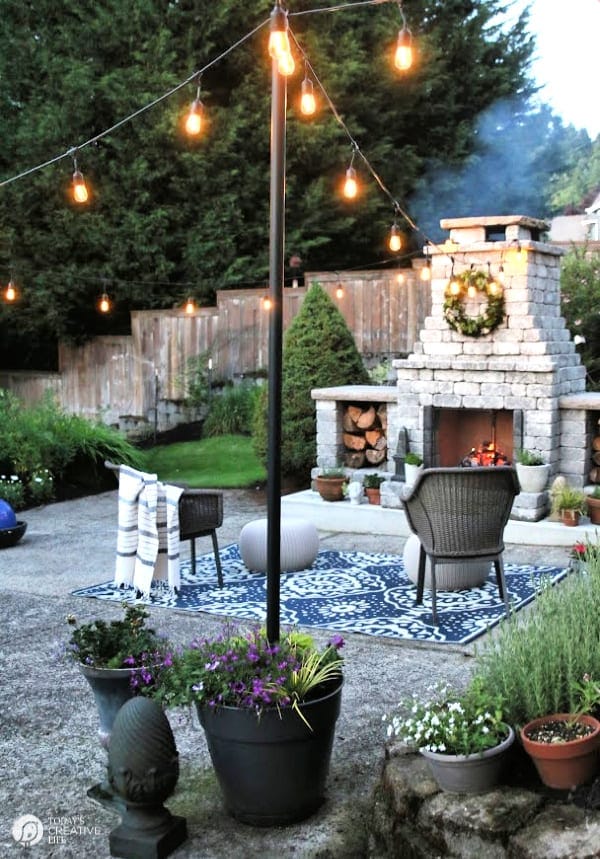
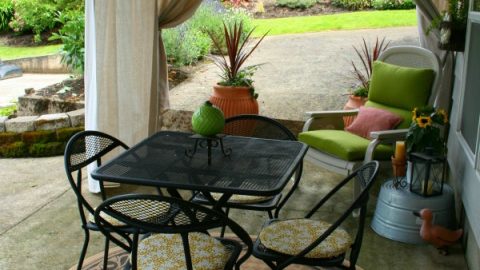
Hanging string lights outside for your patio or backyard creates the perfect ambiance, but what to hang them on was an issue! Here’s how I made poles for outdoor lights.
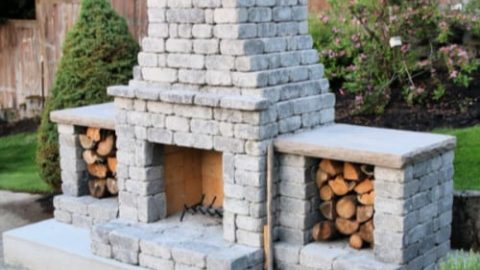
I was inspired by how my friend Shannon from Fox Hollow Cottage made her Cafe Light Poles (she has a great video tutorial), I knew they were perfect to give us outdoor lighting with my new DIY Outdoor Fireplace. With a few adjustments to fit our needs, we were ready to tackle this DIY outdoor project.
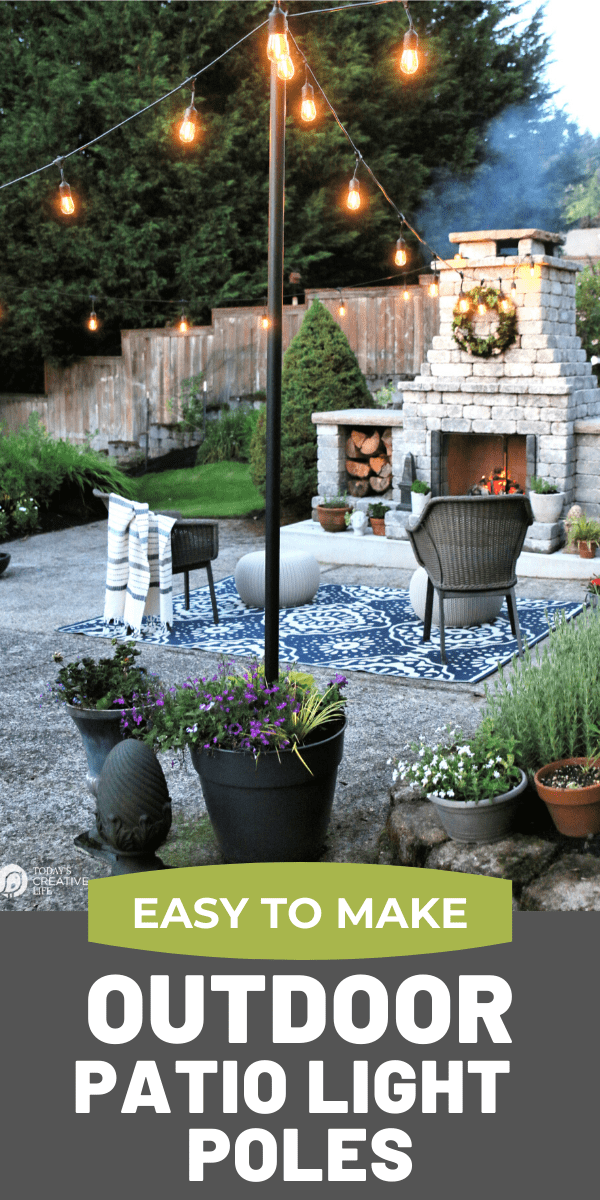
Planter Poles for Outdoor Lights
Making planter poles for string lights was an easy DIY project that adds so much to our outdoor space. You don’t need a lot of DIY experience to complete these.
Supplies for Making Planter Poles for String Lights:
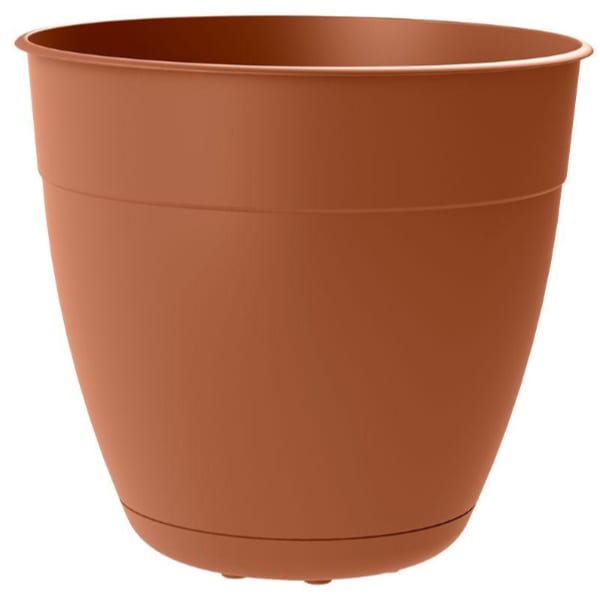
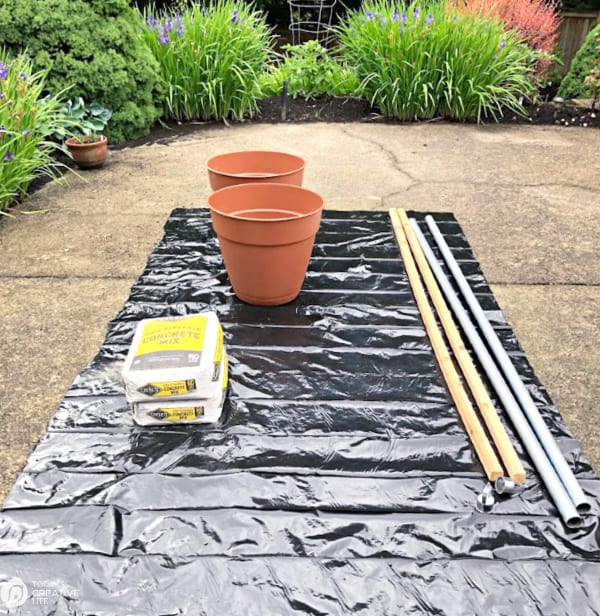
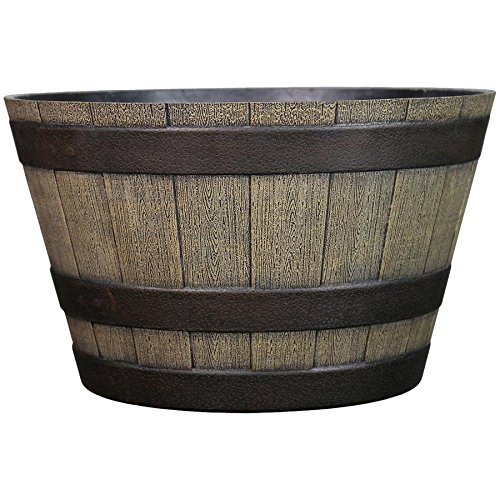
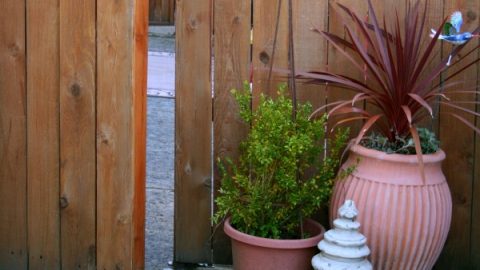
- Large Planters – I chose these because of their price and size (20 inches wide x 18 inch deep) I knew I would paint them, so the plastic didn’t bother me. Keep reading for pot suggestions. When making your poles for outdoor lighting, your pot must be large enough to balance out the tall pole, otherwise you increase the risk of it falling over with wind. You need a wide base. If you are choosing a plastic planter, be aware that harsh conditions may cause cracking if they are out all winter. We have not had this problem with the week or two of temps below 20˚F.
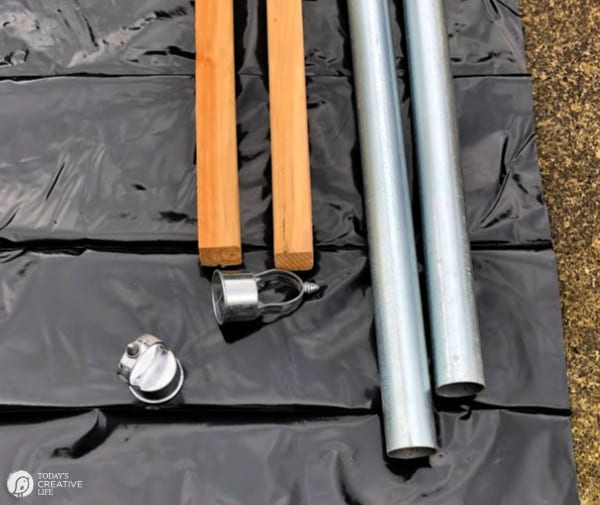
- 8ft to 12 ft aluminum poles (they come in silver or black, the darker ones had to be ordered and we wanted them the same day. You can also use wood 2×2 poles.

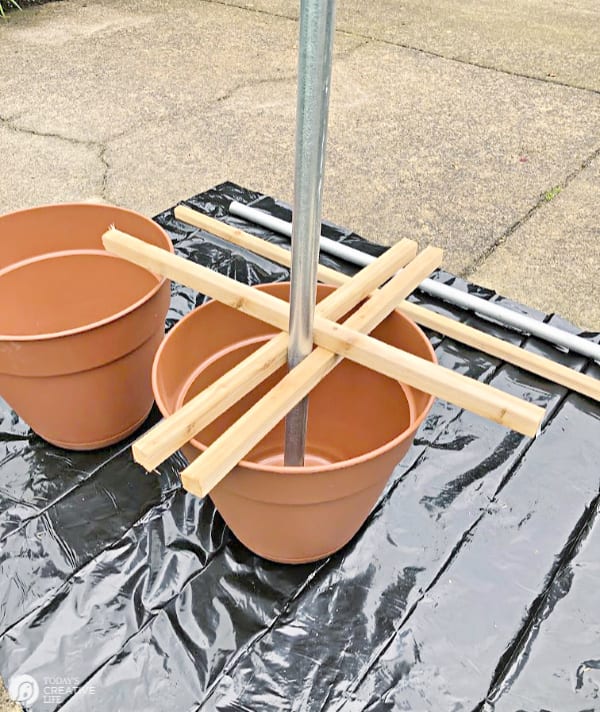
- Braces or industrial tape. We made ours with the 2 x 2 wood pieces.

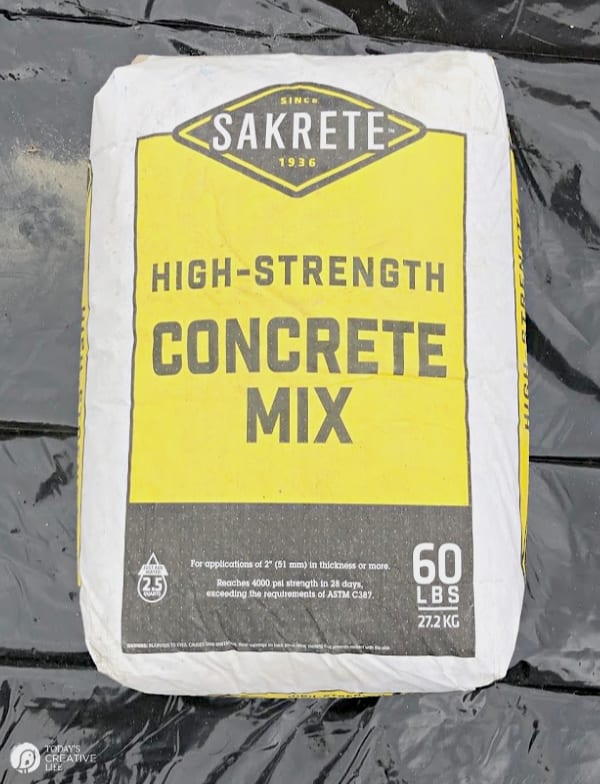
- Quick Set Concrete

- Something to stir with
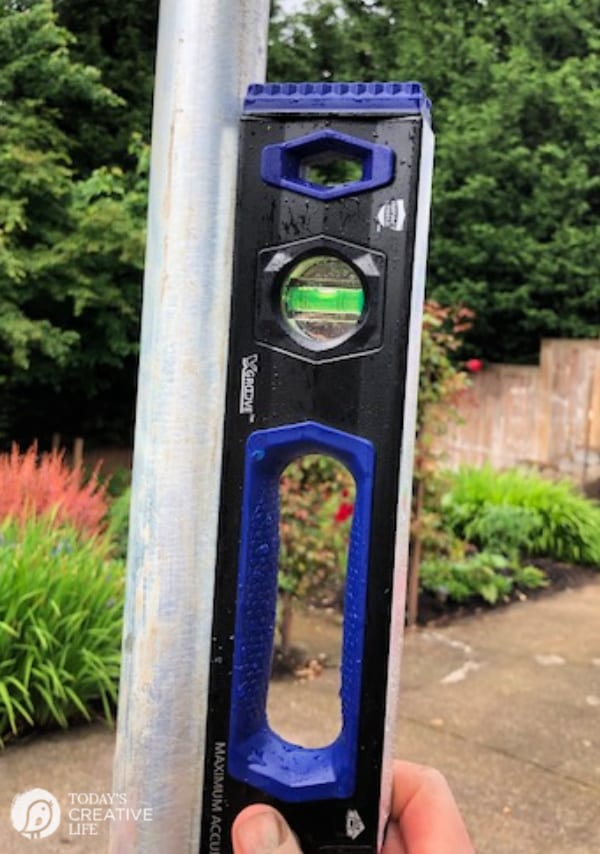
- Level Tool
- Water
- Shovel
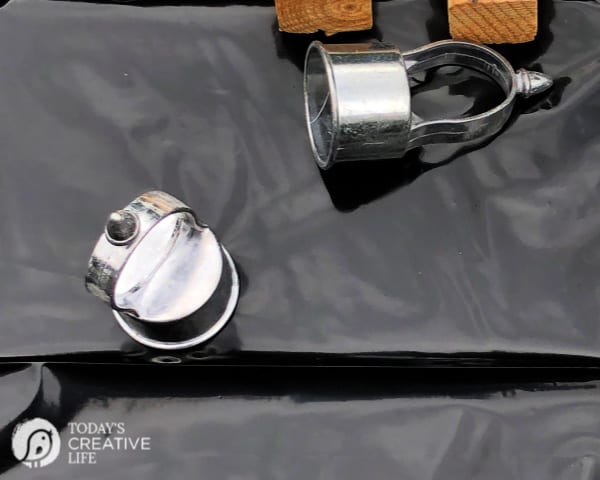
- Pole Caps – Chain link eye caps
- Paint – if you’re painting the pole and pots as I did.
How to Make Planter Poles for Outdoor Lights
How to hang outdoor string lights with DIY Planter Poles
Materials
- 8ft. or 12ft. Aluminum Pole or 2x2x12 wood poles
- Deep Planter Pot - ours ended up being bigger than we really needed.
- Quick Setting Concrete
- End Cap Hooks - (chain link eye top)
- Water
- Wood pieces for the brace or use heavy duty masking tape.
- Large piece of plastic
Tools
- Leveler
- Shovel
Instructions
- Gather your supplies.

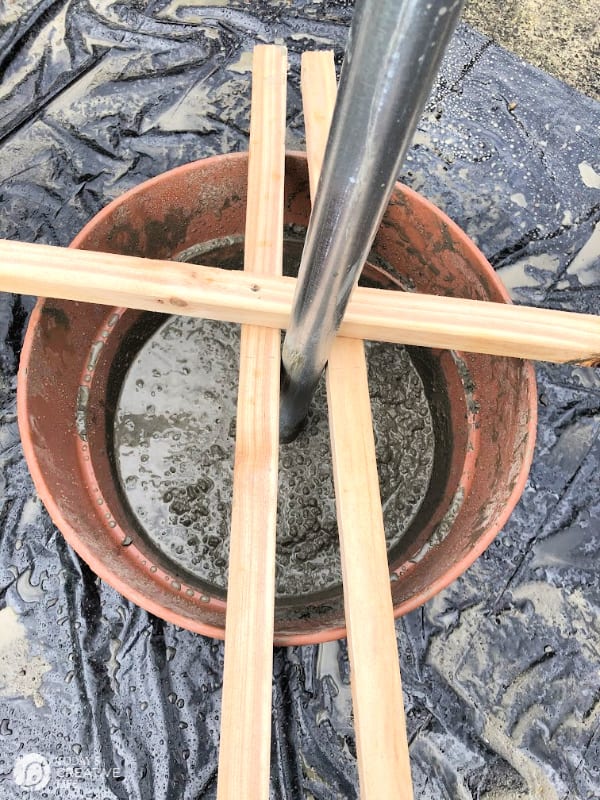
- If you're making a brace with the wood pieces, make it ahead of time.
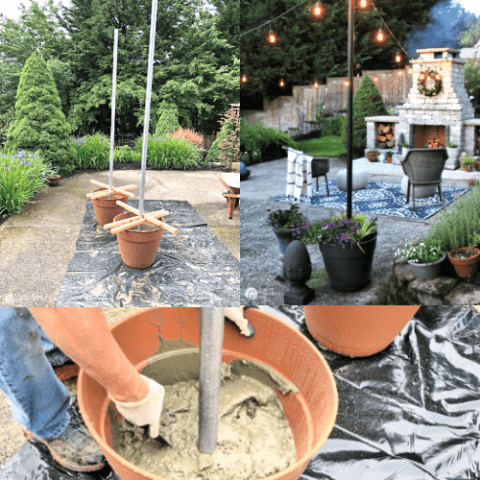
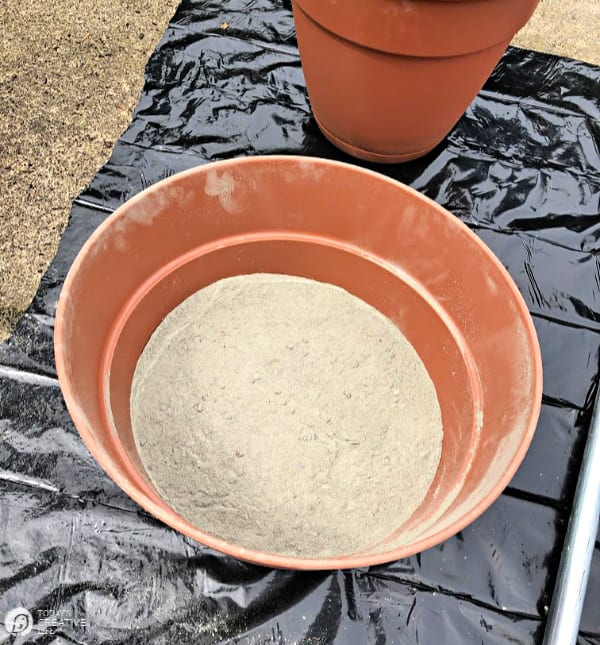
- Pour concrete dry mixture in a 1/4 or 1/2 way up into the planter.
 It is really dusting, so you may consider wearing a mask.
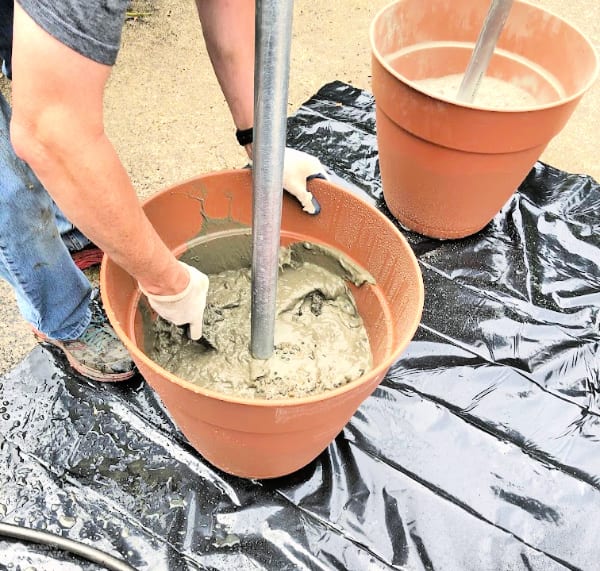
 - Add about a gallon of water and stir using a shovel or tool.


- Set your pole in the middle and set brace. Durable masking tape can also be used.

- Using a level, check to make sure your pole is straight. Reposition as needed.

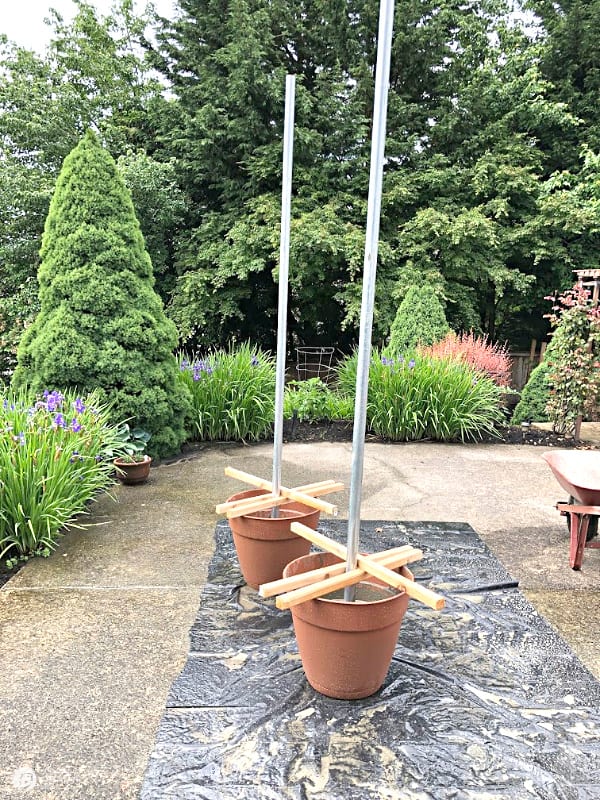
- Let it sit for 12 hours.
- We painted our poles and planters with outdoor paint to match our grey composite deck.
- Drill holes into the planter above the cement line for drainage.
- Add the top end caps that will help to attach the lights. We threaded the lights through the end caps like threading a needle.

- Add dirt and plants and you're ready!

 It is really dusting, so you may consider wearing a mask.
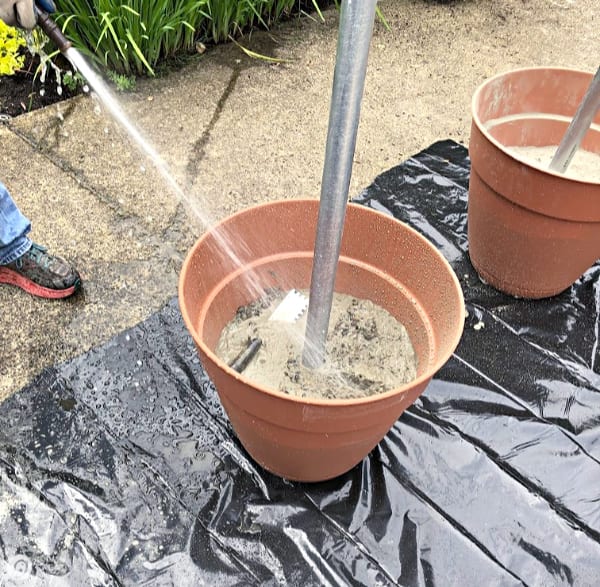
Notes
- We used a large piece of Visqueen to do our project on.
- To avoid tipping, you must have a wide enough base that will be heavy enough. The concrete and then added dirt make ours heavy enough. They have survived the first windy and rainy winter.
- WARNING: Severe freezing weather may crack your pots. I live in the PNW where we only get a few days of snow or ice. My pots are left out year-round and have not cracked or split, however, some people have reported cracking pots. I do not know the location this is happening.
Can I Make Planter Poles for Outdoor Lights without Concrete?
If you’re looking for how to make poles for outdoor lights that don’t include cement, you can easily build them with brackets as my friend did. Charlotte built planter poles and has a great tutorial.
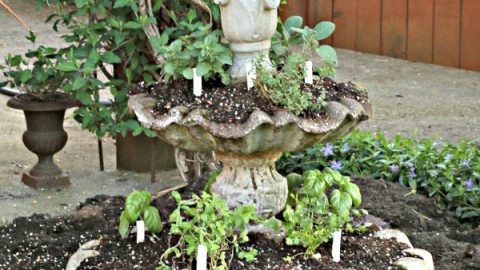
How to Plant Flowers in a Pole Planter
The only thing different is you’ll be planting in pots with hardened concrete in the bottom, so you’ll need drainage. We drilled a couple of holes right into the side, above the cement. Plant as normal, adding a few rocks on top of the concrete that would be in line with your drainage holes. You can also fill with decorative rock if you want something lower maintenance.
How to Keep Planter Poles for Outdoor Lights from Tipping Over
This is where I guess it can get “sciency”, which isn’t my strong suit. Because planter poles for outdoor lights need to be tall enough, you’re going to need a heavy base wide enough to counteract the tall pole. As mentioned, we filled our pot 1/2 way with dry concrete before adding the water, we then placed potting soil and plants on top. The heavier it is, the less risk of tipping. We live in an area that can get pretty windy in the winter and we haven’t had a problem. Tall and narrow will most likely tip easier.
How to String Outdoor Patio Lights
First, we figured out how we wanted to hang them and how many feet it would take. Based on that information, we bought 3 sets. Using the chain-link eye caps on top of each pole allowed us to thread the light string through and adjust accordingly. We had to account for the length of cording to reach the electrical outlet near the back of our house. There are also Solar Patio Lights that wouldn’t require electricity. Double-check the length you need.

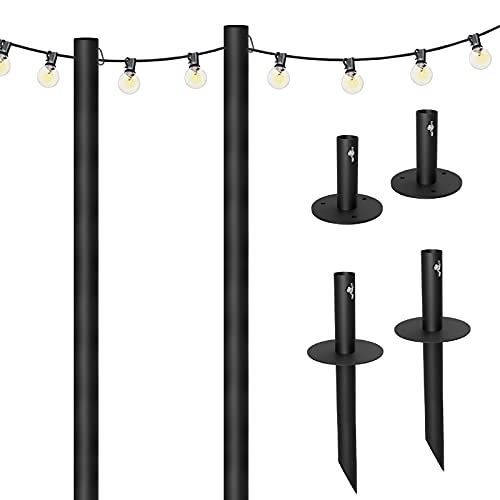
If you live in a harsher climate with multiple days of freezing temps, choose a thicker and more durable planter. I live in the PNW and leave my pots outside and they have not cracked. These are very similar in type and price to what I used. I love the texture these have. This is my favorite, but I'm not sure if I'd want to spend that much. Another one similar to mine and budget-friendly. My sister has something similar and they look great! If you're not into a DIY project right now and you just want to purchase poles for outdoor lights, I've found a few options below. Light poles and lights all in one. 11 ft high Stainless steel with side hooks. Waterproof is the way to go. If you can use your home to anchor one side of the lights, these hooks are great! 10 Foot Stainless Steel poles that push into the dirt. 10 feet dark light poles that come in a 2 pack. Find stylish and easy ideas for outdoor living. Make your own outdoor wood chairs. Is it time to replace your deck? Learn the difference between wood or composite.Flower Pots for Making Pole Planters
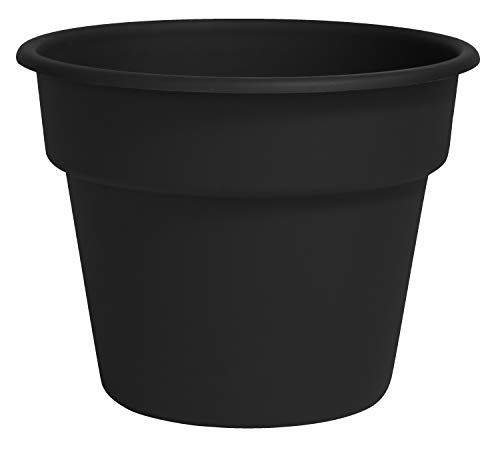
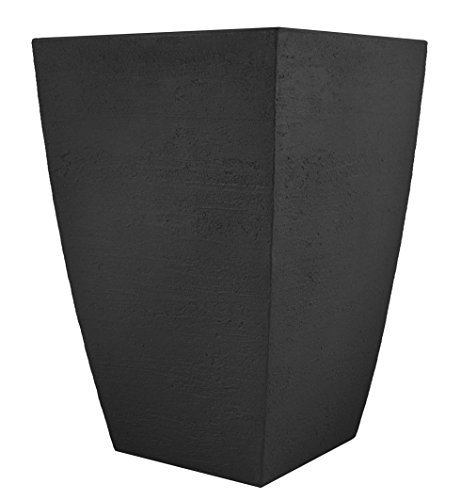
Bloem DC20-00 Dura Cotta Planter, 20-Inch, Black
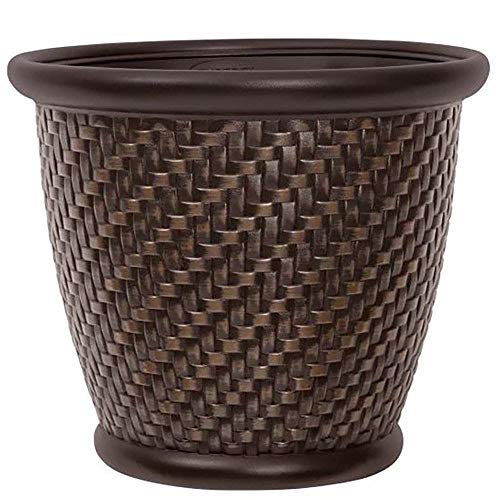
Suncast 1807J4 TRV174255 18" x 16.5" Resin Planter-Lightweight Contemporary Flower Po, Dark Brown
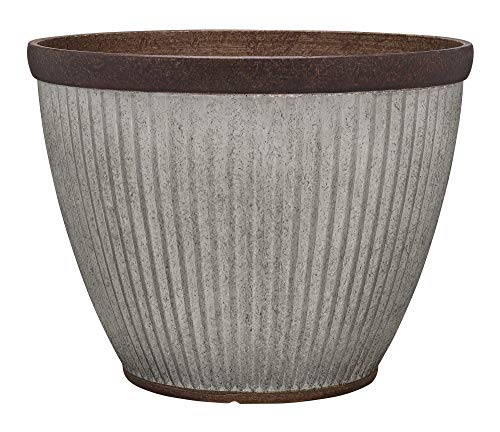
Southern Patio HDR-046868 20.5" Rustic Resin Faux Galvanized Round Planter
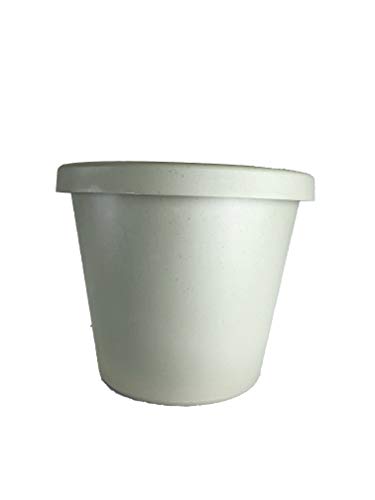
The HC Companies LIA20000B78 Classic Pot Planter, 20", Seafoam
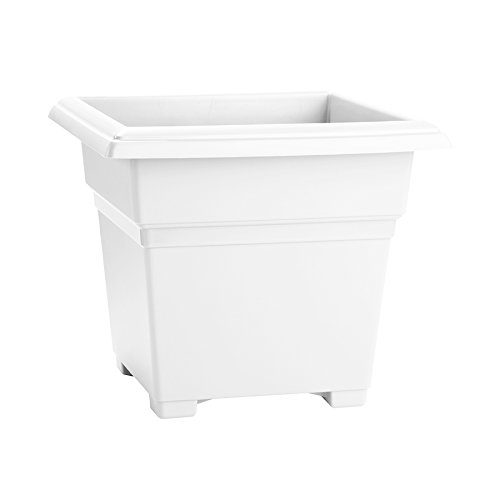
Novelty 26182 Countryside Square, White, 18-Inch Tub Planter
Already Assembled Light Poles & Lights
Bistro String Light Poles - 2 Pack - Extends to 10 Feet - Universal Mounting Options Included with 50 feet of G40 Lights
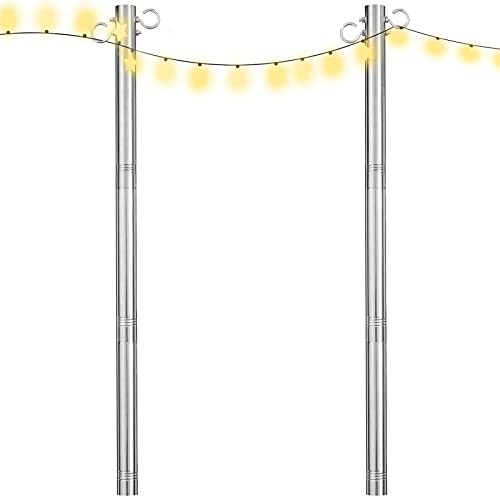
Lipole Outdoor String Lights Pole, 51 MM Diameter Wind Resistant Patio Light Hook Made of Stainless Steel Pole Post can Hang Solar Lantern, Flag, Cafe Light, Wind Chimes, Wedding Decor (1 x 11 FT)
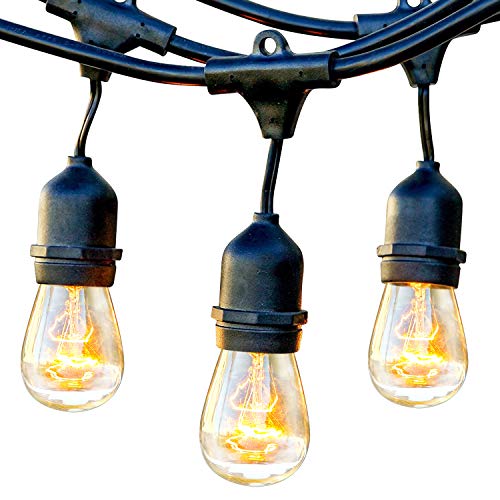
Waterproof Outdoor String Lights - Hanging Industrial 11W Edison Bulbs - 48 Ft Vintage Bistro Lights -
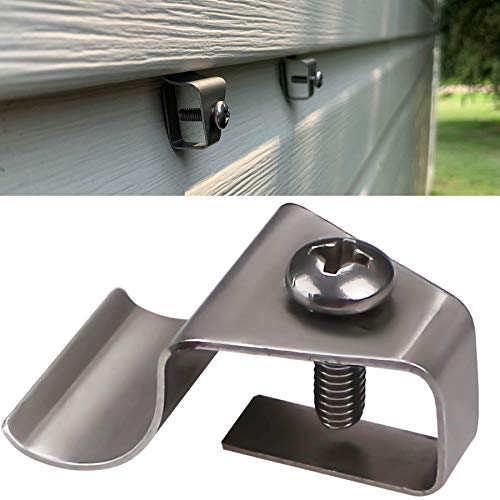
No-Hole Needed Vinyl Siding Clips Hooks Hanger for Hang Solar Powered Lights on Vinyl Siding with No Nails No Drilling, Easy Removal (10 Pack)
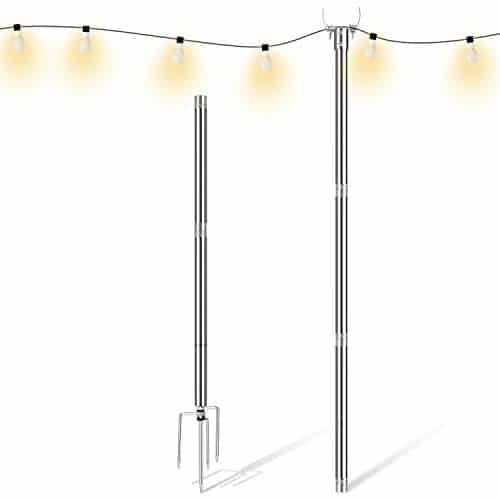
Endim Light Pole - Outdoor 10 FT Light Pole for String Lights - Outside Stainless Steel String Lights Pole for Yard Garden 1 PCS
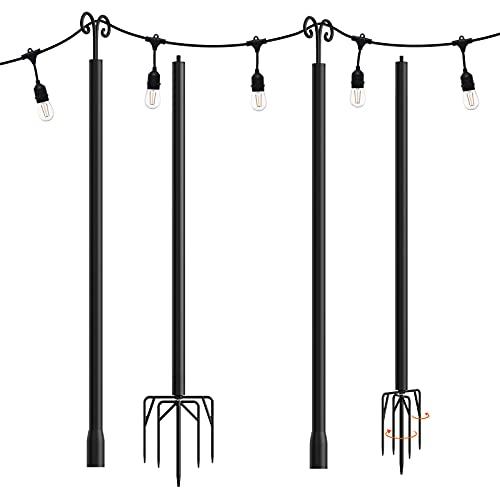
addlon 2 Pack String Lights Poles for Outdoors (2X 10ft), Heavy Duty Designed to Use Year-Round for Your Garden, Patio, Wedding, Party, Birthday Decorations-Black
Outdoor Living Ideas

Adirondack Chair Plans {Free Download}
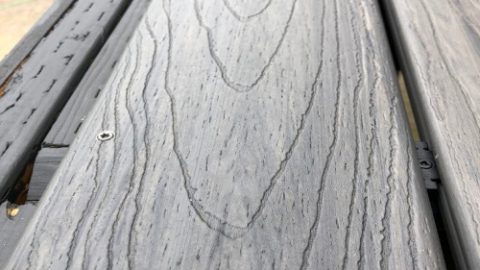
Composite Decking vs. Wood


Katie says
Hi! What diameter aluminum posts did you use? Chain link posts come in a few different diameters. I’m seeing 1 5/8″ or 2 3/8.” Thank you!
Helen Webb says
I understand about threading the lights through the end. How do you attach the end posts to the top of the poles?
Kim says
They just fit and slide on the end top of the pipe.
Ashley says
Hi there! How did you attach to your fireplace? Thanks!
Kim says
My husband used anchor hooks pounded in between the bricks.
Sally says
Wow, these are amazing, can wait for better weather in uk so I can get started.
Kim says
Thanks Sally, if it freezes where you are, be sure to use a thicker pot that can withstand the weather.
Julie says
I didn’t see any instructions on how you attached the lights to the end caps do they open up?
Kim says
Hi Julie! Great question. I’ve updated the post. They do not open, so we threaded the lights through just like a needle and tread.
Pricilla says
What do you have under the outdoor rug? Did you just put it on top of the gravel? And what kind of rug is that?
Kim says
That is actually a concrete patio. The rug is either from World Market or Walmart. It’s the plastic mat type.
Kayla Nation says
Where did you find the “end caps”? I’ve not seen that before.
Kim says
Hi Kayla, Everything we used is listed in the article and where we purchased. I also have items linked to purchase direct.
Monica says
Hey these are great 🙂 how much concrete did you use total? Thanks!!
Kim says
Thank you! It all depends on your container and how big it is. You want to fill your container 3/4 full.