Easy Halloween craft for DIY Halloween Goodie Bags for tricks or treats. All you need for this Halloween idea are cotton canvas bags, iron-on transfer paper, a hot iron and a few spooky images. You can find some Halloween images in The Printable Vault.
This post has been updated and was orginially posted in 2015.
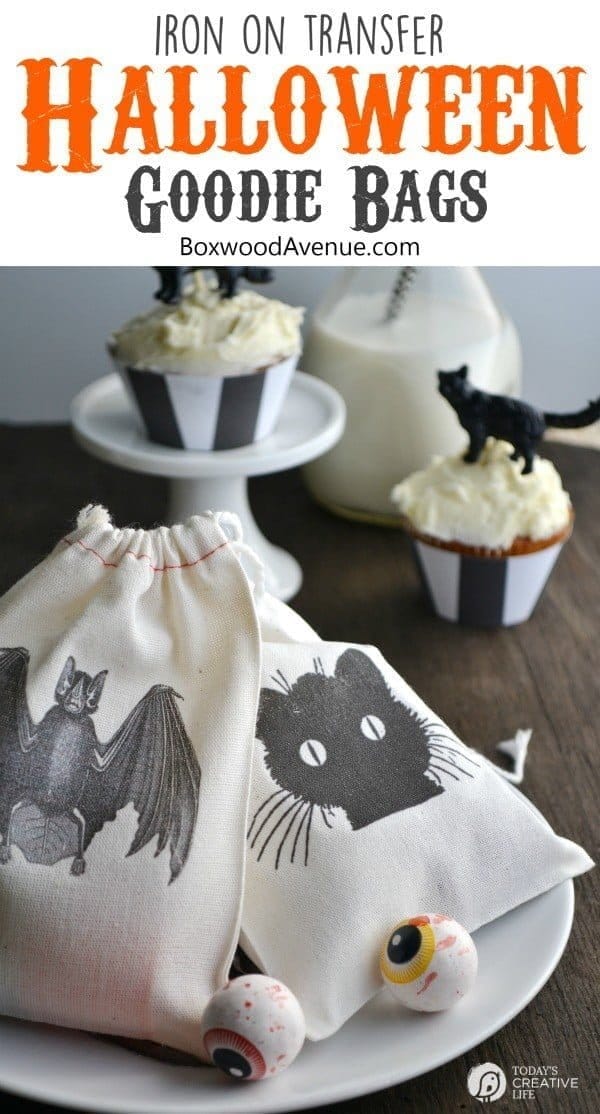
DIY Halloween Goodie Bags
Hi TCL readers! It’s Chloe again, from Boxwood Avenue! Today I am so excited to share a part of a DIY Halloween Party I created. I hope that you’ll have fun recreating this party, and adding your own personal touches to it!
I’m skipping Halloween this year! Yes, you read that right, skipping Halloween! No, not because I am boycotting it, but because I just got married, and we will be on our honeymoon for most of October. Not that one can’t celebrate Halloween in Maui, but I have a feeling it will be the last thing on my mind.
I didn’t even buy a single pumpkin this year, but I hope you will make up for my lack of Halloween spirit for me because I really do love the holiday!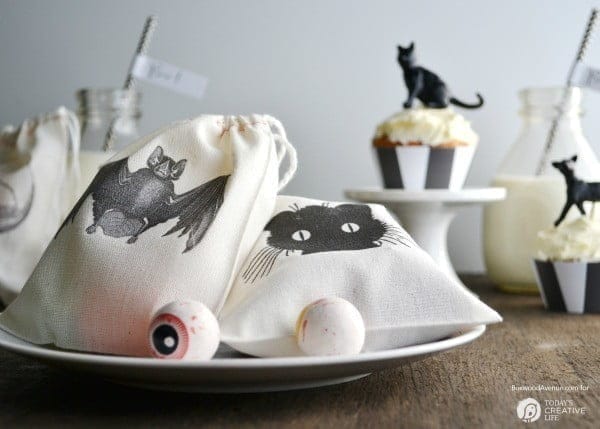
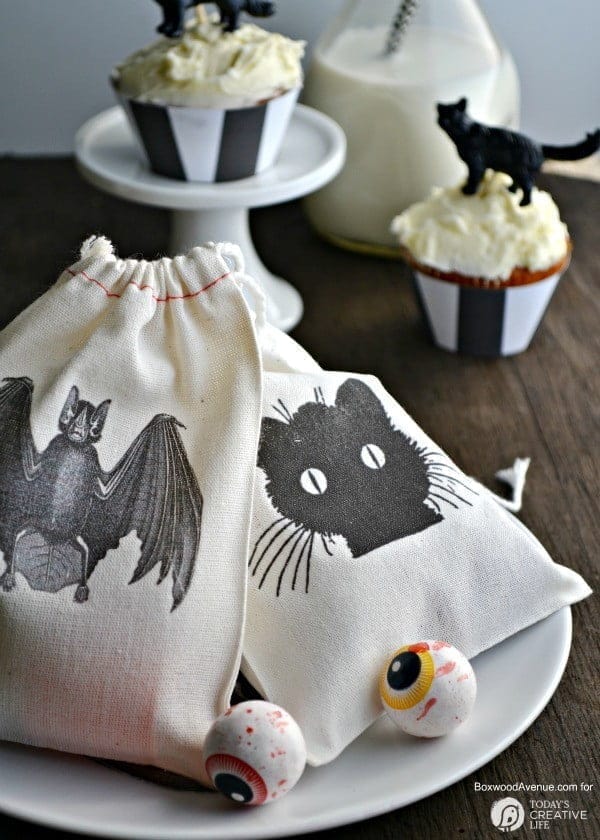
I usually draw inspiration from nature and the outdoors, but when it comes to Halloween, I love simplicity. I seemingly always opt for black and white, with small touches of gold, so these simple goodie bags are definitely right up my alley! They are simple and classic, and could be used for kids or adults!
You could edit the template I’ve included, and add names to it. I think these bags would be so cute personalized! I’d put them on top of these plates, and use them as place settings for a Halloween party!
DIY Halloween Goodie Bag Supplies:
- Cloth Favor Bags
- Iron
- Scissors
- Transfer Paper
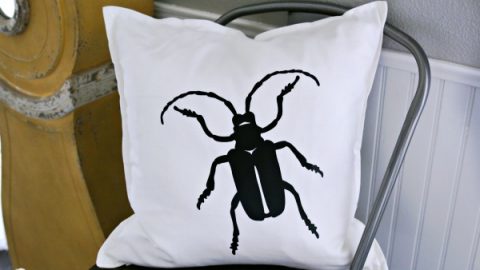
- Silhouette Images found on The Graphics Fairy – Halloween images can also be found in The Printable Vault.
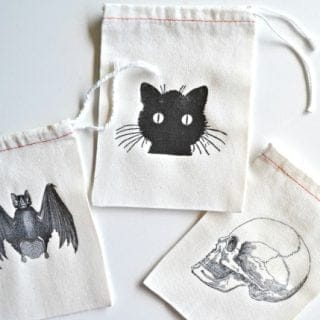
How to Make Iron On Transfer Halloween Goodie Bags
Easy Halloween craft idea using iron-on transfer paper and cotton canvas bags.
Materials
- Iron-on Transfer Paper
- Cotton Canvas Bags
- Halloween Images - Found in The Printable Vault or from The Graphics Fairy
Tools
- Iron
Instructions
Step 1: Print the spooky silhouette images onto transfer paper. (Follow transfer paper instructions for printer help). 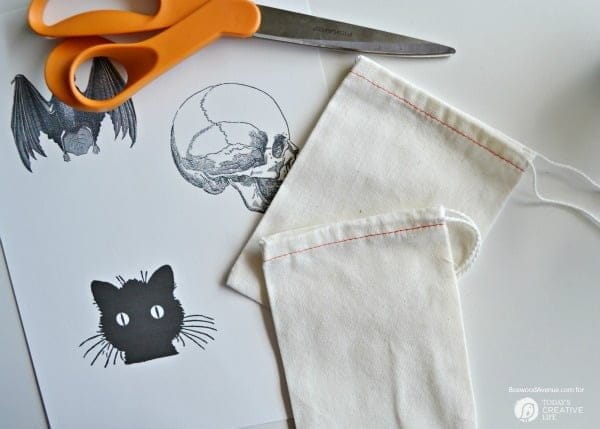
Step 2: Cut out each silhouette, trimming off as much white as possible. 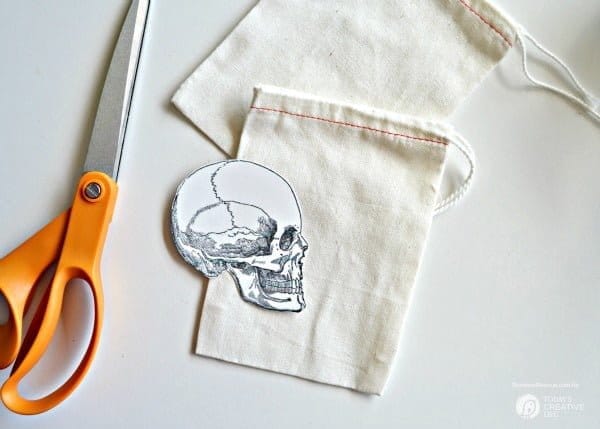
Step 3: Turn your iron on to the appropriate heat setting for the transfer paper you’re using. Place one of the silhouettes face down onto the center of one of the goodie bags. 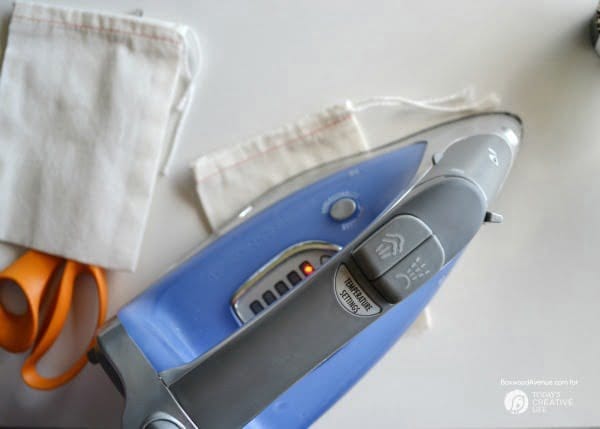
Step 4: Firmly press your iron into the paper, moving in small circles. After 30 seconds (or as long as the instructions say), lift your iron. While the paper is still hot, peel it back, and reveal your the transfer!
Notes
Although these images were found on The Graphics Fairy, I do have several spooky images located in the Printable Vault. Subscribers have free access. You can subscribe here. Your password will be sent to you.
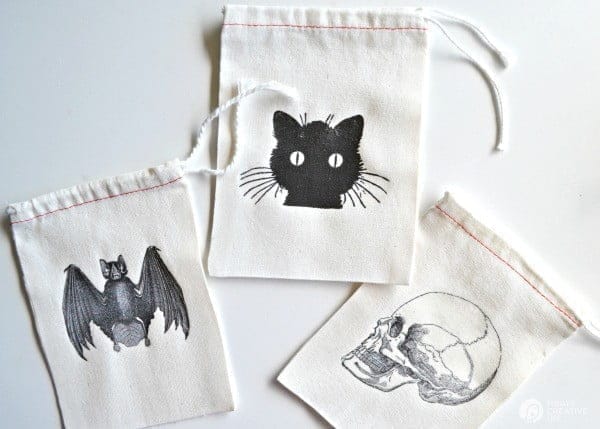
If you’ve never used transfer paper, I have a great tutorial on my blog!
Halloween DIY Ideas
Create the Halloween of your dreams with Easy Halloween Ideas. Find Halloween decor for cheap for a budget-friendly holiday. Recipes for Halloween too!
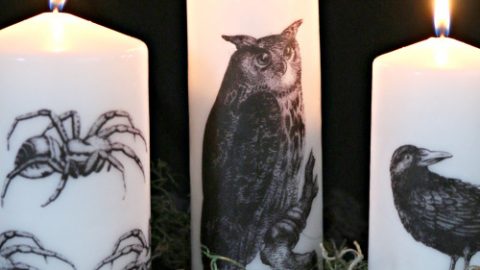
DIY Image Transfer Candles for Halloween
Easy Halloween Craft for transferring images onto wax candles.
Halloween Craft Ideas {Boo Box}
This Halloween-decorated take-out box is great for treats or even Halloween party leftovers. Cricut Halloween Ideas.
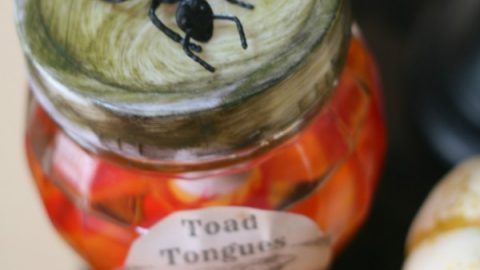
DIY Halloween Apothecary Jars
Halloween decor for cheap! Dollar store items made into a creepy crawly centerpiece.
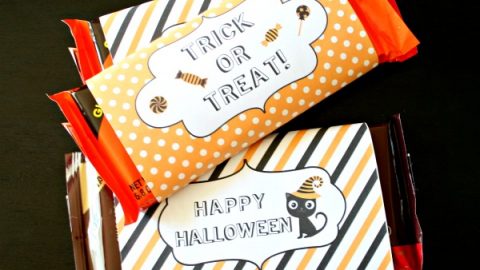
DIY Halloween Treat Box - Free Printables
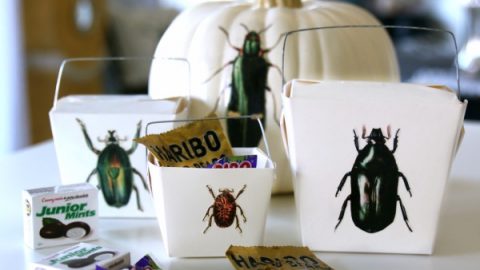
Halloween treat boxes with vintage beetles. Print and decoupage. Free printables.
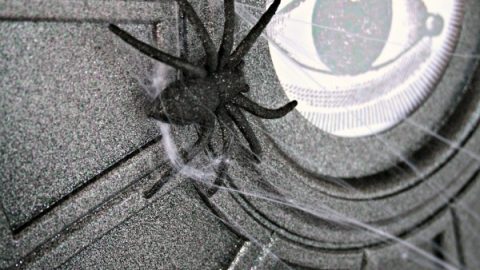
Ceiling Medallion Halloween Wreath
Who would know you could find the best craft supplies in a hardware store? A little spray paint, a free printable, cobwebs and you've got yourself a simple Halloween craft.










Leave a Reply