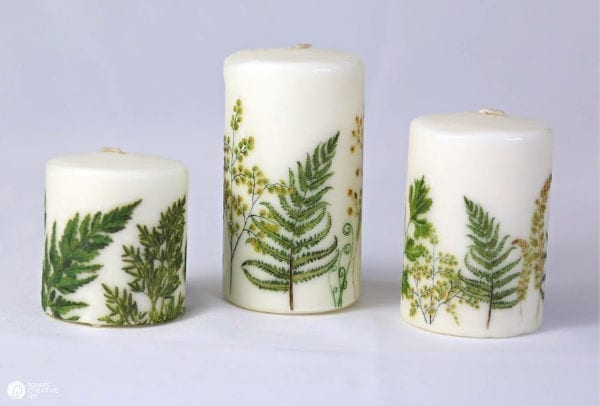
This easy and inexpensive tutorial on How to Transfer Images onto a Candle using tissue paper, wax paper and a blow dryer will blow your mind! Create custom image transfer candles for any event or for homemade gift ideas.
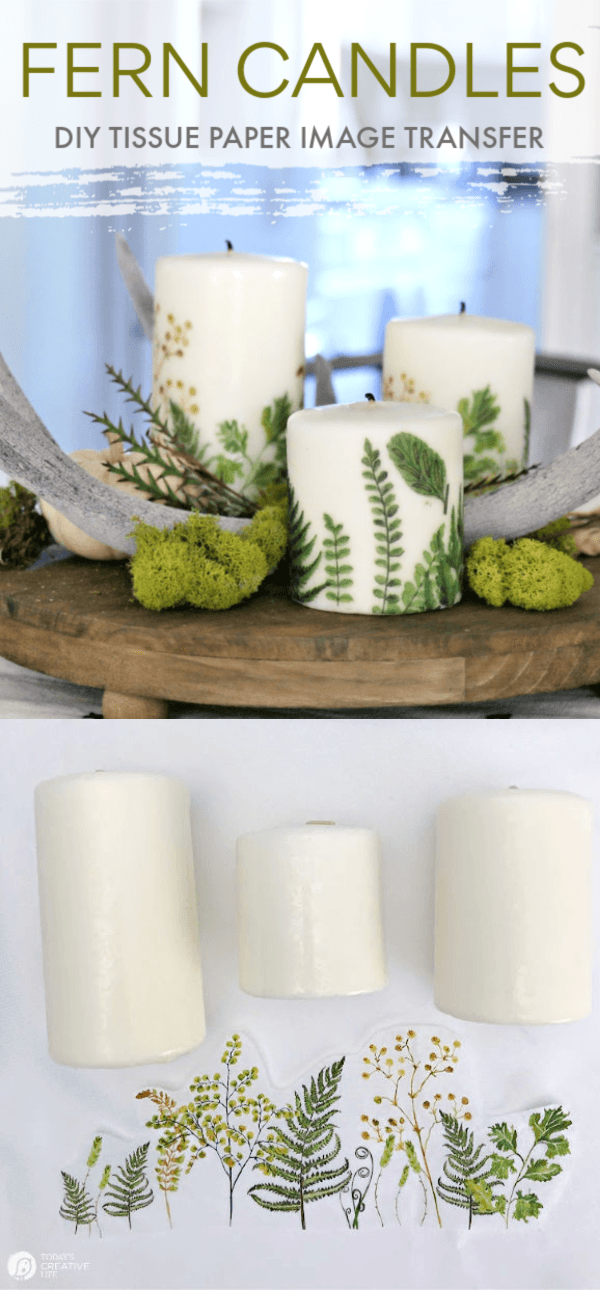
I don’t know why I thought transferring images onto a candle would be so difficult, but I have to admit it had intimidated me for a long time! Had I known how easy it actually was, I would have been making all kinds of candles for every holiday for years!
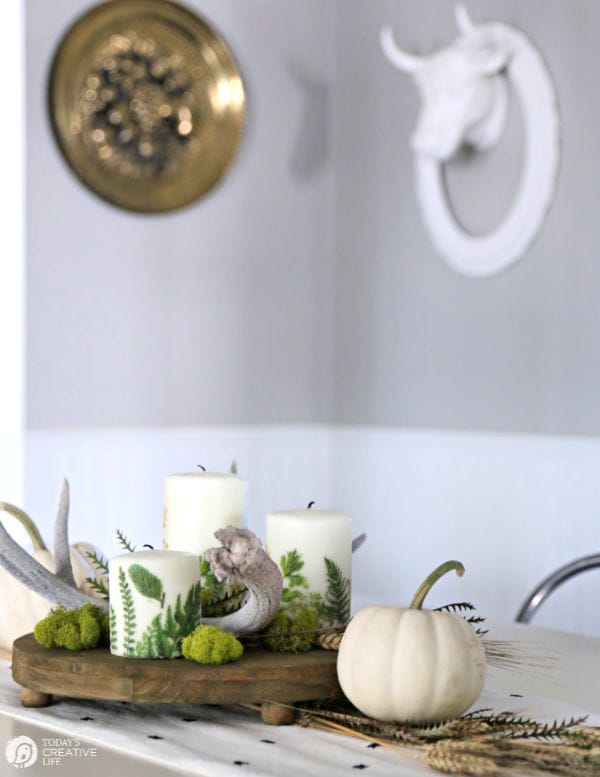
How to Transfer Images onto a Candle with Tissue Paper
This was one of the easiest and most impressive crafts I’ve done in a long time! I had a vision using fern images to create a great fall tablescape or any autumn tabletop decor. 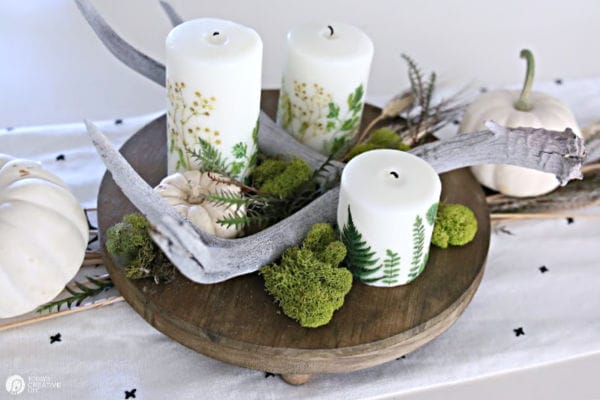
I found the images from The HungryJPEG and messed around in PicMonkey until I had the design I liked. Again, very easy.
This can also be done with decorative paper napkins. I’ll tell you how to do that too! Keep reading! 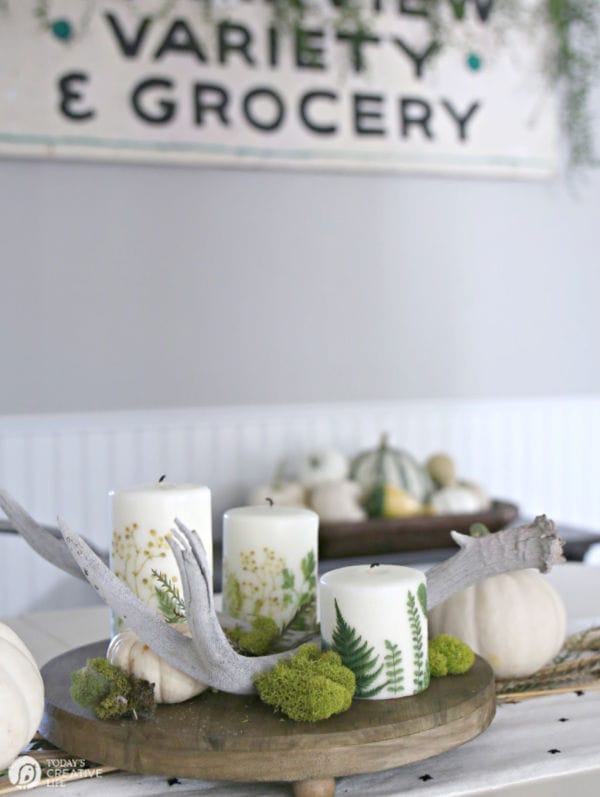
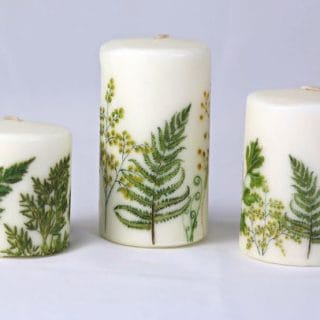
How to Transfer Images onto a Wax Candle
Follow this DIY craft tutorial and learn how to transfer images onto a wax candle using tissue paper or decorative napkins.
Materials
- Candles
- Tissue Paper, Patterned Napkins, or decorative tissue paper
- Printer Paper
- Wax Paper
- Tape – I liked using Washi Tape
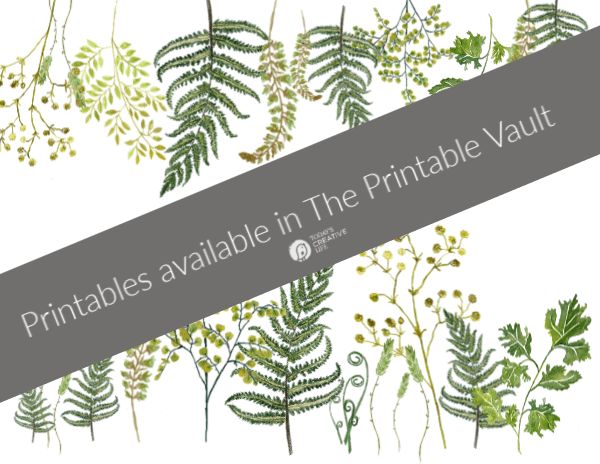
- Graphics – You can download the fern design in the Printable Vault. TCL subscribers have free access. Subscribe if needed. Your password will be sent to you.
- Potholder
- Inkjet Printer
- Heat Tool or Blow Dryer
- Craft Scissors
Instructions
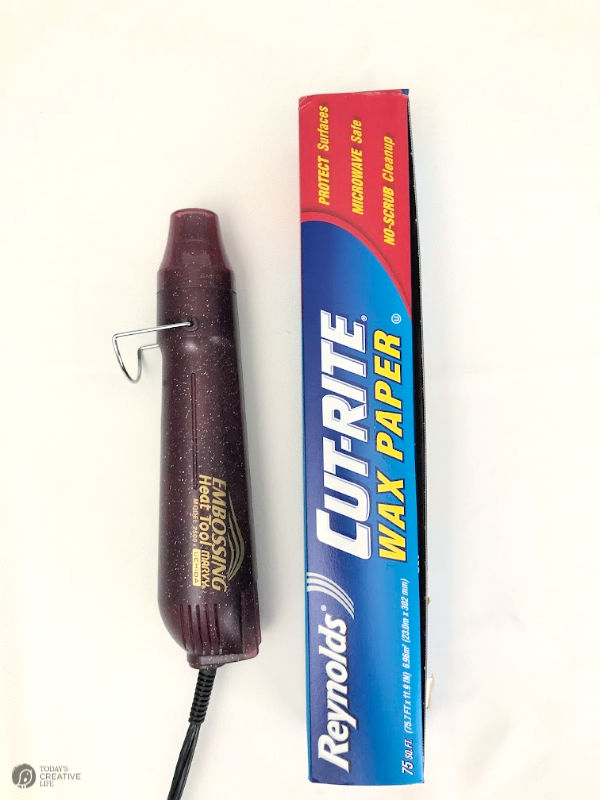
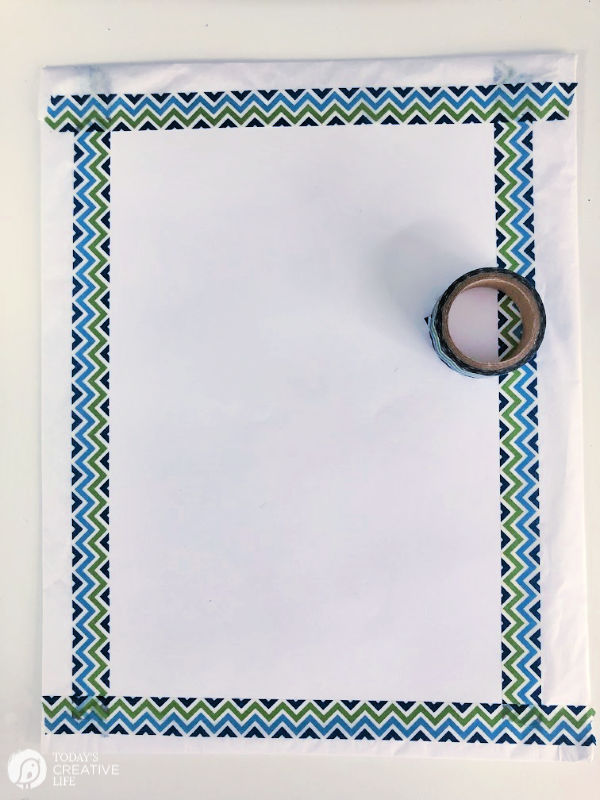
1. Wrap your piece of printer paper with tissue paper as tightly as you can. I used washi tape because it was easier to work with and didn’t pull the paper, making it warp. Feed into your printer so it will print on the untaped side, onto the tissue.
2. After it prints, cut your design out and set your printed tissue pieces aside.
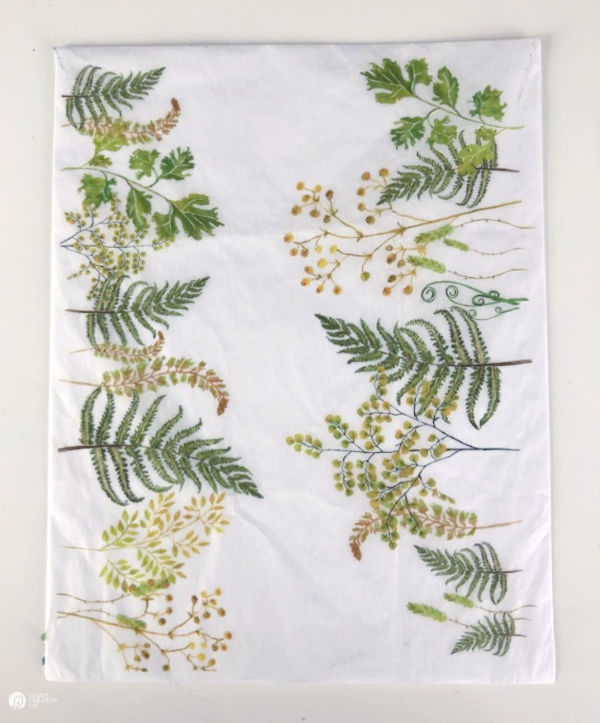
3. Measure the paper design and trim as necessary.
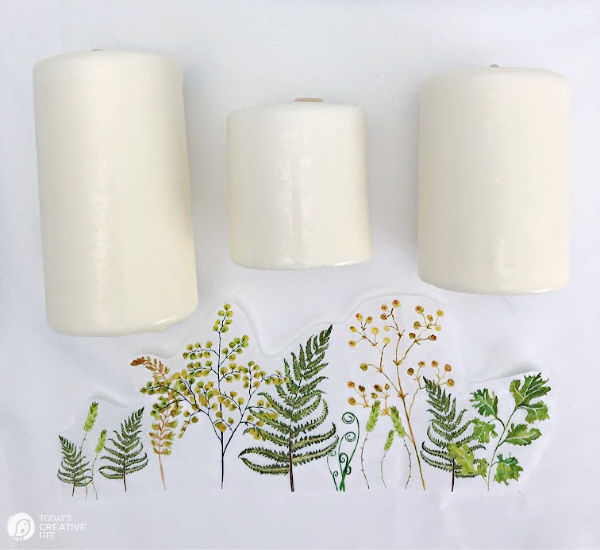
4. Place or wrap the printed tissue around the candle.
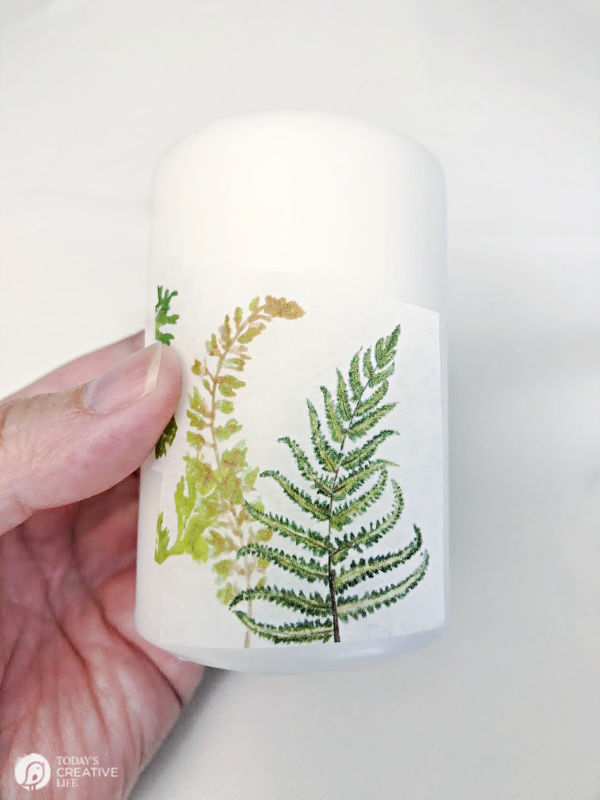
5. Then wrap the waxed paper around the tissue. Make sure both papers are wrapped tightly.
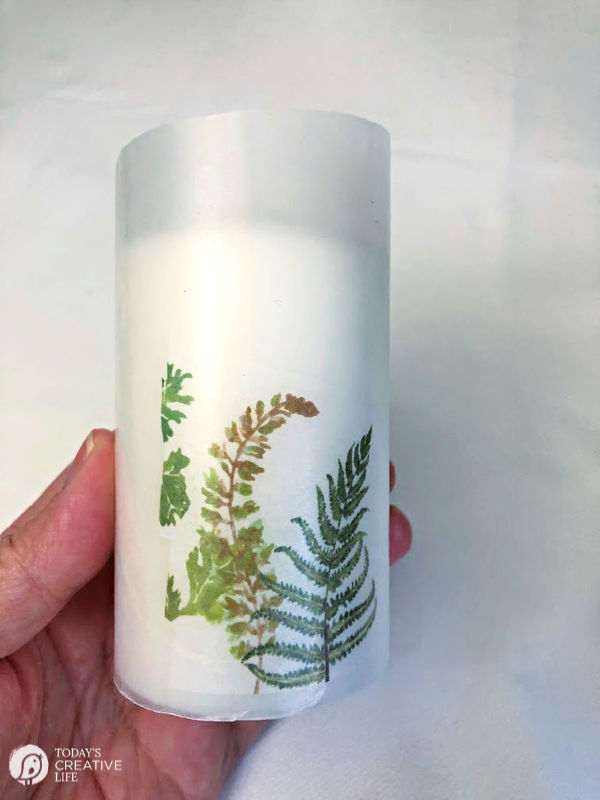
6. Use a potholder if necessary to protect your hand. Use your blow dryer or heat gun tool to heat the candle. Move the blow dryer around so it’s evenly warmed. You’ll see the color deepen as the images melt into the candle.
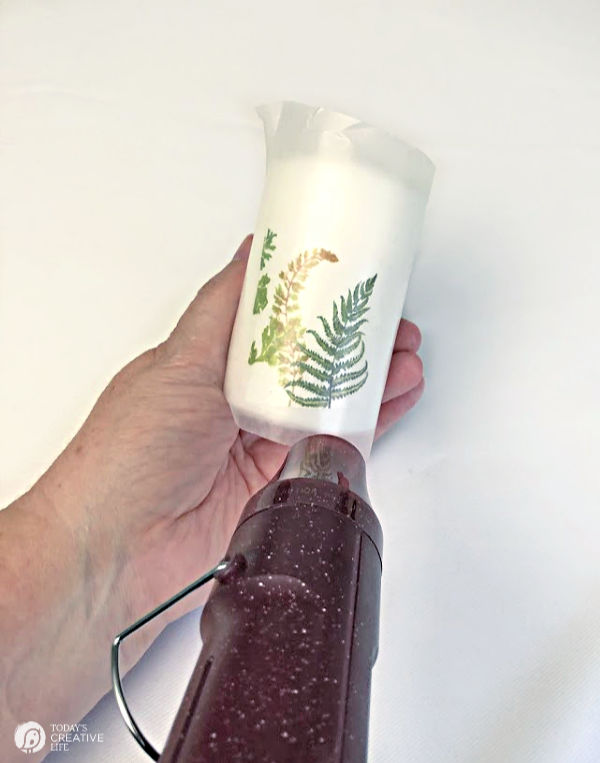
7. I like to rub the wax paper a little before peeling away. If you can still see the tissue paper, you’ll need to repeat the process.
Notes
If you're using a patterned paper napkin, you'll need to separate the layers, using only the decorative layer.
You can download the fern design in the Printable Vault. TCL subscribers have free access. Subscribe if needed. Your password will be sent to you.
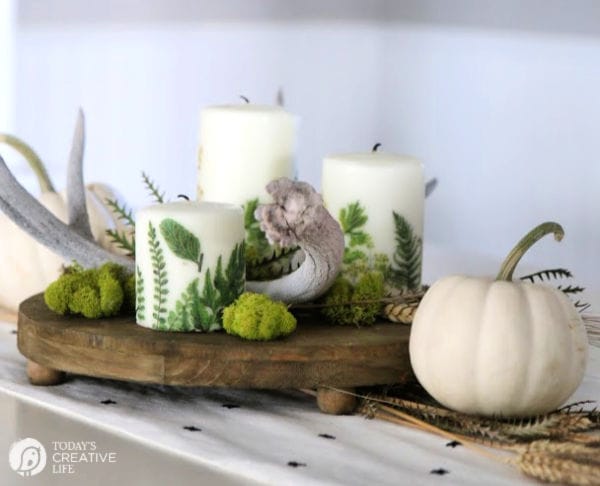
How to Make Printed Wax Candles using Decorative Napkins
While I was creating these beautiful candles, I realized I needed one more printed tissue paper. My least favorite part is wrapping the tissue paper around printer paper, and that’s when I remembered that I owned fern printed napkins!
Unfold and open the napkin up, and then separate the layers of paper. Cut what portion you need from the decorative section and follow the same directions above.
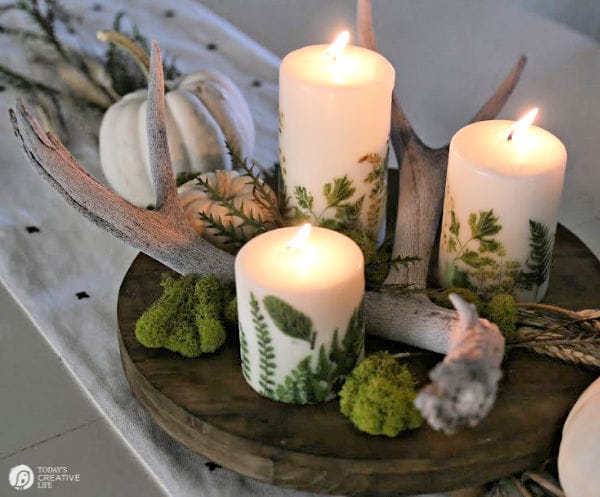
You can’t even tell which ones I printed and which one is from the napkin.
I bet you had no idea how learning how to transfer images to a candle would be so simple and easy! Now you can create any design you want for any time of year for beautiful seasonal decor.
EASY DIY HOME DECOR IDEAS FOR FALL
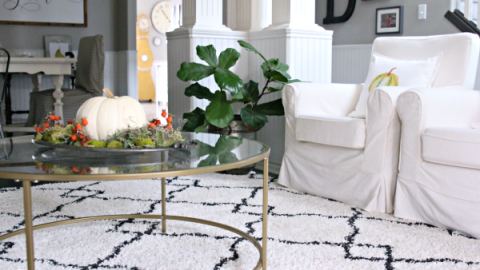
Simple, stylish and budget-friendly ideas for decorating for Fall and Autumn.
Decorating a Porch for Fall
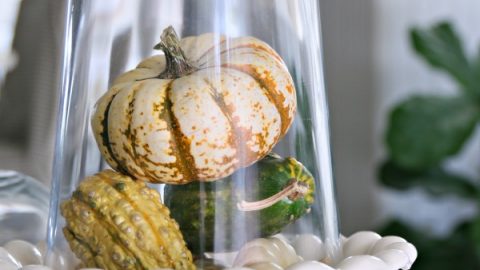
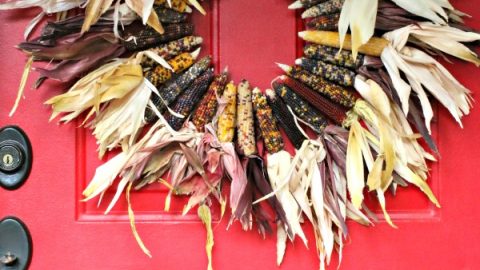
Use natural elements from your yard to create this beautiful Autumn porch.
DIY Fall Decor Rustic Centerpiece
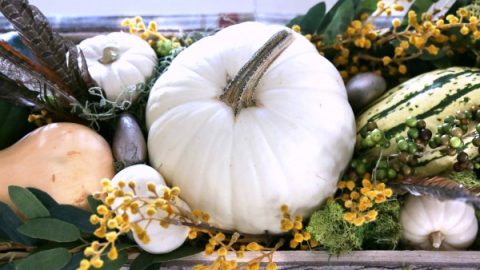
Grab all the pumpkins, moss, and picks from the yard to create this easy centerpiece.
Simple Fall Decorating Ideas
Shop your yard for all the things you need to decor your home for fall.



Katie says
Hi! This craft is lovely. Would I be able to burn the candles after transferring the paper napkins to the candle? Thanks!
Cheryl S says
I LOVE how these turned out Kim!! What an easy craft…..and the possibilities are endless!
Kim says
Thanks Cheryl! I can’t wait to make more!
Krissy Allori says
I love how delicate and pretty these are. They look like something that I could actually do too. Thank you!
Katie says
This is such a fun activity to do with friends! We all loved it.
Kim says
Thanks Katie! It’s an easy one to love!
Sarah Skaggs says
These are so gorgeous! I would have never thought to try this but now it is high on my list!
Kim says
Thanks Sarah! I can’t believe it took me so long!
Pam Dana says
This is seriously so cool!! Thanks so much for the tutorial!
Kim says
Thanks Pam! I know you’ll love this!