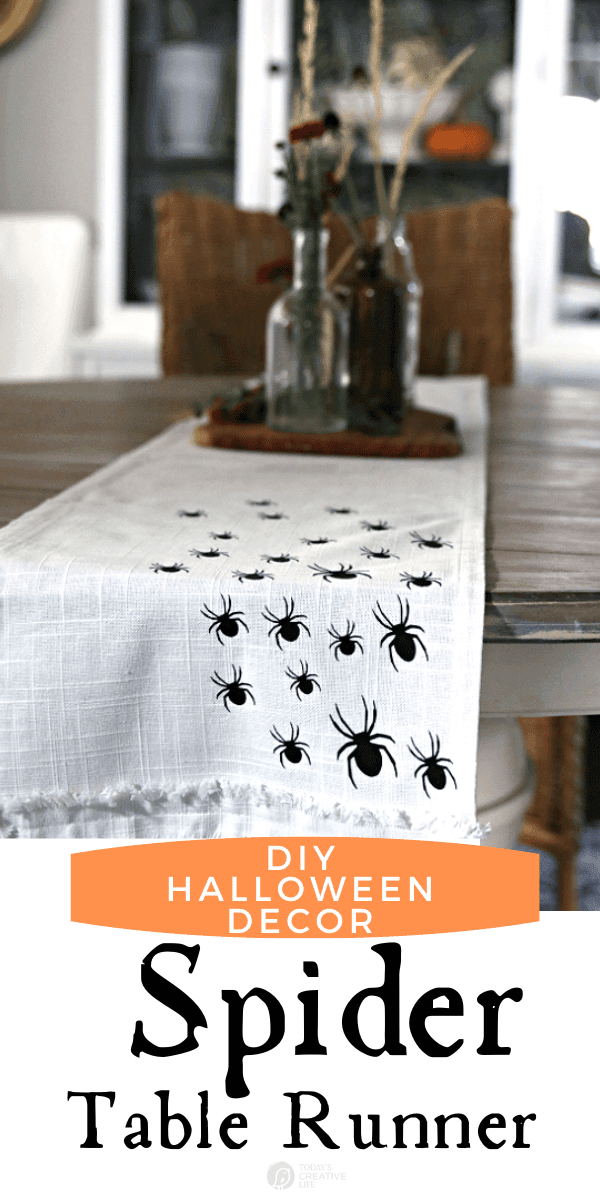
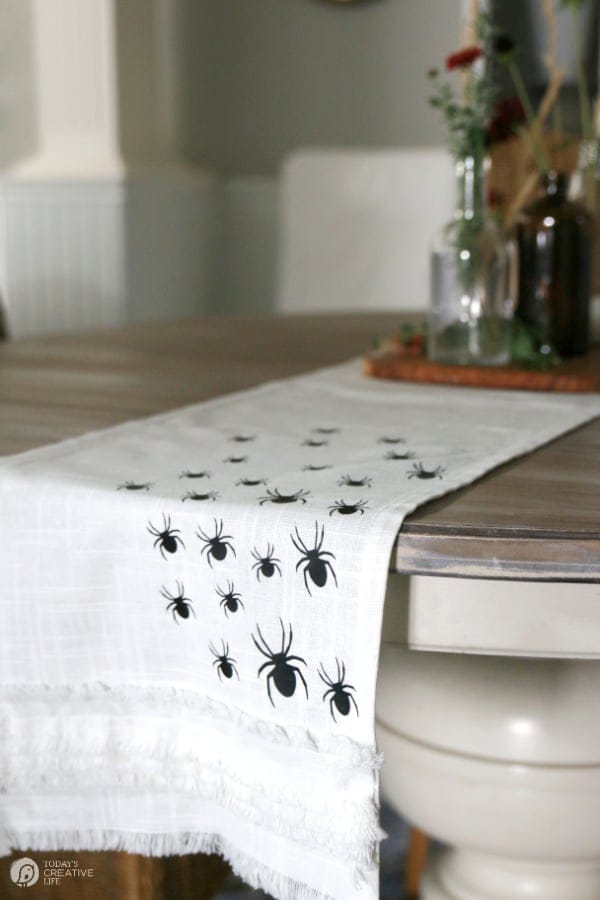
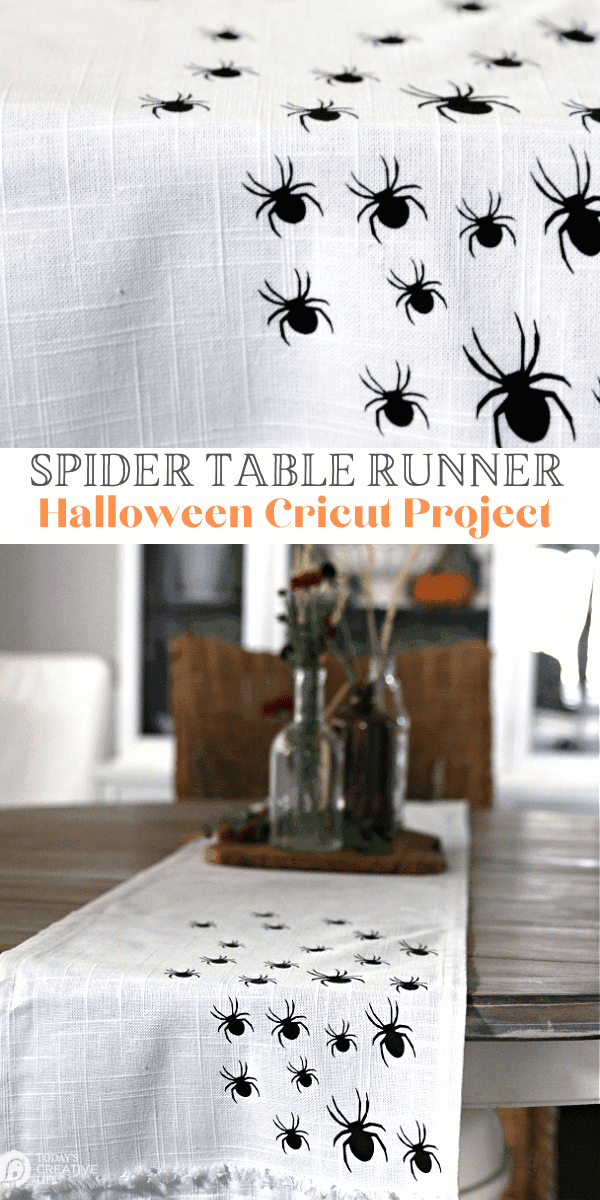
Creating my own DIY Halloween Decor is always more fun, stylish, and budget-friendly than store-bought. I made this creepy crawly spider table runner in about 30 minutes using my Cricut Joy craft machine. I have a lot of ideas for making your own Halloween decorations located under the Halloween tab on the top toolbar.
DIY Halloween Decor
I don’t like a lot of Halloween decorations and find a lot of options tacky. I’m not into overly scary Halloween decor, and I hate anything cutesy, so I usually make my own. Making my own DIY Halloween decorations allows me to create a more custom look that I can actually enjoy and looks nice. 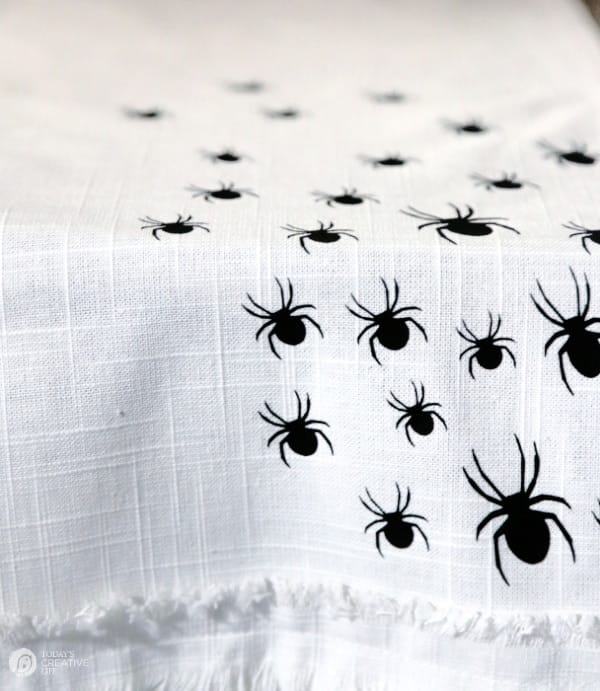
DIY Decorating for Halloween
Here are a few of my favorite DIYs I’ve done for decorating my home for Halloween.
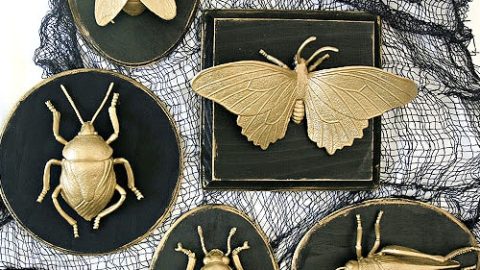
- Faux Insect Taxidermy – I may keep these up all year long!
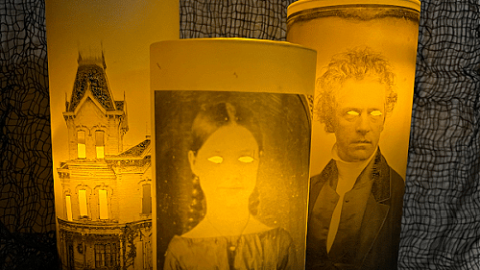
- Glowing Eyes Victorian Photo Candles – So creepy and very budget-friendly.
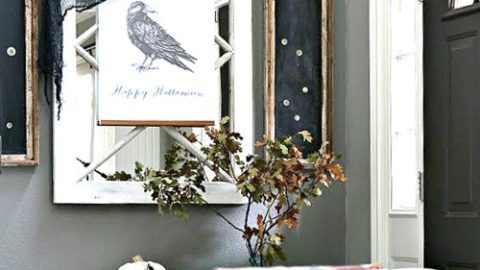
- Poster Size Halloween Wall Art – Large wall art is hard to find for Halloween. These look SO good hanging in my entryway!
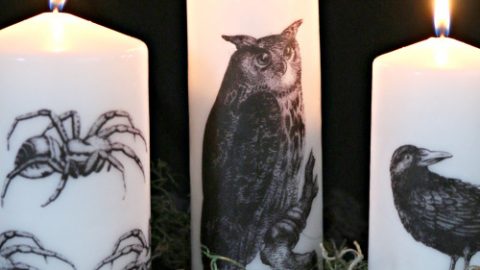
- Image Transfer Halloween Candles – This is one of my favorite crafts to do!
How to Make a Spider Halloween Table Runner
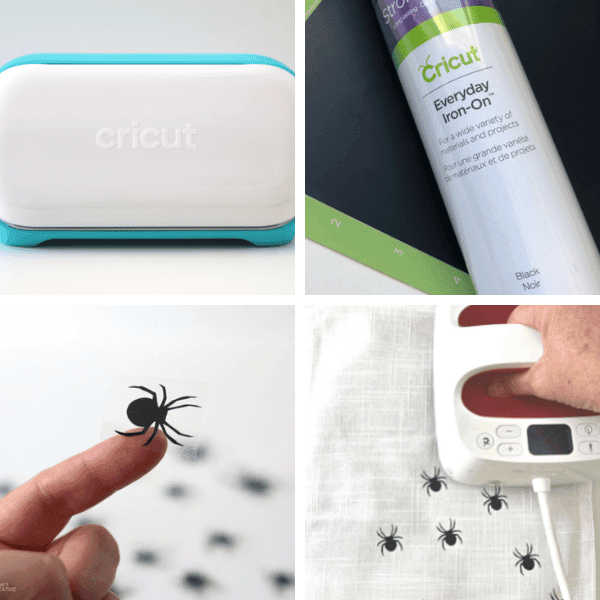
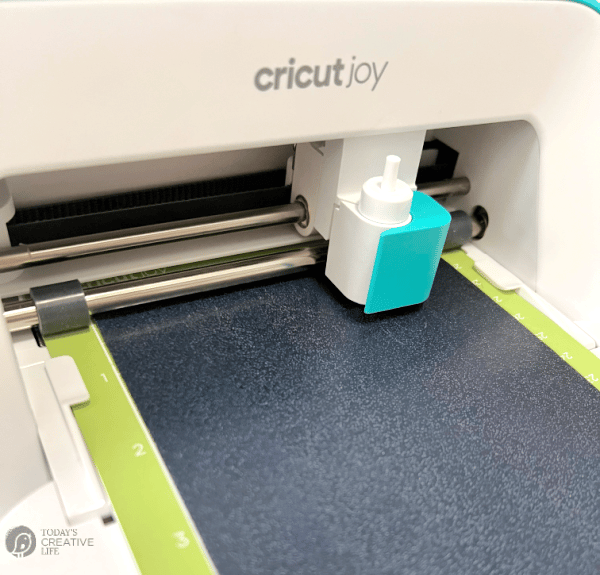
I used my Cricut Joy machine. It’s the most economical Cricut cutting machine and I use it for all my smaller projects, which is a lot! If you had a Spider punch or wanted to hand-cut spiders from iron-on black vinyl, that is also an option.
You’ll need:
- Table Runner – I had this white one in my craft stash, but you could use any color you’d like. You could also use a tablecloth instead.
- Cricut Cutting Machine – or you can try hand-cutting using a small spider template.
- Black iron-on vinyl. The glitter variety would also be great for this!
- Iron or an EasyPress heat press from Cricut.
I used my Cricut Joy because I was cutting for a smaller project. It’s also the easiest machine for me to use.
Halloween Table Runner
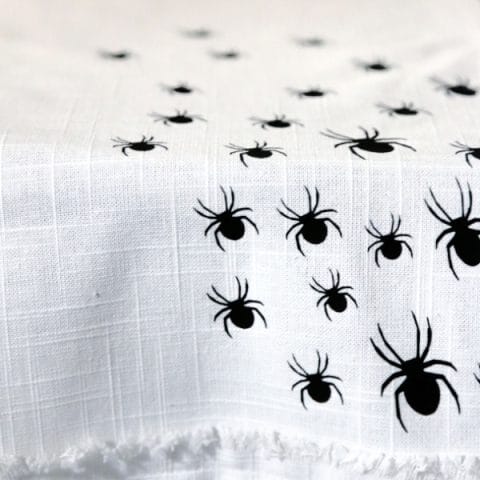
Make this creepy crawly spider Halloween table runner to dress up your table in 30 minutes or less.
Materials
- Table Runner
Tools
- Cricut Cutting Machine - I used my Cricut Joy
- Cricut EasyPress Heat Press - a regular iron on hot (no steam) will also work.
- Vinyl weeding tools
Instructions
- Gather your supplies and cut your spiders. Remember that the shiny side goes down when using iron-on vinyl. You can see a full tutorial on how to cut iron-on vinyl here.

- After I cut all my spiders,
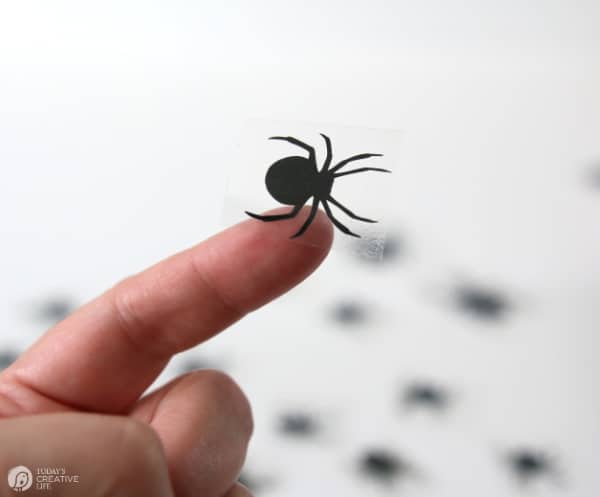
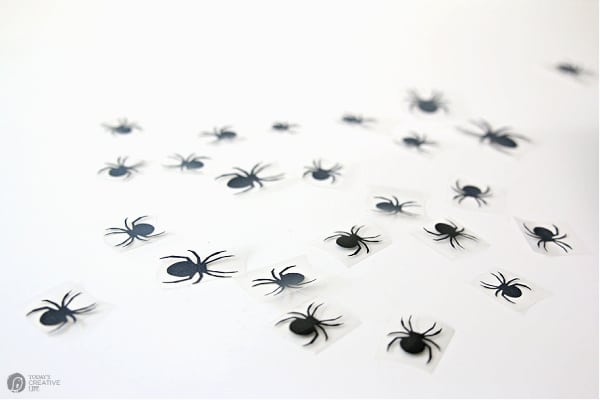
 I cut them all into individual spiders so I could place them randomly.

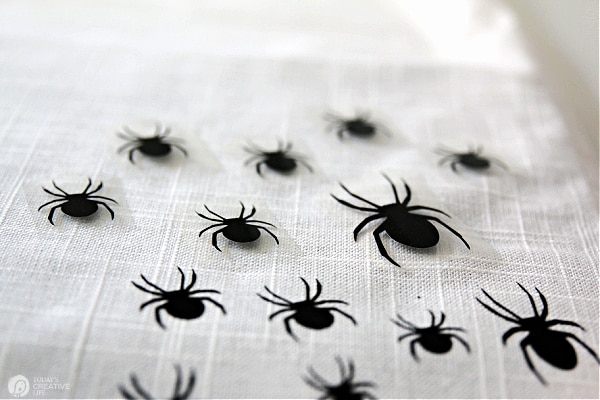
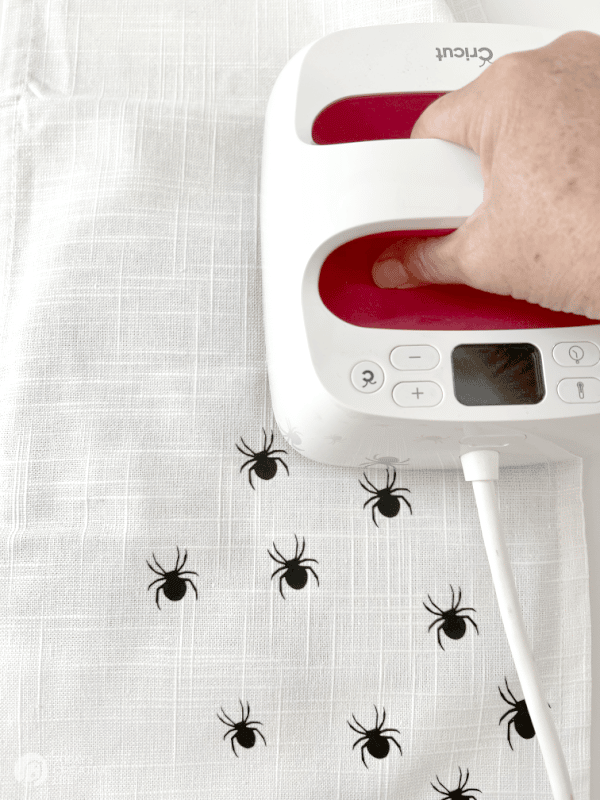
- Place them on your table runner and iron them on in sections. I used a piece of parchment paper when needed to cover the ones I had already ironed on. DO NOT iron over any of the spiders after removing the protective clear layer.


- Remove the top clear layer as shown in the video to show your spider design now secure on the fabric.
- Time to put it on the table!
Notes
The cost was hard to factor since many of the products used, you would also use for many other projects. I projected the cost to reflect the table runner.
Cricut Halloween Ideas
If you do have a Cricut machine, then you’ll love the Halloween Cricut Projects I have available here on Today’s Creative Life. These handy machines really do make it easy to create home decor for any season or holiday.
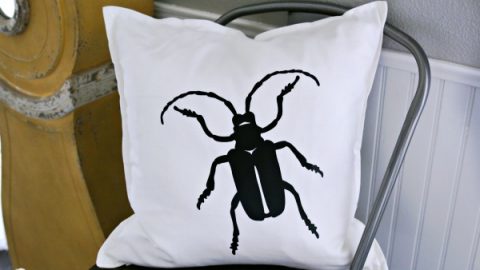
- Iron-on Beetle Pillow Cover
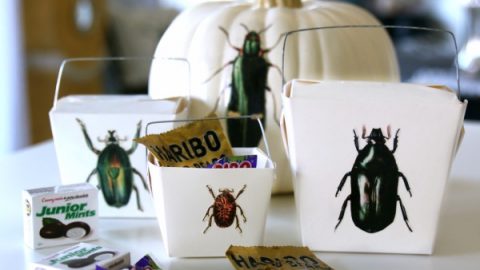
- Vintage Insect Halloween Treat Box – I didn’t use my Cricut on this particular project, but I should have. I could have used it to cut the insects out after printing.
- Halloween Votives
- Halloween Boo Box
- Monster Trick or Treat Bag
Happy Halloween everyone! Let me know if you have any questions and I’d love to see what you come up with!
Ideas for DIY Halloween Decor
Find creative and easy DIY Halloween Decor ideas for decorating your home.
DIY Halloween Treat Box - Free Printables
Make creepy and original treat boxes for Halloween party favors.
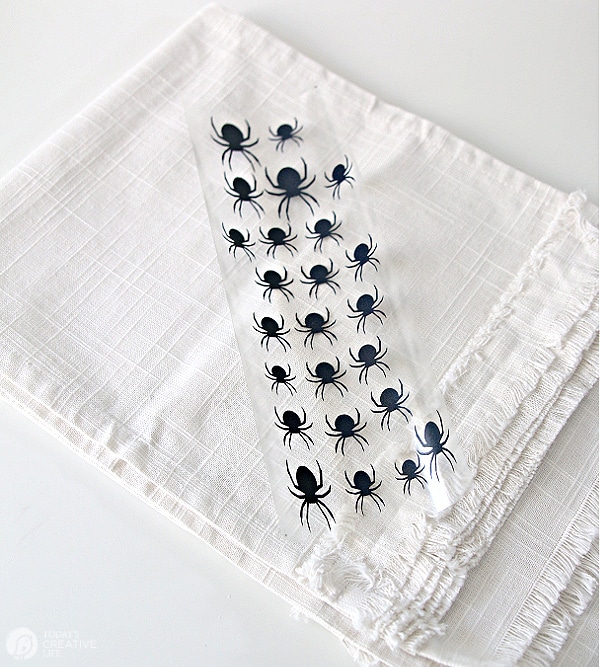 I cut them all into individual spiders so I could place them randomly.





Leave a Reply