This DIY Wood Tray with leather handles is extra-long and needs no building experience. Everyone needs a large serving tray to use for home decor or serving a charcuterie board full of delicious food.
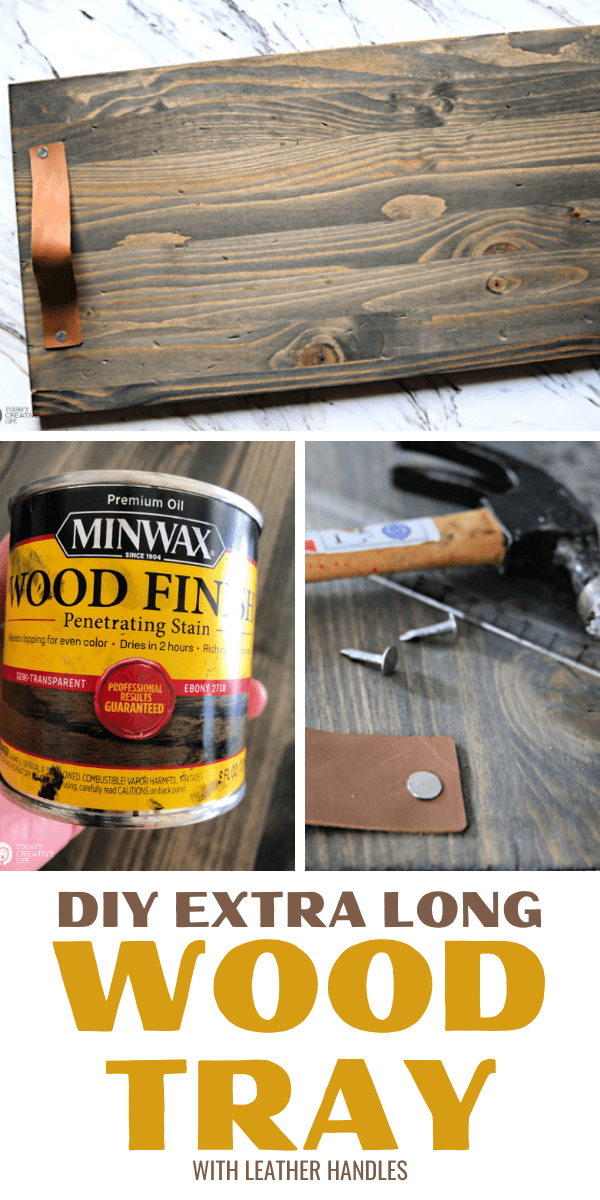
DIY Wood Tray with Leather Handles
While decorating my dining room table, I wanted a narrow long wood tray, preferably with leather or iron handles. When I did a quick search, I wasn’t willing to spend the amount of money they were going for. Especially, When I could possibly make it myself.
I have ZERO building skills, but I thought I could either have my husband cut a slab of wood or ask them to do it for me at Lowe’s or Home Depot.
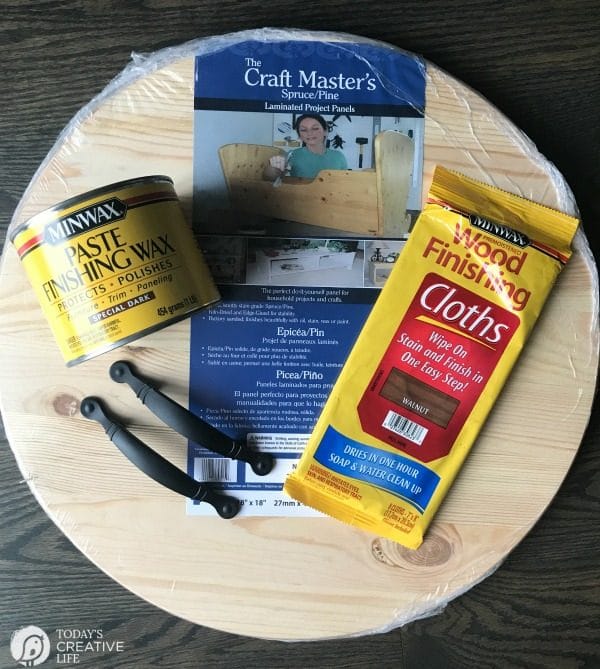
Then I remembered that they have some pre-made unfinished wood pieces just for DIY projects. This is how I found the round piece for the DIY Round Wood Serving Tray I made.
I already had some leather sheets that I used for my leather cord wraps I made with my Cricut.
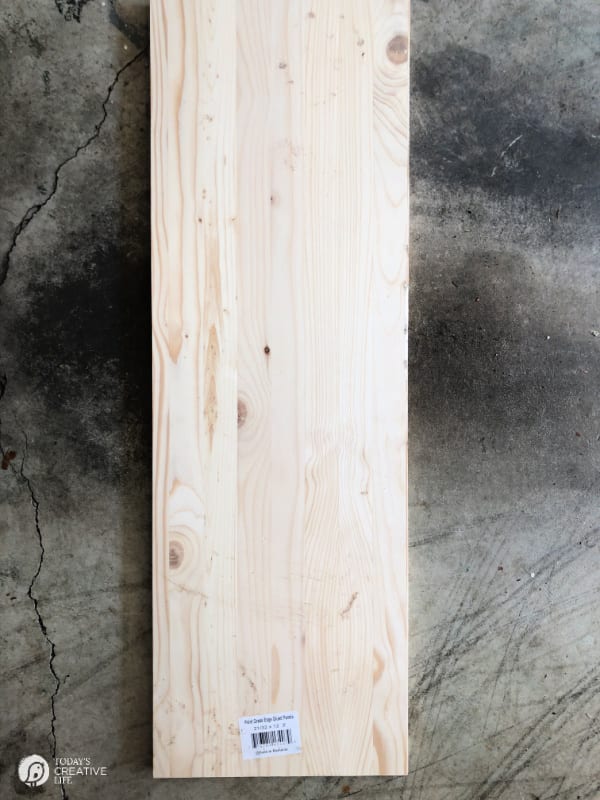
I found this unfinished common board that was perfect for my project. It’s about 4ft long, 1 inch thick, and 12 inches wide. This was exactly the size I needed.
How to Make a DIY Wood Tray
Extra Long Wood Serving Tray with Leather Handles
Materials
- 4 ft long x 12 inch wide unfinished board
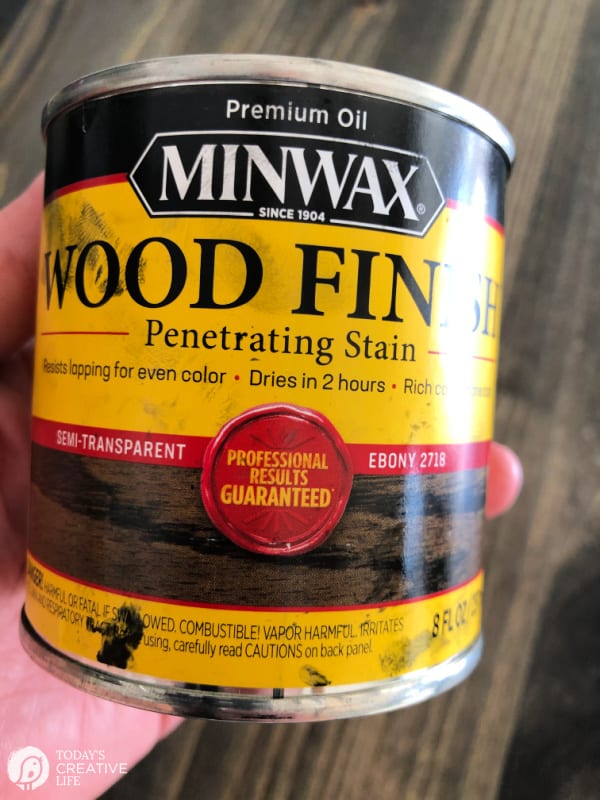
- Wood Stain in desired color. I used Ebony my MinWax
- Old rag or paper towels
- Thin sheet of leather - Mine are from Cricut
- Paint Brush
Tools
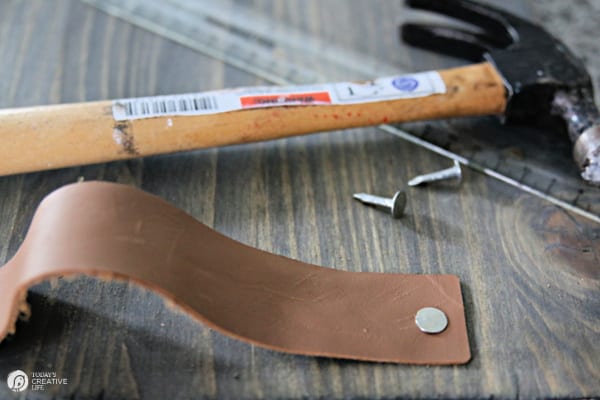
- Hammer
- Short Flat Head Nails
- Scissors or Cricut Cutting Machine for leather
Instructions
- Gather your supplies and find a well-ventilated dry area for your project. I don't recommend doing this indoors.

- I didn't sand my board, as it was already smooth and unfinished.

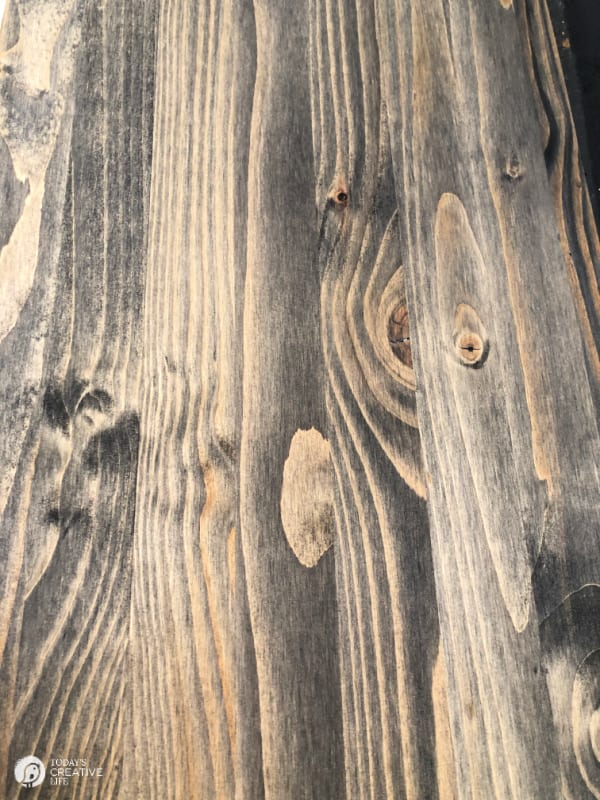
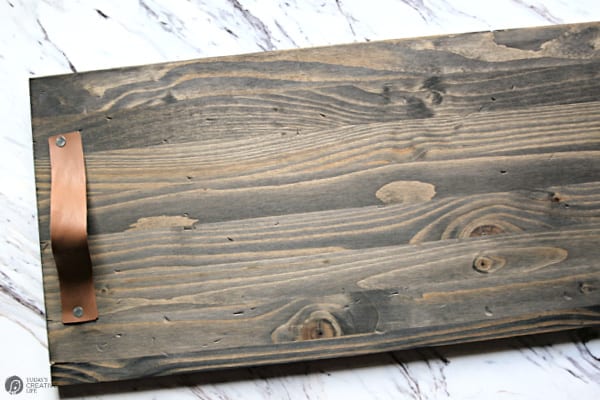
- Brush the stain on and then use an old rag or paper towels to wipe off excess. The ebony stain goes on really black at first and I wasn't sure that was the look I was wanting, but once I wiped it off, it looked beautiful.

- I let my board dry and off-gas for at least 24 hours. Off-gassing is allowing all the smell to dissipate.
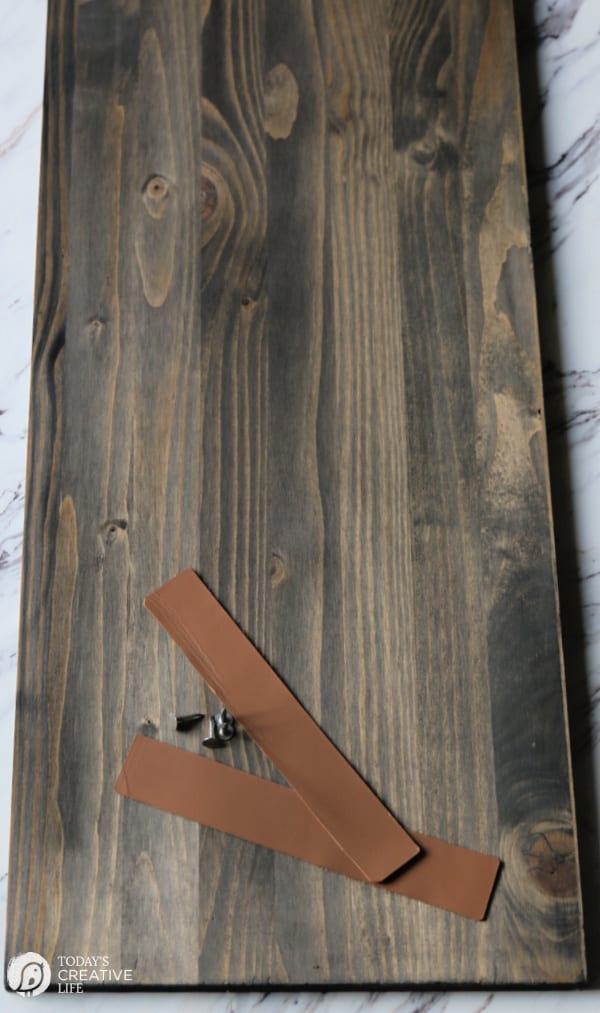
- While the board is drying, I gathered a couple of short nails and cut the handles from a thin piece of leather. They are about 8 inches long and 1 inch wide. If you don't have a Cricut cutting machine, just use good scissors.

- Once the wood is dry, place the leather handles where you want them. I measured equal inches from the edge and I gave the handles enough slack so they could be used for carrying.


- Using your hammer, nail in place.
Notes
- For a more distressed look, you can rough up your board before staining. I used both sides of a hammer. You can use heavy chains, rocks, wire brushes etc... to drag across the wood to create a worn wood look.
- If you're doing this project in the garage, be sure you are not close to a furnace or hot water heater.
- If you're using your wood tray for food, allow the tray to cure for 30 days or longer. You can also apply a polyurethane for added protection from moisture. Check the stain products recommendations for more safety information.
How to Make a DIY Wood Tray Look Old
It’s pretty easy to give wood an aged distressed look. There are several items you probably have in your garage that you can use to create knicks, dings and all the marks that will give your new serving tray more character. I used both ends of a hammer to create a few marks. You can also create unique marks by simply dropping heavy chains on the wood board. Running a stiff wire brush along the wood is another great option. I’m sure if you look around, you’ll start to think of many things that will leave interesting markings. After you’re finished, stain your board. The stain will set a little deeper into the grooves.
Can I Serve Food On this Wood Tray?
This wood serving tray can be used for food, but you’ll have to wait for at least 30 days for the wood to cure after staining. Always read the product information for food safety.
How to Decorate with a DIY Wood Tray
I wanted a long narrow tray to place in the center of my dining room table for decorating or placing hot dishes on to protect the table. 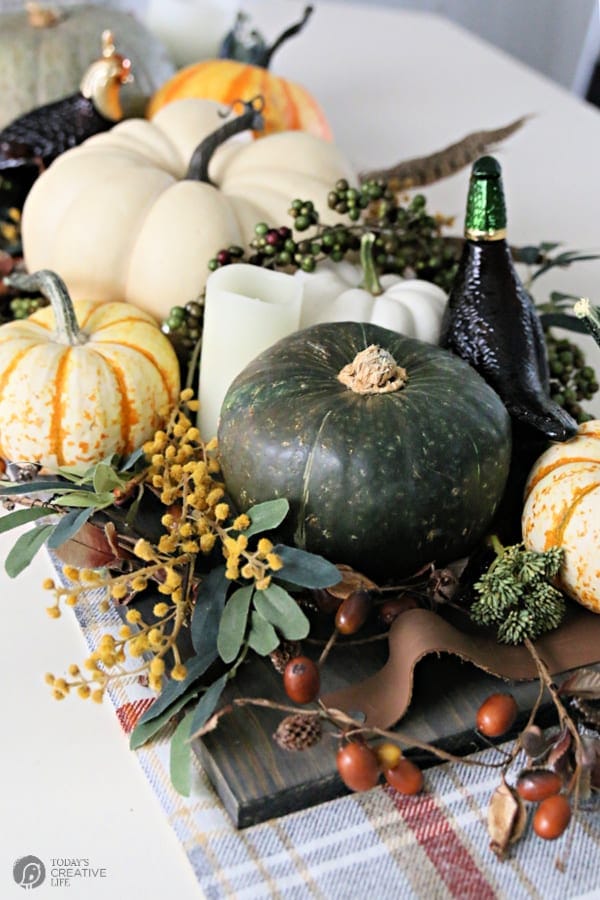
I love piling on all the fall and harvest gourds, pumpkins, and other items for a beautiful Autumn centerpiece.
Then for Christmas, I just swapped out the items.
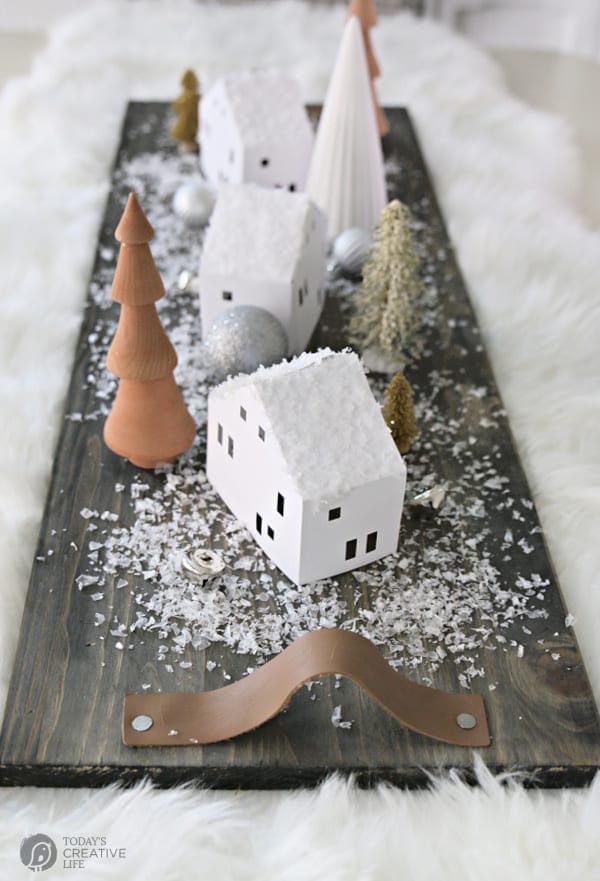
I love how versatile it is!
I was so thrilled that with no building skills needed I was able to make this DIY wood tray for serving and decorating.
If you make one, I hope you’ll share it on Facebook or Instagram and tag me!
Home Decorating Crafts
Easy DIY Ideas for decorating your home.
DIY Laboratory Flower Vases
Follow this simple tutorial on how to make these laboratory flower vases.






Leave a Reply