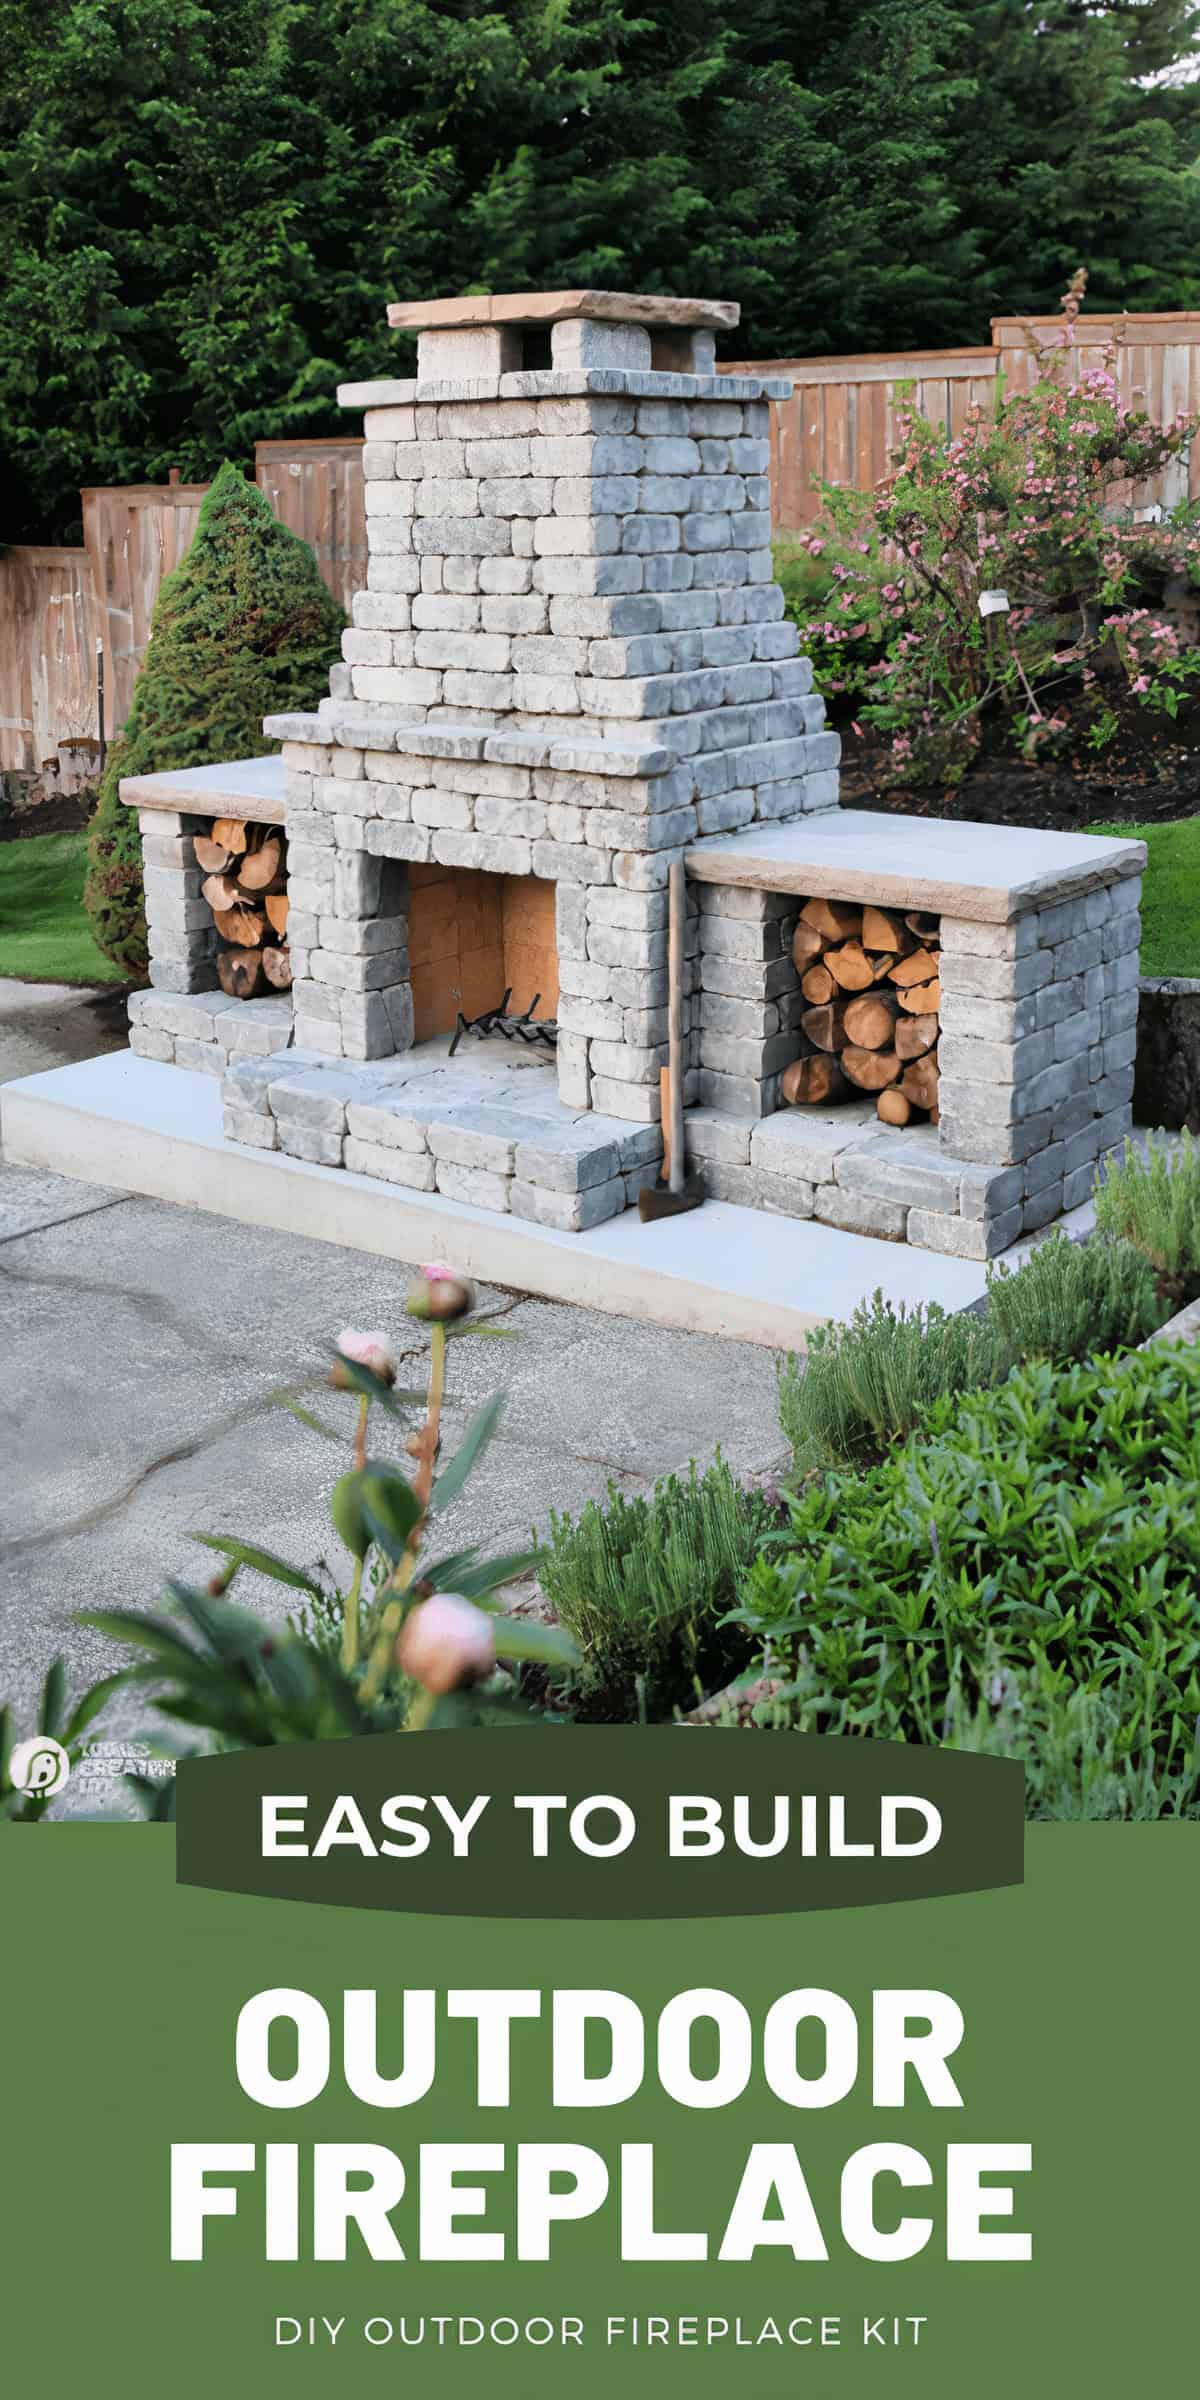
Building your own outdoor fireplace with stacked stone is easier than you may think when you use an DIY Outdoor Fireplace Kit. This kit from RomanStone came complete with all the materials and easy to follow instructions needed. Everything you need to build your new fireplace is included and sent to your home. In just 2 or 3 days you can drastically improve your outdoor living space.
Outdoor Fireplace Kit
If you’ve been around TCL for a bit, then you know we’ve been making a few house updates. We replaced our deck last year and now we’re continuing to focus on the backyard.
I have been wanting my husband to build an outdoor fireplace in our backyard for as long as I can remember. I kept telling my handy husband that he could easily do it, but he just wasn’t on board with starting from scratch. My next step was to look for a DIY outdoor fireplace kit that would take all the guesswork away.
That’s when I found the fireplace kits from RomanStone and they looked pretty easy when I viewed their video. I reached out to discuss a possible partnership and they were on board!
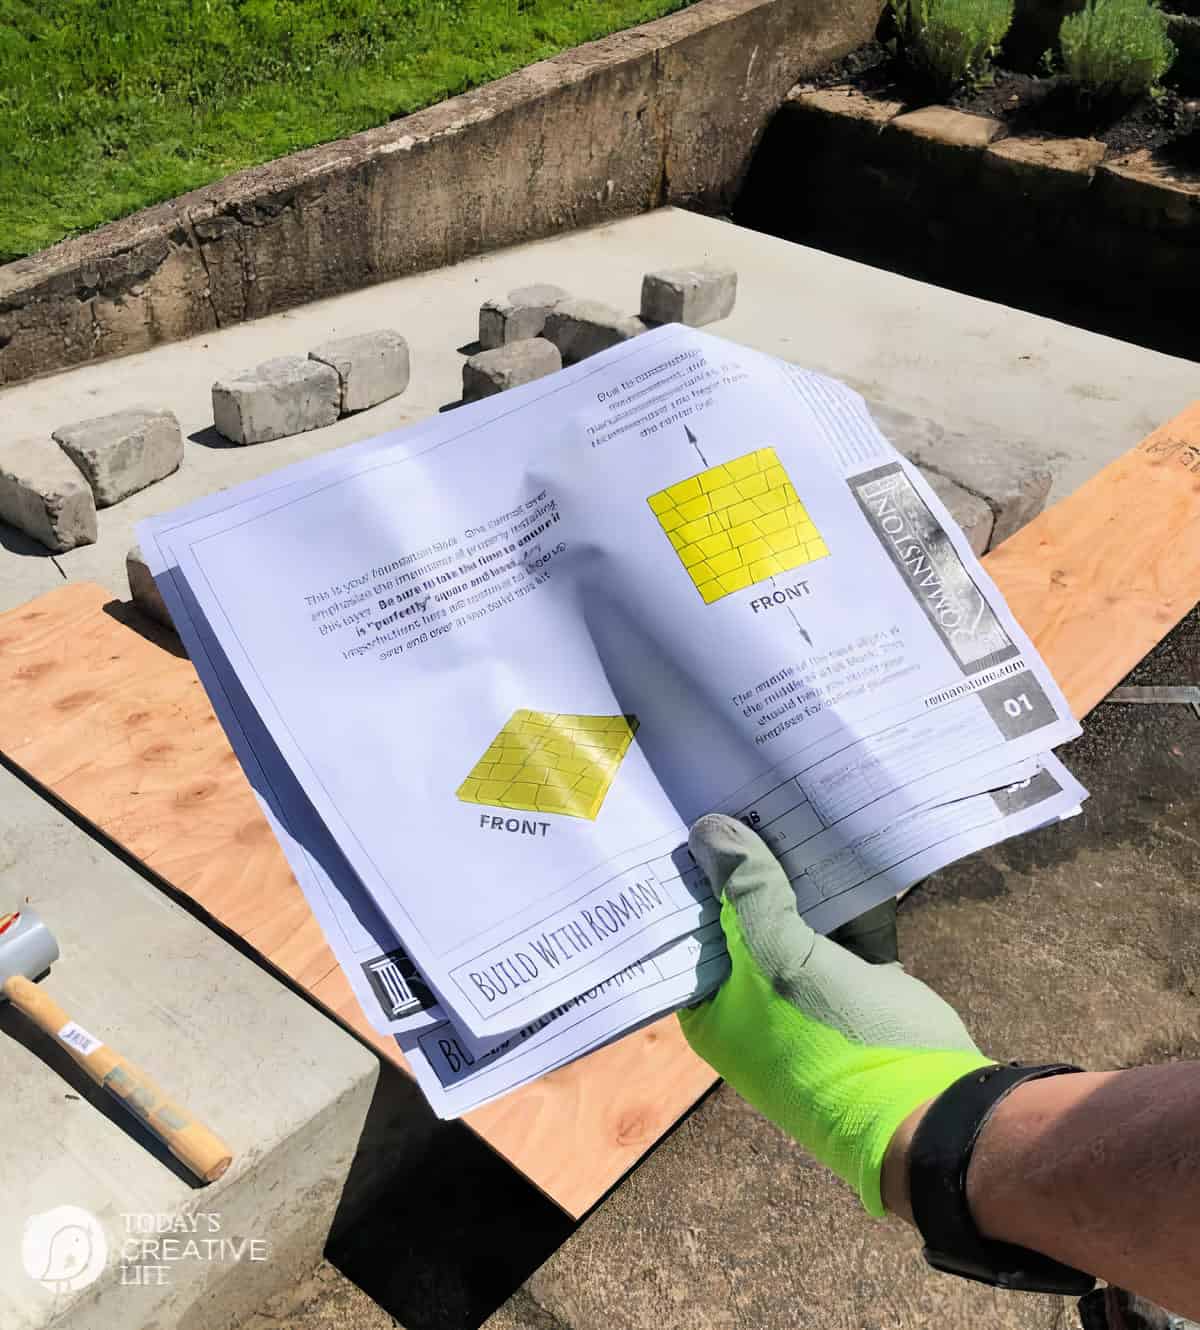
I have to say that this company was one of the most engaged and friendliest I’ve worked with. They really do make the whole process of choosing and building the best outdoor fireplace for your needs. The few times we had questions during the building process, I reached out via in a direct message on Instagram, and would receive an answer back within minutes! And usually, all our questions were answered had we just read a little further in the instructions. The directions sent along with the kit were comprehensive and very easy to follow… I thought they were easier than reading Lego directions.
How to Build an Outdoor Fireplace
- First, you need to choose the style & color you want. Building your own will save thousands of dollars.
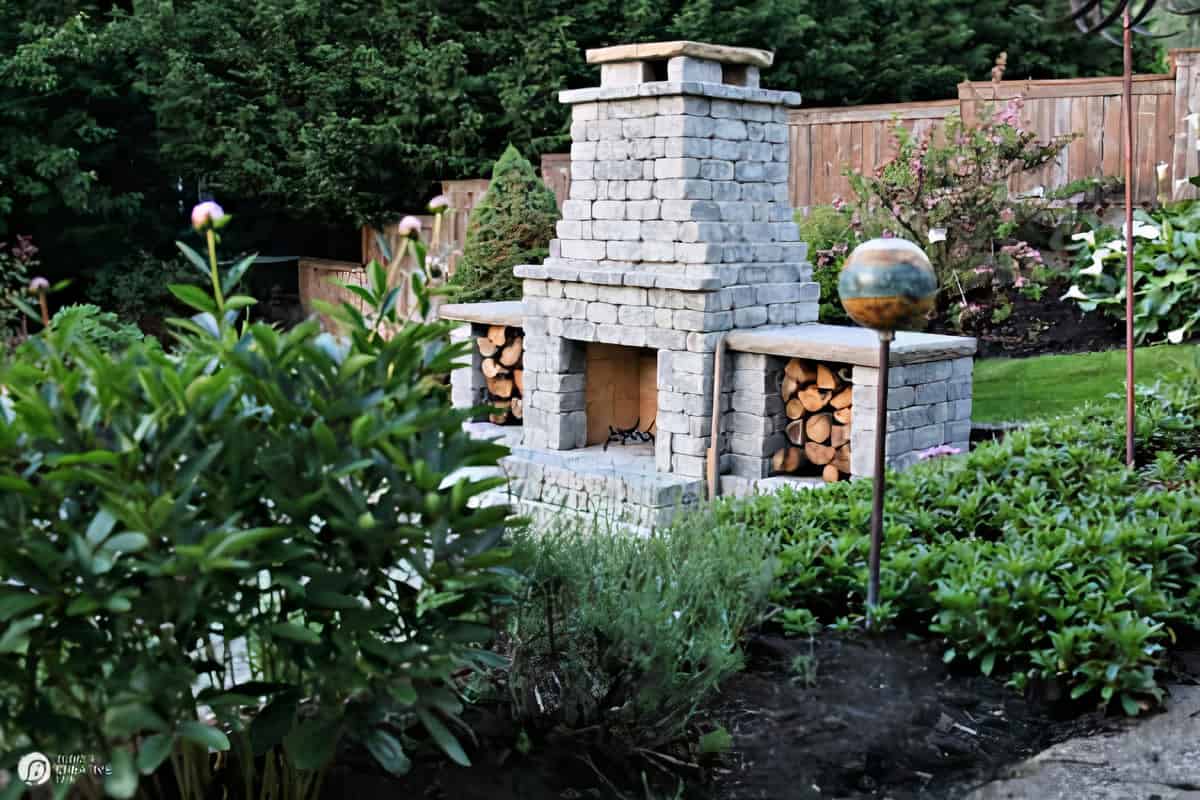
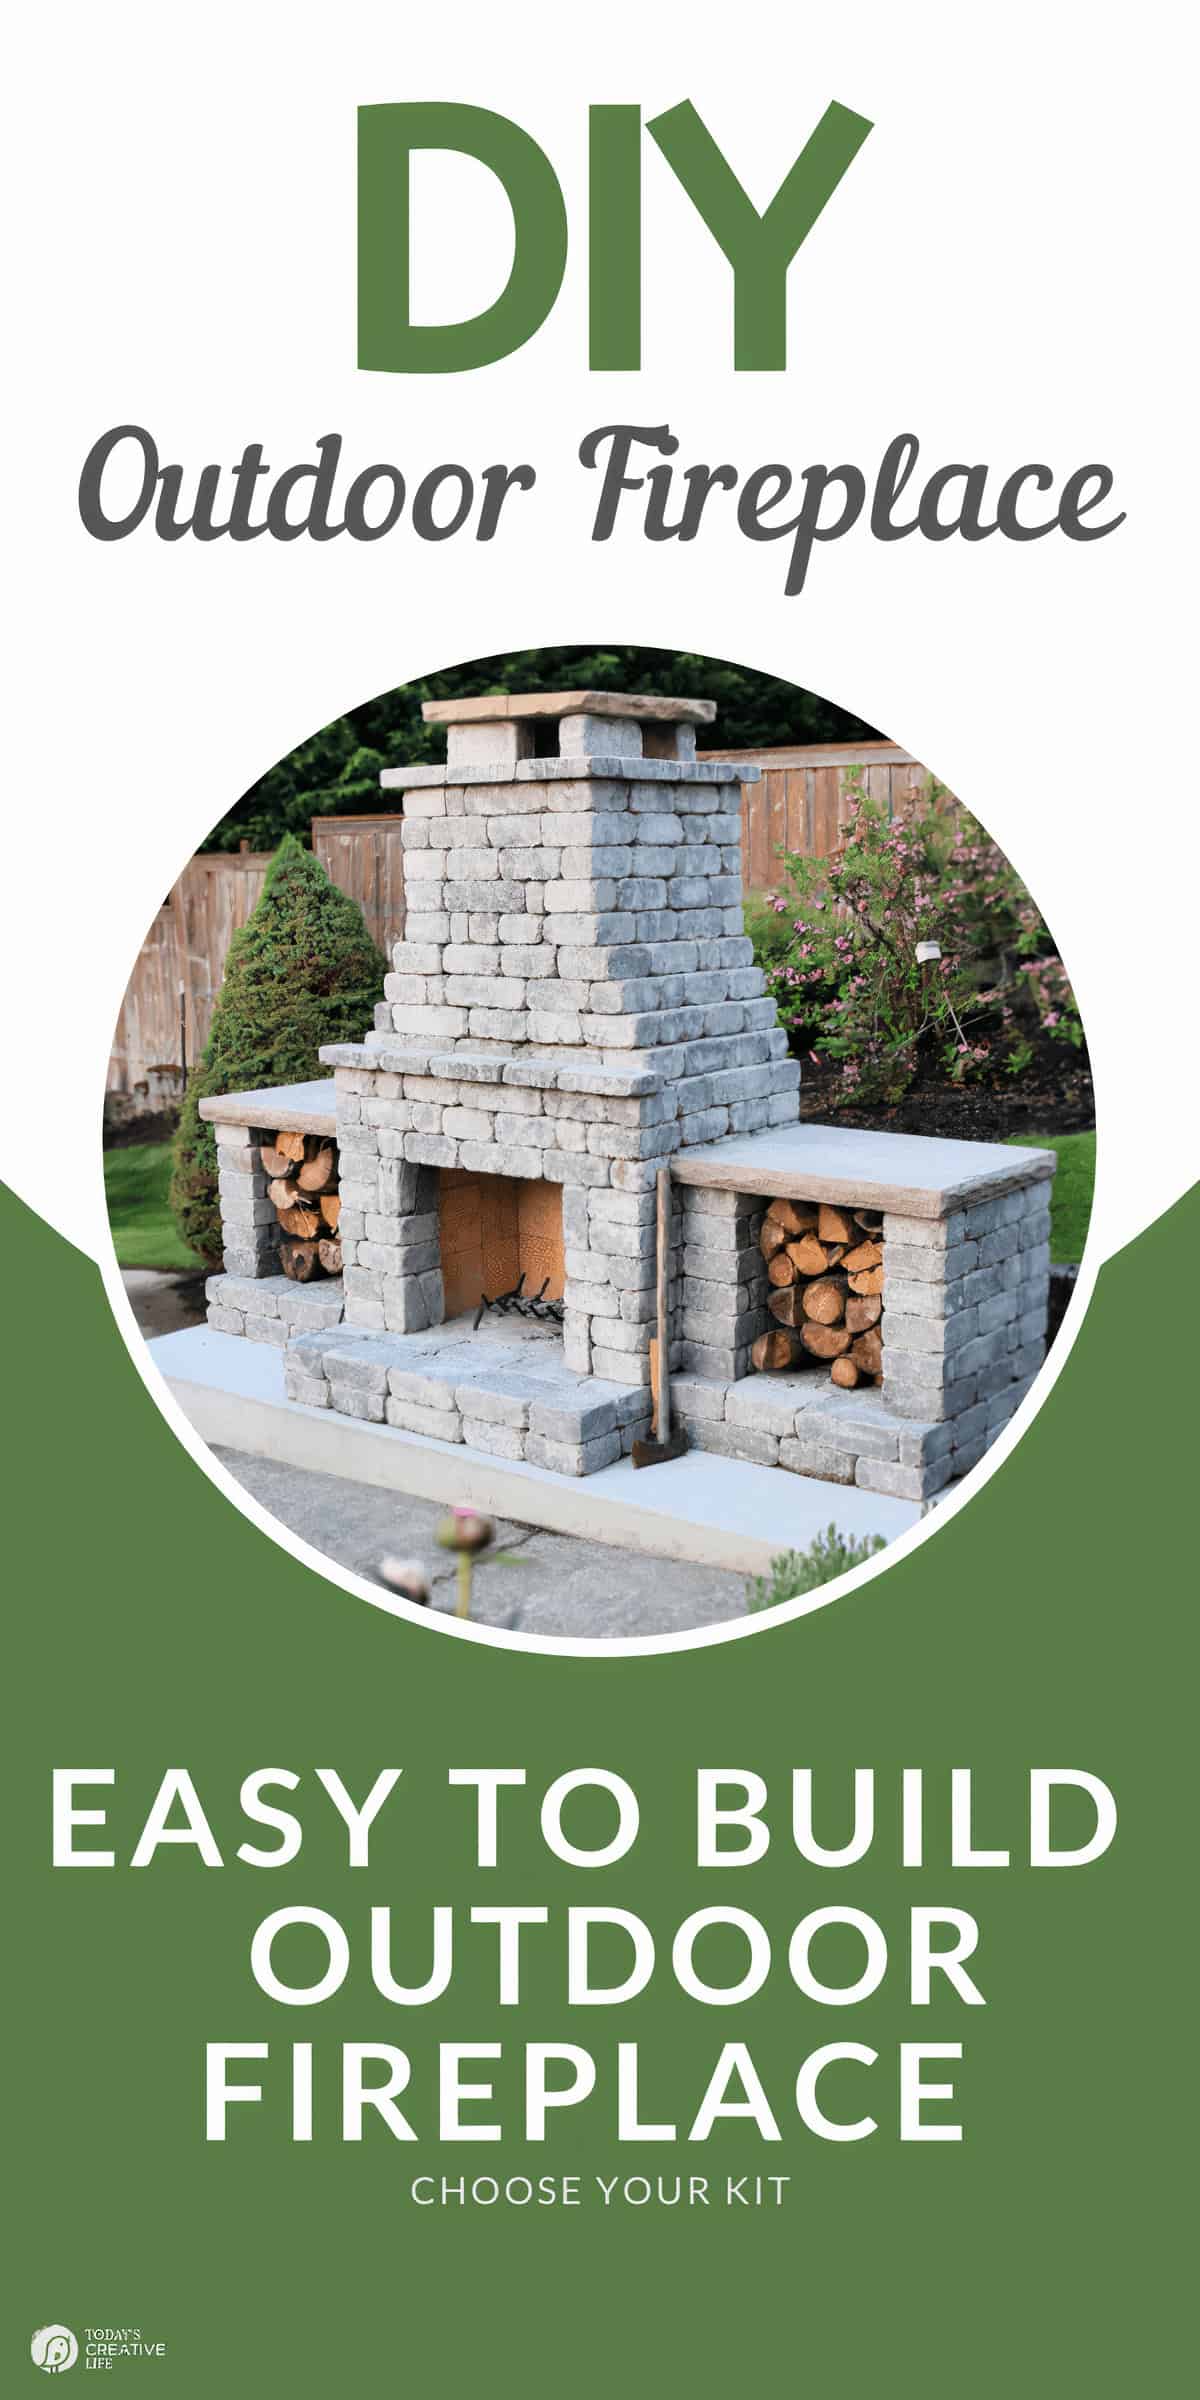
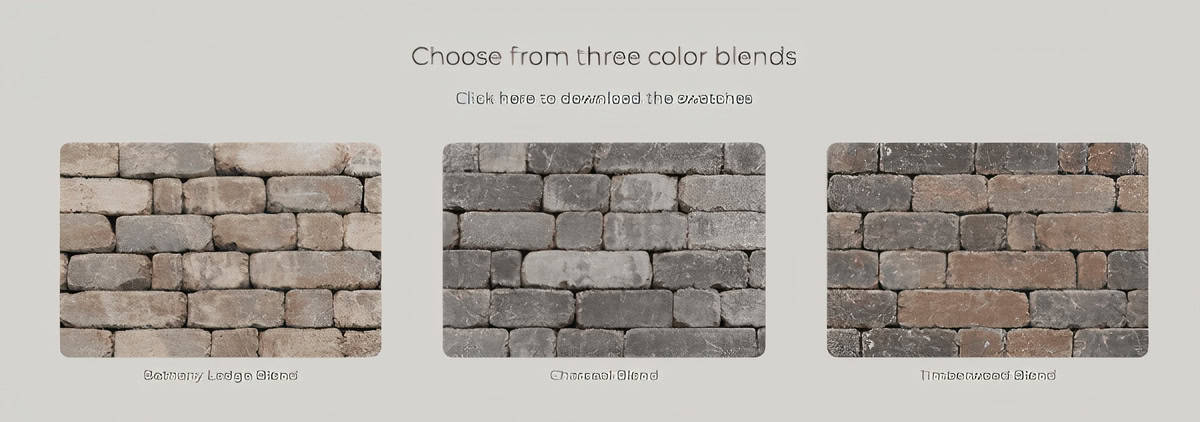
 We went with the Fremont in the charcoal blend with the classic woodboxes. You don’t have to have them, as they are sold separately.
- Second, decide where you’re going to place it. It must be built on a level surface, which can be over dirt or gravel, or concrete. We have a large concrete area in our back yard which looks level but it’s far from it. Because we wanted the fireplace somewhere in this area, we decided the easiest way to create a level surface would be to pour another smaller concrete pad just for the fireplace. We considered doing this ourselves, but since we hadn’t ever ventured into any DIY concrete projects, we opted to hire out for this portion of the job. It was the best $1500 we’ve ever spent.
We even had a lot of concrete left over to create a few garden decor projects like fern imprinted stepping stones, concrete flower pots, and concrete garden spheres.
What Comes in a Fireplace Kit
The kit is delivered to you via a trucking delivery service. They will call first to schedule a time that you’ll be home to receive it. There are 7 pallets that weigh a total of 12K pounds. They were packed and wrapped very well. It was one driver who unloaded everything into our driveway. One of the pallets had broken during freight which had to be unloaded stone by stone, which we all pitched in with. So, my advice is to have someone who is available to help if needed.
- Stones: There are about 4 different sizes of stones, as well as the firebox bricks and the stone plates for the top of the wood boxes and fireplace. Each pallet had a mixture of stones which we then unloaded to the area near where we were building the fireplace.
 We arranged them by size to make it more organized when building.
 - Adhesive Cement Glue – Our kit came with 14 tubes, and we ended up buying one extra. Instead of a “brick and mortar” method, the kit uses a small amount of the adhesive in between the stones as it is naturally structurally sound when built per instructions, but we did use a little sand to keep things level as we started building.
- Printed Instructions – Very easy to follow step by step directions. I found them easier than building a kid’s toy.

Even though this video is of their older Fremont model, it was was very helpful with the basics of learning how to build an outdoor fireplace. They have several very helpful videos on their Youtube Channel.
Big Ass Square
If you watched the video, they mention making and using a Big Ass Square. A Square ruler is a tool to make sure you have things lined up. This one is just a jumbo-sized square you make as extra assistance in keeping things… squared up and level. You most certainly don’t have to have one of these to build a DIY outdoor fireplace, but it sure was helpful and made things easier.
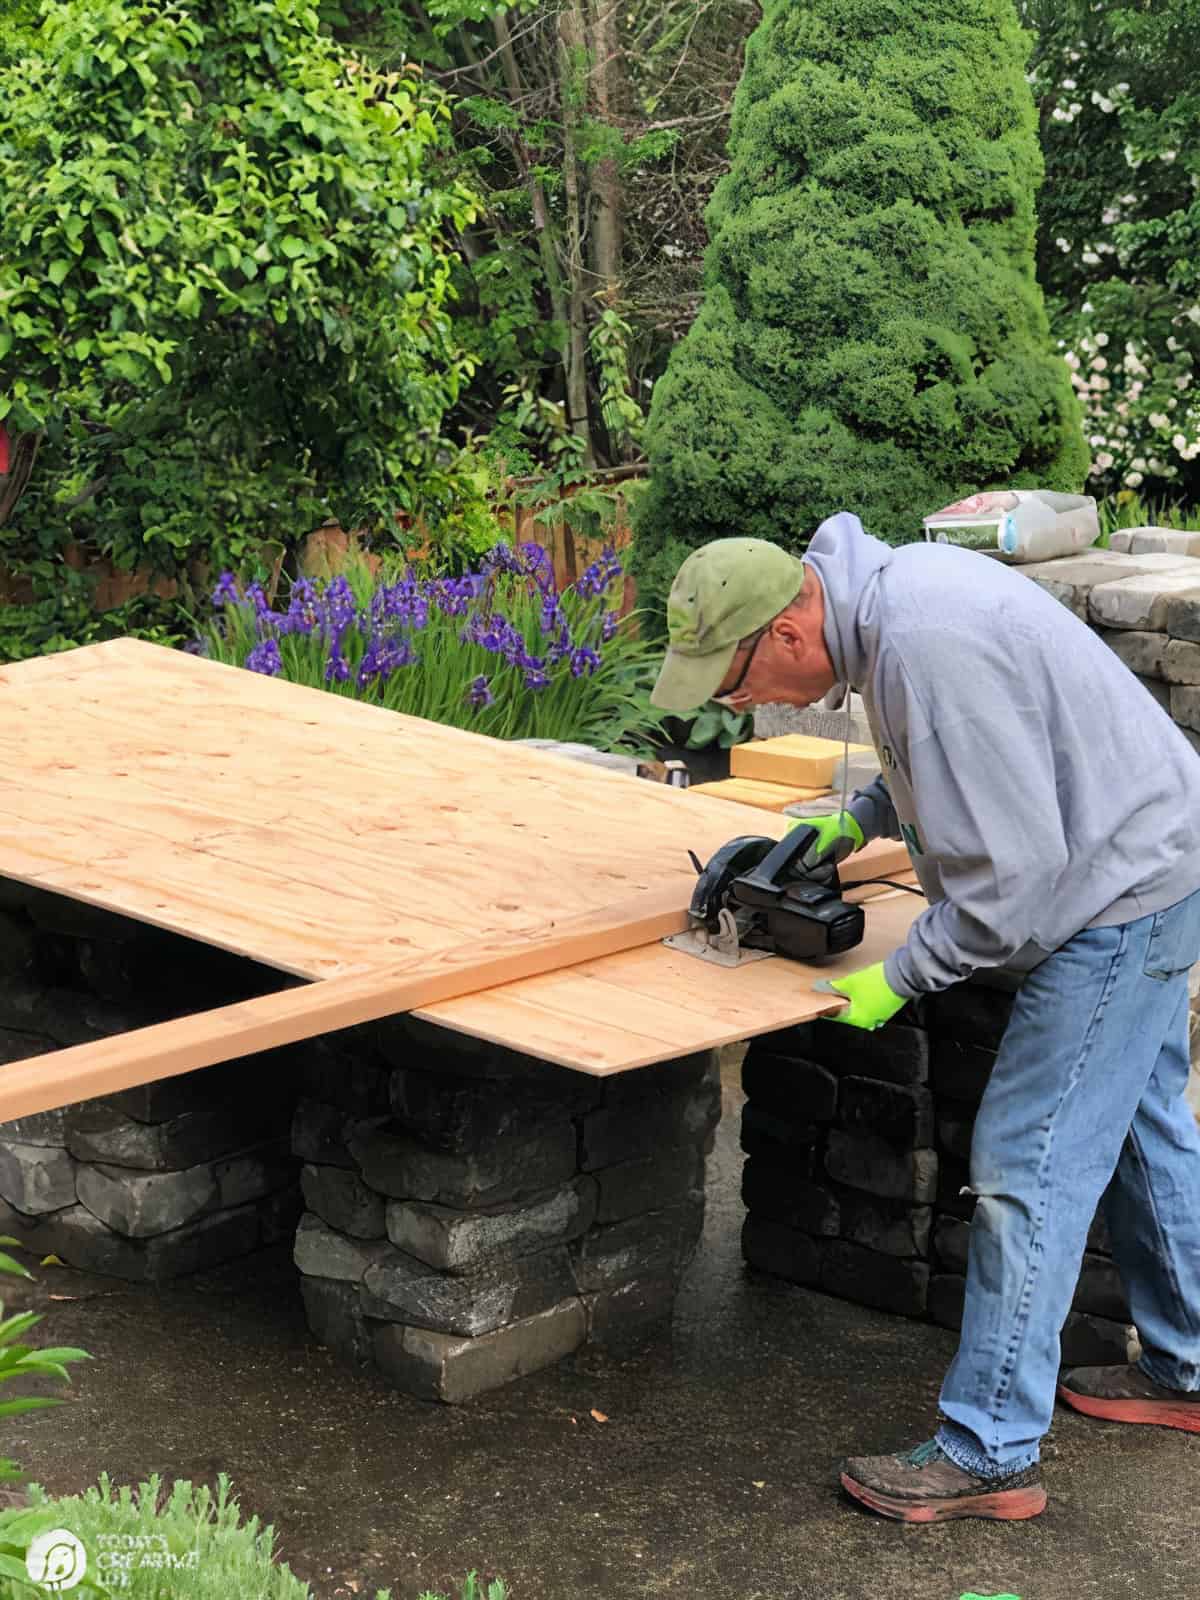
We watched their video on how to make one and my husband whipped one up in less than an hour. We didn’t paint ours, but we think the use of this tool is invaluable. They are considering making it a part of their kits.
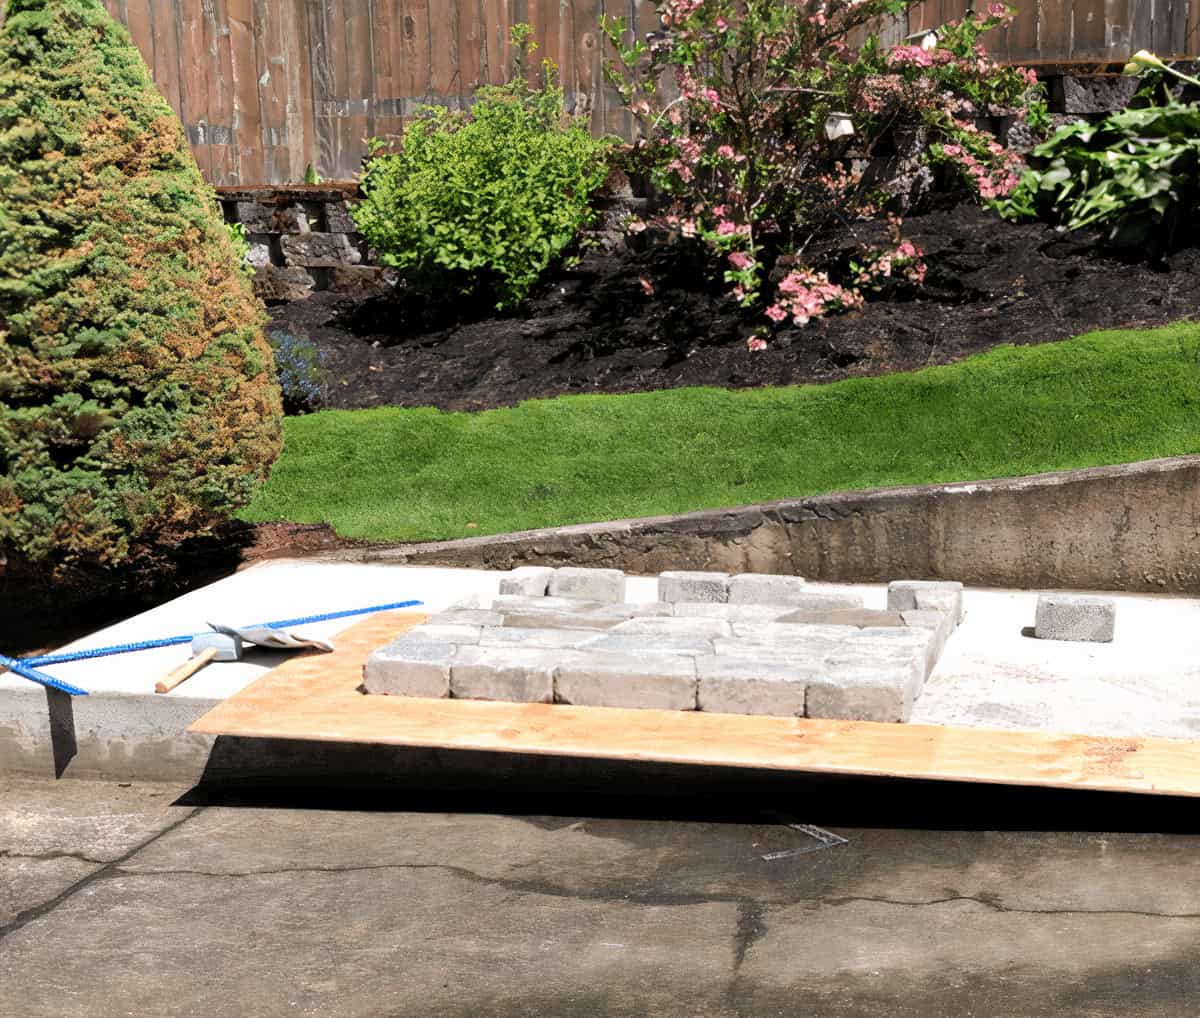
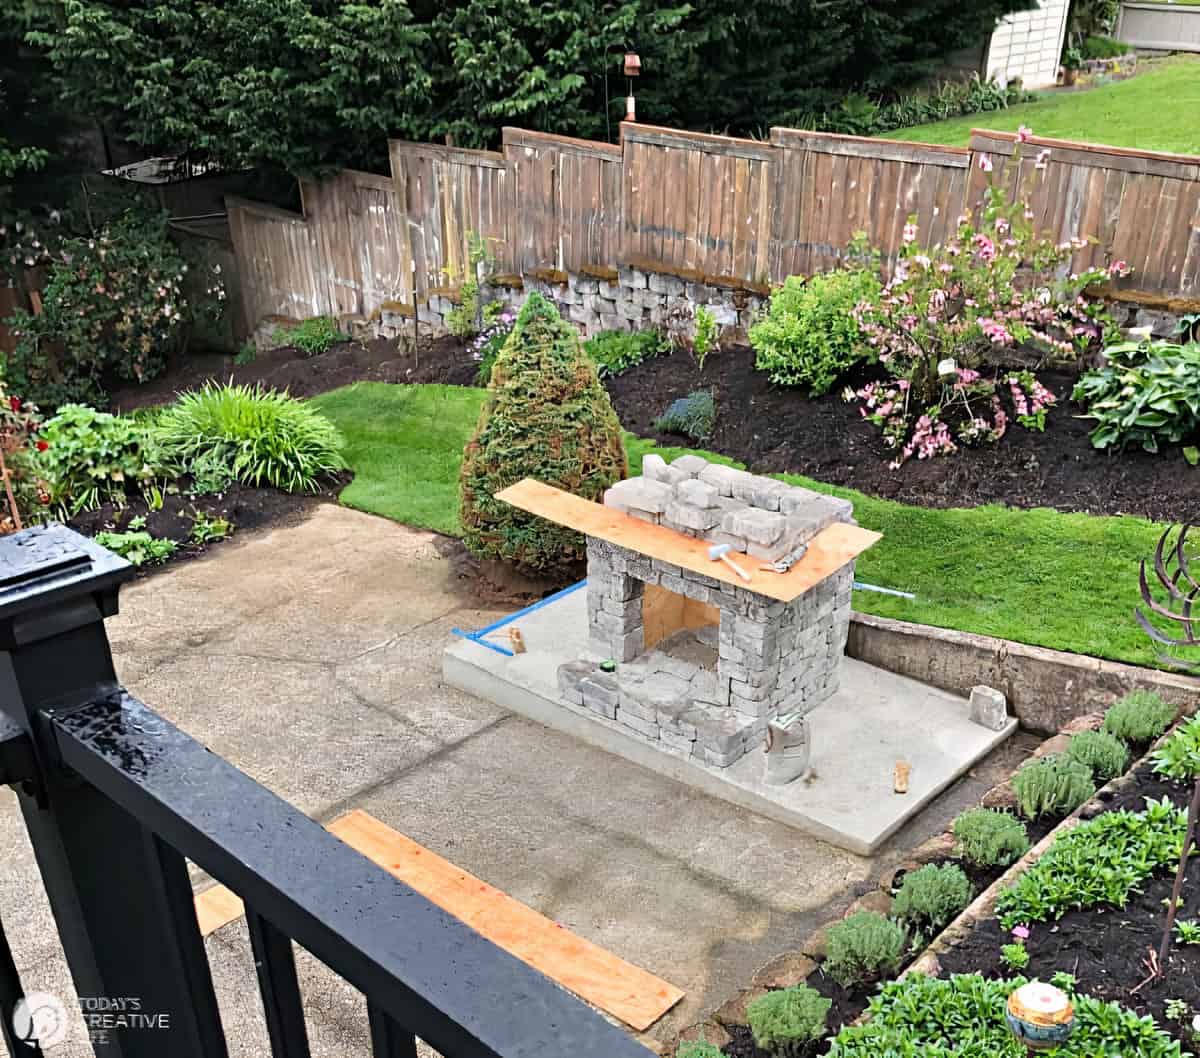
We used it after stacking each level to make sure we were lined up accurately.
Additional Tools Needed for Building Outdoor Fireplace
- 4 ft Level
- Rubber Mallett
- Gloves
- Wire Brush
- Caulking Gun
- Two 6ft. Ladders
- Sand
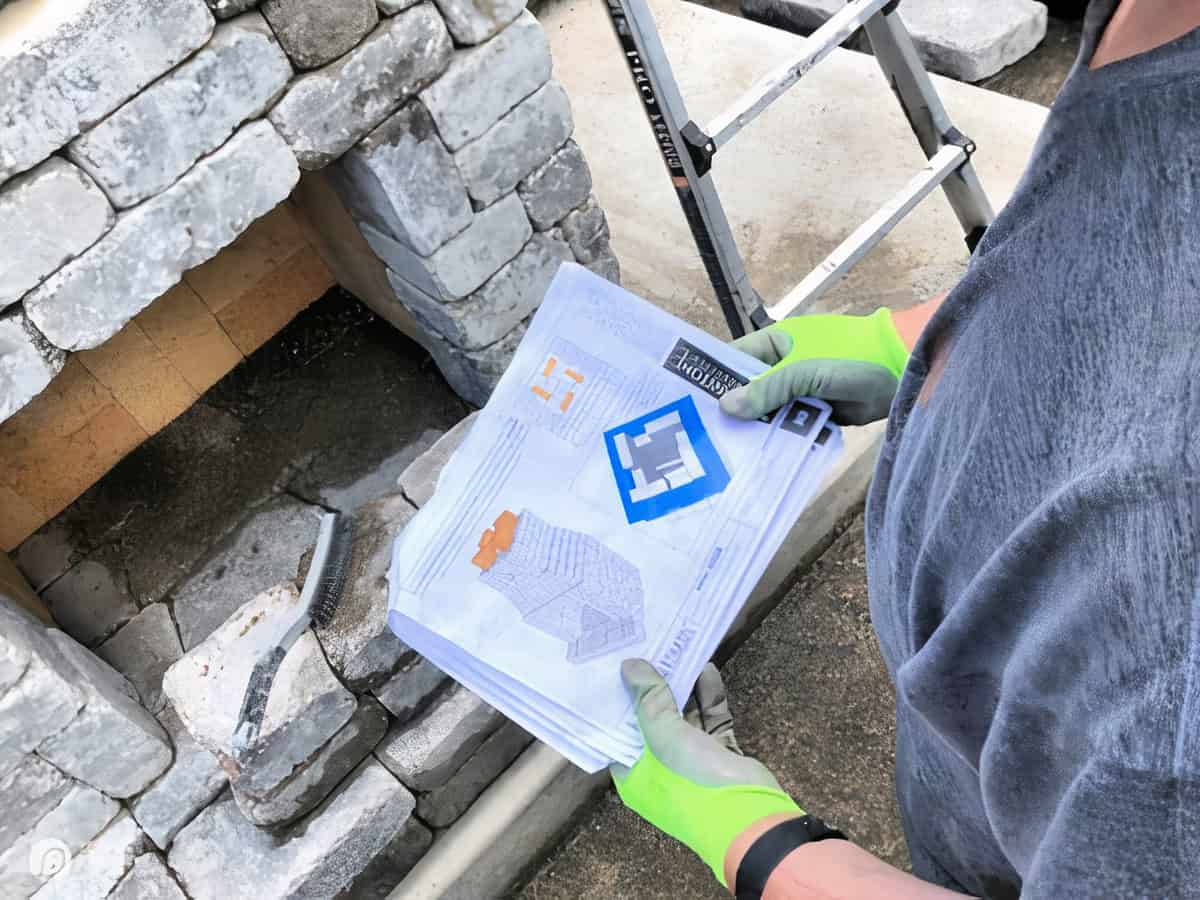
DIY Stacked Stone Outdoor Fireplace
Once we completed all the layers with stacked stone, it was time to put the top slabs on the fireplace and the woodboxes. These pieces are by far the heaviest in the whole kit. Since we are in a pandemic, we avoided having anyone over to help, until this step. We masked up and recruited a couple of friends, who were all very happy to help.
I reached out to @buildwithRoman via Instagram to ask for guidance on what the best approach was but had to read a little further in the guidelines, it suggests using the step layers as props, moving up each time.
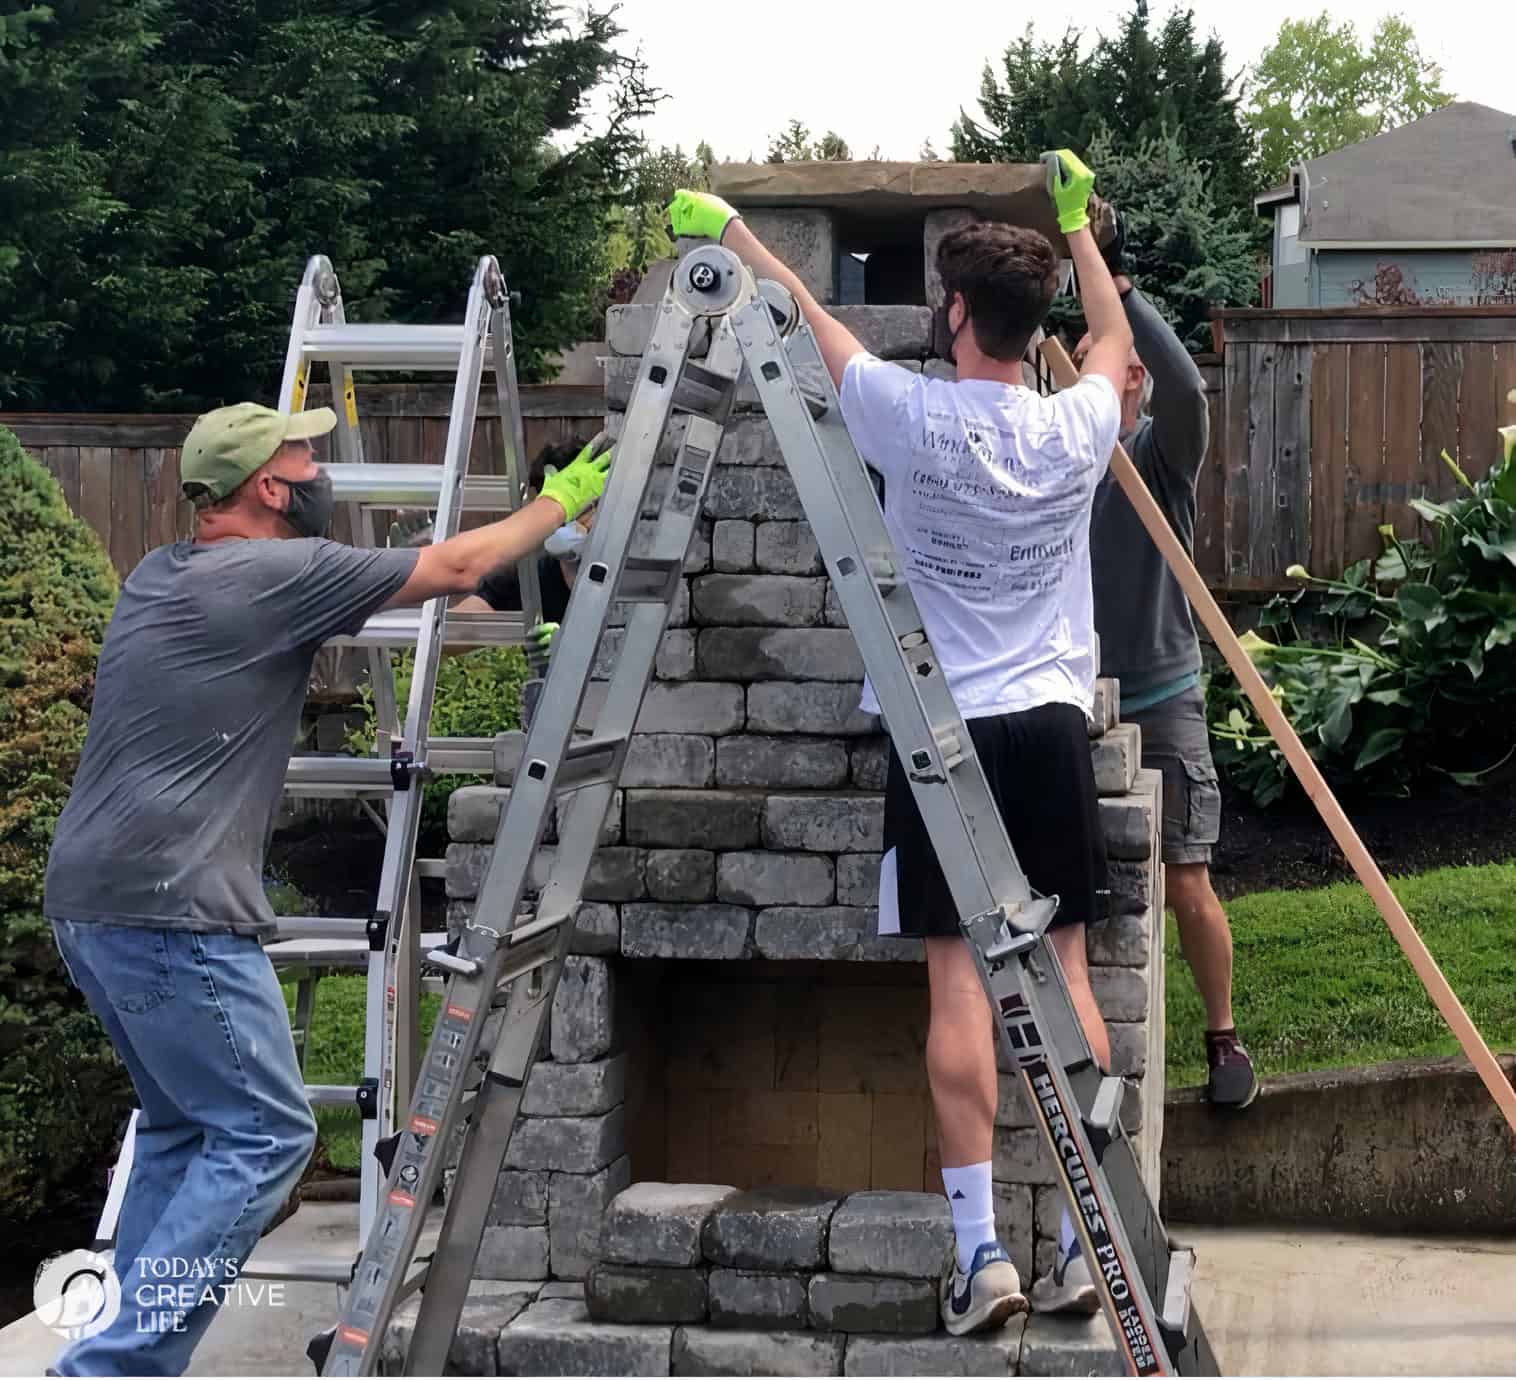
Because we didn’t have much room behind the fireplace, it felt less stable and the guys came up with their own technique by using 8 ft, 2×4’s, and slid it up to the top.
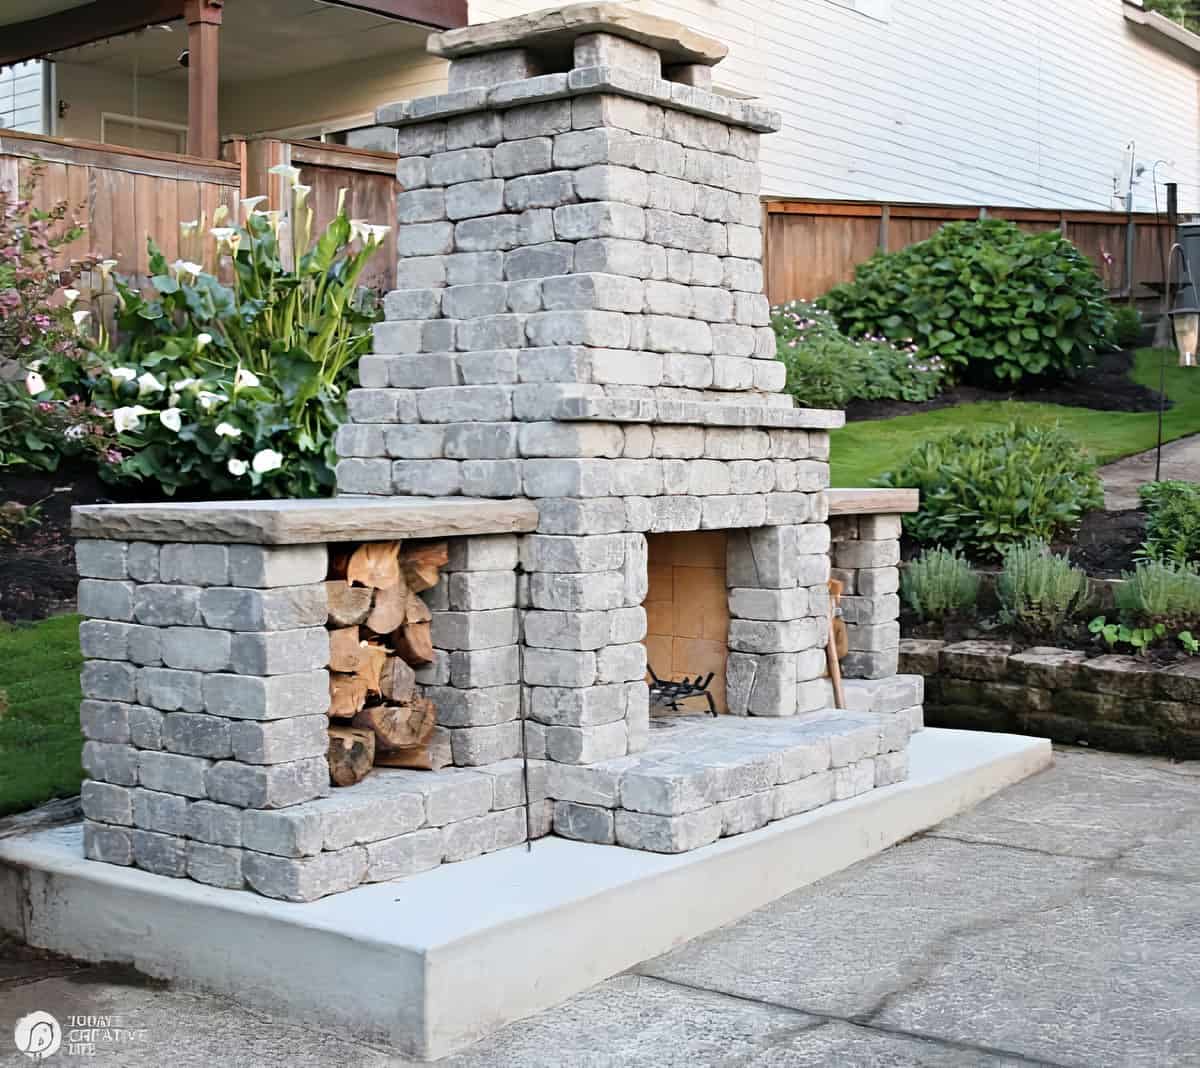
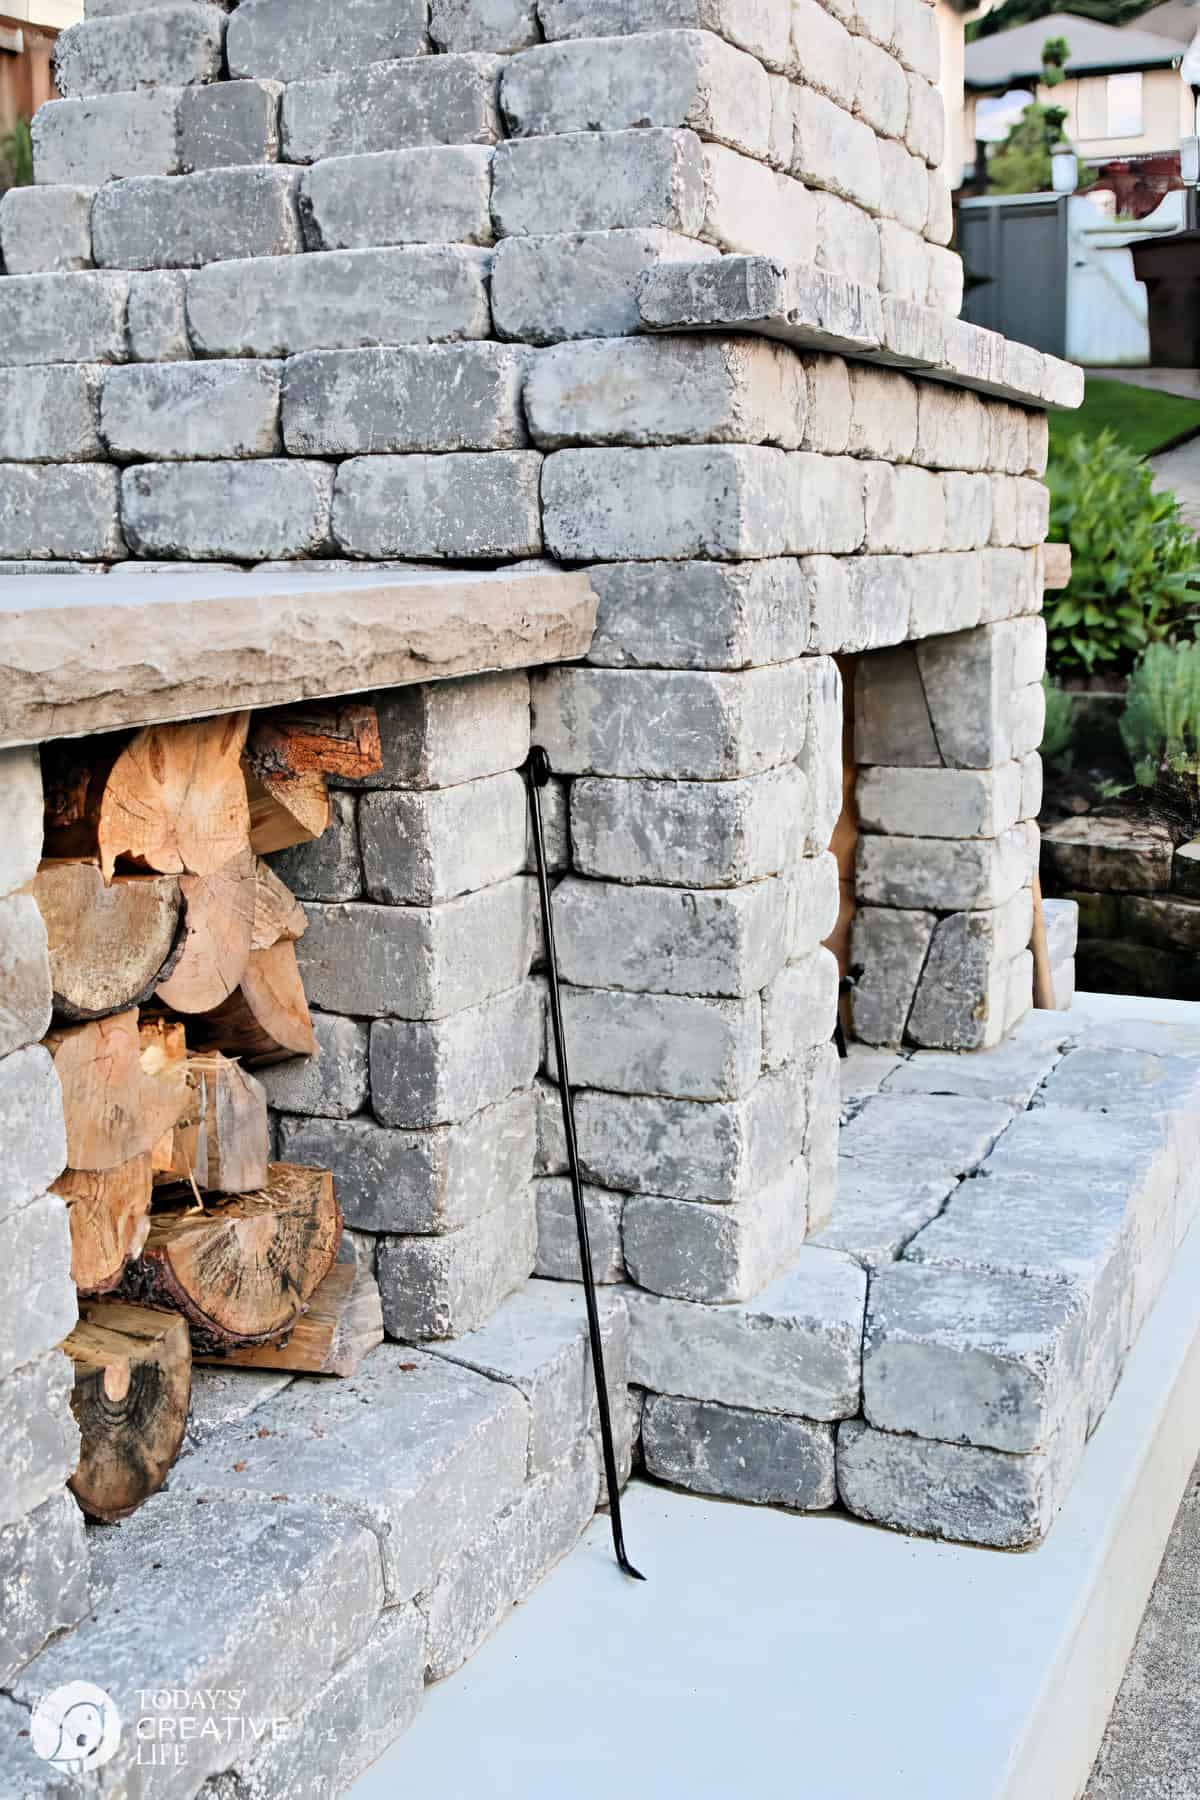
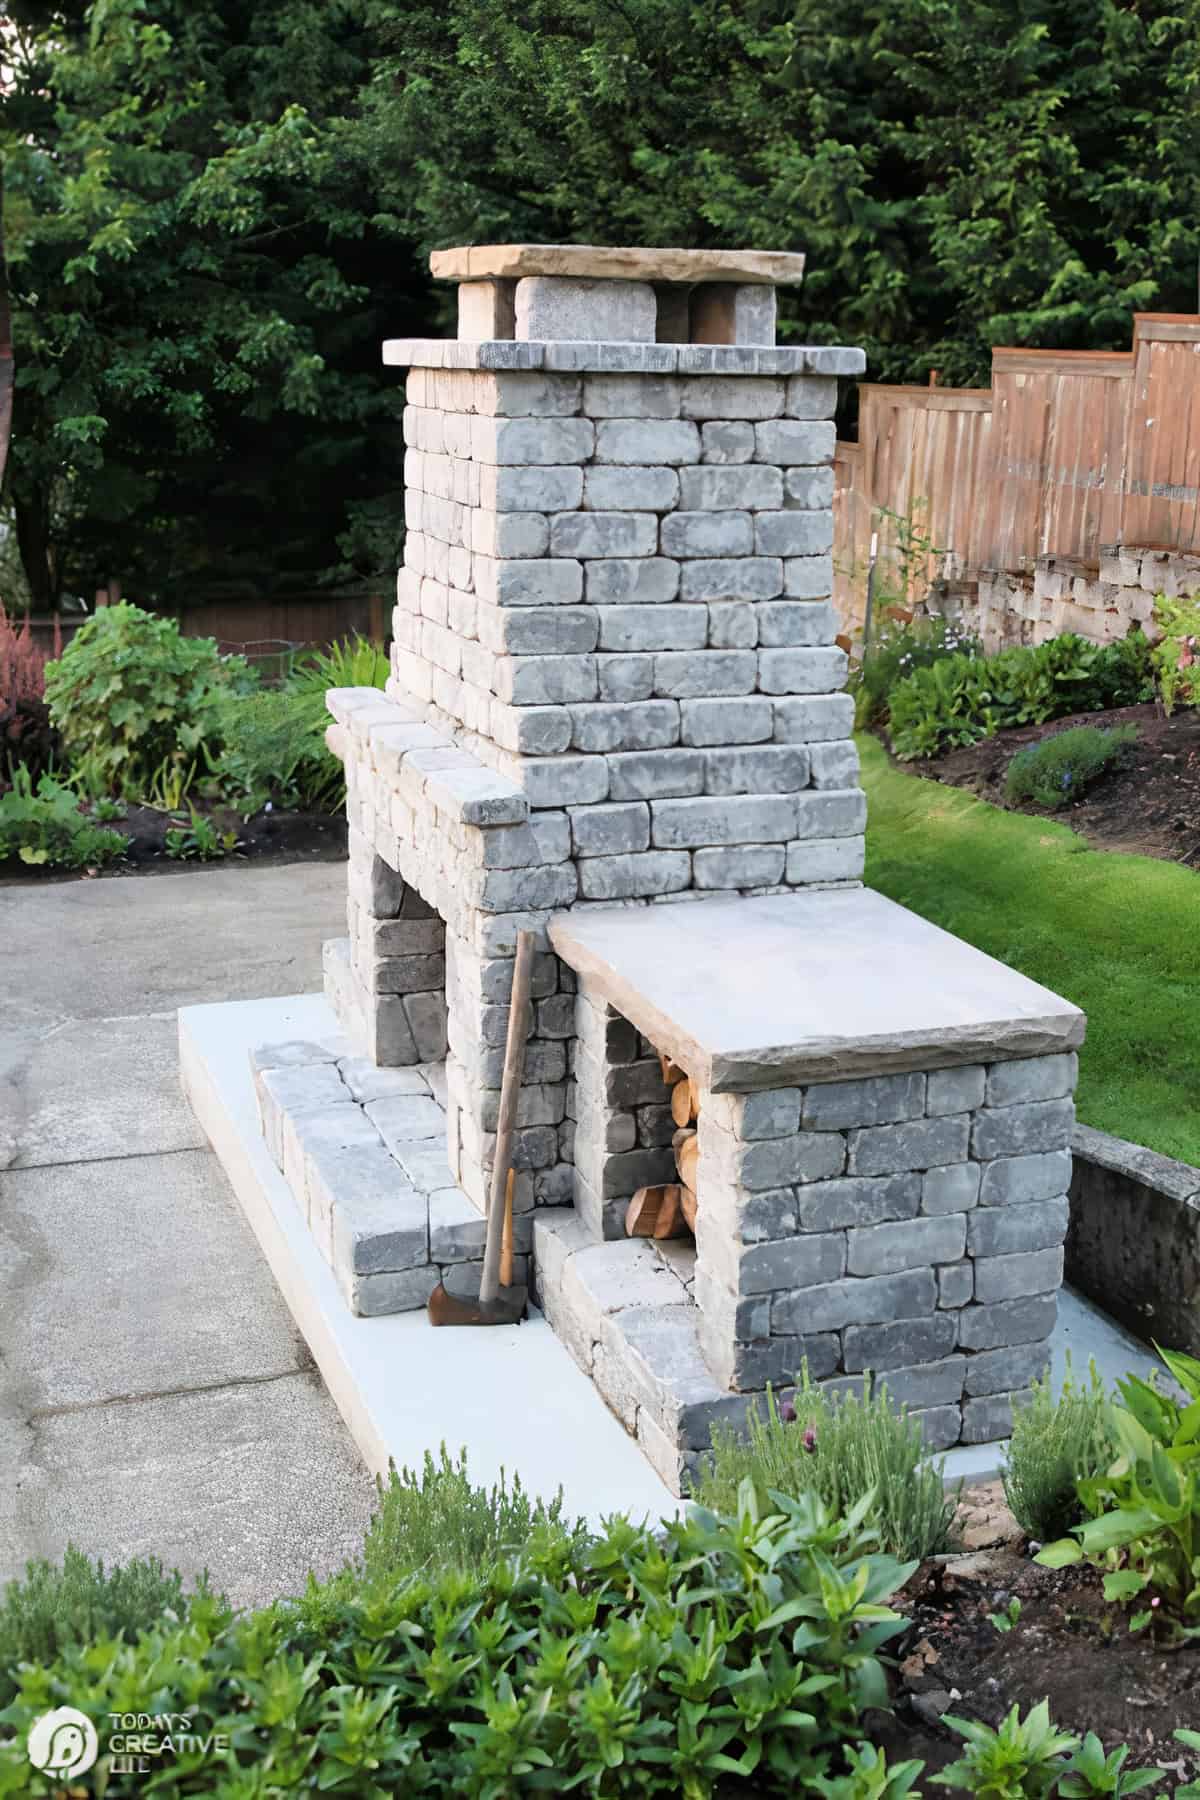
Once completed, you need to let it cure for 72 hours. We absolutely love how it looks and I can’t wait to get our outdoor furniture and a few plants all placed.
I’ll be showing you a few ways to use this space for outdoor living and how I made planter poles for cafe lights, so be sure to check back soon. In the meantime, I’ll be scooting my chair up and making a few S’Mores.
Outdoor Living Ideas
Find stylish and easy ideas for outdoor living.
Adirondack Chair Plans {Free Download}
Make your own outdoor wood chairs.
Composite Decking vs. Wood
Is it time to replace your deck? Learn the difference between wood or composite.
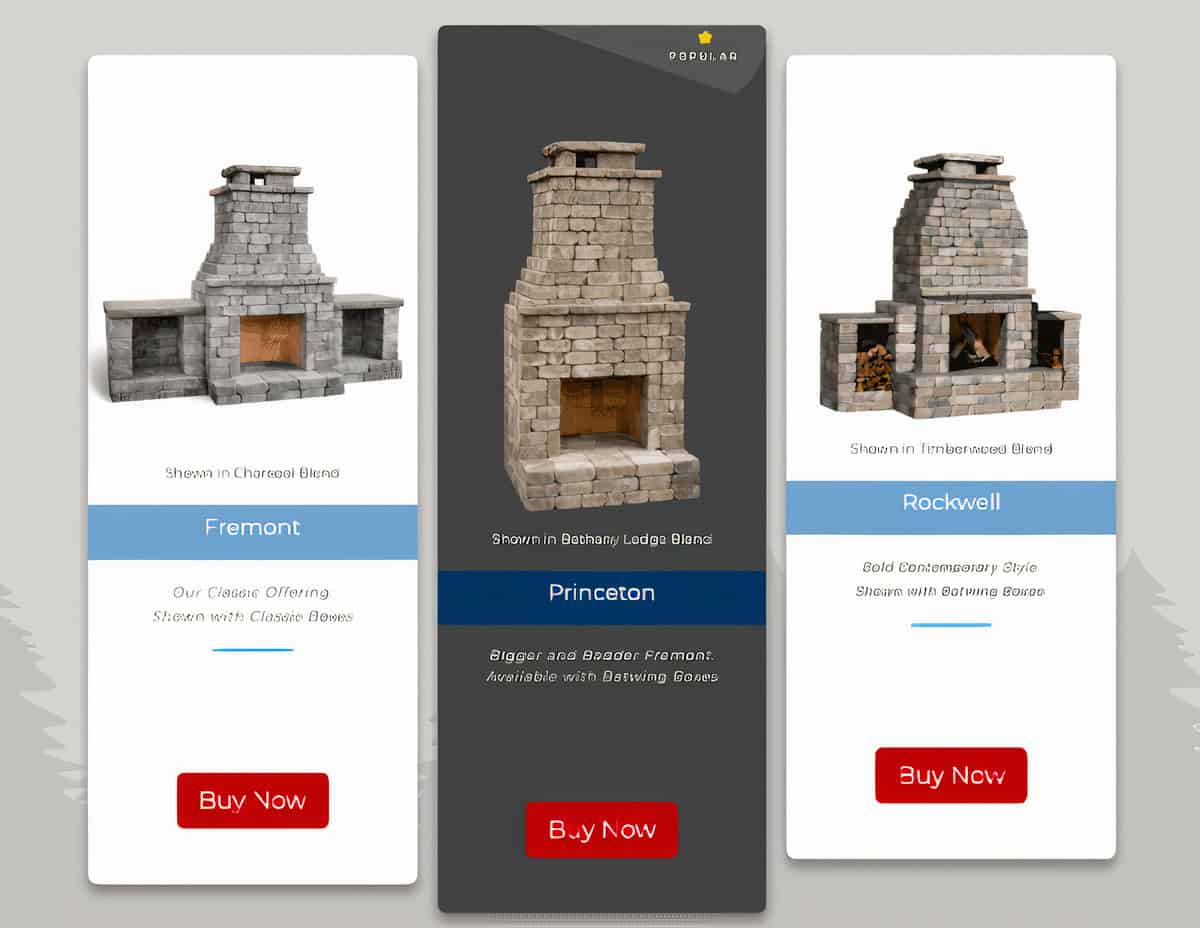 We went with the Fremont in the charcoal blend with the classic woodboxes. You don’t have to have them, as they are sold separately.
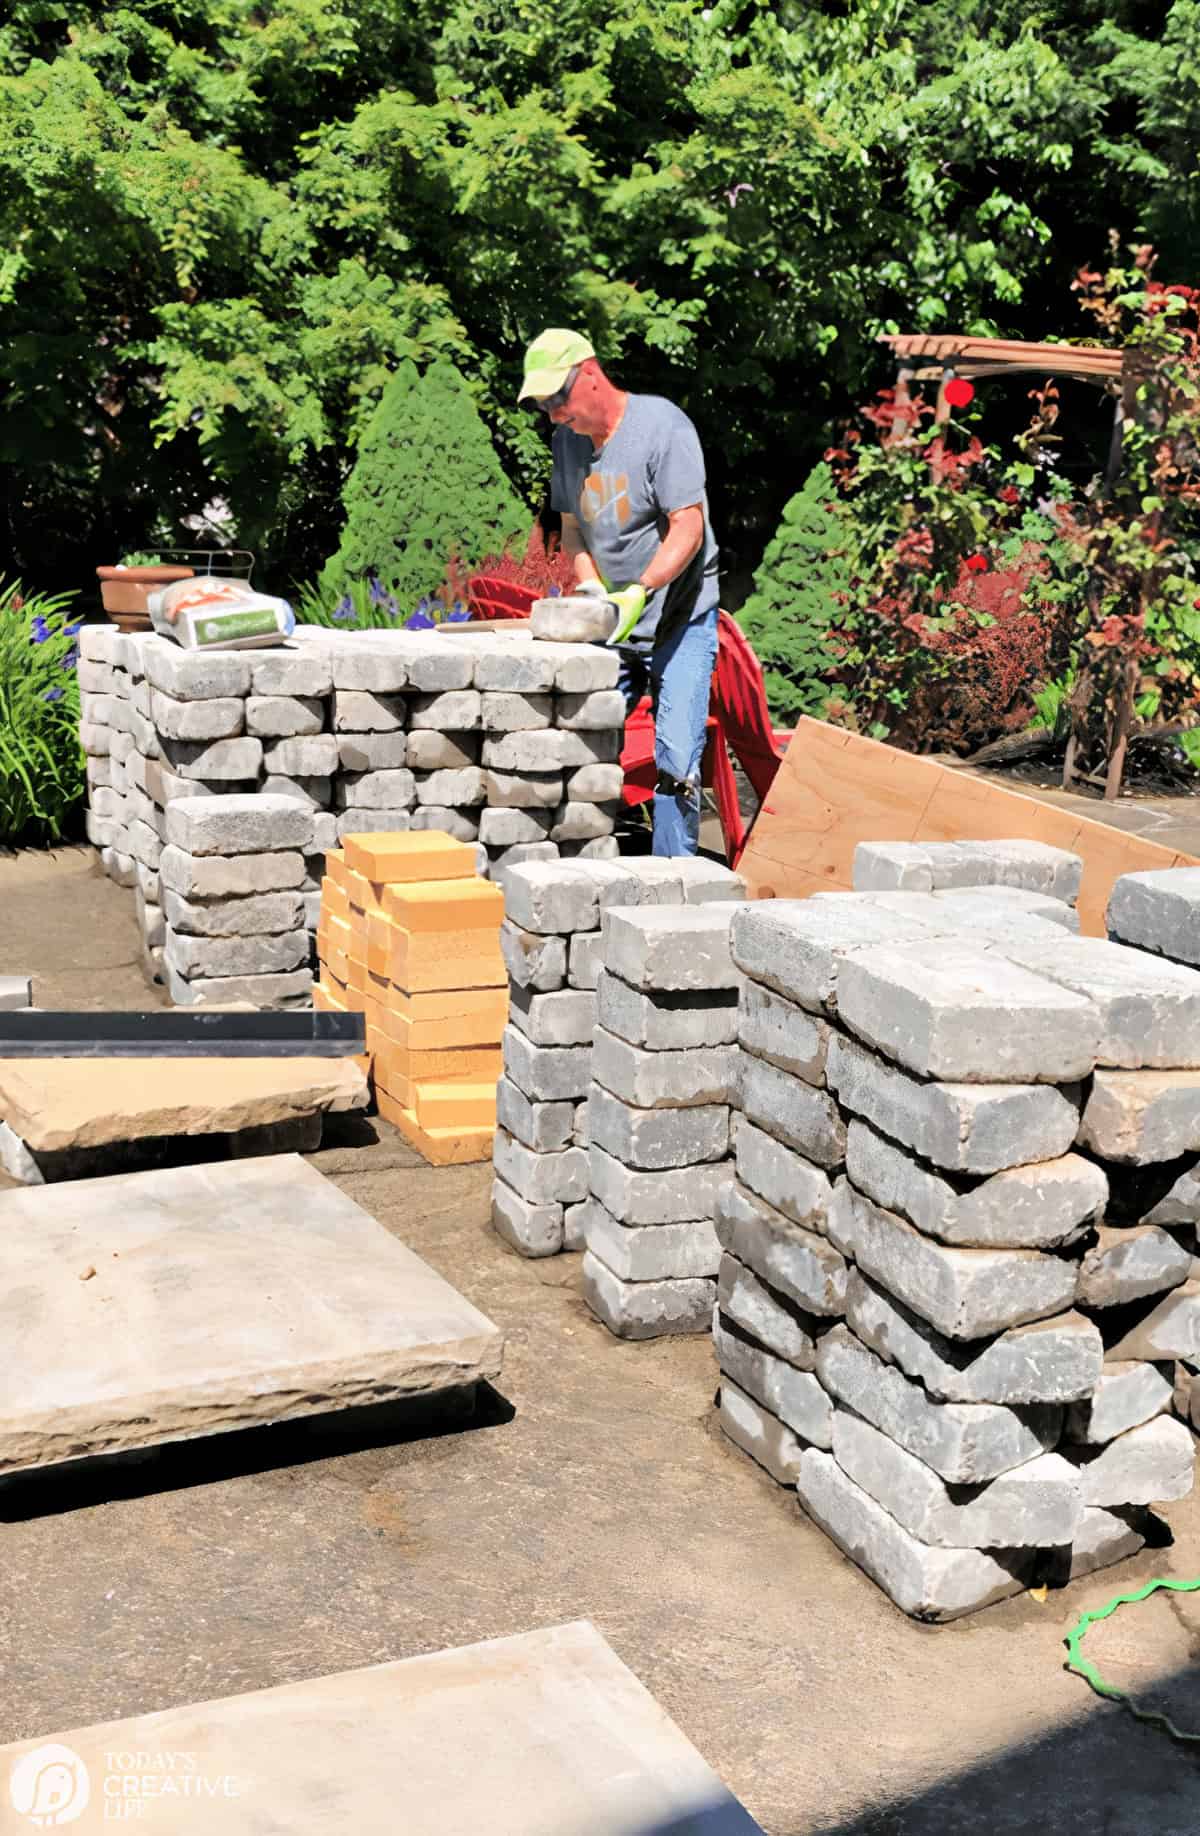 We arranged them by size to make it more organized when building.



Erin says
I saw this post during the summer, sent it to my husband, and said this is what I want for my birthday. 😉 We got the same exact you as you did and it looks incredible! My husband said it was easy to put together. I’m so excited to put this to use in the next coming months! Thanks for posting this! I never would’ve known about it otherwise.
Kim says
It’s a great kit! The only hard part for us was hauling all the stone from the driveway into the backyard. Thanks for letting me know!
April says
This is gorgeous! I really feel I need one for my backyard now.
Lily says
What a cool idea, a customizable fireplace. We have been renovating our backyard and this is a genius idea to make a fireplace that looks exactly how we dream it to look. Thank you for this.
Julie Blanner says
What a great outdoor fireplace! Your husband did a great job putting it together. Thanks for sharing.
Kim says
Thank you Julie! He did a great job! My son helped one afternoon and even I was able to help with some of it! (new hip and all!)
Shannon Fox says
Oh KIM!! From day one when I spied those stones, I was smitten. I’m so excited for you, and it came out SOOOO good!! I want one. hehe. Can’t wait to see your light pole pots.
Hugs friend, Shan
Kim says
Thank you Shannon! The light poles turned out great! Thanks so much for the inspiration!