Creating a DIY ice bucket for Christmas can be a fun and creative project that adds a personal touch to your holiday celebrations. It’s easy to make an ice mold wine bottle chiller with flowers, fruits, and greens to coordinate with your holiday decor. This tutorial will teach you how to make an ice mold that is perfect for holiday parties, or Christmas brunch.
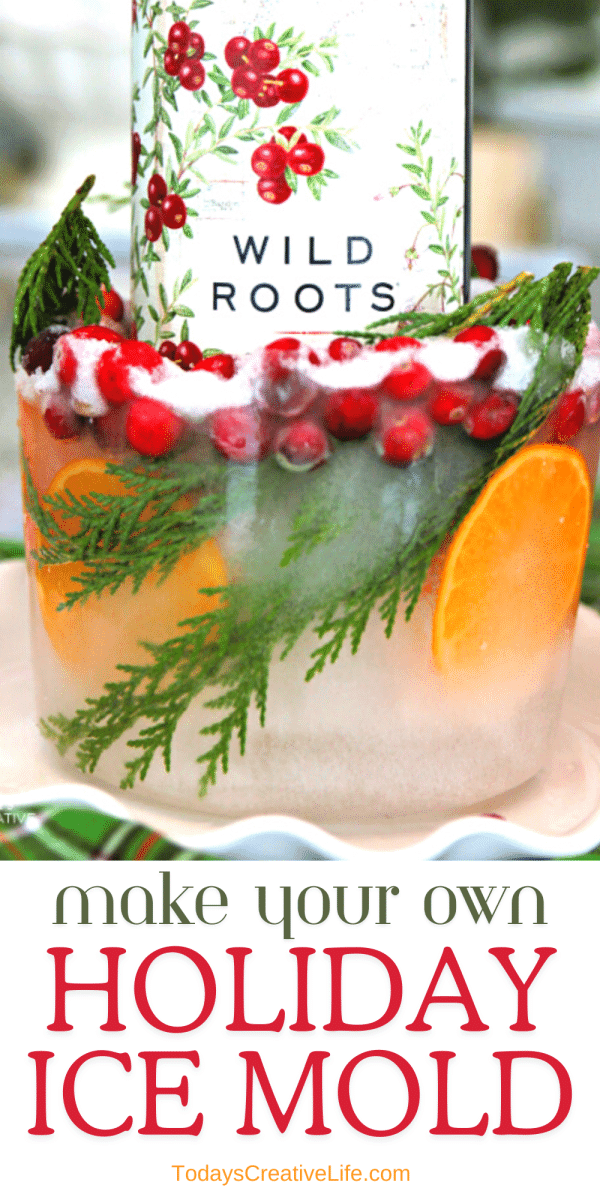
DIY Ice Bucket Wine Chiller
I have been dying to make one of these for years! There is something so beautiful about fruit and greens frozen in ice. DIY ice buckets are great for chilling wine, champagne or any bottle. DIY ice molds can be made any time of year, but they are especially stunning during the holiday season. You can also make festive ice cubes using the same method. I made 4th of July ice cubes that were perfect for the hot summer months.
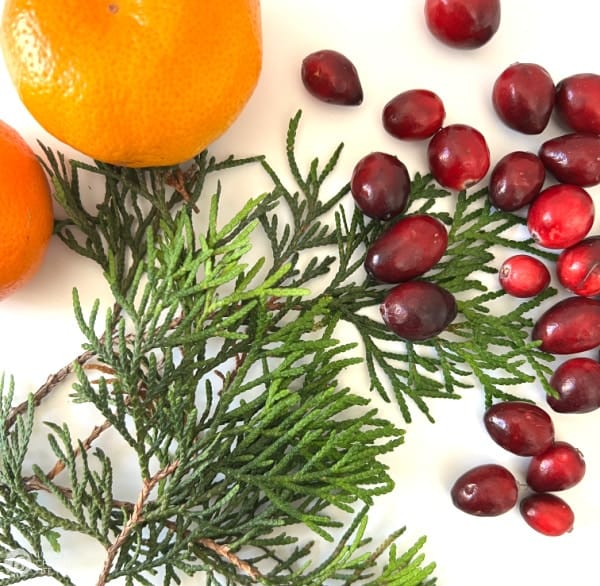
DIY Ice Mold Wine Chiller Supplies
This project allows for a lot of variation when planning how you want your ice mold to look. You can freeze pretty much anything to achieve the aesthetic you want. Since I was making mine for Christmas morning, I used the following:
- 2 Buckets – I used 2 1/2 quart and 1-quart paint buckets. You have to make sure they will create a wide enough opening for whatever bottle you want to chill.
- Rocks – I used decorative small rocks to weigh down the bucket.
- Cedar greens
- Fresh Cranberries
- Sliced mandarines
- Water
- Large bowl or Cookie sheet to place it on.
How to Make a DIY Ice Bucket Ice Mold
Easy to make DIY Ice Bucket Ice Mold. Make this DIY Wine Chiller using fresh fruits, flowers, and greens to add a personal touch to your holiday celebrations.
Materials
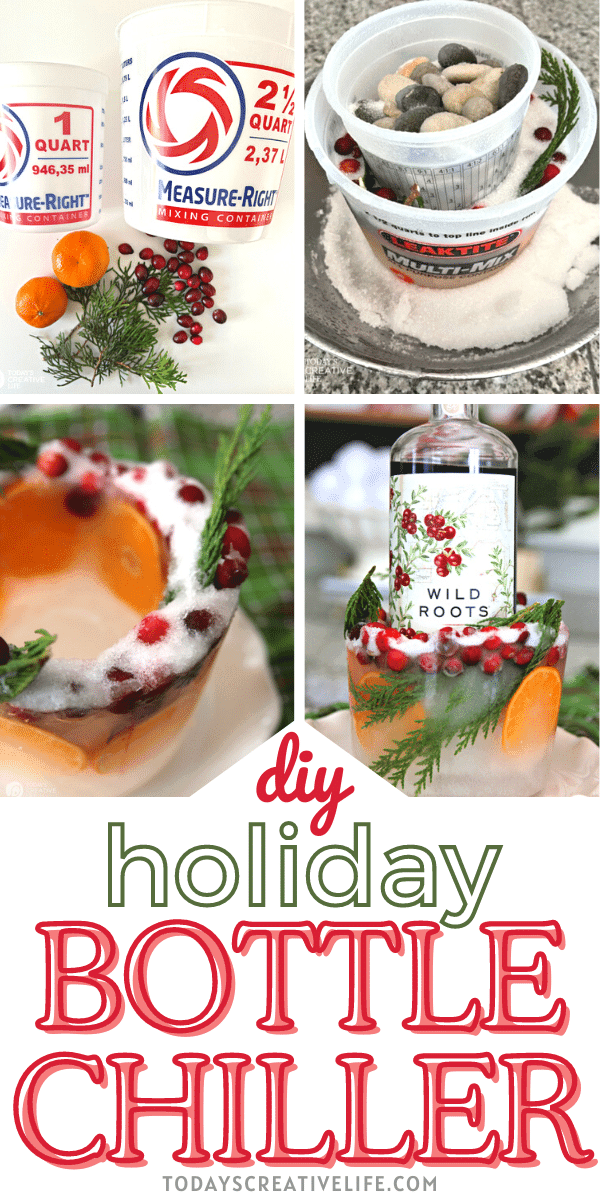
- 2 Nesting Buckets or metal bowls. I used painting buckets in a 2.5 quart and 1 quart size. You can also use a milk carton and a plastic bottle.
- Rocks - You'll need something to weigh down the top bucket.
- Fresh Cranberries
- Sliced Oranges
- Christmas greens - I used cedar
- Water
Instructions
- Gather your supplies.
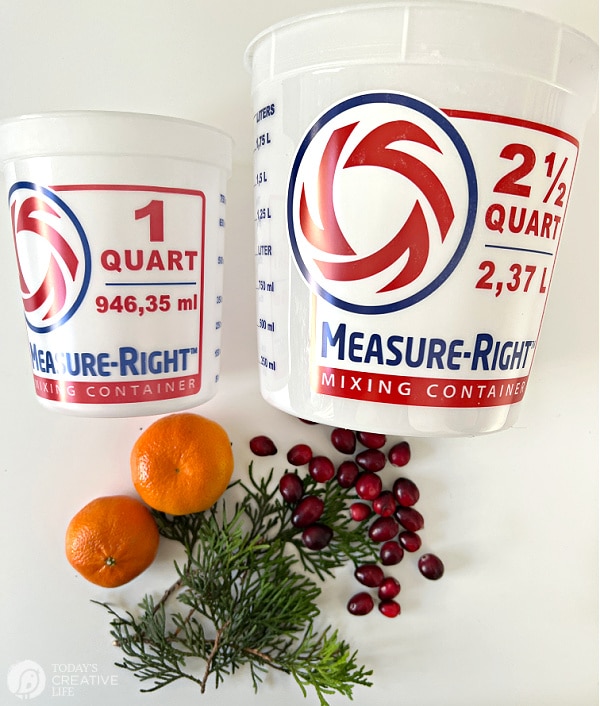
- Place the small bucket inside the large bucket.
- Add rocks into the top bucket (the smaller one)
- Arrange your cedar, orange slices and cranberries in between the buckets where you want them. The cranberries will float, so don't worry about where they go.
- Add water in between the buckets and rearrange your fruit if needed.
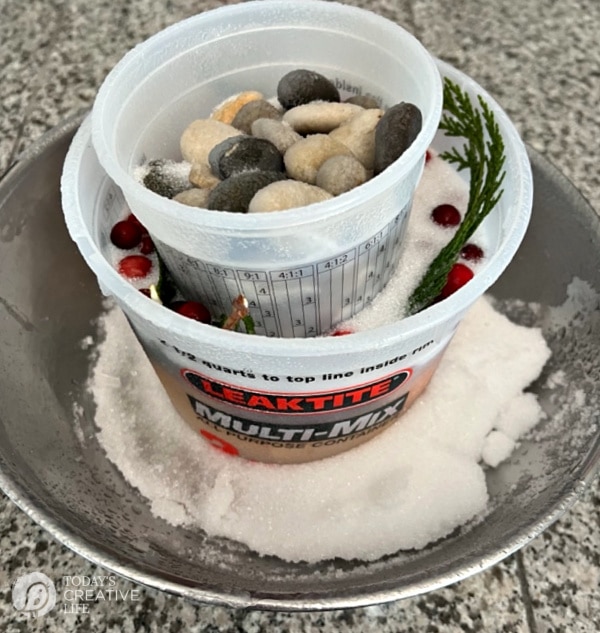
- Place the whole thing in a large bowl or on a cookie sheet and place in the freezer. Since we were having a snowstorm, I set mine outdoors. That's why there is snow that accumulated in the bowl. Let it freeze for 6 to 12 hours until it's solid.
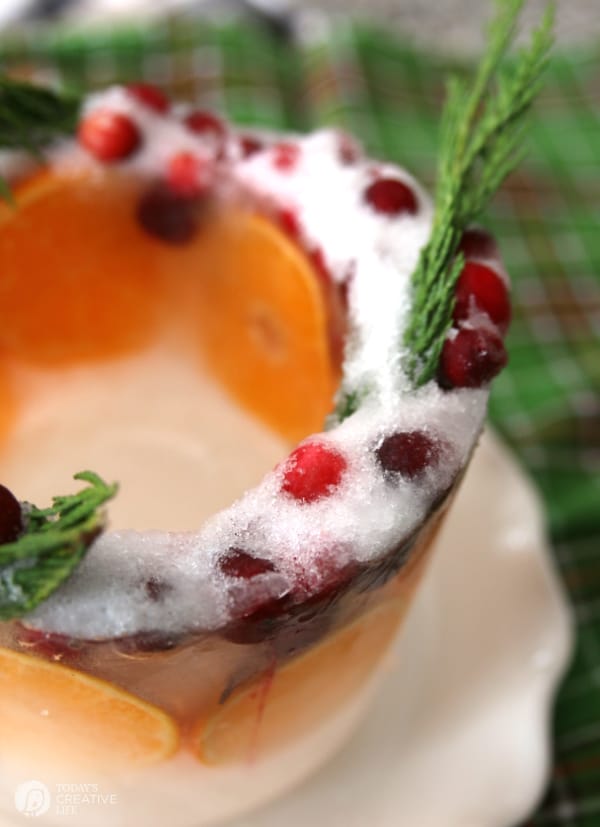
- After it's completely frozen, take the buckets out of the bowl or off the cookie sheet and fill the kitchen sink with warm water. Place the whole thing in the warm water up to the halfway mark of the first bucket. Take the rocks out of the top bucket and fill it with warm water. This will allow it to melt enough to release the buckets.
- Set the DIY ice bucket back in the freezer until you're ready to use it. I usually place it on something so it's easier to remove from the freezer if it freezes to the shelf.
Notes
- Instead of buckets, I've seen people use milk cartons.
- Use whatever fruit or flowers you'd like your DIY ice mold to look like.
- Do not use glass when creating your mold. It will break as the water freezes.
- Use as decor with flameless candles for holiday luminaires.
Recommended Products
As an Amazon Associate and member of other affiliate programs, I earn from qualifying purchases.
How to Make an Ice Mold Ice Bucket with a Milk Carton
Another easy way to make your own DIY ice bucket is to use a 1/2-gallon milk carton. I’m talking about that waxed cardboard kind. I haven’t tried it with the plastic cartons, but they may work too.
- Place the bottle of your favorite alcoholic (anything non-alcoholic will break or burst due to freezing) beverage into the carton.
- Add your fruit, greens, flowers, etc…
- Add water about half full to 3/4 full.
- If the bottle is floating, try using duct tape to tape the bottle down. Or if your freezer shelves are like mine, then the bottle top hits the top shelf perfectly holding the bottle in place.
What Can You Freeze in an Ice Mold?
Here’s the beauty of making your own ice molds, you can choose the fruits, flowers or greens to match the season or celebration. I think sliced oranges are always beautiful, but you get to choose what you want! Get creative and have fun! Here are a few ideas below. Of course, the seasons are not limited to my suggestions.
Winter Ice Mold Ideas: Sliced oranges, cranberries, pomegranate seeds, cedar greens, evergreen greens, boxwood greens, sliced apples or pears, etc…
Spring Ice Mold Ideas: Gerber or Shasta daisies, roses, or rose petals, sliced oranges, limes, or lemons, and boxwood greens, etc…
Summer Ice Mold Ideas: Boxwood greens, any fresh leaves, hydrangea petals, sliced strawberries, lemons, blueberries, raspberries, etc…
Fall Ice Mold Ideas: Twigs, Fall leaves, rose hips, mums, etc..
How to Make an Ice Ring Mold for a Punch Bowl
Making an ice ring for a punch bowl or a large drink dispenser is a fun way to add more creativity to entertaining. You can use a bundt pan or even a mold specifically for making ice rings. Look for smaller ones for your drink dispensers.
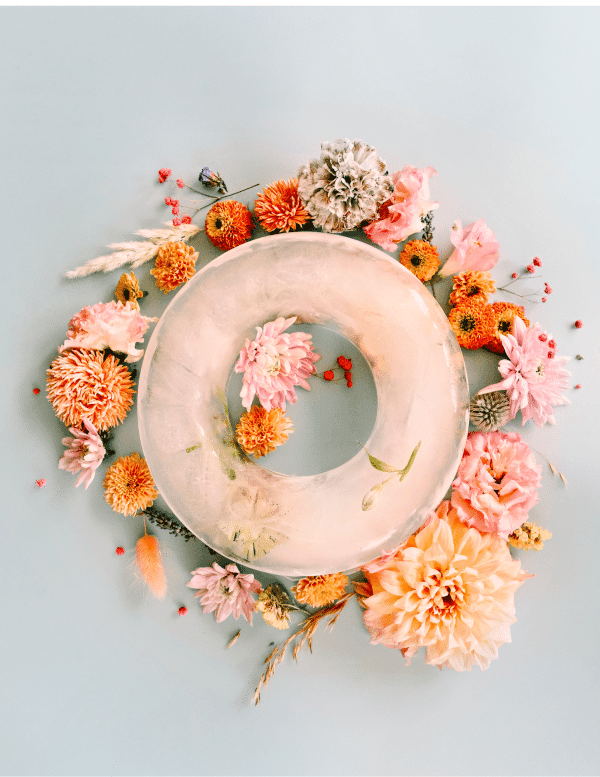
- Use a bundt cake pan, a Savarin pan, or Jello mold, or anything that resembles a ring.
- Fill the pan halfway with water.
- Add your flowers, fruits, and greens into the water-filled ring and place into the freezer overnight.
- To remove the ring, simply place the bottom of the pan into a sink with lukewarm water. It should slip right now.
How to Use DIY Ice Buckets
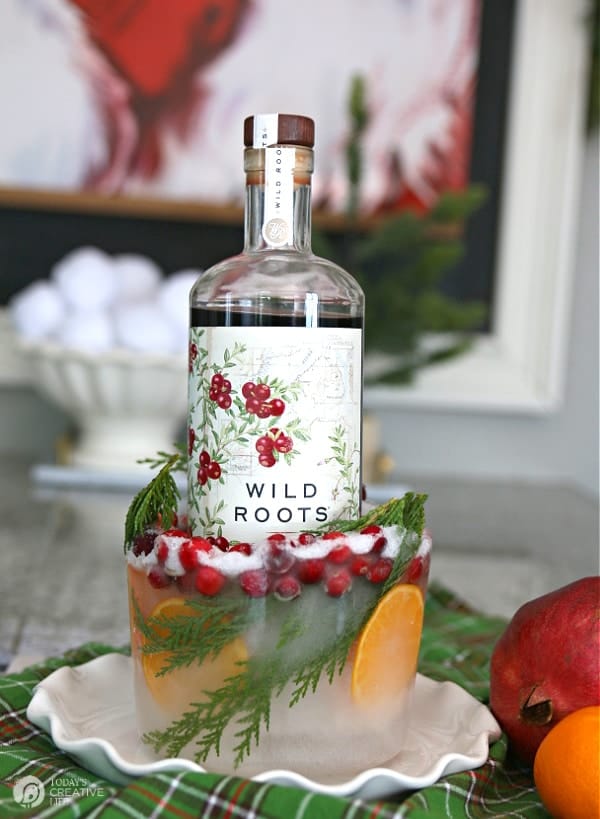
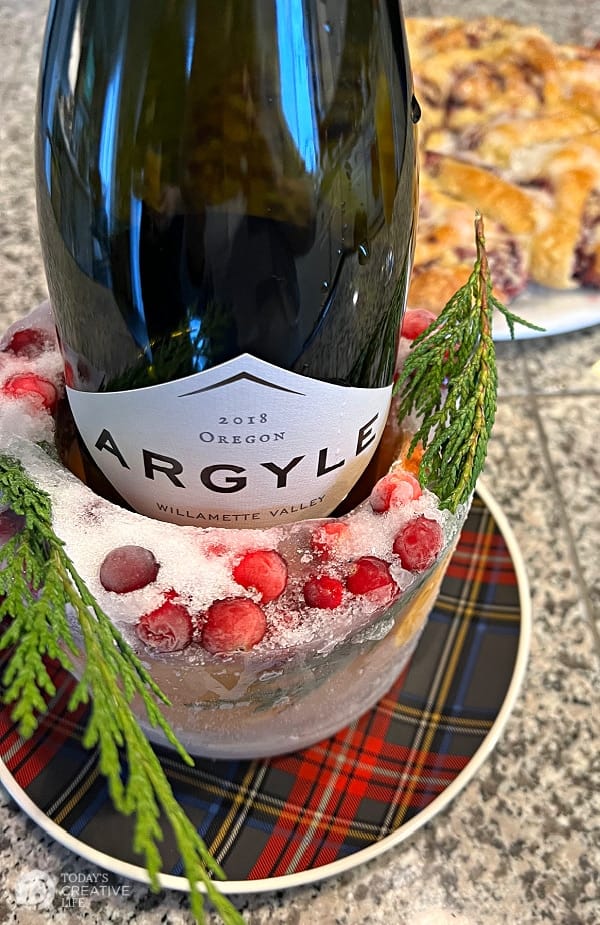
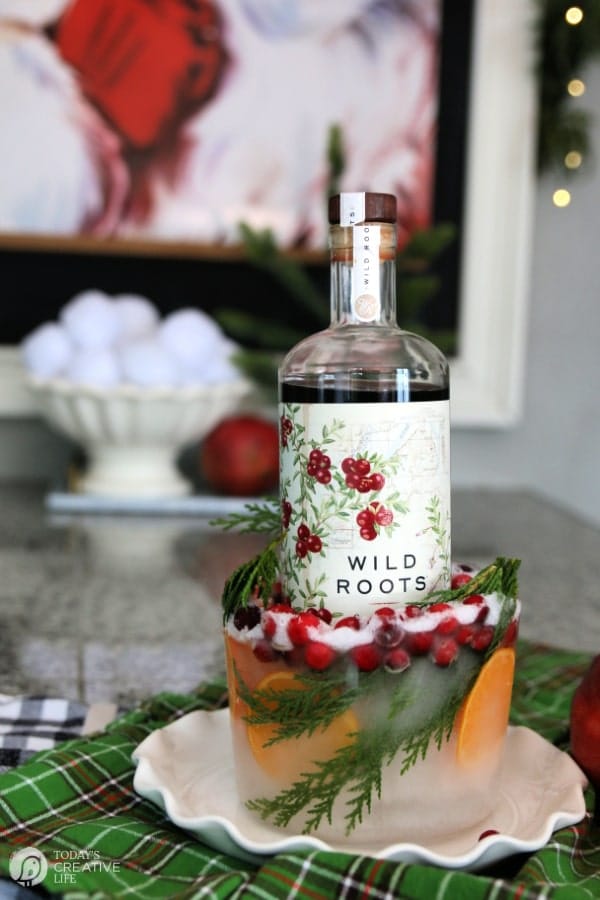
You’re probably thinking this seems pretty obvious, you use them to place a bottle into to keep chilled. You will however want to place the DIY ice bucket on a plate or something because it will melt as time passes.
You can also use DIY ice molds for these creative ideas below.
- Buffet Table Food Chiller -Use them to place bowls of dips chilled. You can place a bowl inside and use it to keep any appetizer or potluck dish cool. With a little ingenuity, you can make ice molds into any shape or size you need.
- Holiday Luminaries – Place them along a walkway or anywhere outdoors you want to decorate. Place a flameless candle or solar light inside and you’ve got yourself some beautiful luminaries.
Once you let your creativity go, you’ll find so many ways to add them to your holiday decor!
DIY Holiday Decor
Easy DIY ideas for creating your own Christmas decor.
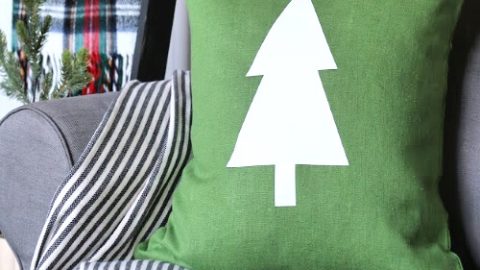
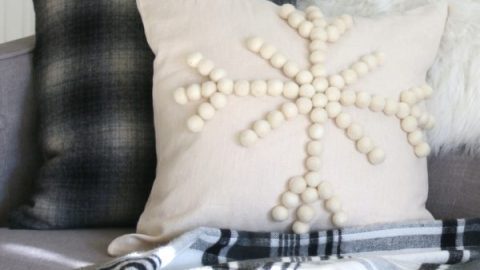
DIY Holiday Pillows with Cricut
Easy to make Christmas pillows using iron-on vinyl and a pillow cover.
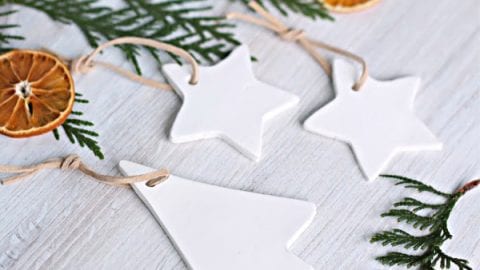
How to Make White Clay Christmas Ornaments
Homemade white clay ornaments are fun and easy to make for holiday decorating.
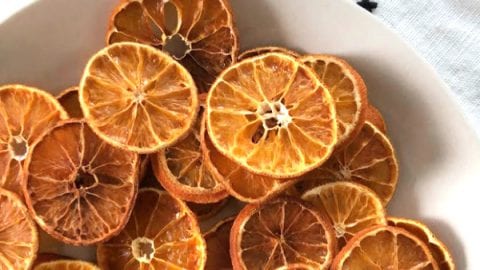
DIY Dried Orange Slices
Drying oranges is a holiday classic. How to make Dried Oranges in the oven for holiday decor, potpourri and gift wrapping.
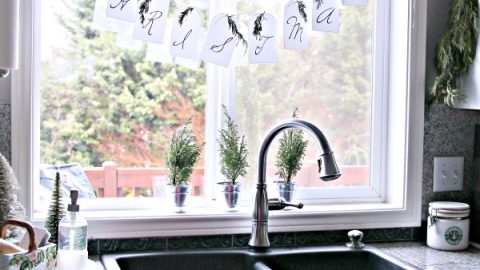
DIY Holiday Banner - Free Printable
Free Printable Merry Christmas paper tag banner adds quick DIY holiday decor.
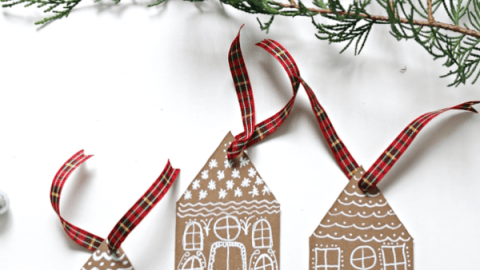
How to Make Gingerbread House Ornaments
Easy to Make Holiday Ornaments using chip board or cardboard
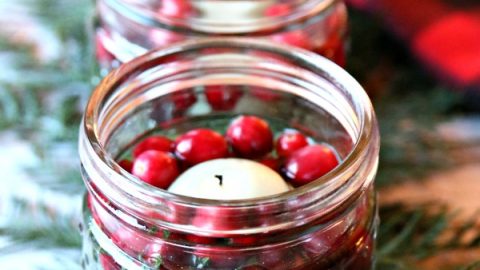
How to Make Cedar Cranberry Luminaries
Easy to make Christmas luminaries with cedar and cranberries.
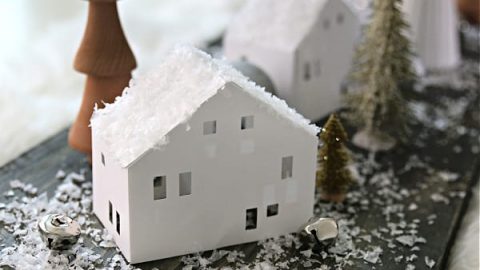
How to Make a DIY Paper House
Use your Cricut Cutting Machine to make holiday snow topped paper houses.



Leave a Reply