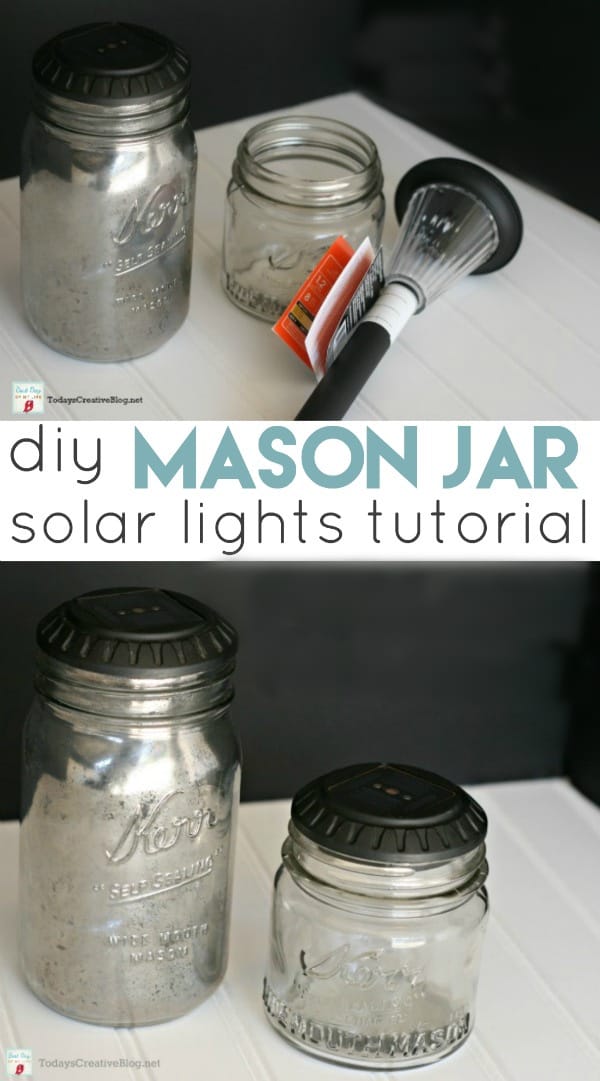
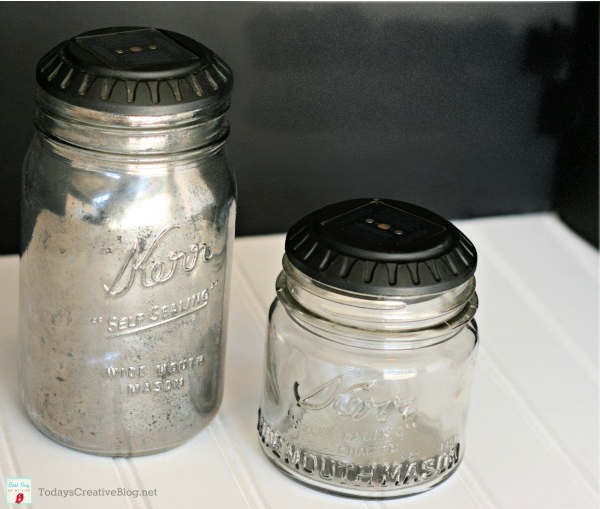
Making DIY Mason Jar Solar Lights are easy and quick. All you need is a mason jar and inexpensive solar light picks. Decorating your patio or deck can be budget-friendly and stylish with simple DIY projects.
DIY Mason Jar Solar Lights
You know how I LOVE easy DIY projects right? Especially if they’re home decor. I made these super simple DIY Mason Jar Solar Lights in the spring and showed them on my monthly morning segment on AMNW as part of the DIY Mercury Glass projects. I have a few around my patio and have fallen in love with the look. They add instant style in minutes. No special skills are needed for this DIY home project.
These can be made with any glass jar and a solar light that fits the mouth of the jar.
Supplies Needed for DIY Mason Jar Solar Lights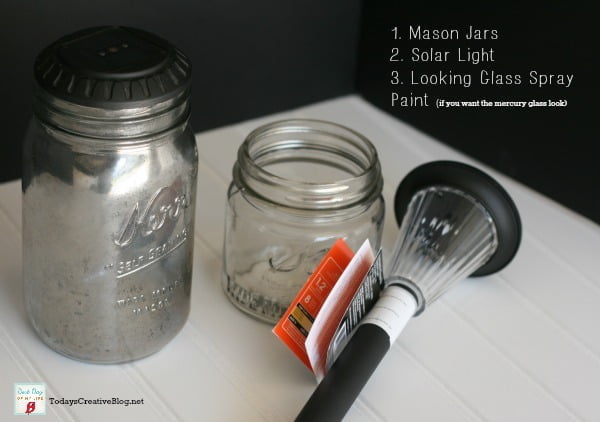
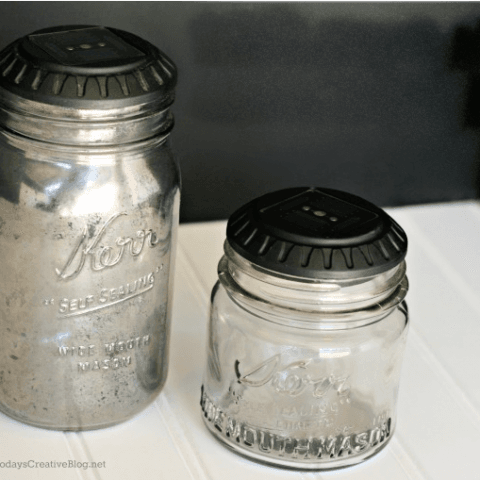
- Wide Mouth Mason Jars -You’ll need the mason jars with a wide mouth. I tried using those adorable new blue mason jars, but the jar mouth was too small. If you can find a smaller solar light, it would work.
- Solar Yard Lights –There are so many types and sizes. Mine are the cheapest ones I could find and I found them at Lowes.
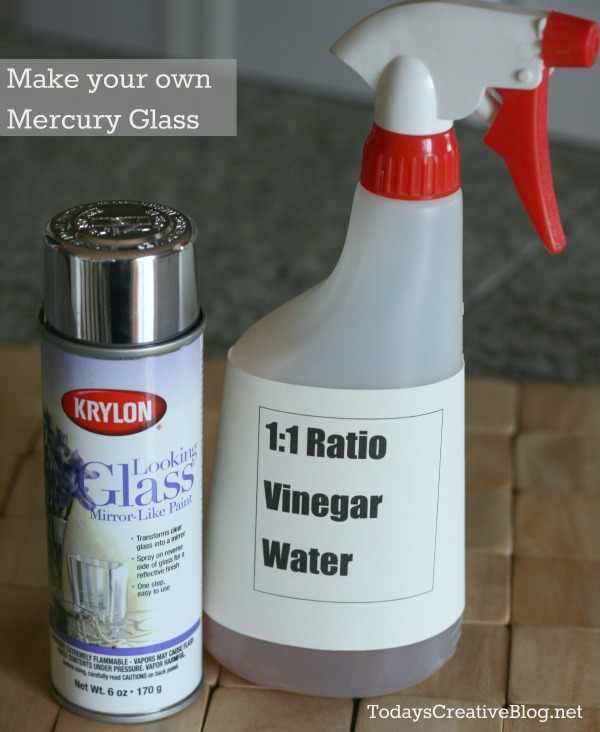
- Looking Glass Spray Paint – if you want to create a Mercury Glass look you’ll need this spray paint. I usually just order it from Amazon because it can be hard to find. Follow my Mercury Glass Tutorial to create this look.
How to Make Mason Jar Solar Lights
Easy to Make Outdoor Patio Solar Lights
Materials
- Wide Mouth Mason Jar or glass jar.
- Yard Solar Light that fits the size of your jar.
- Looking Glass or Silver Metallic Spray Paint - only if you want to make them look like mercury glass.
- Apple Cider Vinegar, Water and a Plastic Water Bottle with a fine mist setting. ( only if you're painting the jar.)
Instructions
DIY Glass Jar Solar Light
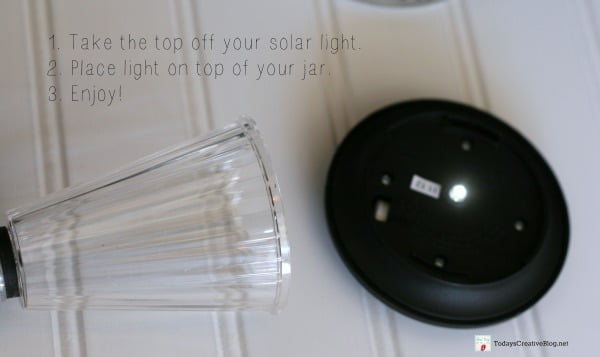
- Unscrew the top of the solar light off and remove any plastic tap to activate the solar light.


- Place the light on top of the jar.

- Set your new DIY Mason Jar Solar Light where you want it and it will illuminate your patio at nightfall.
HOW TO PAINT MASON JAR SOLAR LIGHTS
- Solution: Mix equal parts apple cider vinegar and water into a fine misting spray bottle.

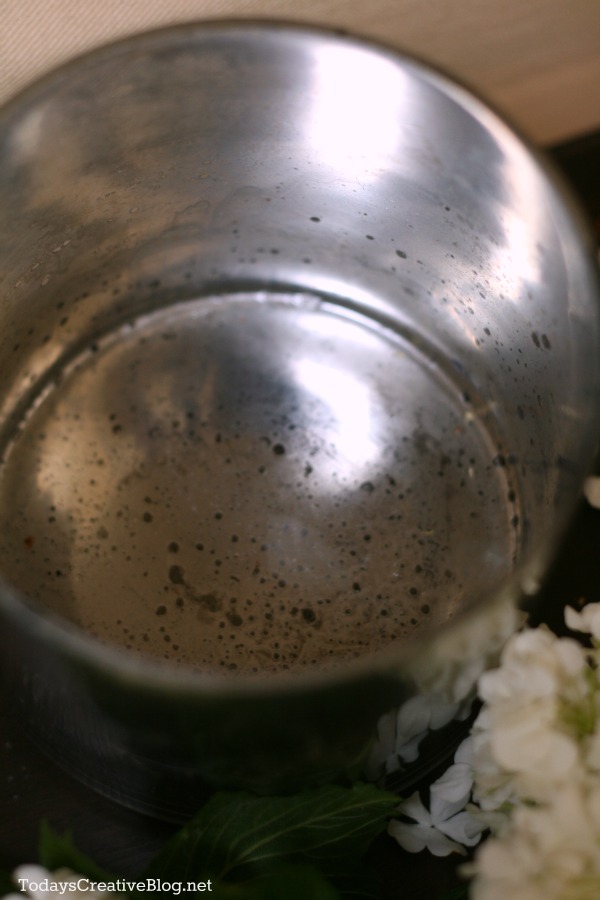
- Spray the INSIDE of your clear glass container with the spray paint. If your container has a narrow opening, just spray the outside………it will be OK. This paint is thin and runs really easily. I found spraying short bursts about 6-8 inches away from my vase worked best. It dries pretty quickly too. (This spray paint is highly flammable like all spray paints and should be used in a well-ventilated area and away from your hot water heater.)
- Once your vase is dry, mist the vinegar solution over the spray-painted area.

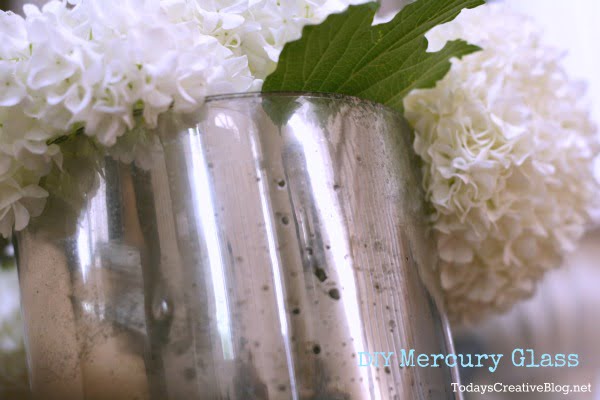
- Using a cotton rag, gently blot to achieve the distressed look you’re wanting. I made the mistake of using a terry cloth rag at first and it left terry cloth marks.
- Allow to dry completely before placing the solar cap on top.

Notes
Painting your jars are completely optional.
For fun variations, you can try placing decorative items in the jar……..like glass beads. Anything that may reflect off the light.

Simple, quick and looks great! My kind of project.
If you enjoy Mason Jar Crafts, I’ve gathered a few of my favorites below.
- Easiest Way to Tint Mason Jars Blue – Setting for Four
- Mason Jar Storage – Mod Podge Rocks
- Vintage Painted Mason Jars – Live Laugh Rowe
- How to Paint a Mason Jar – Happy Hooligans
- Epsom Salt Luminaries – Crafts by Amanda
DIY Home & Garden
Simple and creative ideas for your outdoor living.
Spring Lawn Care Tips - Winter Recovery
What you should be doing in the winter for a beautiful summer lawn.
When to Reseed Lawn and Tips for Reseeding
Here's information on when the best time to reseed your lawn.




Susie says
Do you paint the inside or outside of the jars ?
Kim says
Hi Susie, I did paint them using a Mercury glass technique. I include a link for the tutorial but I just updated the post to include it as well. Good luck!
Toodie says
Ok, that is just too easy! I need to do those for my front porch! Nice to see another Pacific Northwester!
jay says
I realize solar lights are quite cheap, but I’m wondering if anyone has tried to refurbish old, weathered ones, with cloudy sensors and panels.
Camille says
That is insanely easy and creative!!
Kim says
It really is! That’s why I LOVE it so much!